SLC-S21W4: How to Create a Payoneer Account and Link It to Amazon Affiliate
Creating a Payoneer Account
To create a Payoneer account for receiving your Amazon Affiliate payouts, we need to create a account and verify it and then connect it with our Amazon affiliate portal, so let's get started.
Step - 1

The very first step is open the official website of Payoneer website, as you can see the interface on the given screenshot, simply open the website and then click on Register button on the top right corner as shown in the given screenshot.
Step - 2

In the second step, we need to choose a type of account as per our needs, as you can see there are various options such as
- Freelancer
- Digital Service provider
- Wholesale or manufacturer
As our type is related to ecommerce so we are going to select the 3rd option which is Ecommerce marketplace Seller.
Step - 3

In the next step, we need to select the limits of the payment we are going to receive in our Payoneer account, as we are getting started so we will select under 10000 USD, if you select 0 then you won't be able to proceed to next step.
Step - 4

In the next step, as you can see now we are onto the main registration page in our category which is ecommerce marketplace seller, in this we can accept payments from major marketplaces such as Amazon, walmart etc.
Step - 5

In this step, we need to enter our basic details to move next into registration process, one thing to remember that you need to use your real name which matches your national id or any other document through which you can prove your identity.
Step - 6

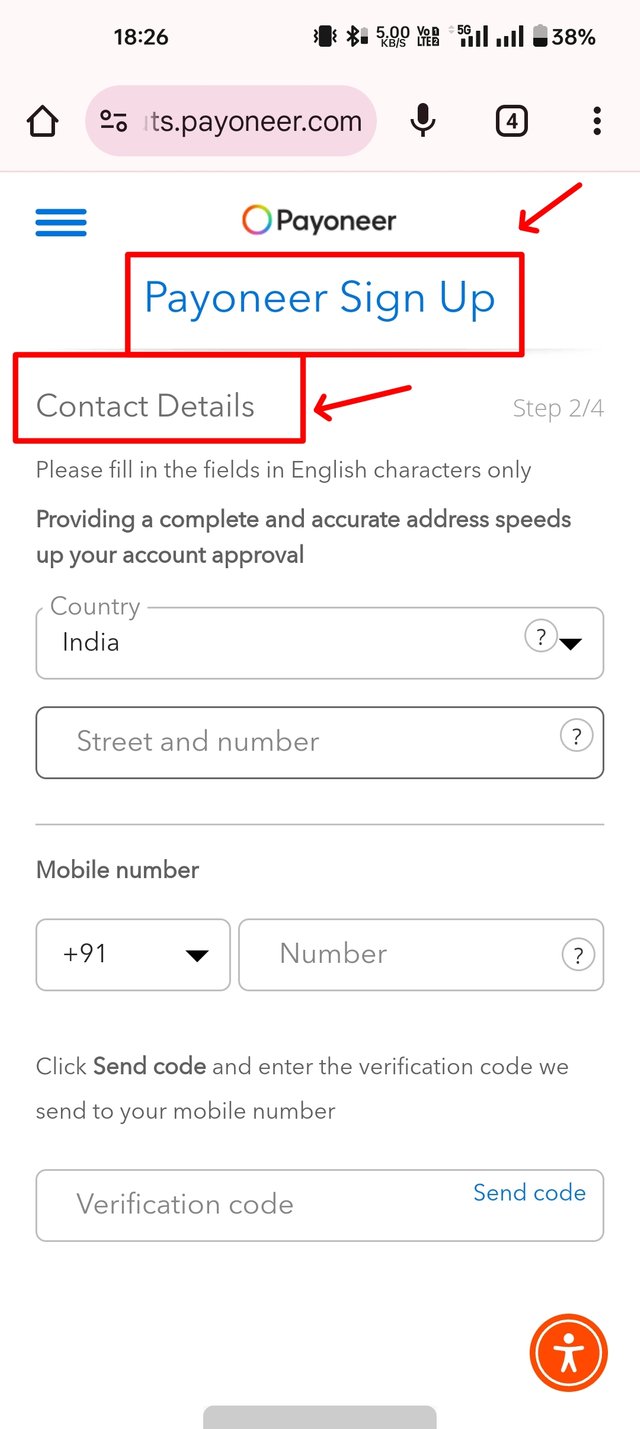
In this step, you need to provide your address and mobile number for further verification, make sure you provide your full detailed address, as it help processing your kyc faster.
Step - 7

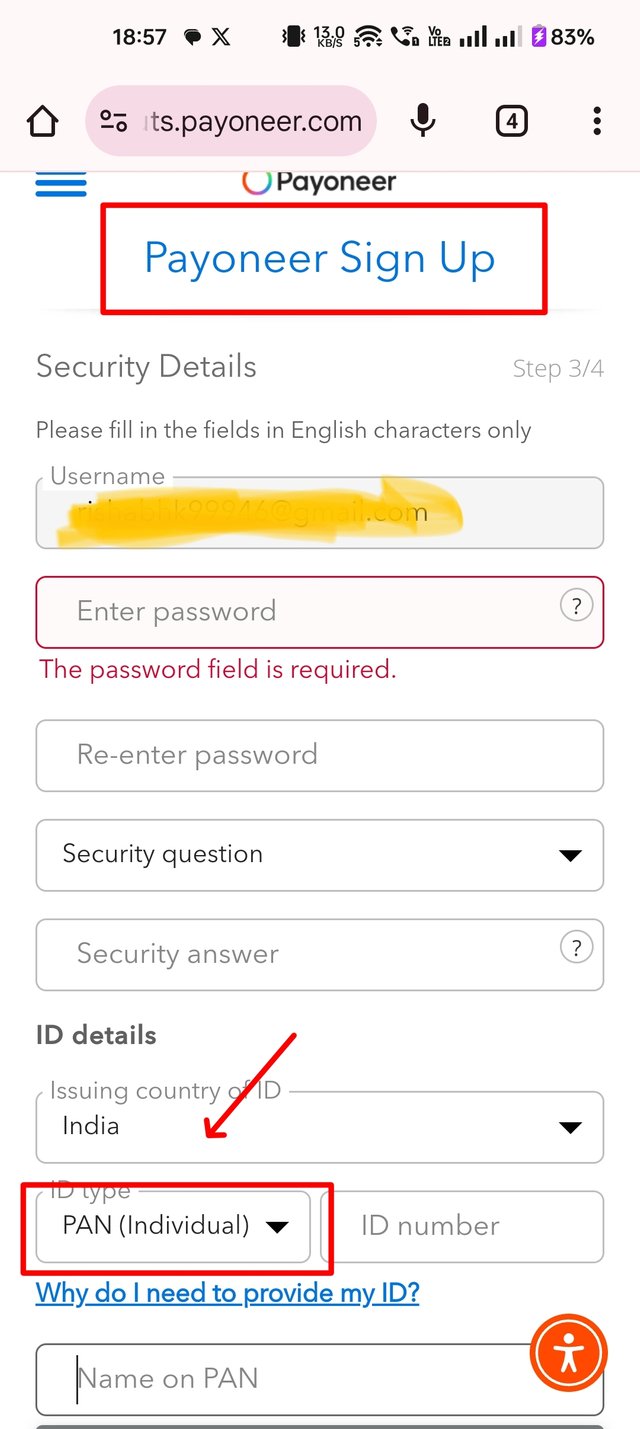
In this step, you need set up a new password for your username make sure you choose a strong combination of password, you also need to set up a security question for further verification, it's helpful when you log in from new location or device you will be asked the security question to prove your identity, additionally fill your national id details as required in your country.
Step - 8

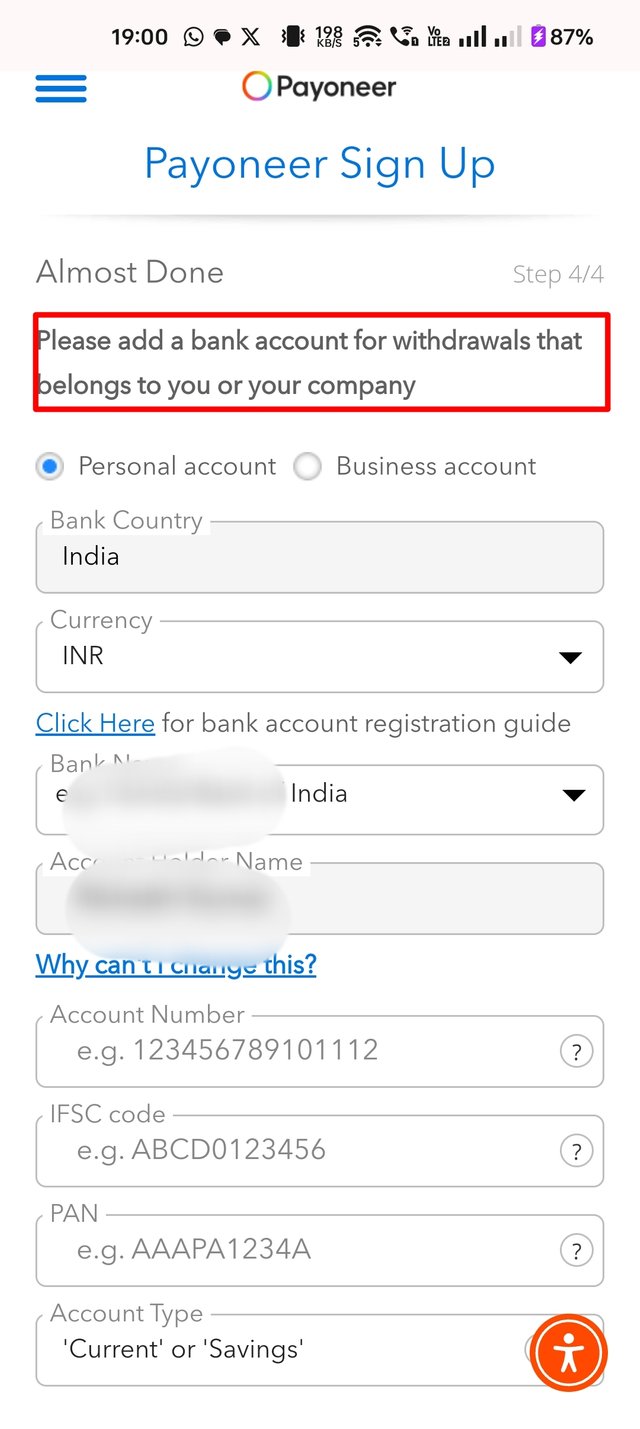
In the next step, you need to fill in your bank account details in which you want to receive your payments, it may be changed as per country, my selected country is India so details are shown as Indian bank standards.
Step - 9

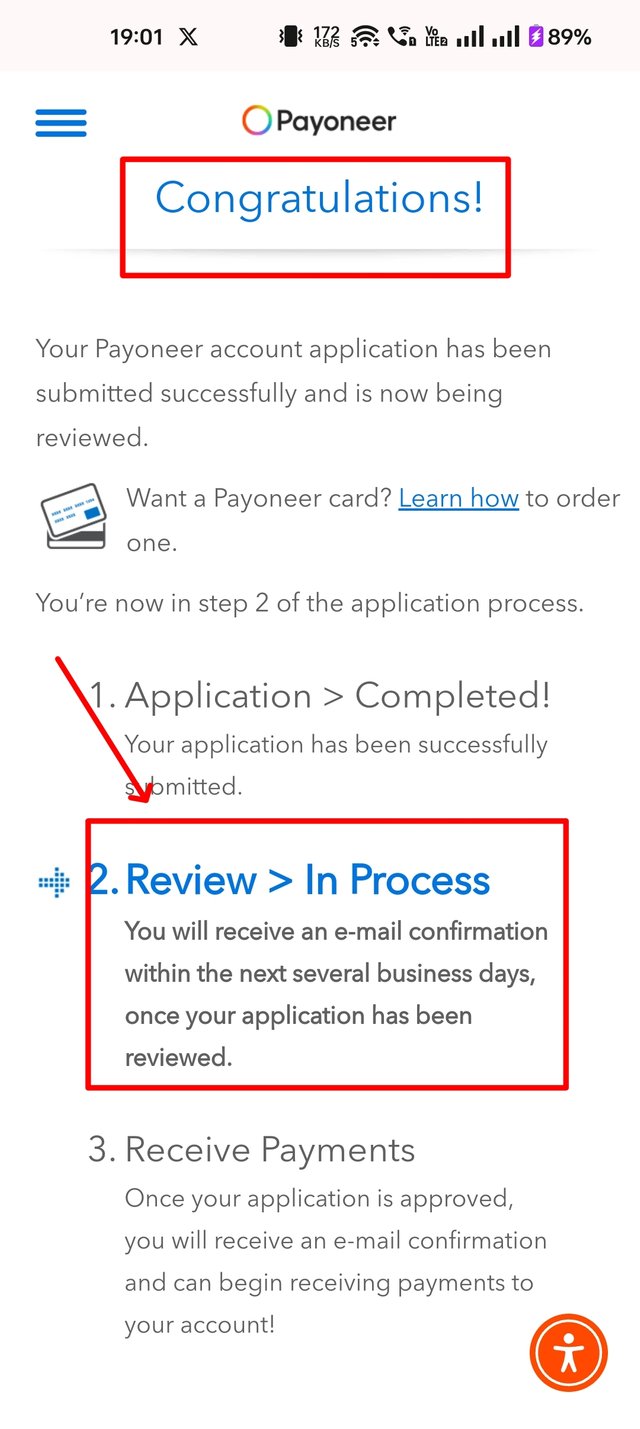
Once you click on submit on step 8, your application will be submitted and you will see a confirmation message of review in process on your screen as well on your registered email id.
Step - 10

After waiting around 15 minutes my account was verified, now we will sign in and connect it with our amazon affiliate account.
fetch Bank Details from Payoneer
We need to fetch our bank details from payoneer for the particular currency in which we want to receive the payment into our payoneer account.
STEP - 1

We go to our payoneer home and select the currency in which we want to receive the payments, for this task i am going to choose USD then click on it.
STEP - 2

in this step you will get bank details from payoneer that you selected then enter the same on your affiliate account.
Amazon Affiliate Connection
STEP - 1

Now log in your amazon affiliate account and go to account setting, as shown in the screenshot shared.
STEP - 2

In this step, find change method option on the right side menu, as shown in the screenshot, click on it and fill the bank details received from payoneer interface.
STEP - 3

in this last step you only need to fill the bank details that you receive on your payoneer and click submit to receive your payouts directly into payoneer and it will automatically transfer to your personal bank account.
so in simple terms, it works like a third party and provide you a bank account details to receive international currencies then simply transfer the funds to your provided personal bank account, obviously there will be some fee but still a great solution.