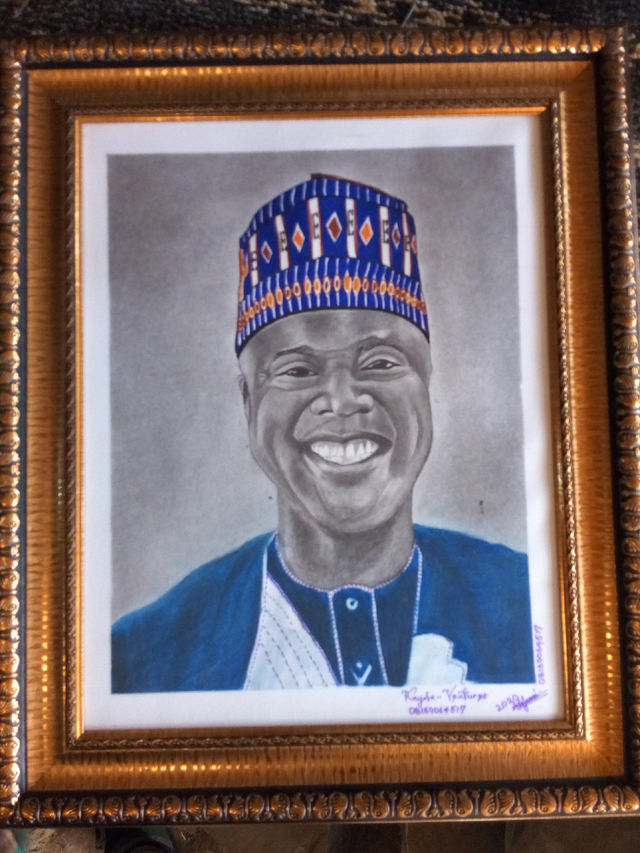
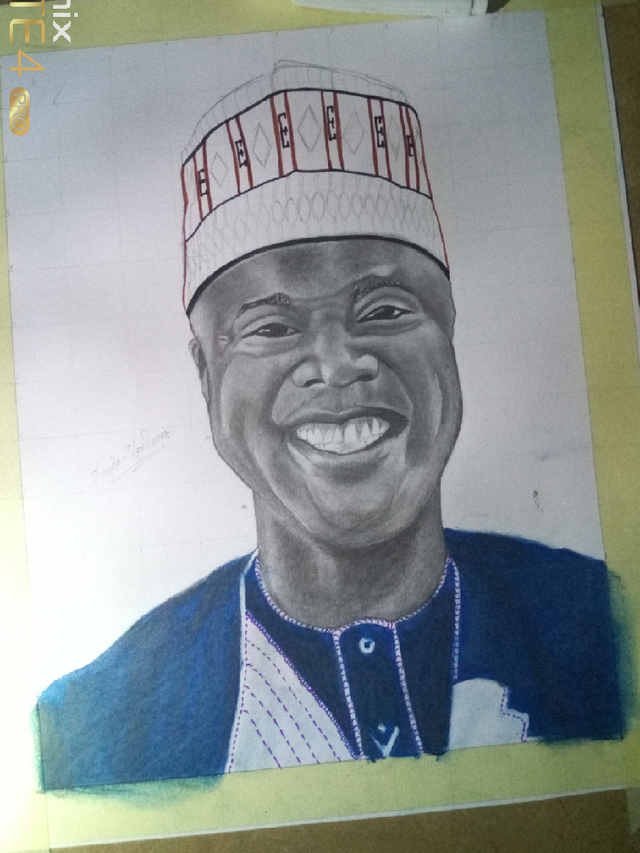
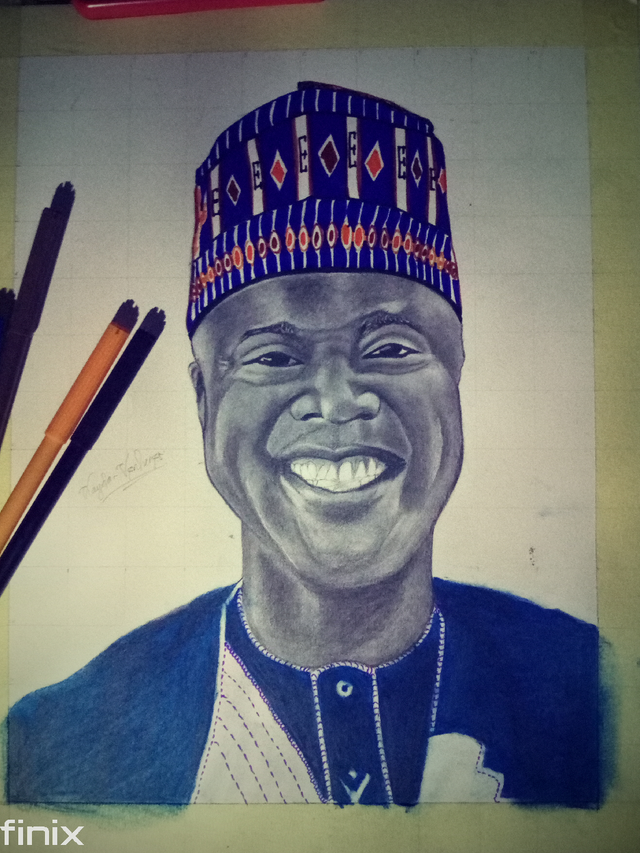
Pencil/Chalk Pastel/Marker Drawing On Pelican Card
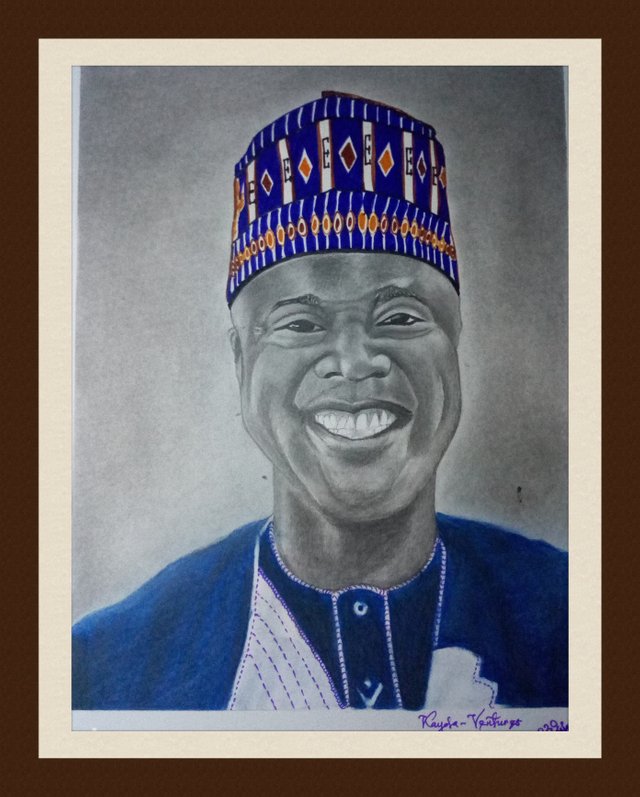
Now lets go to the Step by Step stages of this portrait.
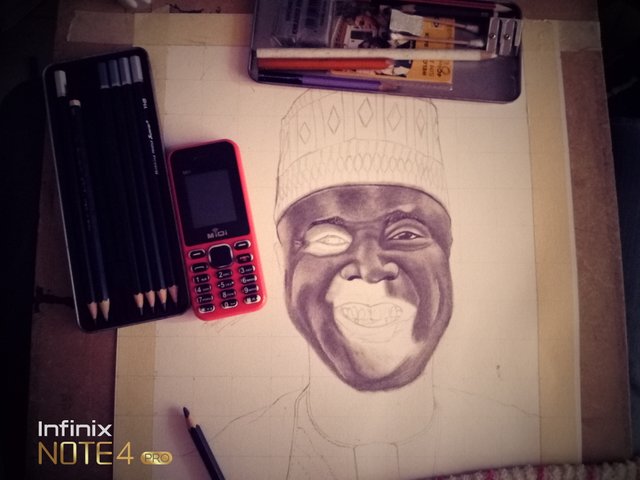
- This is the stage where the paper is prepared for sketch. in getting the paper ready, a pencil and a ruler is used to make grid on the paper so as to be able to capture the resemblance of the reference picture i intend working with. When this is done, i was able to sketch out the shape of the reference picture. This is what i mean in the image below:
- After sketching the shape of the reference picture, i moved on to the stage of highlighting the figures and parts of the face which shows the format and sequencial representation of where the eyes, nose, mouth and the ear. In this stage, this is where the detailing starts and this shows whether your resemblance is perfect with what you have on the reference picture. If there is mistake in the sketch, there will be problem with the resemblance in the reference picture. This means that this stage is a crucial stage where enough time is needed to be spent on the sequencing. Here is the image below:
Just as seen in the above picture, the sketch is accurate and perfect and this means that we are ready for the next stage.
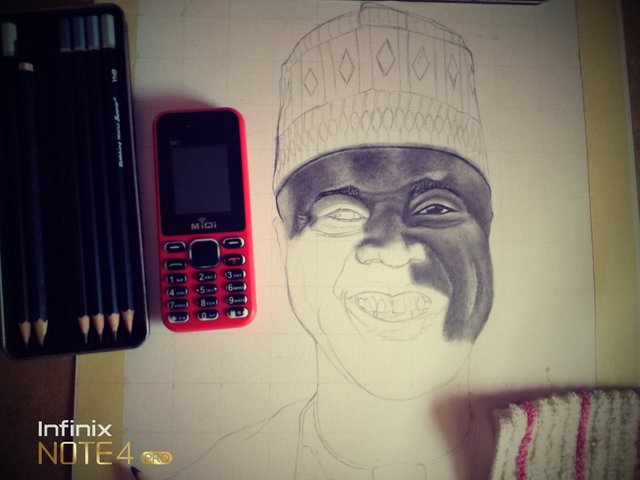
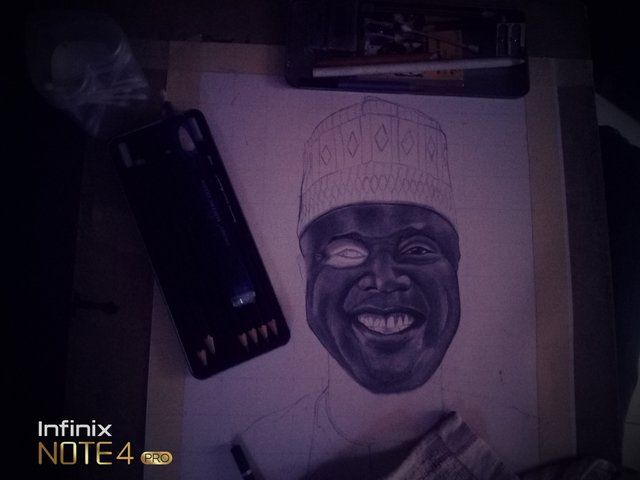
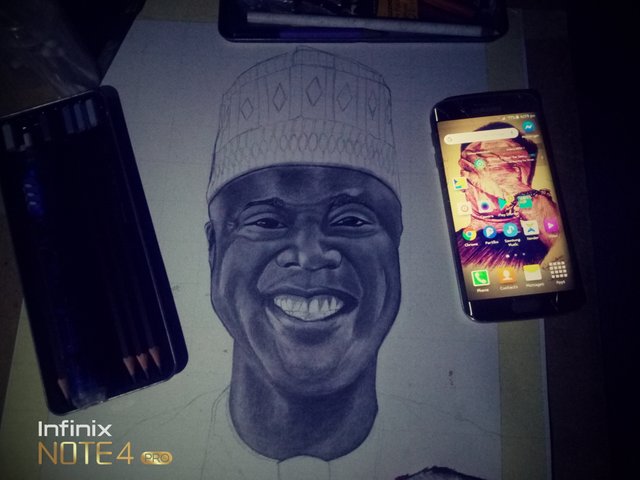
- At this stage, we go into the shading of the sketch that we have made. when shading, it should be done gradually following box by box. This stage entails the detailing of the skin just as it is seen in the picture. some of my students often complain that they have difficulty shading and controlling both the tone and the tint from the reference picture to the sketch, but i show them in practicals that it is the easiest thing to do. In controlling this challenge, it is best to pick the shading box by box. In this stage also, the blending is done just as the shading is done box by box.
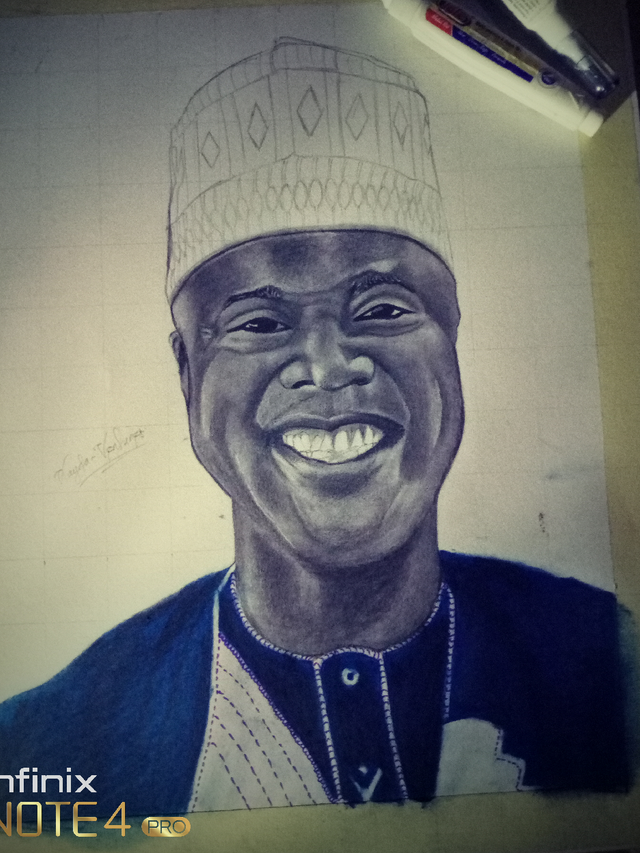
Just in the same process of shading, the whole boxes will be shaded accordingly.
Materials Used
graphite pencil
mechanical pencil
Cutton bud
tissue paper
charcoal pencil
Charcoal powder
To my viewers and readers, thanks for sparing your time to attend to this post and i believe this stages in producing this drawing is effective in guiding you through on how you can make a portrait.
Love from @kayda-ventures
I love you all.
Thank you for using the recommended tag/s. This post has been manually rewarded with BUILD tokens in the form of an upvote. You can buy, stake, and exchange our "BUILD" tokens for steem on steem engine or SteemLeo
Build-it is a central hub for DIY and How-To projects. It's an opportunity to find and share the latest in DIY, and How-To tutorials. The recommended tags required when creating a DIY article are #diy, #build-it. #how-to, or #doityourself. Please subscribe to our community here
Chat with us on our discord and telegram channels Discord, Telegram.
Hello! I find your post valuable for the wafrica community! Thanks for the great post! We encourage and support quality contents and projects from the West African region.
Do you have a suggestion, concern or want to appear as a guest author on WAfrica, join our discord server and discuss with a member of our curation team.
Don't forget to join us every Sunday by 20:30GMT for our Sunday WAFRO party on our discord channel. Thank you.