Let's do it...Do It Yourself👉Craft, Creativity, Drawing, origami, DIY, Recycling and more
Greetings friends!!
This is @urmilanath650 from @bangladesh
How are you going on? Hope all of my dear friends of this community and steemit platform are very well by the grace of Almighty Krishna and so am I. I have come here again today to present another beautiful paper craft with you. I have made a nice birthday card today and want to share this work with you. Before starting I would like to thank dear @mesola for arranging this nice diy contest again for us. Ok let's see the requirements and steps without delay...
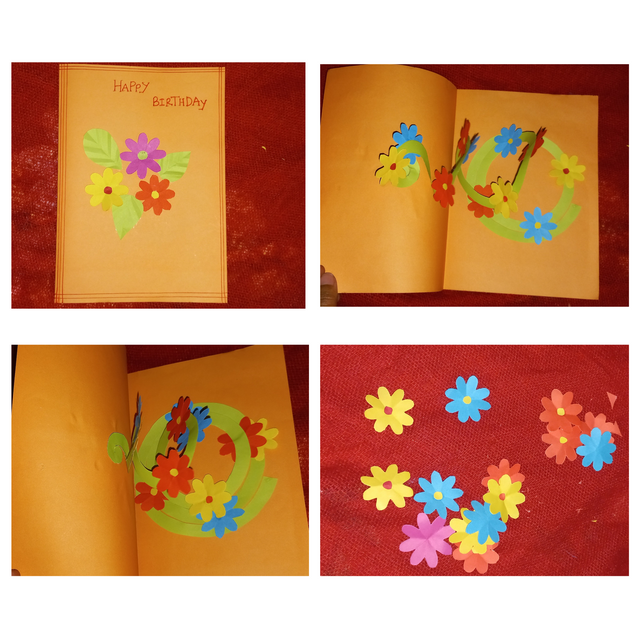
- Light orange color paper
- blue color paper
- Red color paper
- Green color paper
- Yellow color paper
- Pink color paper
- Mosquito coil
- Pencil
- Red and orange color pen
- Scissor
- Glue
- Scale
- Eraser
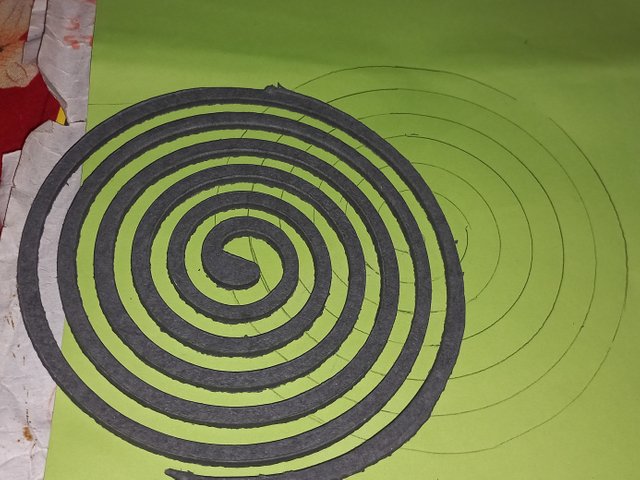
Take a large green color paper and a mosquito coil. Place the coil on the paper and draw the coil shape with pencil. Then cut the paper according to the coil shape.
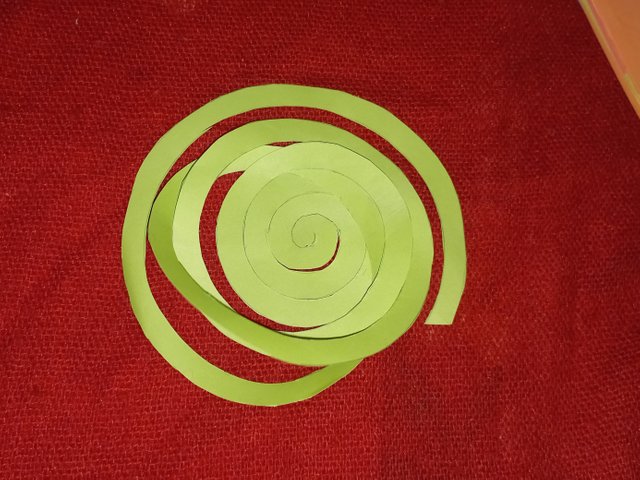
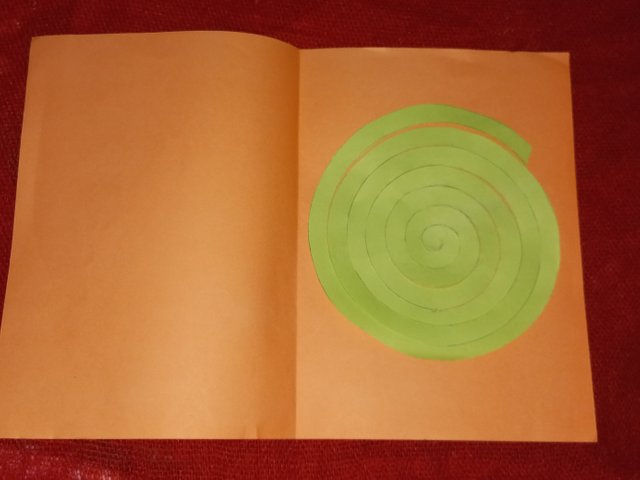
Take a A4 size light orange color paper and fold the paper into two halves that means at the middle position. This forms a cover shape. Then attach the round center of the coiled paper piece on the inner side of the card with glue.
Next make several flowers from the red, yellow, blue and pink color papers. For making the flowers cut a small square paper and diagonally fold it for three times and then cut the curve petal shape. Cut small circles from red, blue and yellow paper and place these shapes at the center of the flowers. Then cut three small leaf shapes. Fold the leave to give realistic look.
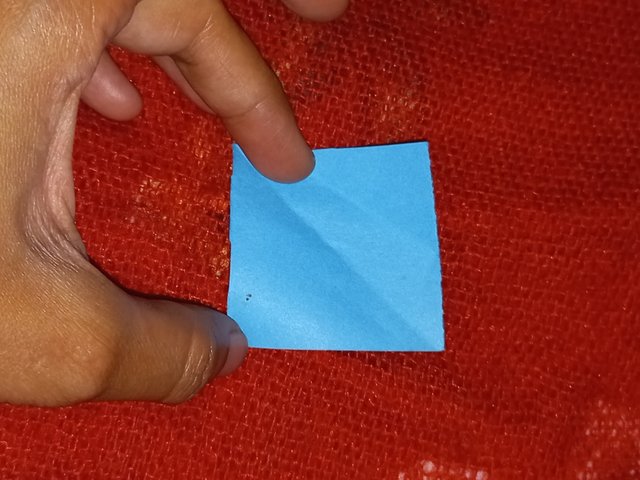
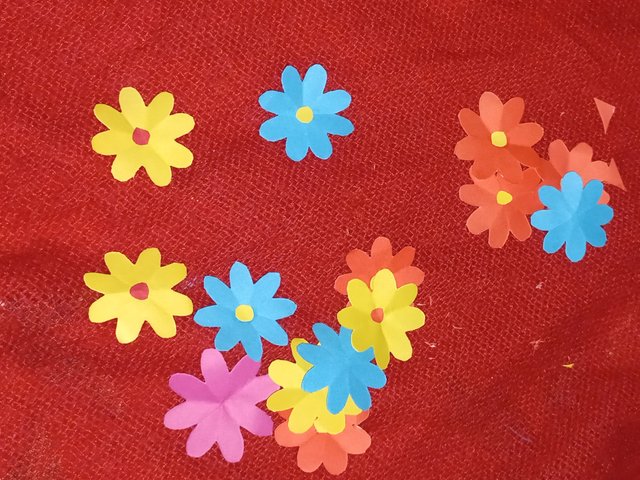
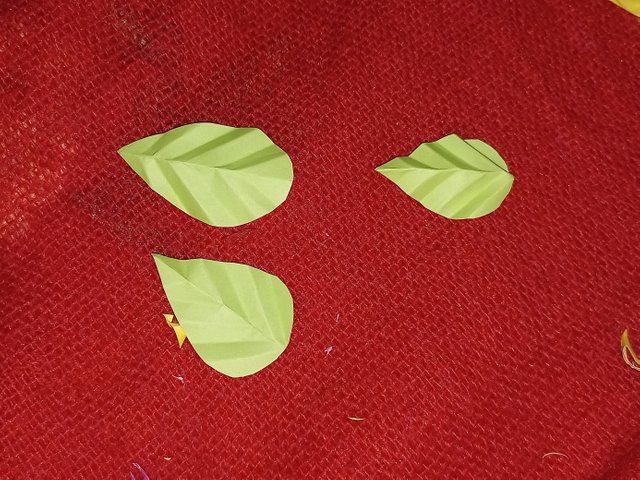
Attach the other end of the green coil with the opposite side of the cover inside. Then attach the red,blue and yellow flowers on the green lace in both sides.
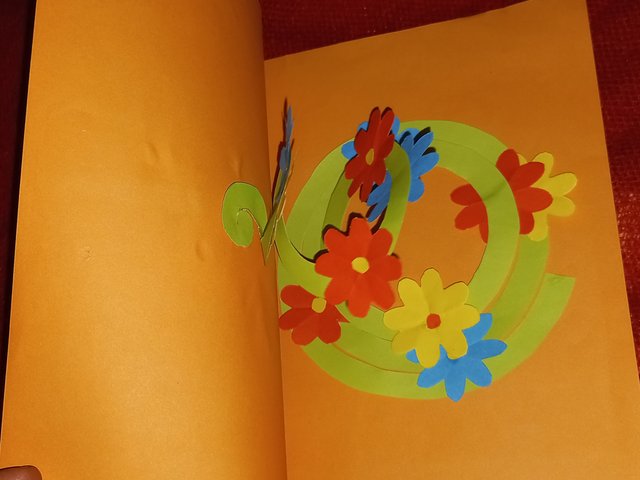
Now attach three flowers (red, yellow and pink) and three leaves nicely on the front side of the cover. Draw the lines with red and orange color pens at the four sides of the cover front. I have written happy birthday on the upper side of the cover.
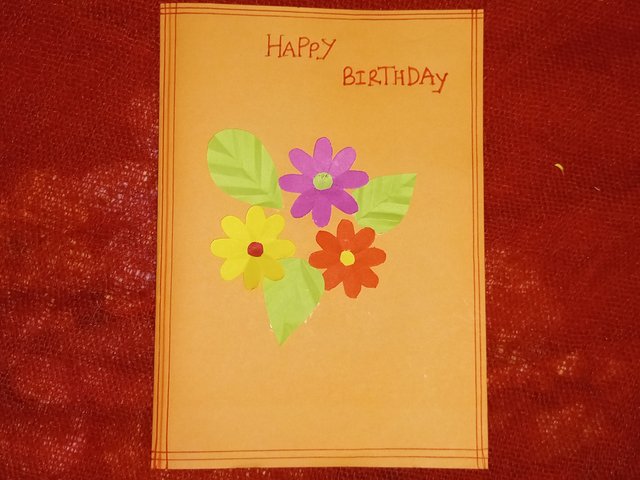
The beautiful birthday card is ready now. I have explained the full procedure in the above five steps. Hope you all understand and must try this nice card at home. The inner side of the card is really charming and anyone you give it will like this design.
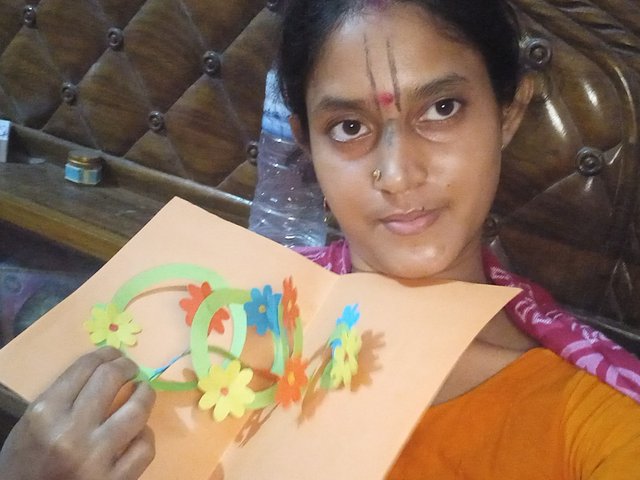
I have got the idea of this beautiful birthday card from a pinterest reel. You can make it by seeing this video.

x share https://x.com/urmilanath55/status/1853920359785054225
Congratulations, your post has been curated by @dsc-r2cornell. You can use the tag #R2cornell. Also, find us on Discord
Felicitaciones, su publicación ha sido votada por @ dsc-r2cornell. Puedes usar el tag #R2cornell. También, nos puedes encontrar en Discord
Thank you for publishing an article in the Steem Kids & Parent community today. We have assessed your entry and we present the result of our assessment below.
MODs Comment/Recommendation:
Wow, What a unique Artwork looking so beautiful, You have also given a well detailed step-by-step description on how it was produced, thanks for your participation We Really Appreciate
Remember to always share your post on Twitter. This POST LINK is a guide to that effect.
Thank you..
Many thanks sir....
What an exceptional craft, it looks beautiful and well crafted by you. Nice work 👍