SLC21/WK1: Introduction to Basic Electrical Hand Tools & Measuring Instruments
Hi friend @mahadisalim and team, thank you for organising this interesting lecture and homework.
I do not have all the here, but I can lay hands on few and maybe, I could buy some much later. I borrowed some like the multimeter.
I am interested in your course and would like to follow along. I hope to learn more too and I hope I will receive a certificate here. Thank you so much.
Home work solutions
A
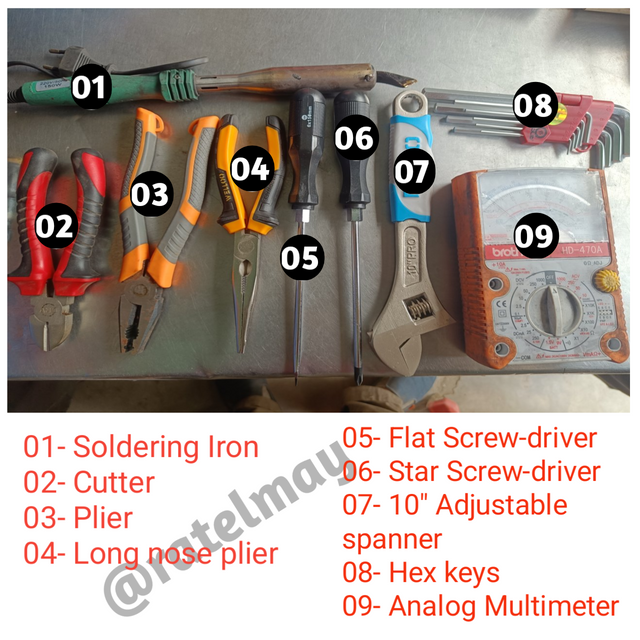
01 - Soldering Iron: This tool is used for joining either electronic or electrical components together by melting solder.
02- Cutter: This tool is used to cut cables or wires in this context.
03- Plier: This tool is used to grips and also bend objects. It could be wires.
04- Long nose plier: This tool is used to grips small objects that is in tight condition or space. I use it mostly in my shop.
05- Flat Screw-driver: This tool is used to turn, tie and untie flatten screw.
06- Star Screw-driver or Torx is used to to turn a Star shaped screws.
07- 10" Adjustable spanner: This multi tool is used to adjusts to fit different sizes of either bolts or nuts.
08- Hex keys: This tool is used to turn hexagonal screws and bolts.
09- Analogue Multimeter: This device is used to measure electrical voltage, resistance, current. It has many other functions to measure other parameters.
B
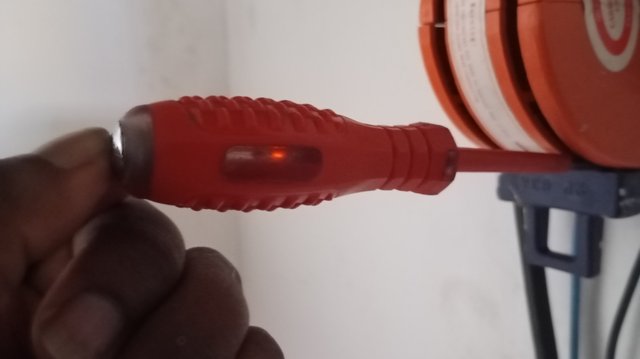
Since there is electricity, the tester indicator has shown up as you can see above.
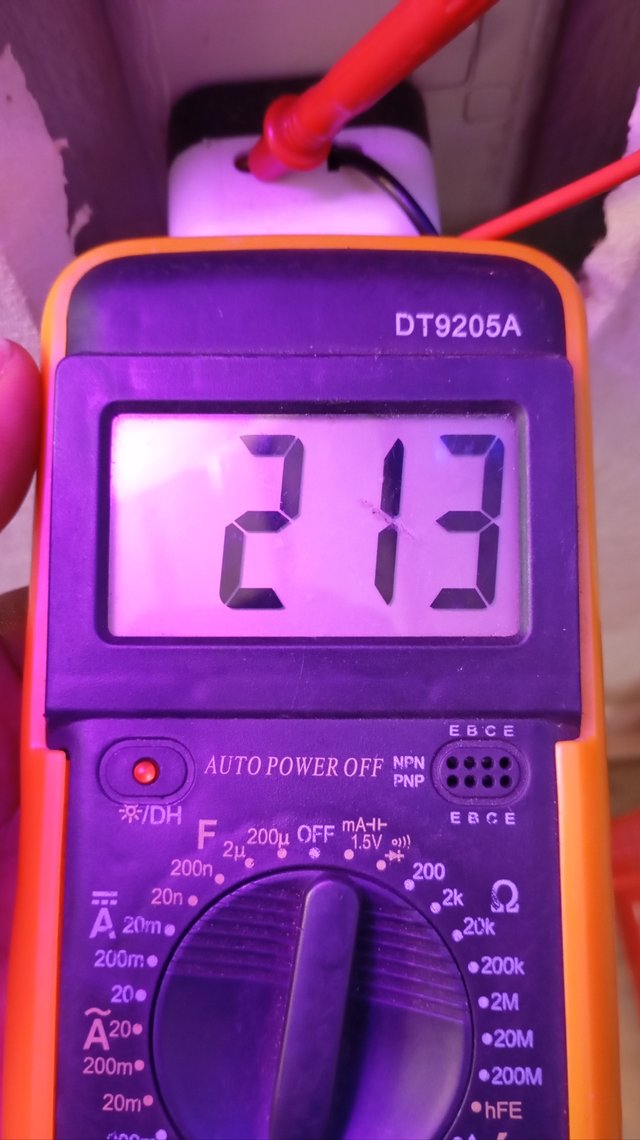
Presently, the voltage supply is 213 volt, sometimes it reduces due to loads, I guess. I am using a gasoline generator.
The two test proves the present of electricity. The first one is just an indicator indicating the presence of electricity while the second one comes with some details showing the actual voltage value. Both of them are useful and can be relied on.
C
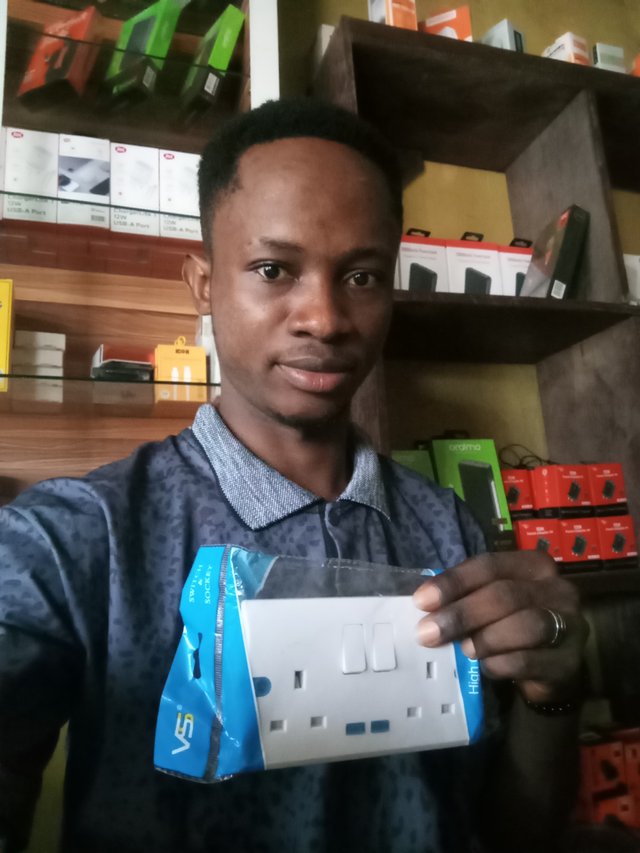
I do not have all the tools, but I managed to get few from a friend. I also bought a 13A dual socket just for this demonstration.
Stage 1:
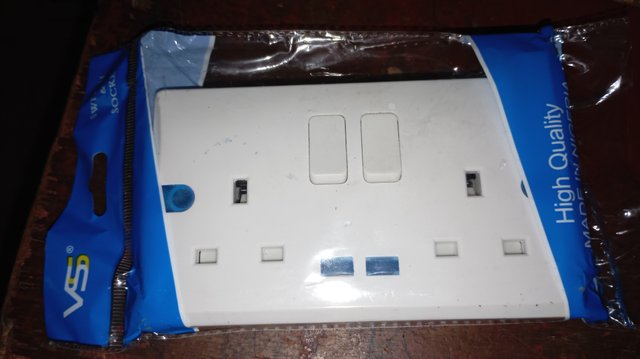
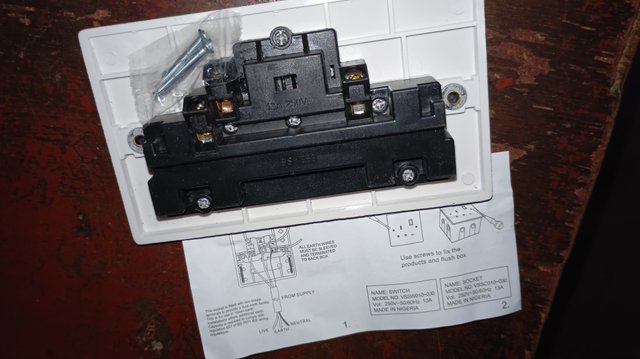
I unpacked the socket from it's pack. And proceeds with the wiring.
Stage 2:
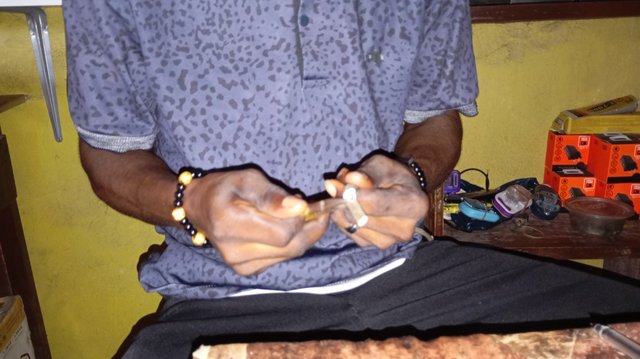
I peeled my wire which I would use for the connections.
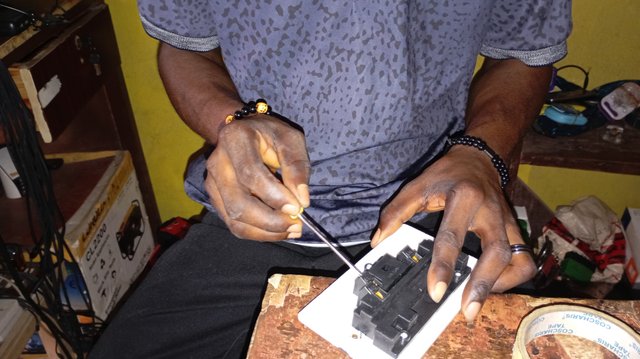
I unscrew the connectors. This is the point I will fix those wires above. What I connected here was "live" and "neutral".
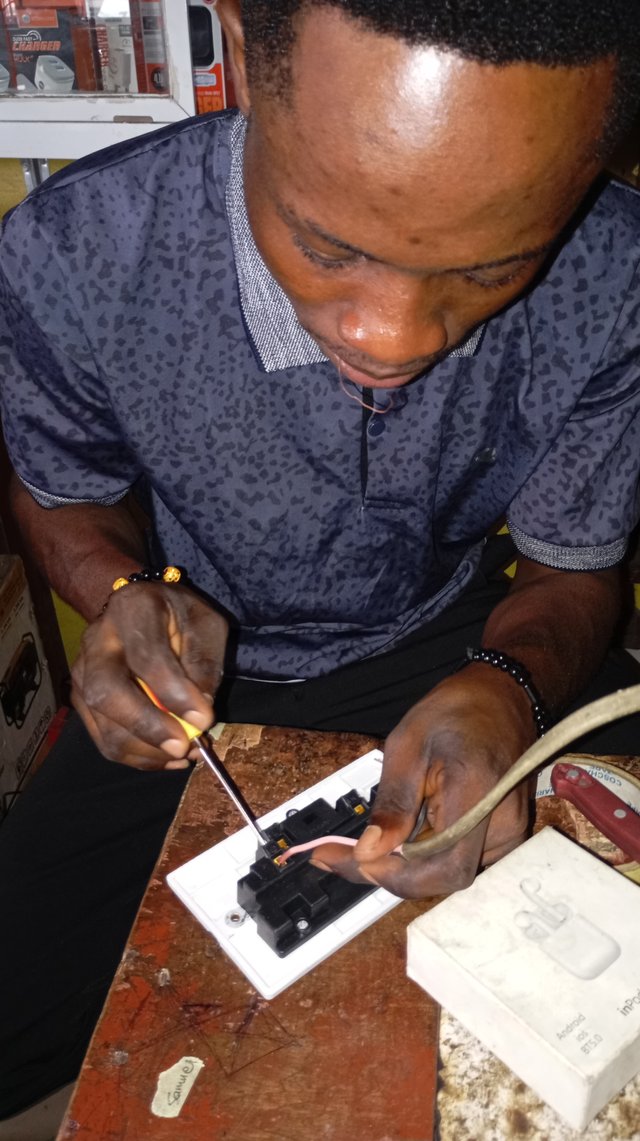
I fixed my wires and the work is almost done. Next would be testing of it.
Testing output:
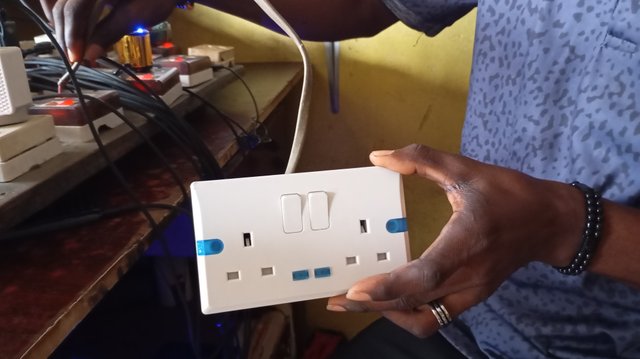
All switch off
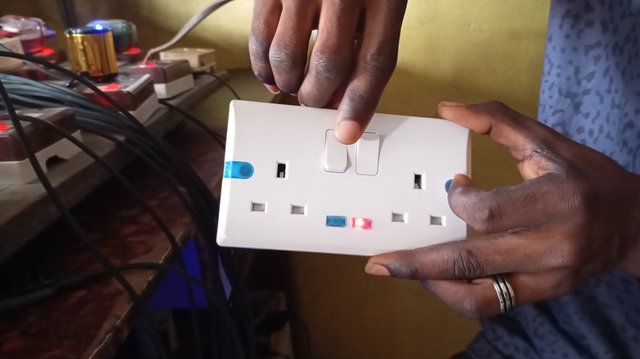
One switch On
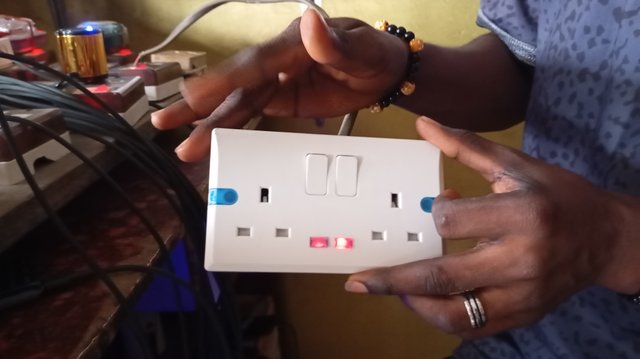
Double switches On
D
I switched off the mains power before plugging the wires into the wall.
I used insulated tools to prevent electrocution. I ensured secure connections.
I verified the wiring colors: Brown - Live, Blue-Neutral, Green/Yellow - Earth.
This was an interesting practical. And I was able to wire a socket. I hope to follow along as other classes would be coming in.
My friend @ubongudofot is an electrician, but I will still like to invite him.
This is a very good job! If you could produce this, you can even use it in your shop.
Let's see how the week would run....
The course is interesting , perhaps the tasks would be interesting as well.