 Welcome in the second article about the homebrewing. In the previous post, I presented you the general information about the process. But, to put this process into effect and brew your first beer, you will need some equipment. And this is what this article is about - equipment that is necessary or very helpful in the homebrewing process.
Personally, I will divide this list into two groups: basic equipment which means it is absolutely necessary and equipment that is helping a lot but is not required. Let’s call it advanced for purposes of this article.
 Before I start to list the equipment I would like to say that I'm not giving any prices on purpose. I don't want this post to become some kind of add for any equipment provider. If someone is interested it is very easy to check the prices on the Internet.
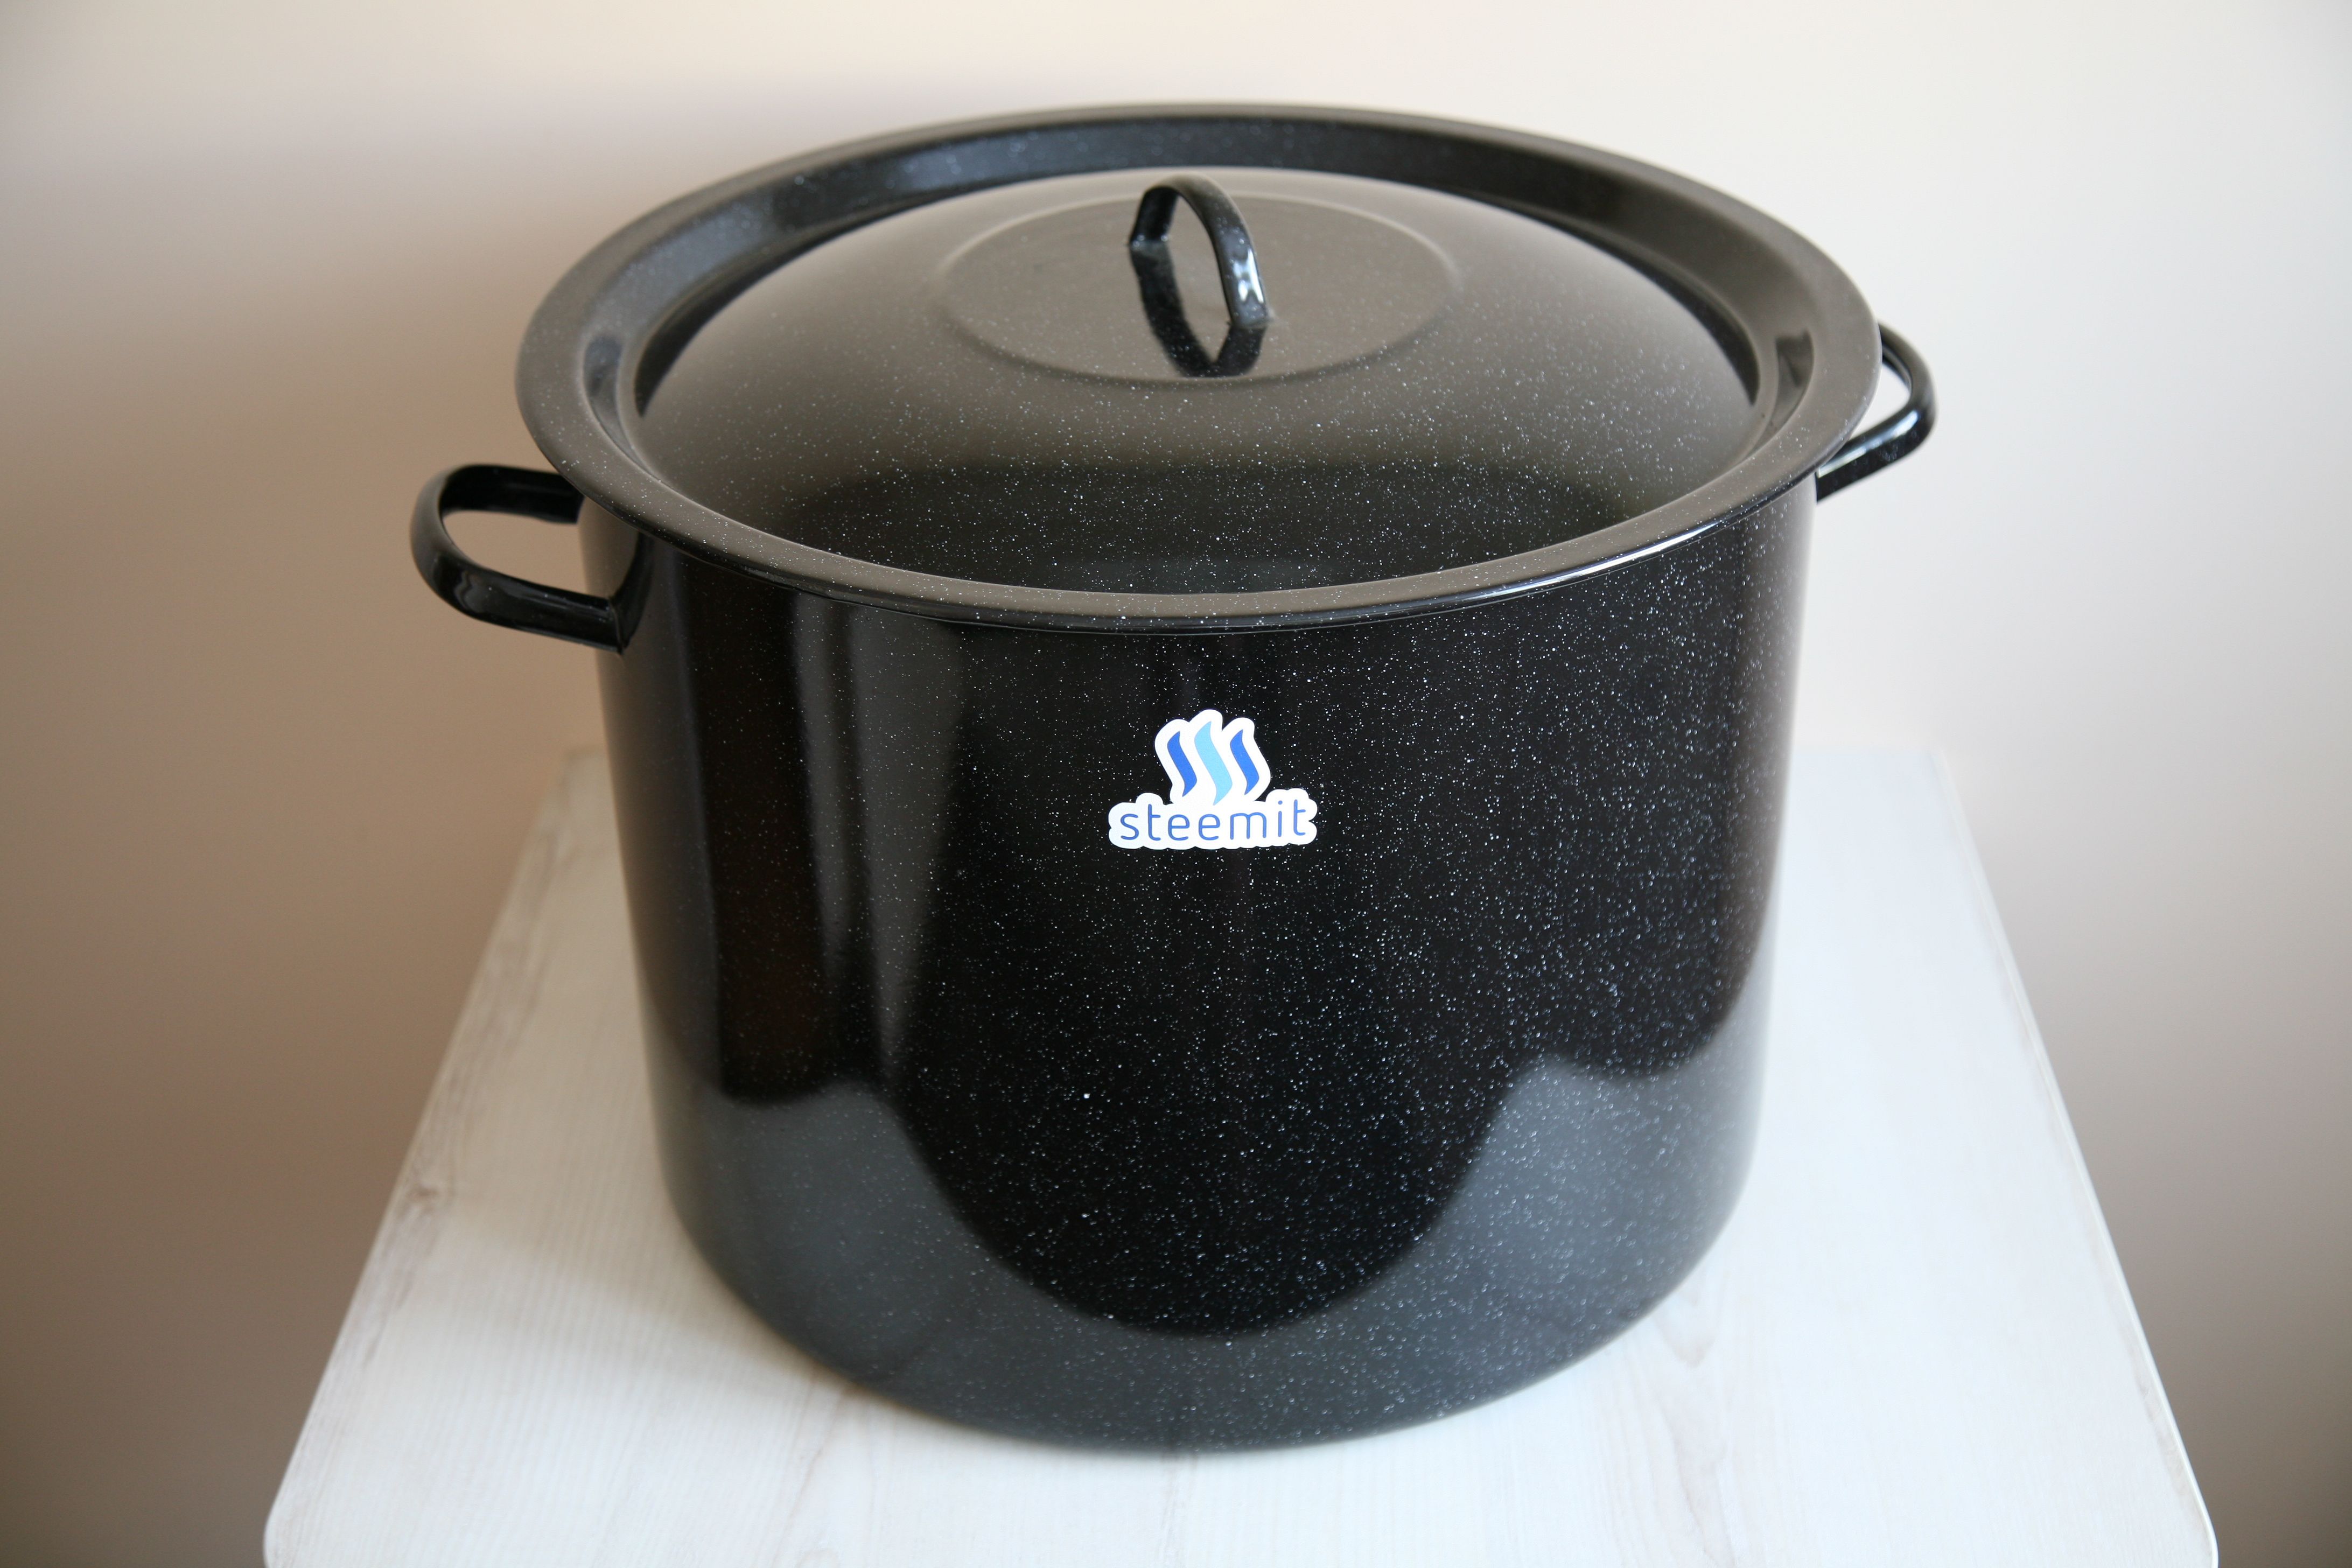
 The pot is a rather basic instrument in every kitchen, so it is commonly available. However, when comes to homebrewing, in most cases we need it to be quite big. To brew 20 litres of beer we need around 30 litres pot. I usually brew 25 litres, that’s why I use a pot with a capacity of 42 litres. The best are enamelled or stainless steel pots, you should rather avoid galvanized ones. As you can see in the photo, I put the sticker with Steemit logo on my pot to ensure you that all photographs in this article show my equipment that I use during homebrewing.
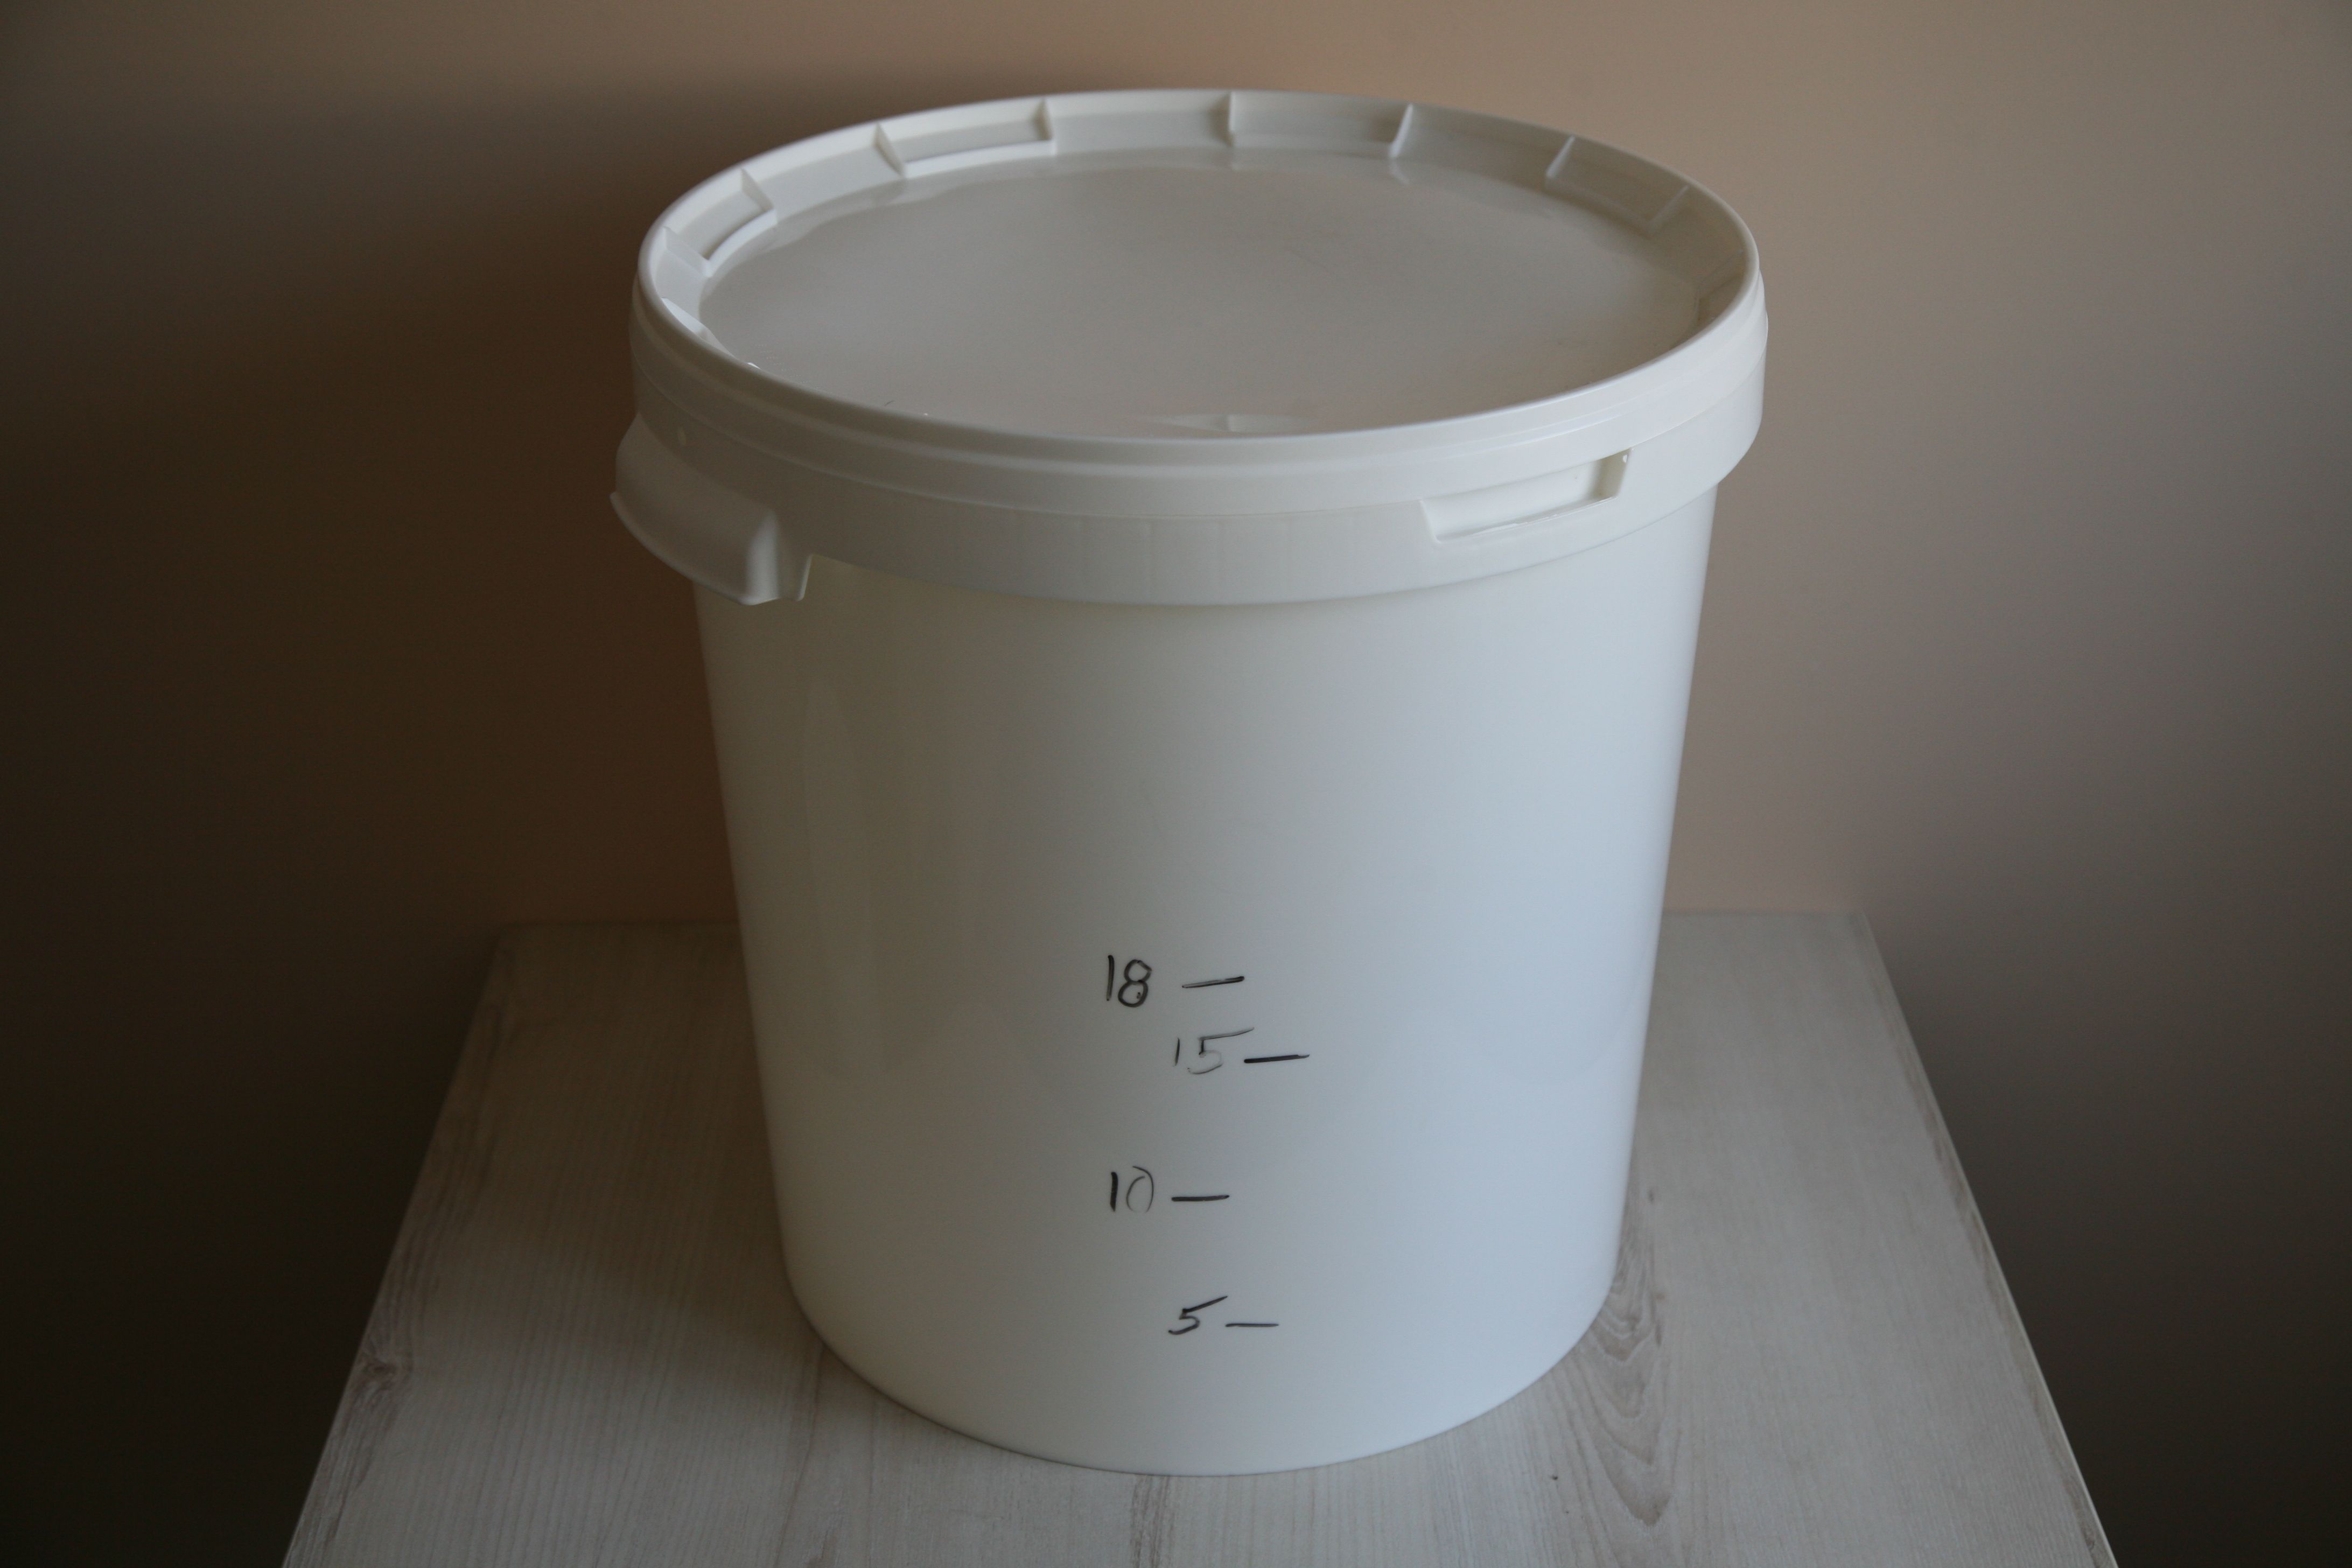
 To brew the single wort we need two fermenters, both with the lids, one with and one without the tap. The one without the tap is usually used during the fermentation process, the one with the tap is helpful during the filtration, sparging and bottling the beer. I use two plastic buckets, both with a capacity of 33 litres.
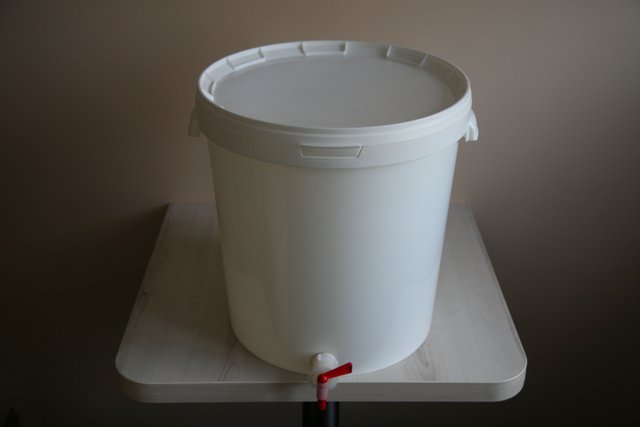
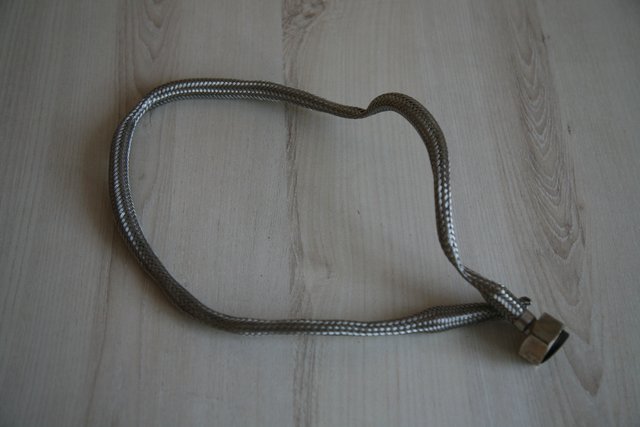
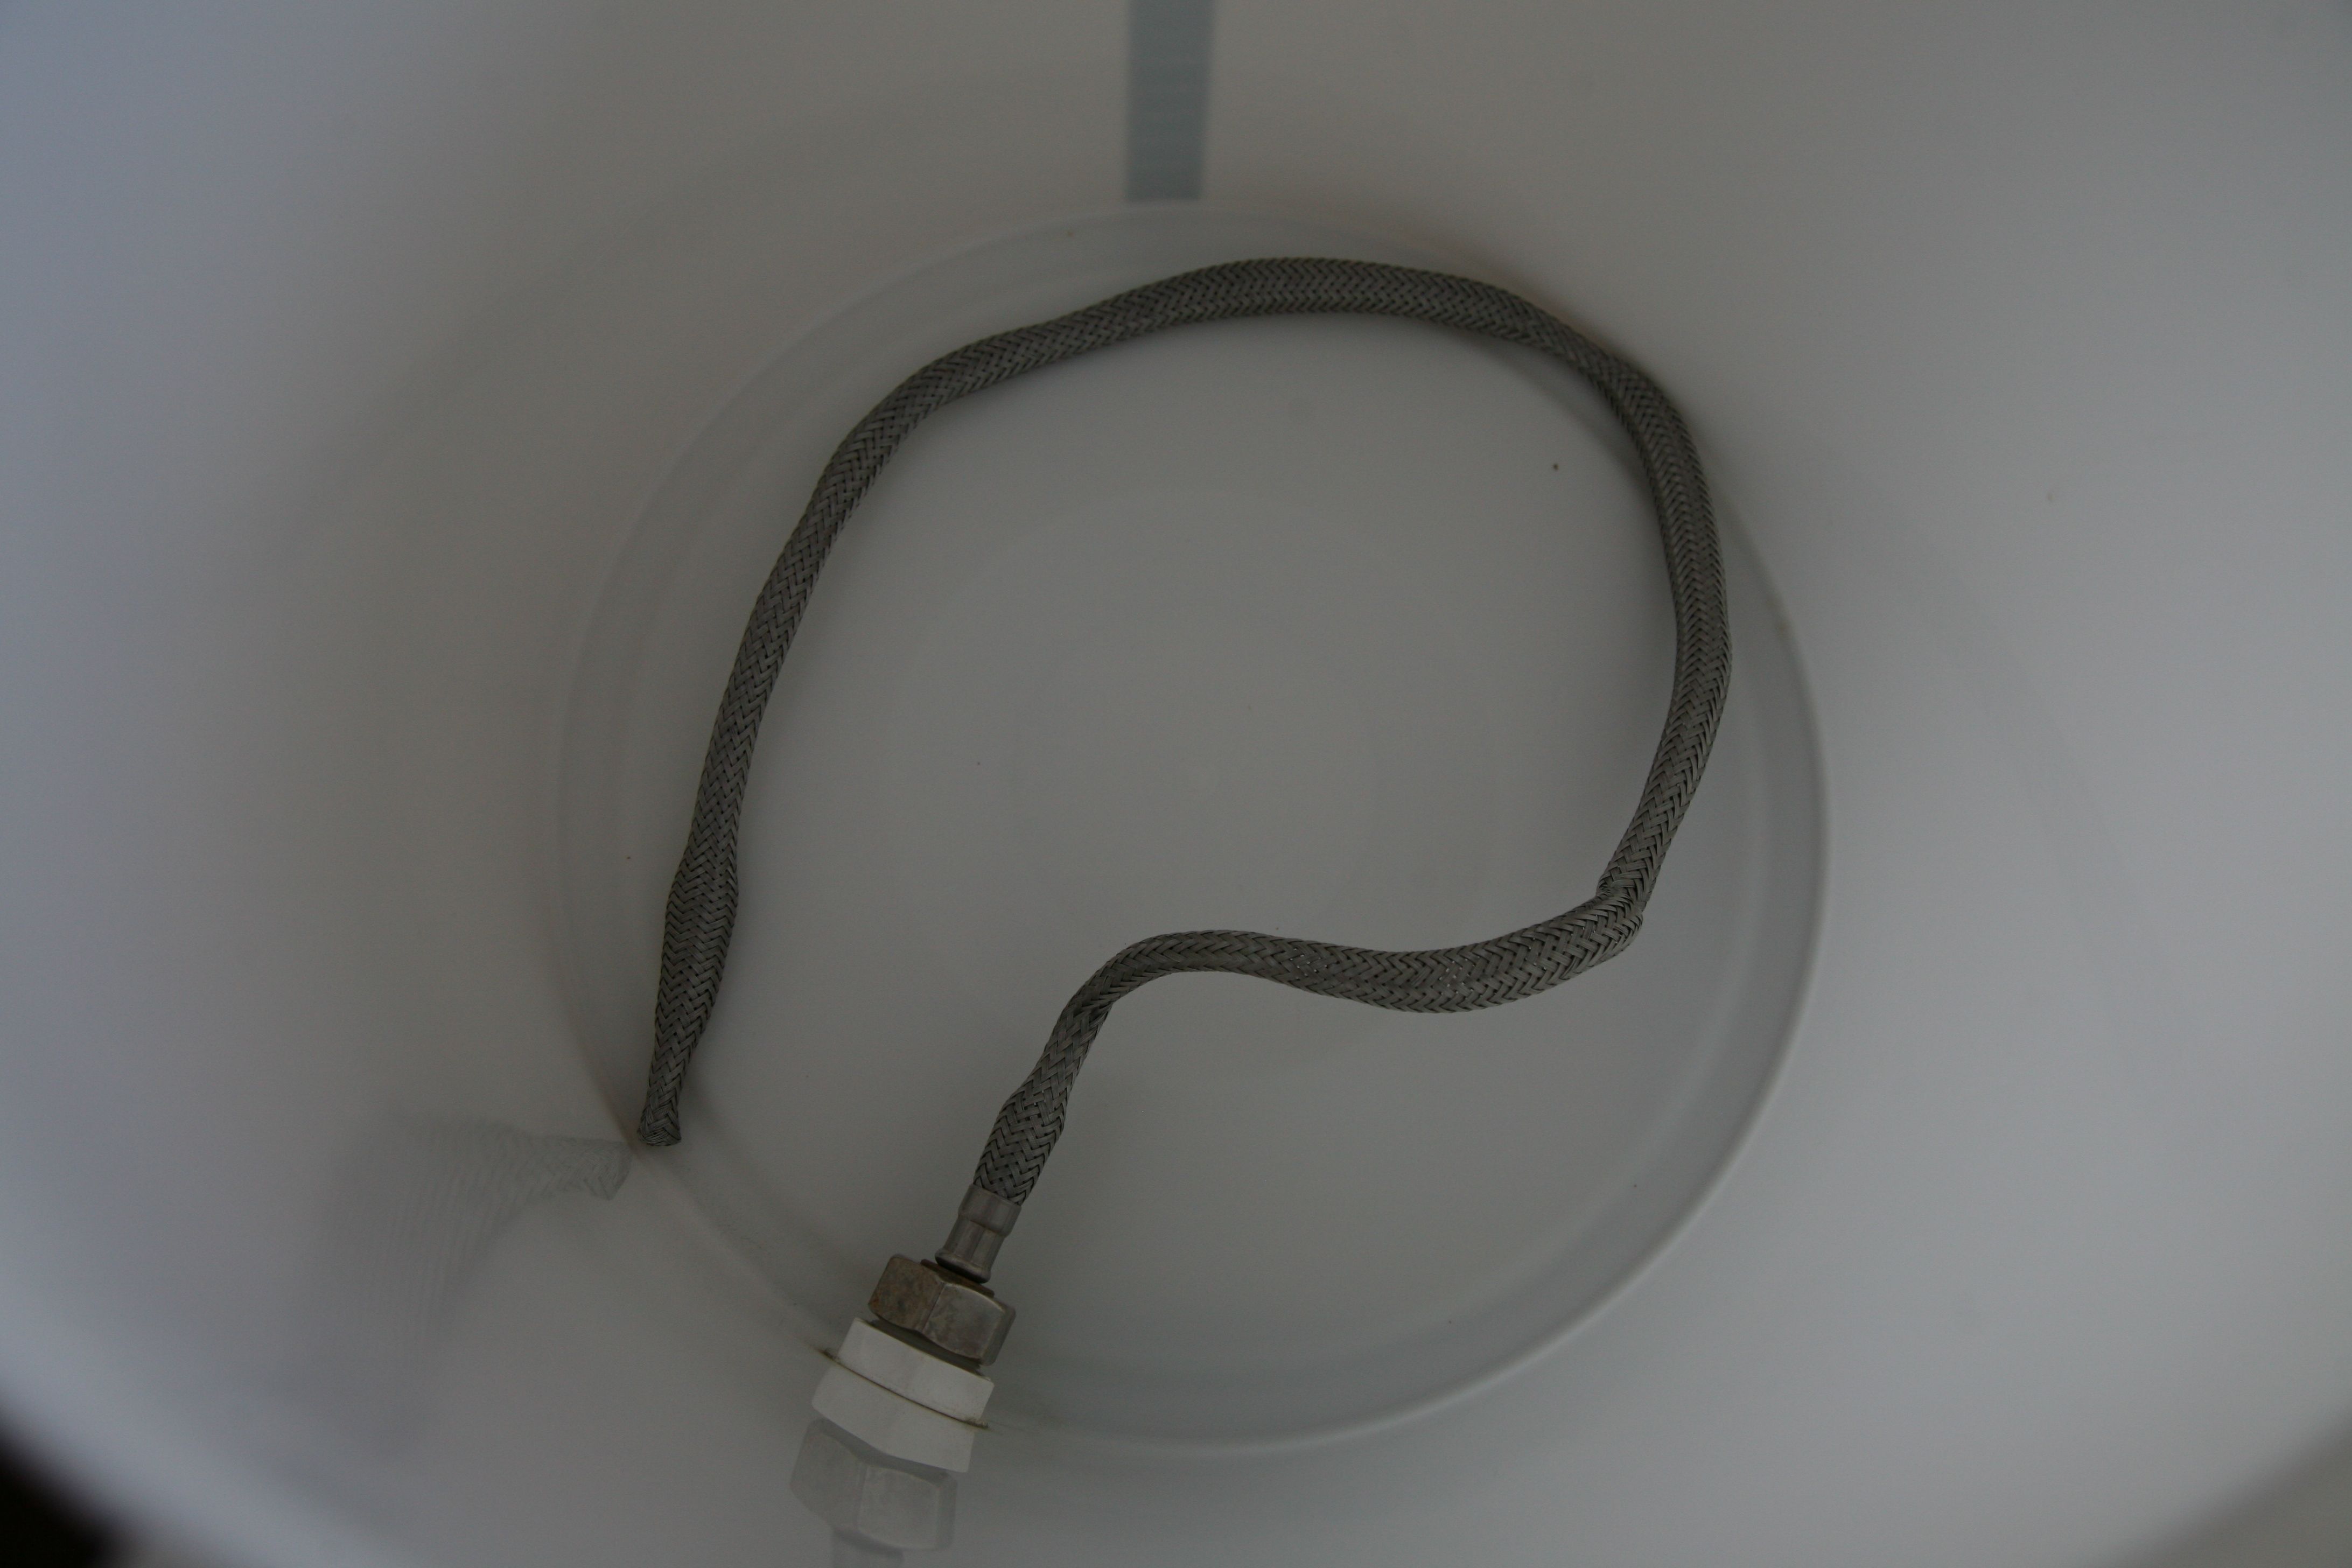
 The best solution is to use stainless steel braid, the same that is used for example in the toilets. After some minor modifications, the SSB can be easily attached to the fermentor with the tap, which makes cheap and well-functioning filter tank. The way I do it is shown in the pictures.
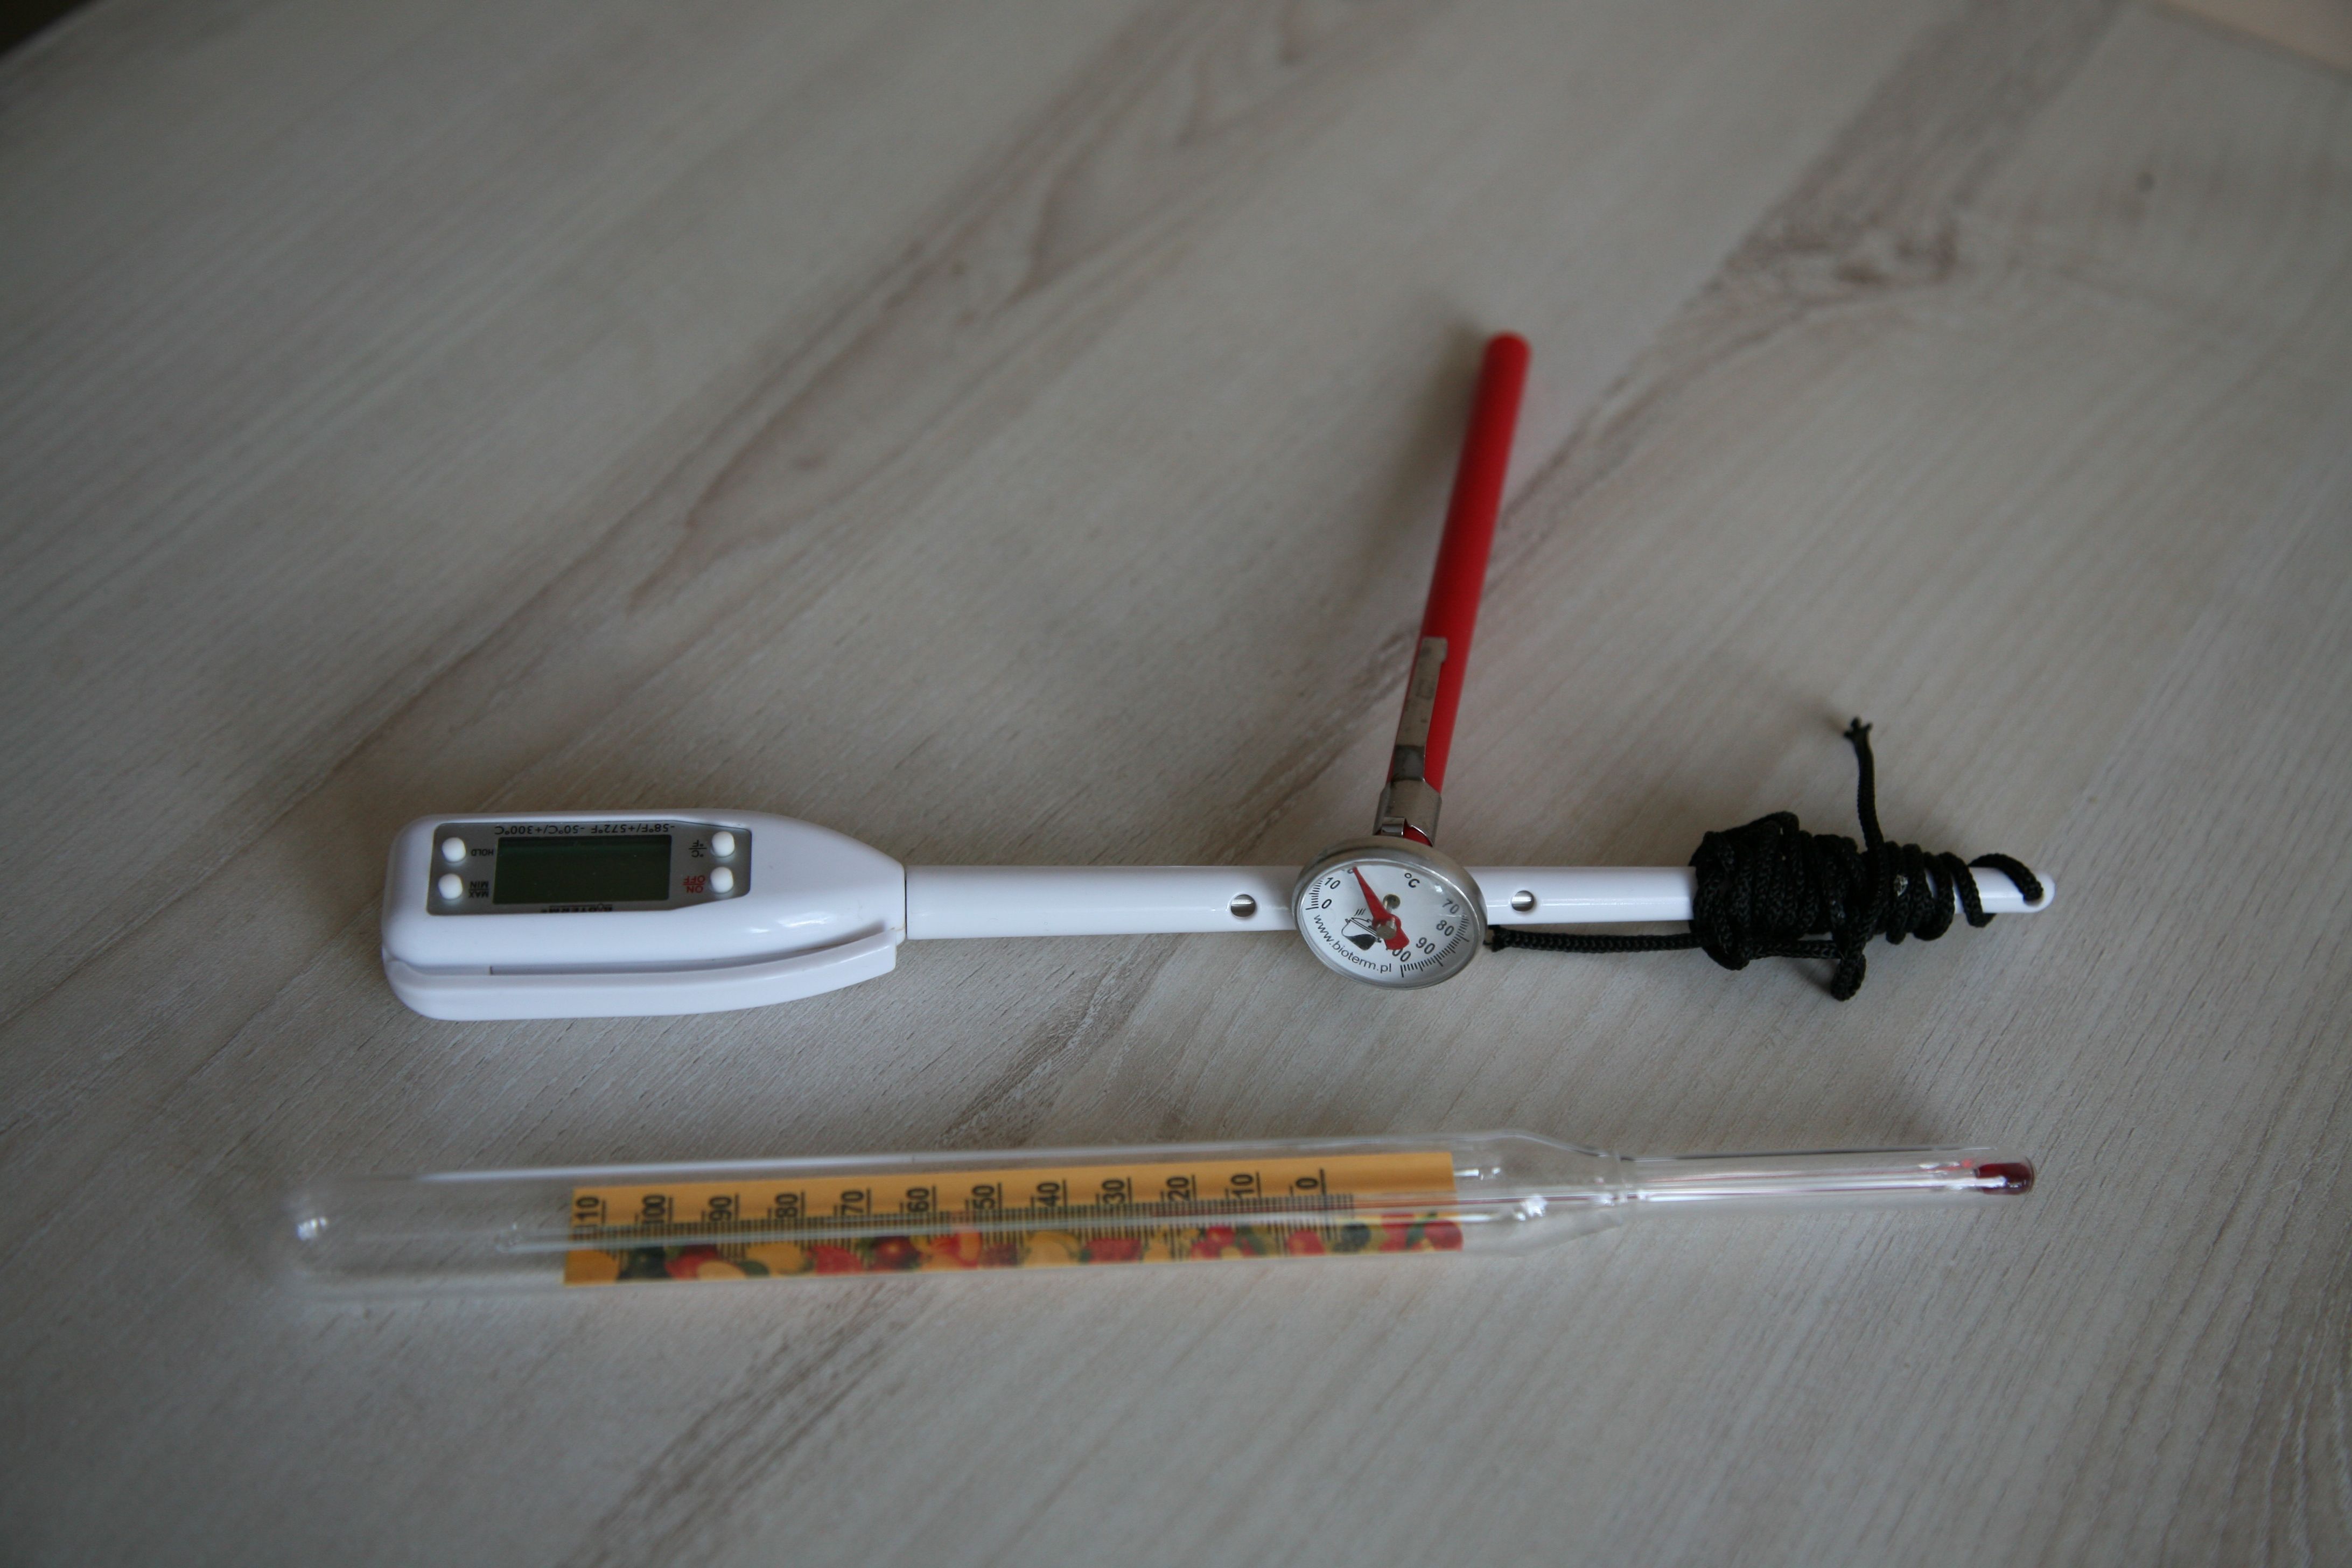
 What can I say? A thermometer is practically necessary. Currently, I have three of them and each one is useful.
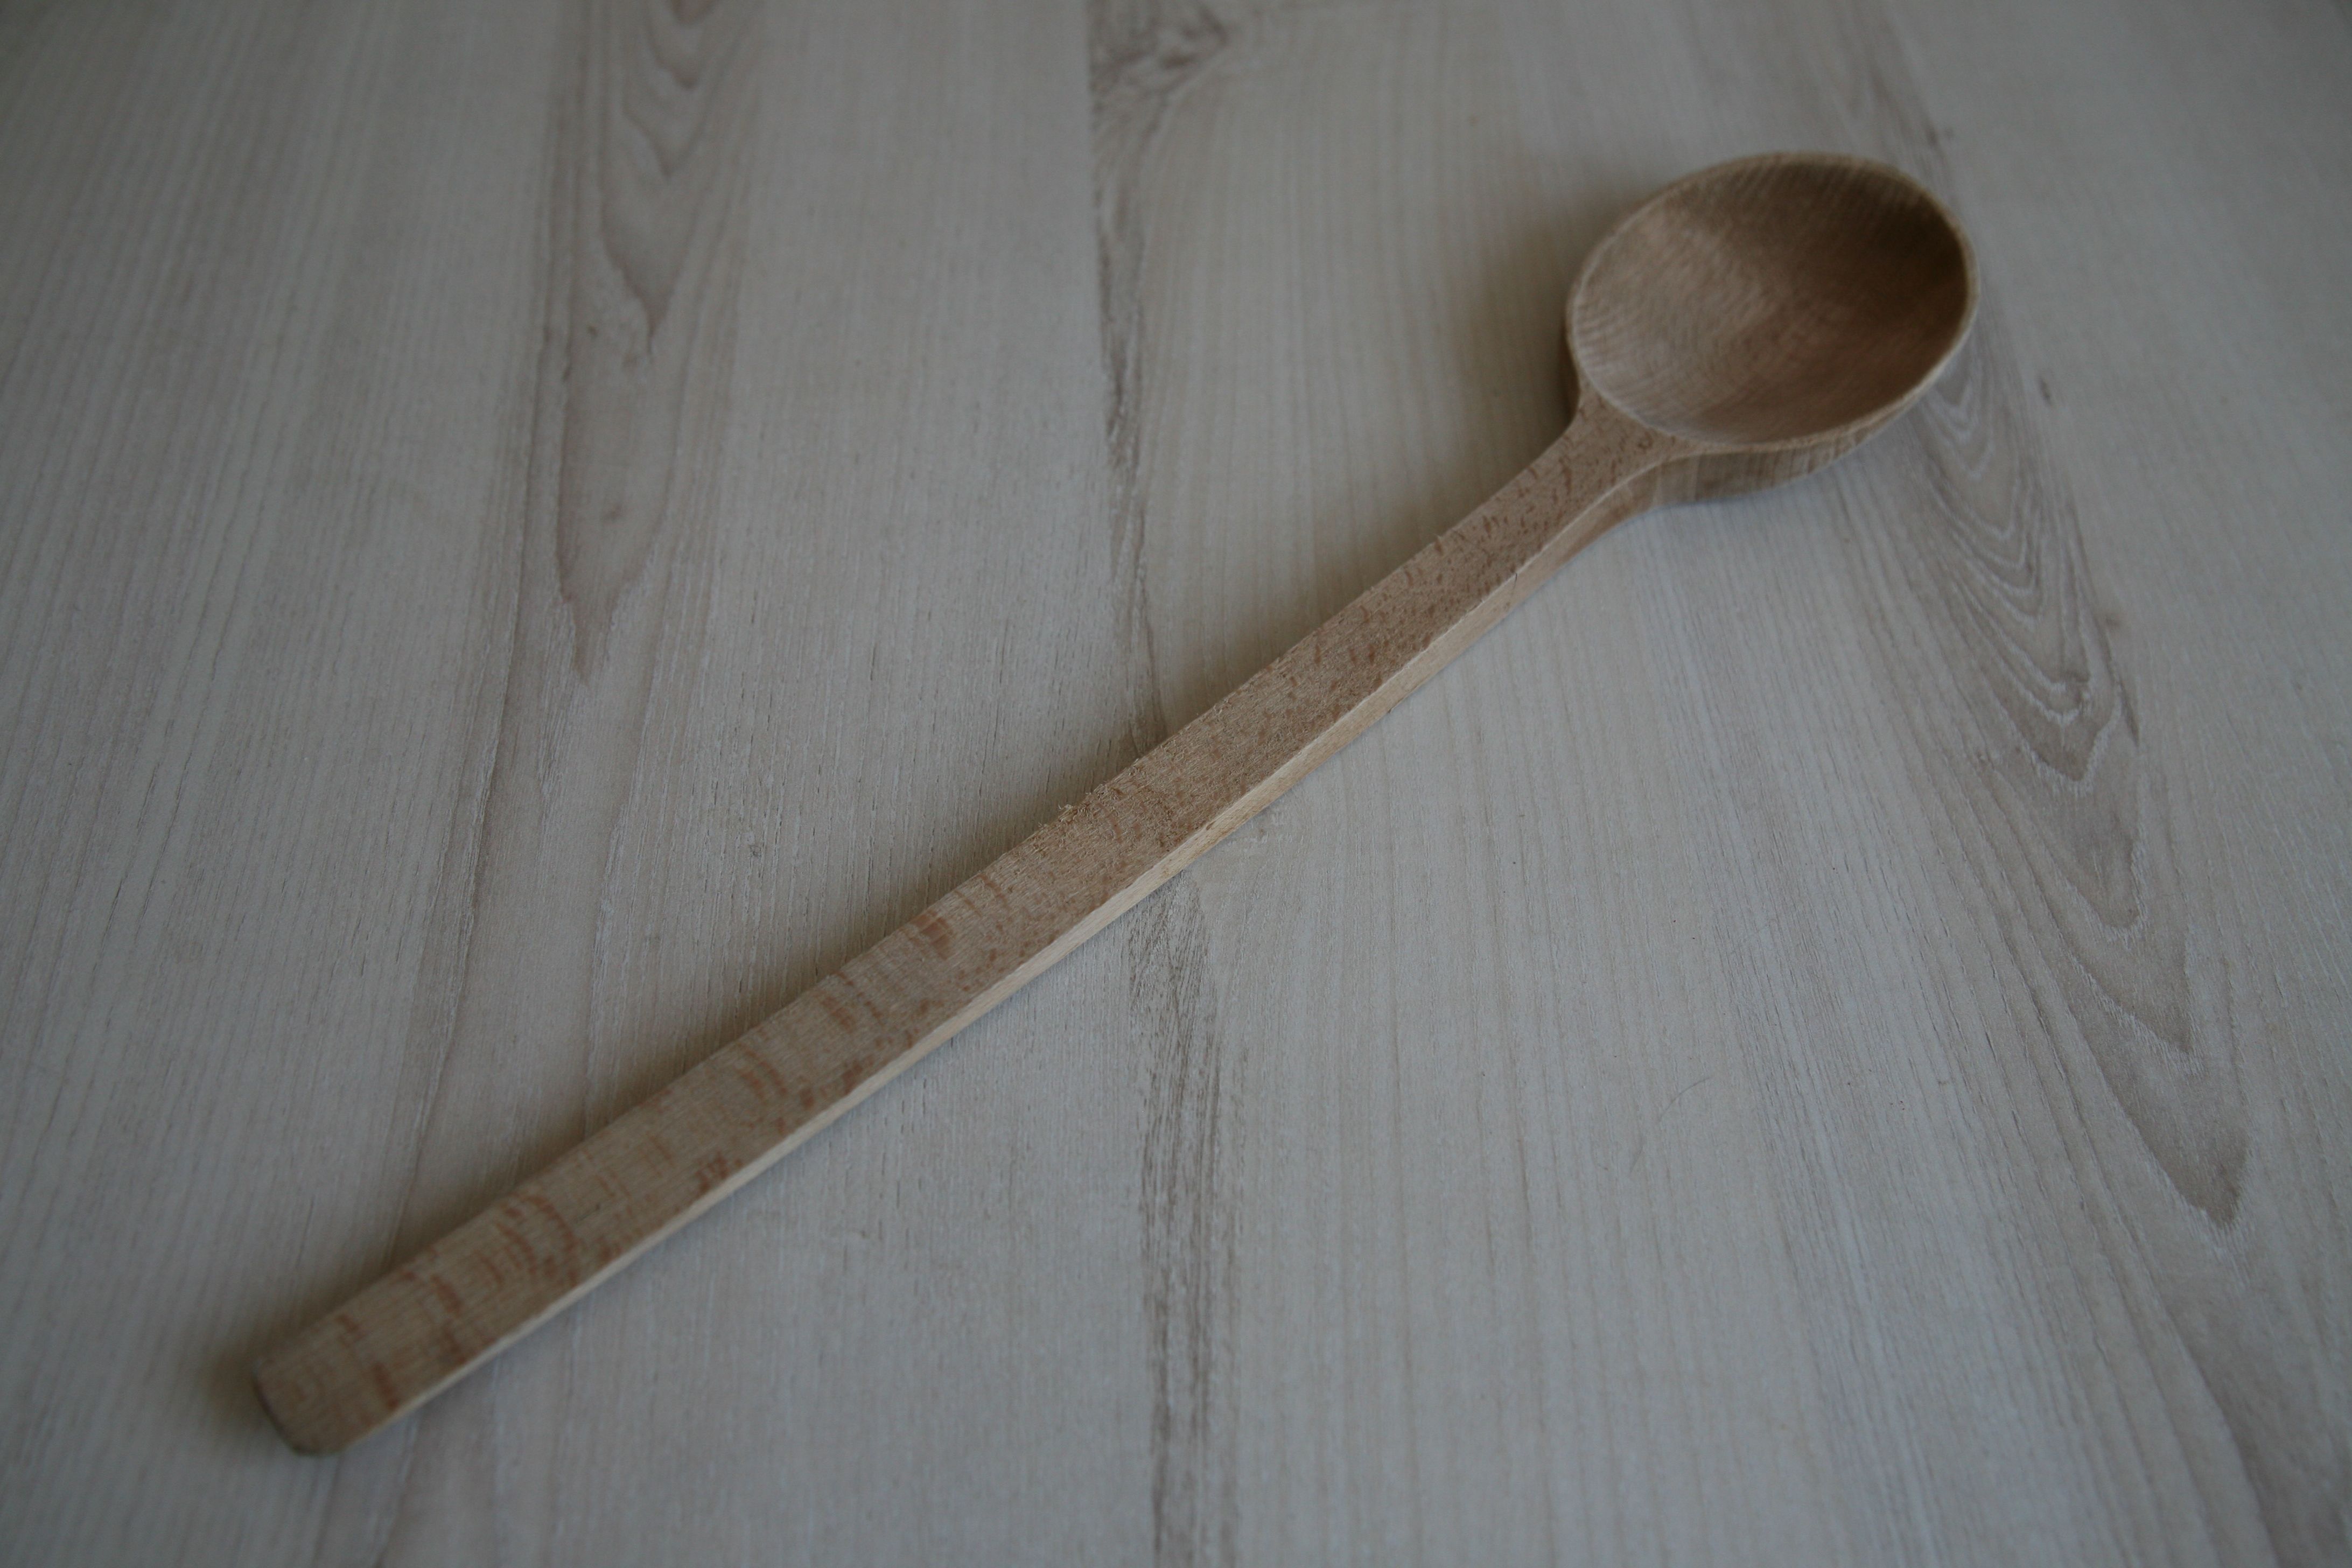
 Sampling and mixing the wort is easier with a long spoon. It should be long enough to reach the bottom of a pot. As you can see on the picture, I’m using long, wooden spoon.
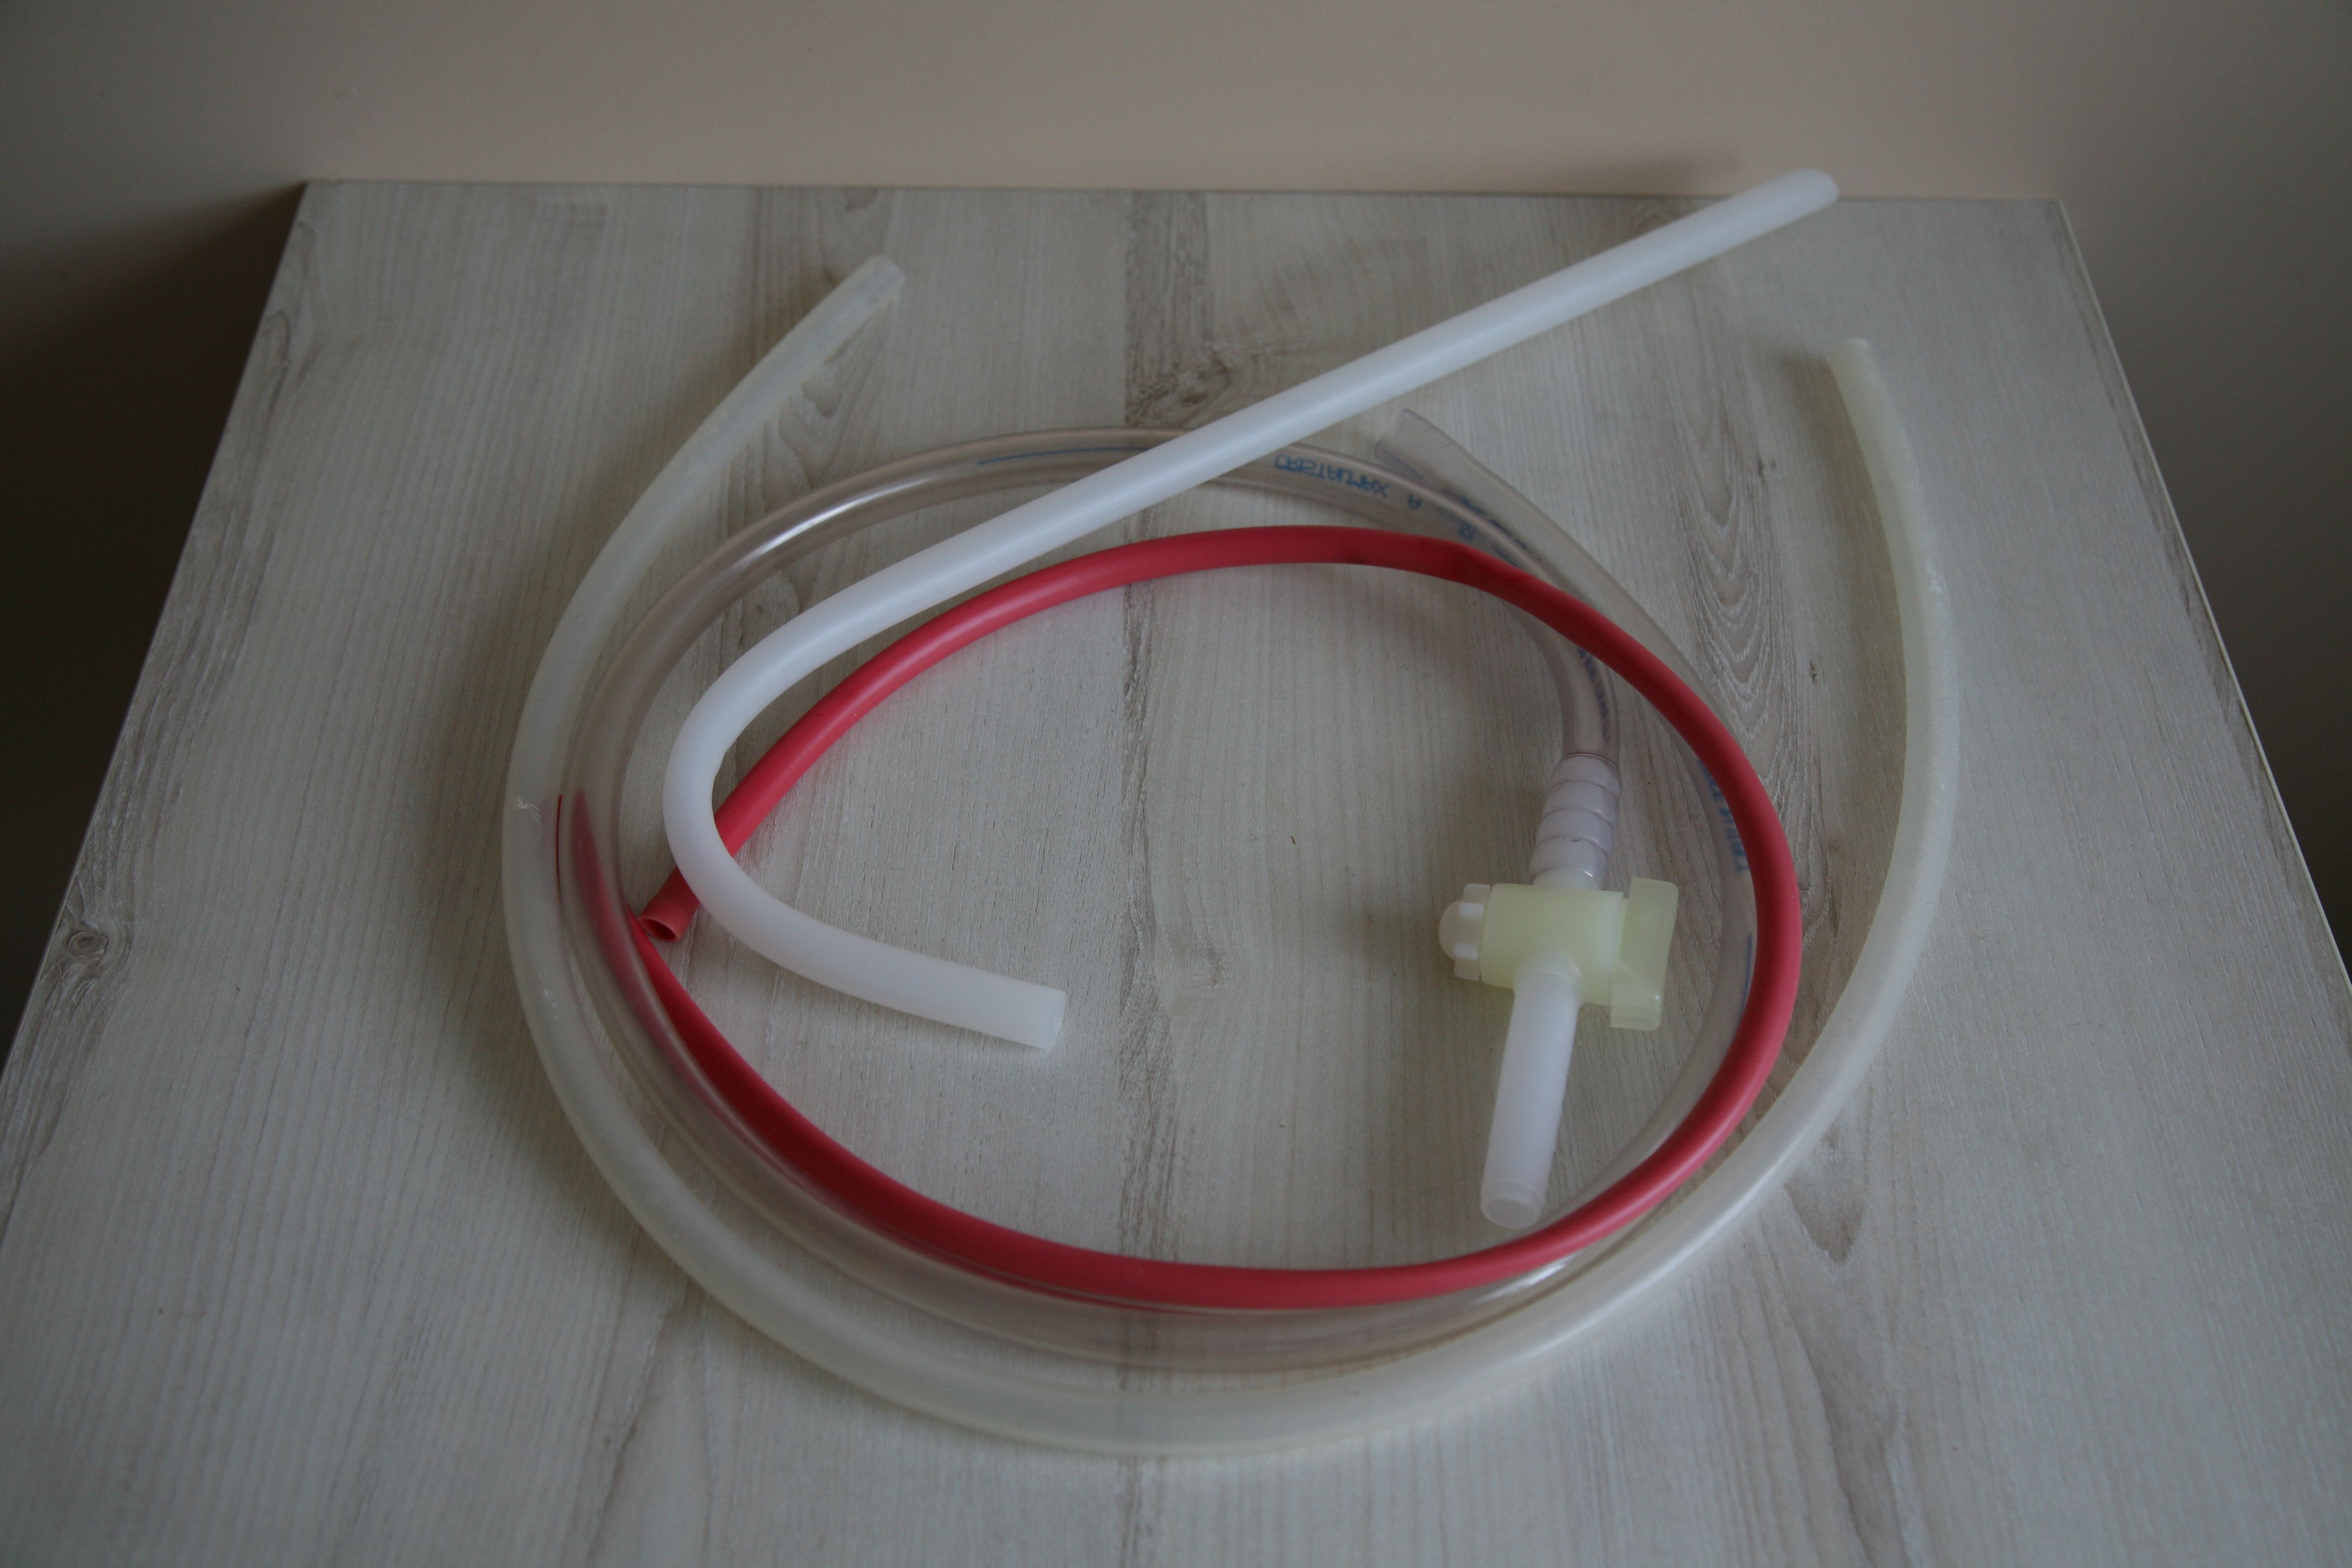
 You cannot brew without the tubes. Used during the filtration or bottling. About bottling - during this procedure, it is very advisable to use the special valve. This valve is opened when it is pressed to the bottom of the bottle, otherwise, it is closed.

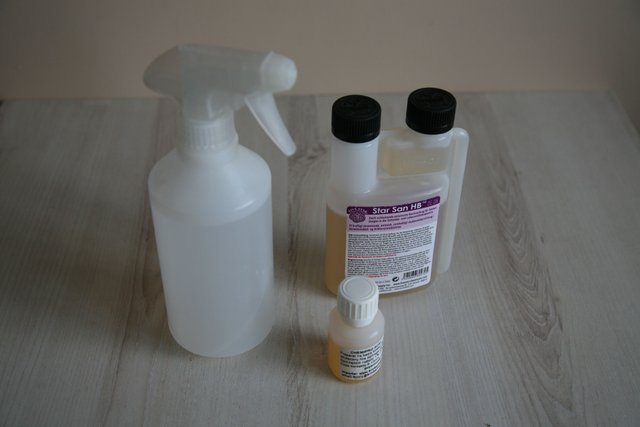
 It is very common to use disinfectants which don’t require a rinsing. Personally, I can recommend sodium metabisulfite, OXY, or the most popular in Canada and USA - Star San. The last one needs only two minutes of contact, to disinfect the surface.
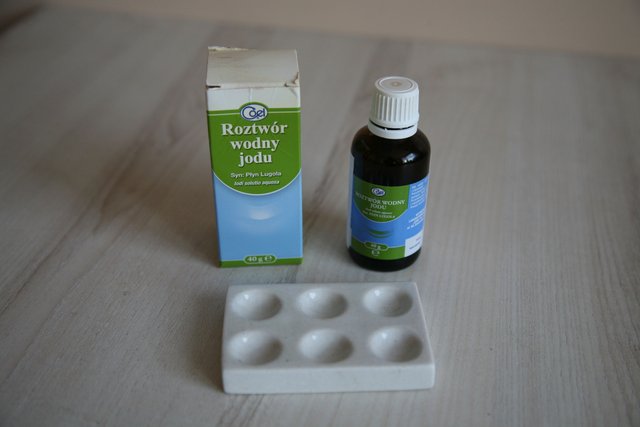
 It’s necessary to perform the iodine test during the mashing. The test can be performed on the porcelain plate shown on the photo or on the ordinary white plate.
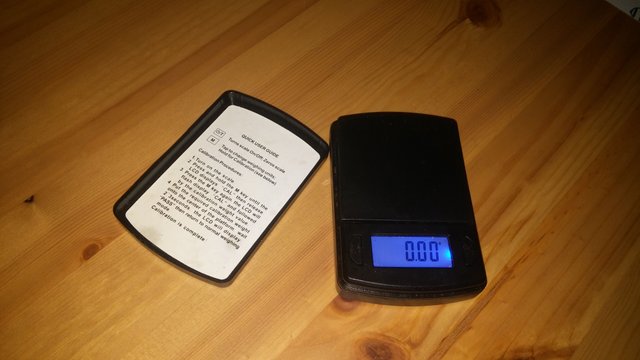
 No surprise here - scales are needed to measure the proper quantity of ingredients, like hops for example.
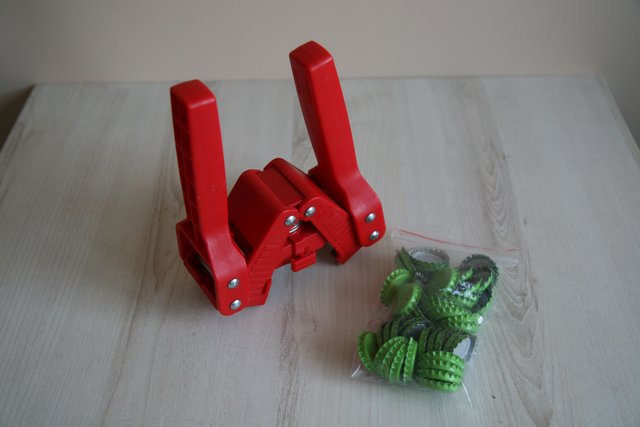
 You can use bottles with ceramic caps or the “regular” ones. In this second case, you will also need some additional equipment, namely a bottle capper and caps. It is very important to use brown bottles. The green ones are not the best choice because the sunlight might cause the beer to spoil.

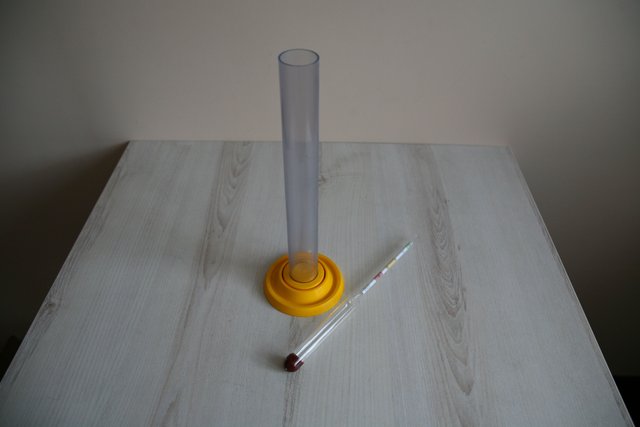
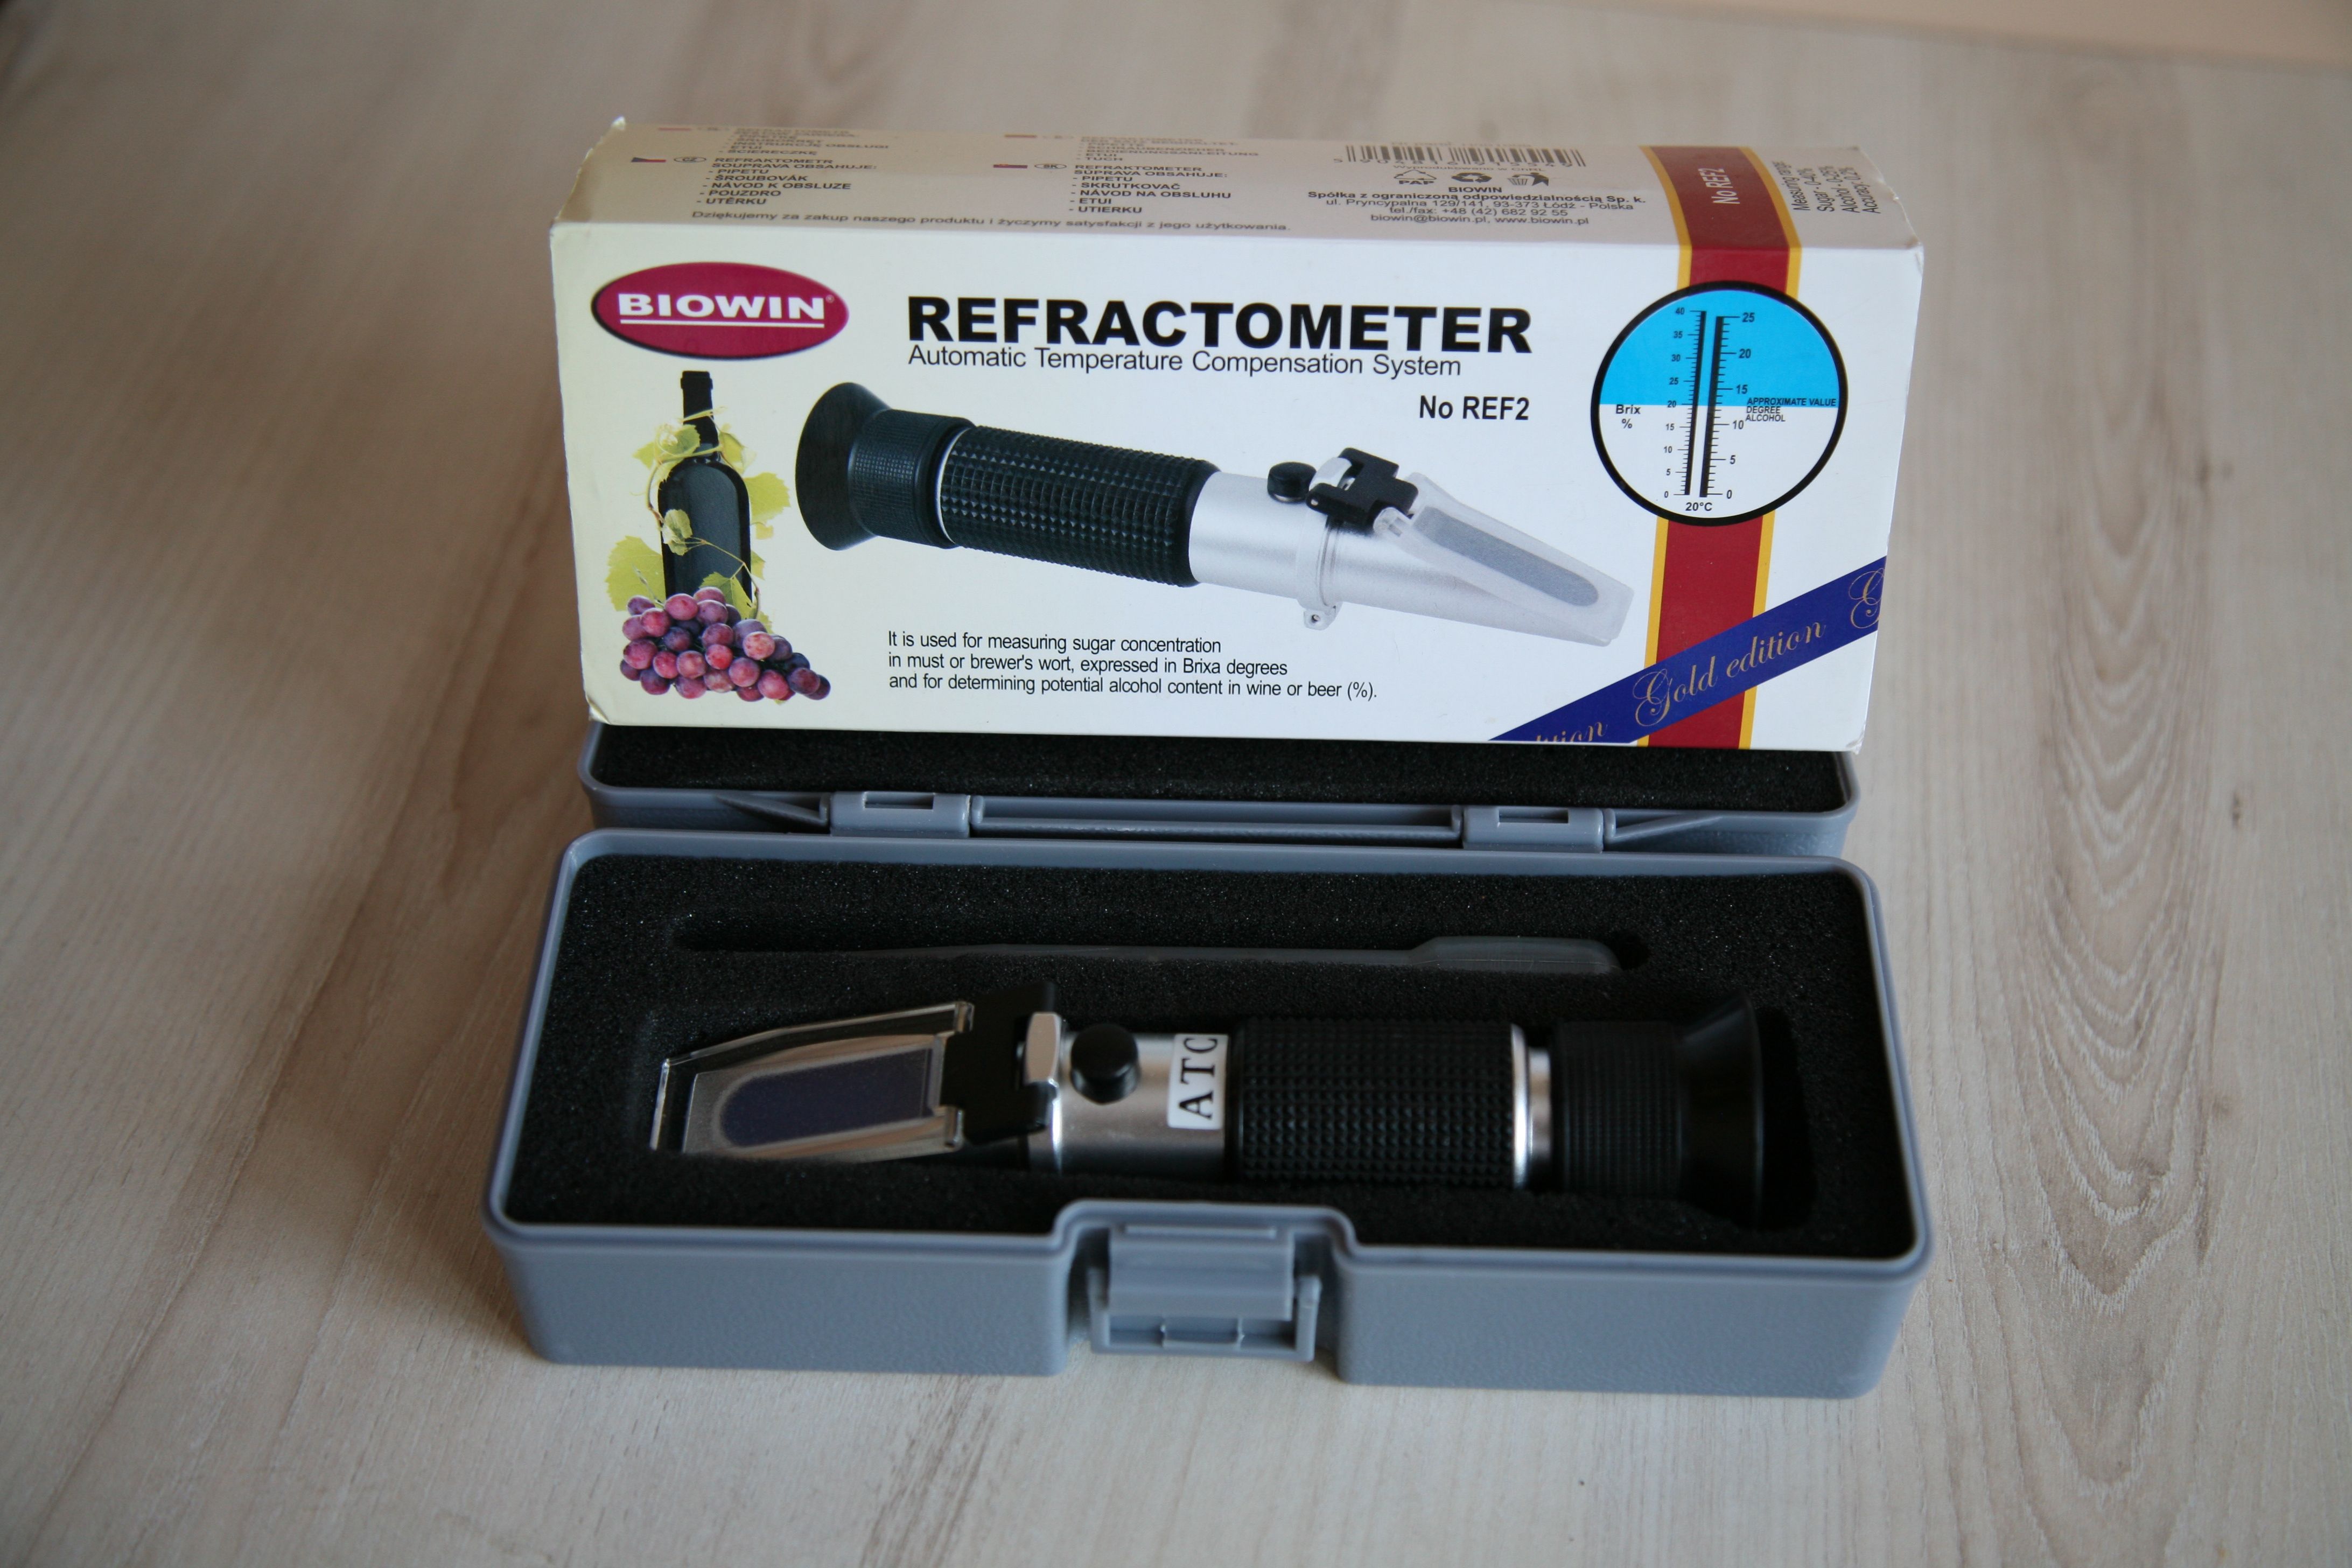
 Those are devices used to measure the concentration of sugars in a wort and beer. Both are pretty simple to use. Saccharimeter is placed in a measuring tube with liquid and this is enough to get the result. A Refractometer is more like binoculars :) The sample of the solution is placed on the plate, and then you look through the viewfinder against a light source, to read the result from the scale.
 Useful, and actually necessary if you don’t use bottles with ceramic caps. As the name suggests it is used to cap the bottles.
 Just like in the case of bottle capper - if you don’t use bottles with ceramic caps, you need to have caps. Of course, they should be new, unused, and disinfected before the use.
 It’s not very popular equipment (I don’t have it, so there is no photo). It is definitely easier to buy the malt that is already ground. If you have or want to do it on your own, you can even use the hand coffee grinder.
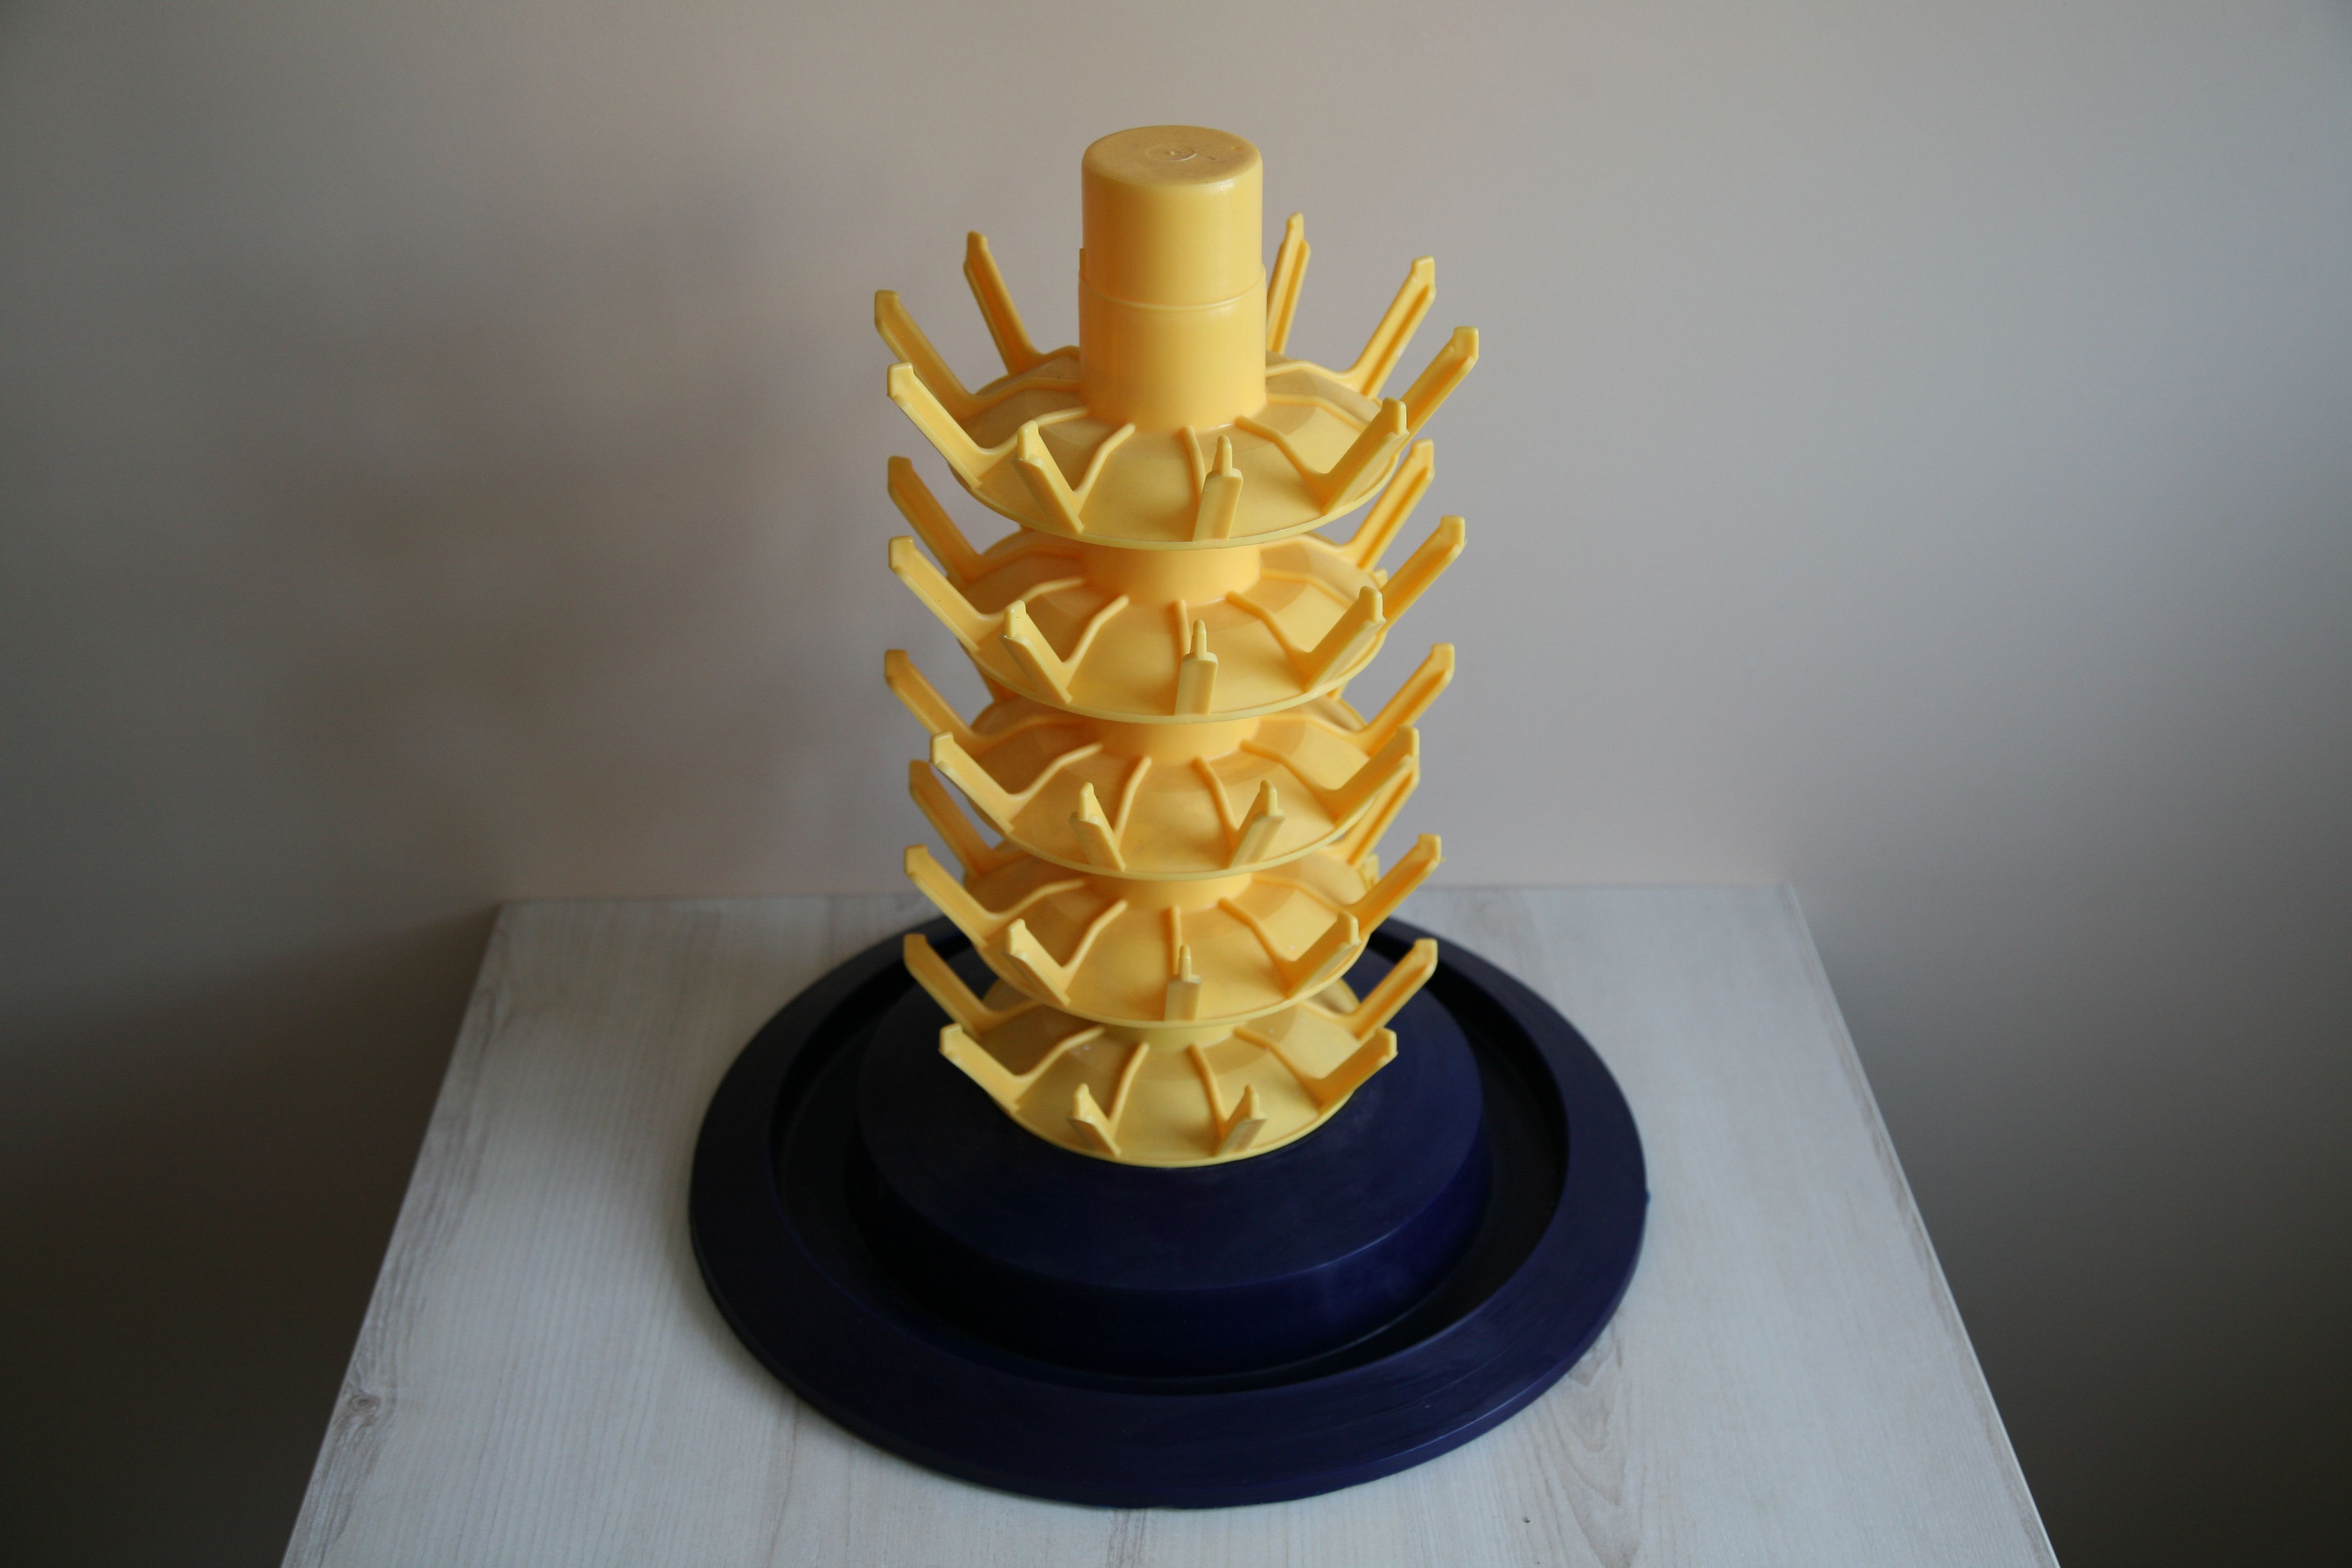
 This is not necessary equipment, but in my humble opinion very useful. Before bottling you have to wash and sterilize the bottles and drying them on this cool thing is very comfortable and fast. Personally, I recommend it :)
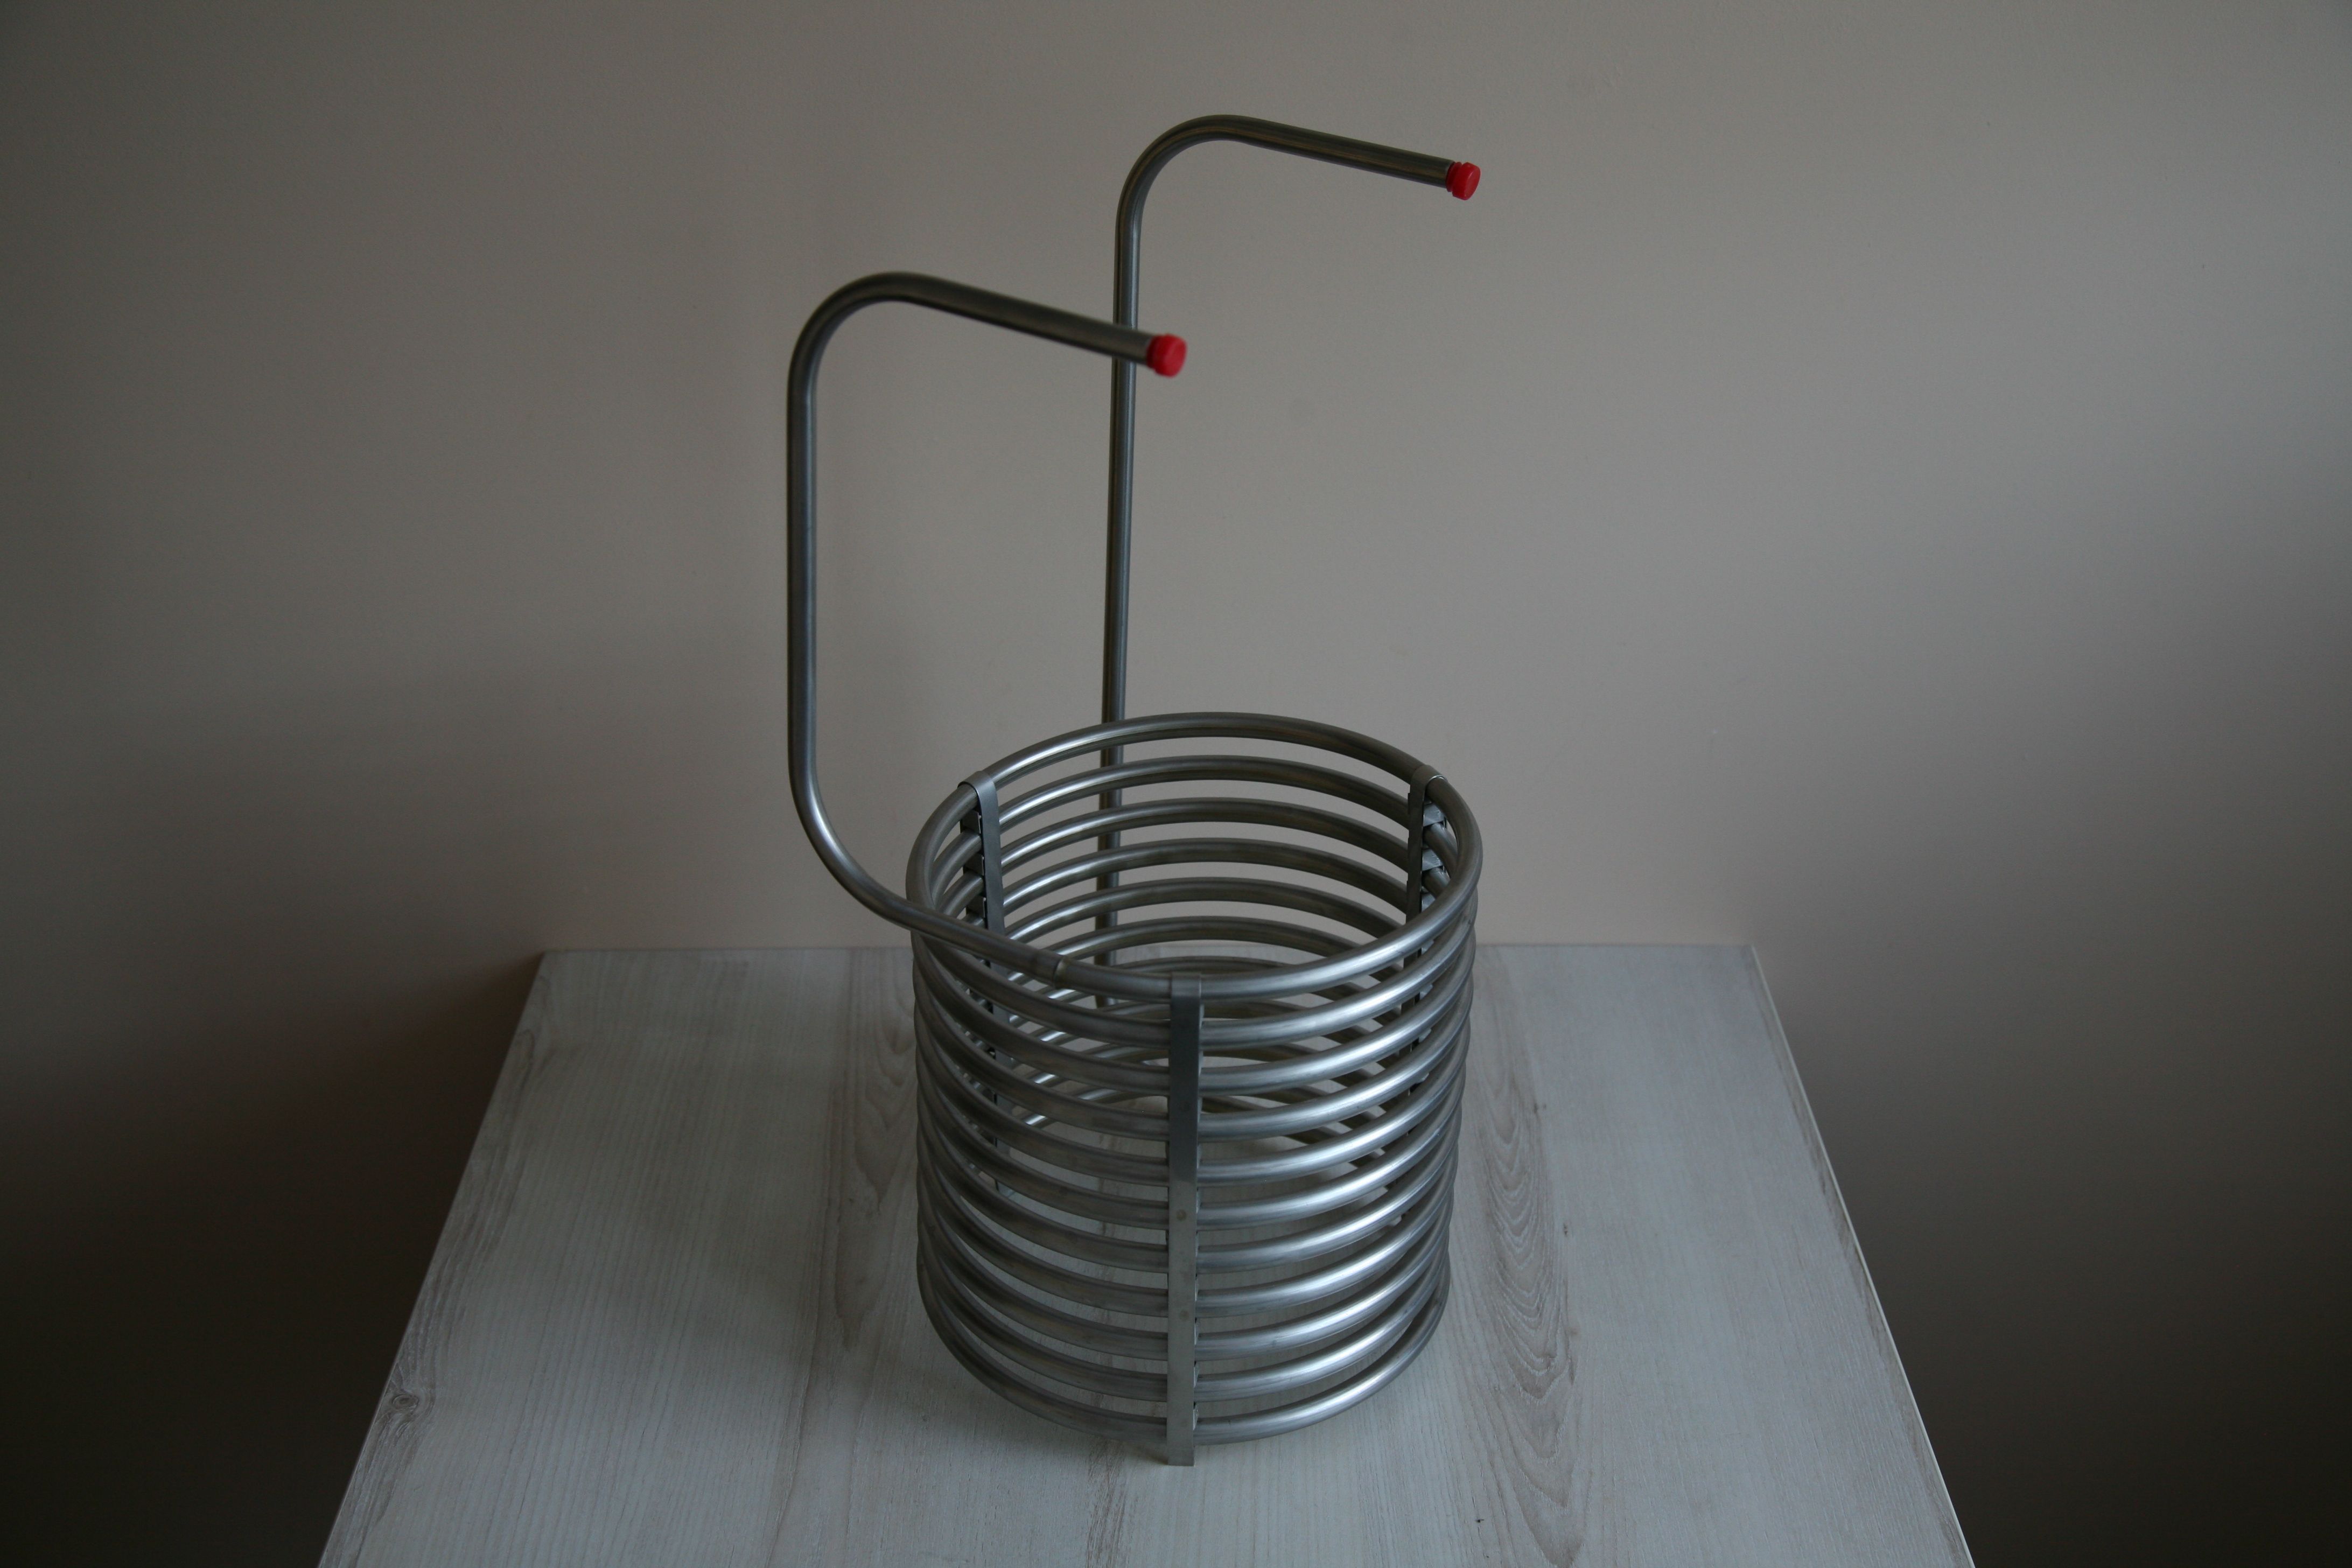
 I left it at the end, but in my opinion, it is absolutely worth to invest in this equipment. You can, of course, cool down your wort in a tub filled with cold water, but using an immersion chiller is far more effective. A wort can be cooled down from 100°C to 20°C in about 20-25 minutes. I mention this before in the process description article, but I will repeat - fast wort cooling down is very crucial. Shorter the time, lower the risk of catching bacterial infections. I am truly amazed by capabilities of this tool :)
 This list is probably not complete. I’m sure there is some other equipment that I’m not aware of or some home inventions used by homebrewers around the world. But my goal was to show you what equipment I am using when I’m brewing and I think I achieved that :)
Alright, we reached the end of the first part. I hope you liked the article - if you have any questions or points to mention, feel free to leave the comment :)
Also, please stay tuned for the next part - the subject will be all the ingredients needed in the homebrewing process :)
See also:
HomeBrewing - the basic process description
 Appreciate the content? VOTE UP, RESTEEM and FOLLOW@imperfect-one


Cool 😎 home brewing post. Thanks and make sure you and your beer friends join the Steemit #BeerSaturday challenge.
Congratulations! This post has been upvoted from the communal account, @minnowsupport, by busell from the Minnow Support Project. It's a witness project run by aggroed, ausbitbank, teamsteem, theprophet0, and someguy123. The goal is to help Steemit grow by supporting Minnows and creating a social network. Please find us in the Peace, Abundance, and Liberty Network (PALnet) Discord Channel. It's a completely public and open space to all members of the Steemit community who voluntarily choose to be there.
If you like what we're doing please upvote this comment so we can continue to build the community account that's supporting all members.
My first time attempting a homebrew went pretty bad. I tried making a barleywine, and it was undrinkable. It really is a science and you can end up with skunky beer if you're not careful.
how much does all the equipment cost ?
Basic should cost no more than $100 approx.
I own a HomeBrew Supply Shop, this is our most popular eqitment kit for those starting with nothing
https://supplies.homebrew4less.com/collections/beer-equipment-kits/products/brewcraft-deluxe-starter-brewery-kit
Please consider us :)
Plus your helping a fellow steemer out :)
You also want to grab an ingredient kit to your liking as well
https://supplies.homebrew4less.com/collections/beer-ingredient-kits
Interesting. I have never considered home brew but it would definitely be a fun and rewarding process
It is indeed :) You should try it yourself :)
Thank you for using my services! Your post have been resteemed to 5000+ people :) Feel free to contact me again in the future.
interested in home brewing so this was helpful; thank you
You are welcome :) Remember that this is not over, there will be more posts about homebrewing soon :)
Nice info
I would like you to taste nigerian beer, awesome
@imperfect-one got you a $1.68 @minnowbooster upgoat, nice! (Image: pixabay.com)
Want a boost? Click here to read more!
How much Time you spend creating it ? Try visiting my blog ! maybe
Creating what exactly? This post?