Impromptu 3D Head Sculpting Demonstration with Blender 2.80
A Good Head is What Gets You Ahead of Your Peers
Sculpting and modeling a realistic human, especially the head, is a highly-coveted skill in the animation, CGI/VFX, and game development industries. This type of organic modeling is often regarded as the hardest modeling task. Learning it requires a good grasp of anatomy, and describing it with three-dimensional volumetric forms, as well as the incredible amount of patience required in learning the nuances of the human form.
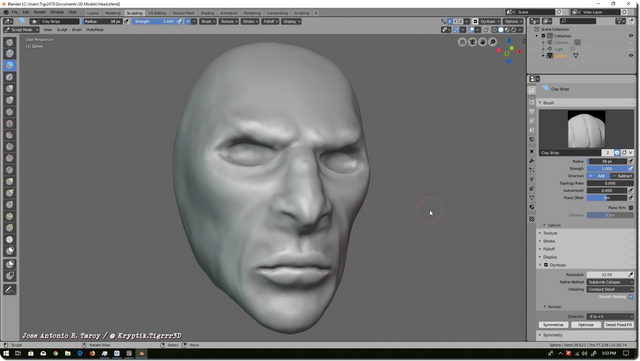
Oftentimes, this type of skill, or lack of it, is what dictates one's success or doom in a job application. I'm often a witness of job-hunting heartaches from kids who failed to the snag the "cool" character creation positions they were applying for.
3D character and creature artists and animators are often regarded as the "rock stars" of the production team because they are the ones who give life to the stars of the shows or games they work on. That is why the competition for such jobs is cut-throat.
This blog is a demonstration of my sculpting skills that I've acquired and developed after a month of serious ZBrush study. But this time I decided to try out my sculpting skills with the beta version of Blender 2.80.
Progress Pictures
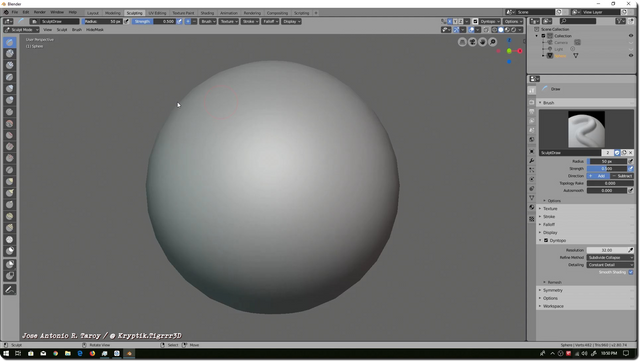
Most 3D models of humans or creatures begin life as a sphere, whether it is modeled or sculpted into form by the artist. A head can made from a box too, but spheres are generally the preferred primitive volume due to the fact of the roundness of part of our heads, particularly the top.
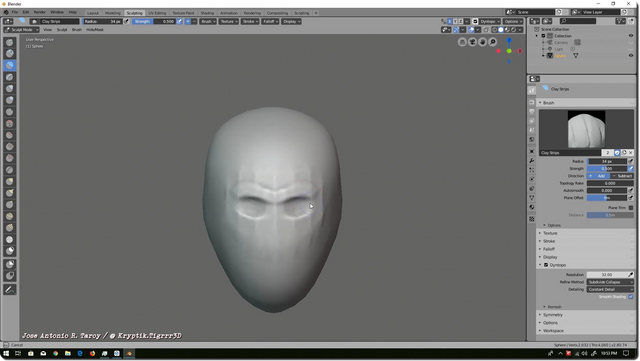
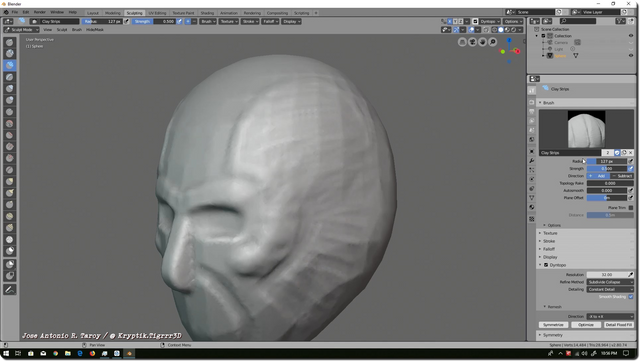
I begin the sculpt by blocking out the basic shape of the head by stretching it vertically and squashing it horizontally. Then, I either push or pull in certain areas until I am satisfied with the overall shape.
After the initial shaping, I then apply a strip of clay to draw the brow ridge, then gouge out the holes for the eye sockets. Then I apply strips of clay to create the bridge of the nose, and the cheeks, That is followed up with some scraping on the sides of the face, all the way to the temples.
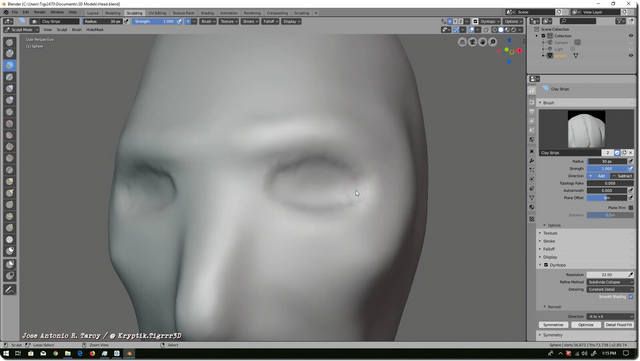
The process is repeated until I am satisfied with the look and overall proportions, and you will often see me making adjustments or corrections to the top, sides, and back of the head.
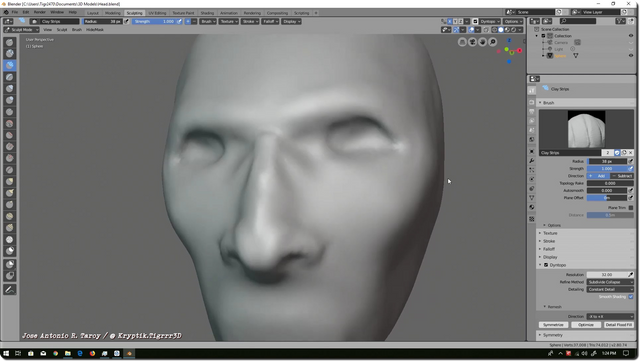
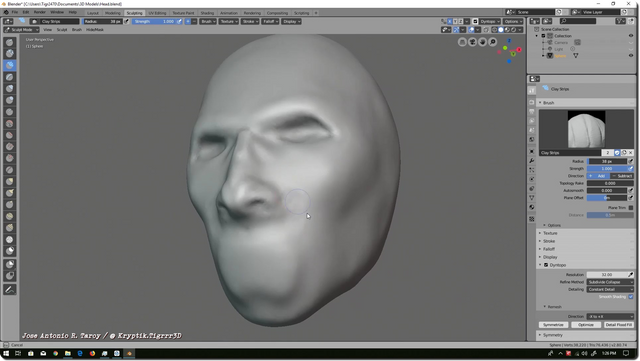
Rough detail is then introduced to features such as the brow ridge, nose, and mouth. The eye socket will also get a lot of attention, and at that point, one can even stick in a pair of spheres to create the eyeballs. But for this head, II am not yet satisfied with the placement and shape of the eye sockets, and will put off adding the eyeballs until I have finalized the area around the orbit of the eyes.
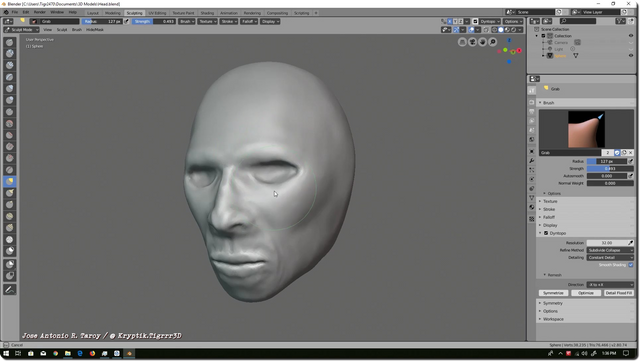
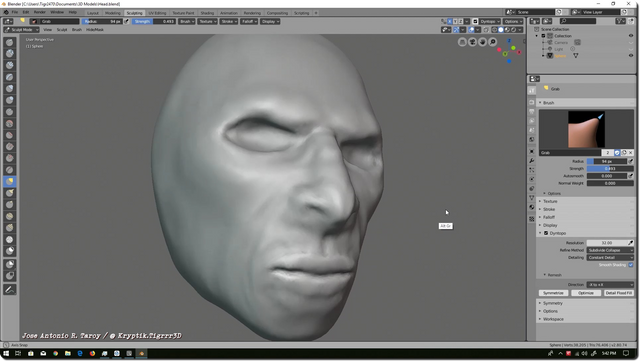
I begin working on the mouth to give it its basic shape and placement, but any detail you can see at this point is only temporary, and will be subjected to more re-shaping when I am done with the adjustment of the proportions of its neighbor features.
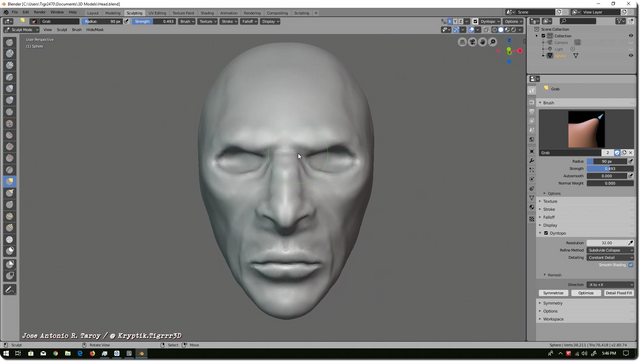
This sculpt was of a random male up until this point. When I began this session, I didn't have anyone in mind. This was just one of my daily head sculpting practice sessions. But, as I had been sculpting in ZBrush a certain character of a fantasy TV series prior to this, this head turned out a lot like his. So, I decided to continue in that direction, and that dude's likeness. You will find out who he is towards the end of the time lapse video.
Timelapse Video
This is my first time to do a serious sculpt of a human head in Blender, and Blender sculpting pros will see my clumsiness in various parts of the process. This is also the 2.80 beta version of Blender, which I have not yet spent a lot of time on.
Ok, that's all for now. You will see the finished sculpt soon, so stay tuned for it, and also the next parts of the blog about the green turtle I'm sculpting for @jacinta.sevilla.
If you liked this post and found it helpful, or informative, please consider giving an upvote, a resteem, and a follow. God Bless, and rock on, people!
eSteem Surfer, Blender, Shotcut, and GIMP.
Wow! Nice talent you have.😊
Blender's dynatopo is pretty good. And looks like you knew to set up your lighting properly, that was my mistake way back when I was a total noob and I made a huge critical error I couldn't repair because dodgy lighting made me fail to see I was making a hole XD
That cutthroatiness is pretty much why I decided I wasn't going to work in vfx or games after all. I'm uselessly non-competitive XD
Head's looking good, if I can I'll come back to the video, I'm supposed to be going to bed now but I'm trying to catch up on steem first (failing aaaaahhhhhhh) and wanted to tell you I thought it looked good so far XP
Thanks mate! But I didn't light it. I just used the default scene lighting.
Can't wait to get back to it. Boss gave me a lot of stuff to do.
This post was shared in the Curation Collective Discord community for curators, and upvoted and resteemed by the @c-squared community account after manual review.
@c-squared runs a community witness. Please consider using one of your witness votes on us here