Hostinger 무료 계정에 XE3 설치하기
Hostinger 무료 계정에 XE3 설치하기
호스팅거에서 무료 계정을 만든다.
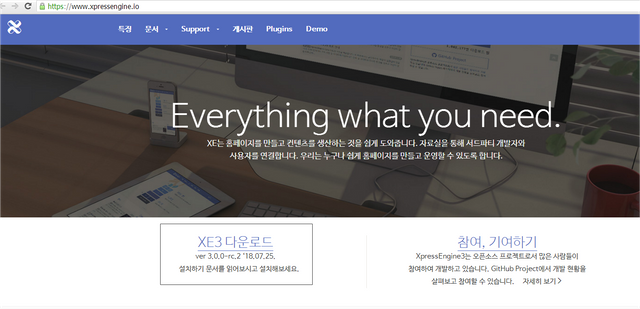
https://www.xpressengine.io/ 에서 가장 최신 버전을 다운로드 받는다.
http://start.xpressengine.io/download/latest.zip
파일을 다운로드 한후 FTP 프로그램을 사용하여 서버에 업로드 한다.

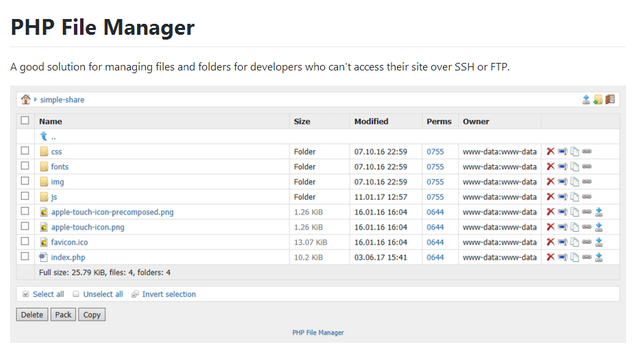
업로드한 파일의 압축을 해제 하기 위해 PHP File Manager 프로그램을 다운로드 받아 서버에 업로드한다.
https://github.com/alexantr/filemanager/blob/master/filemanager.php
filemanager.php 파일을 서버에 업로드하고 아래 $auth_users 부분을 수정한다.
$auth_users = array(
    'fm_admin' => 'fm_admin',
);
해당 페이지에 아이디 패스워드를 입력하고 로그인 하면 아래와 같은 화면을 확인할수 있다.
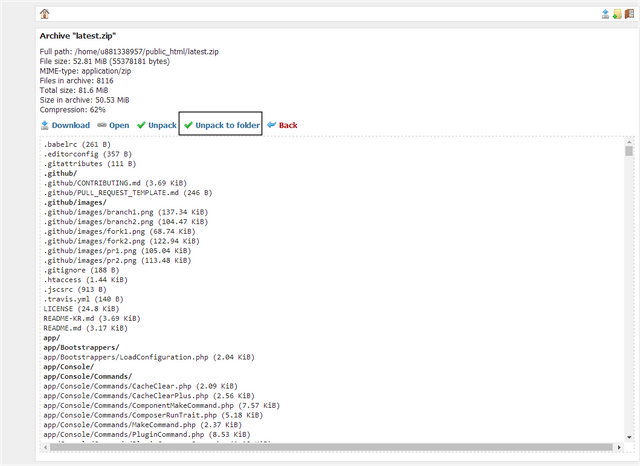
phpfilemanager 에서 업로드한 latest.zip 파일을 선택하여 아래와 같이 Unpack to folder 버튼을 클릭하여 압축을 해제한다.
압축을 해제하고 나서 디렉토리명을 xe로 수정한다.
http://yourhost/xe 페이지에 접속하면 아래와 같이 xe 설치 페이지가 보인다.
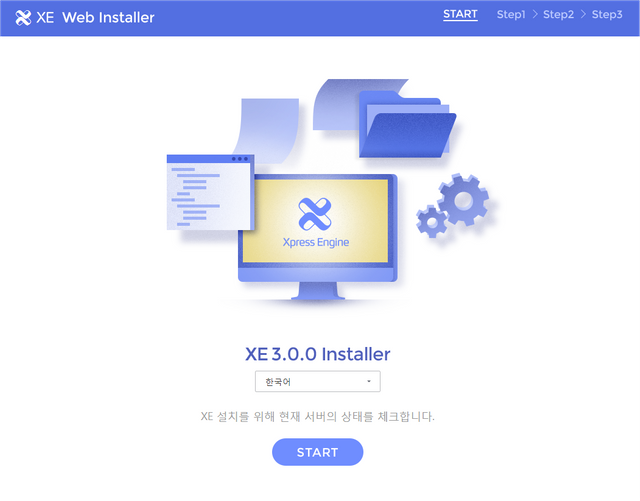
한국어로 선택한후 START 버튼을 클릭한다.
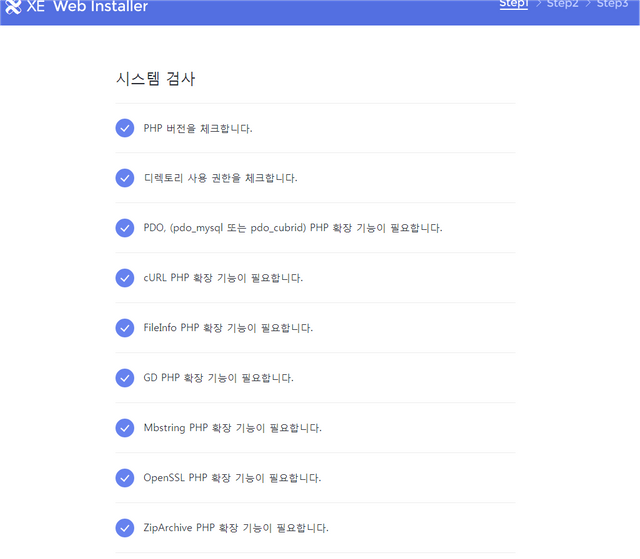
시스템 검사를 수행해는데 딱히 문제 되는 부분이 없다 다음단계로 이동한다.
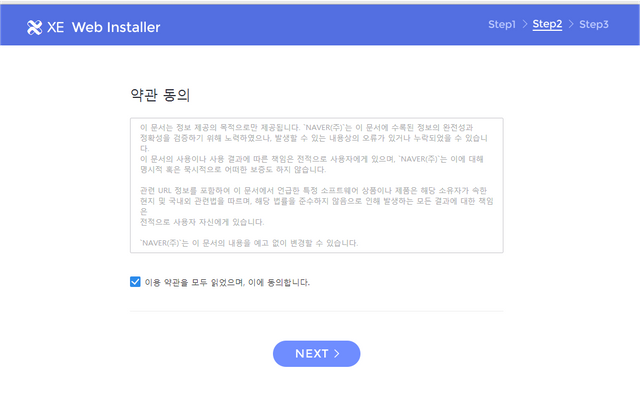
약관 동의에 동의합니다. 체크한후 NEXT 클릭
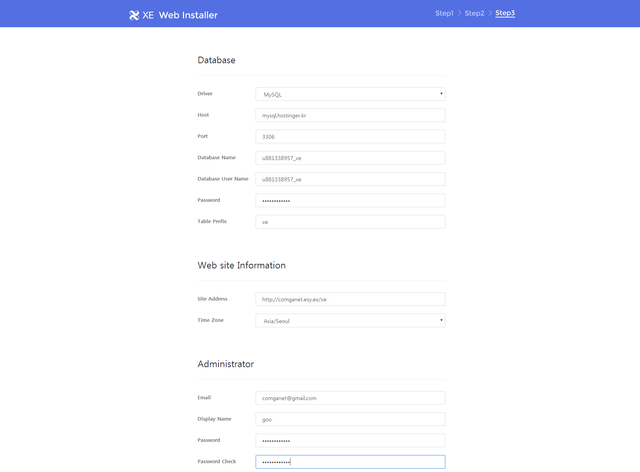
DB정보 및 관리자 정보를 입력한후 NEXT 버튼 클릭
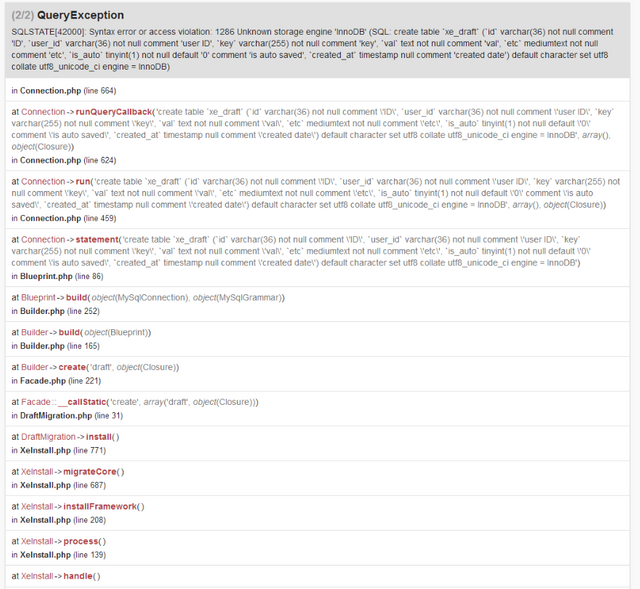
설치시 아래와 같이 오류가 발생하면서 설치가 진행되지 않는다. Hostinger.kr 에서 사용하는 Maria DB가 InnoDB를 지원해 주지 않아 이와 같은 오류가 발생한다. 아래 URL을 참고하여 문제를 해결하였음.
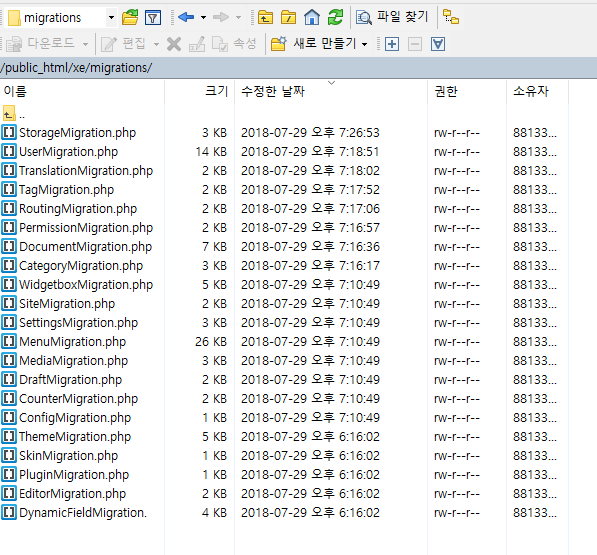
$table->engine = “InnoDB“; 라고 된부분을 아래와 같이 $table->engine = “MyISAM”; 로 수정함
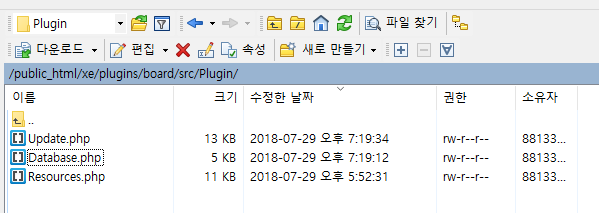
또한 $table->unique … 이라고 된부분을 모두 주석 처림함 , 2018년7월29일 기준 다운로드 받은 파일을 압축하여 저장해둠
아래 링크에서 수정한 파일을 다운로드 받을수 있다.
http://comganet.esy.es/wordpress/wp-content/uploads/2018/07/xe.7z
<?php
/**
 * @author    XE Developers <[email protected]>
 * @copyright 2015 Copyright (C) NAVER Corp. <http://www.navercorp.com>
 * @license   http://www.gnu.org/licenses/old-licenses/lgpl-2.1.html LGPL-2.1
 * @link      https://xpressengine.io
 */

namespace Xpressengine\Migrations;

use Illuminate\Database\Schema\Blueprint;
use Schema;
use Xpressengine\Support\Migration;

class StorageMigration extends Migration {

    public function install()
    {

        Schema::create('files', function (Blueprint $table) {
            $table->engine = "MyISAM";

            $table->string('id', 36)->comment('file ID');
            $table->string('origin_id', 36)->nullable()->comment('original file ID');
            $table->string('user_id', 36)->nullable()->comment('own user ID');
            $table->string('disk', 20)->comment('storage locale.');
            $table->string('path')->comment('registered file path. without name');
            $table->string('filename')->comment('registered file name. without extension');
            $table->string('clientname')->comment('original file name');
            $table->string('mime', 50)->comment('mime type');
            $table->integer('size')->comment('file size');
            $table->integer('use_count')->default(0)->comment('use count. how much used in the system.');
            $table->integer('download_count')->default(0)->comment('download count');
            $table->timestamp('created_at')->nullable()->comment('created date');
            $table->timestamp('updated_at')->nullable()->comment('updated date');

            $table->primary('id');
            //$table->unique(['disk', 'path', 'filename'], 'findKey');
            $table->index('origin_id');
        });

        Schema::create('fileables', function (Blueprint $table) {
            $table->engine = "MyISAM";

            // mapping a file to target. If Document uploaded a file, [fileableId] is document ID.
            $table->increments('id')->comment('ID');
            $table->string('file_id', 36)->comment('file ID');
            $table->string('fileable_id', 36)->comment('target ID. If Document uploaded a file, [fileable_id] is document ID.');
            $table->timestamp('created_at')->nullable()->comment('created date');

            //$table->unique(['file_id', 'fileable_id']);
        });
    }
}
- 수정한 디렉토리
- 위와 같이 파일을 수정하고 NEXT를 클릭하면 정상적으로 설치됨


✅ @comganet, I gave you an upvote on your post! Please give me a follow and I will give you a follow in return and possible future votes!
Thank you in advance!