How to Run Scalable Wordpress on AWS: Part 1
In this tutorial, we’ll step through how to install and run Wordpress on Amazon Web Services in a way that means your data is safe, your site is fast and your hosting grows and shrinks in-line with how busy your website is, using Elastic Beanstalk for devops, Aurora for database and Elastic Filesystem for upload storage.
If you’re coming from a traditional VPS/shared hosting background, AWS can be a bit scary. It’s not, it’s just a little bit different and you have to do a bit more of the legwork yourself to get everything going the way you want it to.
Whenever we’re going to be using a Terminal in this tutorial, the text will be styled like this. Bear in mind that you will have to press enter/return after each bit of terminal input.
Step 1: Get an AWS Account
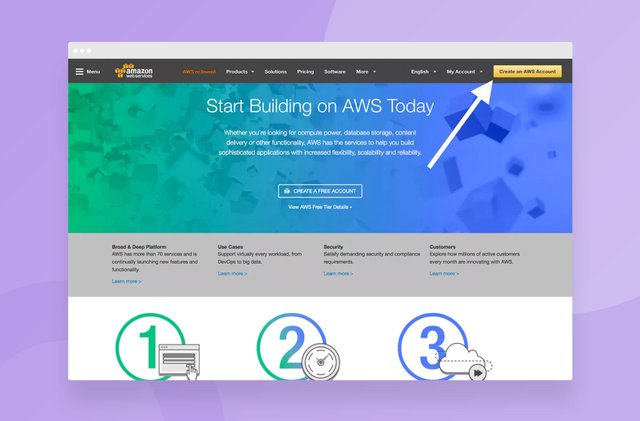
You’ll need to have an account with Amazon Web Services to get started. It’s easy enough to do, they do usually put a verification call through to you when you sign-up so this can take a little while to get going.

If you already have an AWS account, take a moment to give yourself a high-five. You’re winning! If not, go ahead and create an account.
Step 2: The Source Code / Install Git
You’ll want to have your source code in a folder on your computer, managed using Git. If you’re already using Git, that’s also awesome. If not, you’ll want to install it, either for Windows or Mac.
Git is like a versioning system for files. If you think about a paper form, like the (endless) ones that the bank make you fill out when you apply for a mortgage, Git would be a bit like a system that you use to store a form in each stage of it being filled out (if you’re like me, probably over the course of a few days; procrastination and paperwork go hand in hand).
The upside of Git is that when you inevitably make a mistake filling out said form, you can go back to a previous version really easily. It’s also the thing we’ll be using to store our code so that the other bits of Amazon Web Services we’ll be sending it to can make sense of any changes in it.
Installing Git on Mac:
- Download the latest Git for Mac
- Run through the installer as you would with anything else
- Open a Terminal (Applications/Utilities/Terminal)
Installing Git on Windows:
- Download the latest Git for Windows
- Run through the installer as you would with anything else
- Open a command prompt (type “CMD” in the start menu search bar)
All Platforms: Configure your Git Identity:
- Type (or copy-paste):
git --version
If you see something along the lines of “git version xxx” then you’re good – Git is in fact installed. If you see “command not found” then something’s wrong – try running the installer again. - Tell git who you are – this is so it can record your details against the changes you make in your code. Run the following, replacing my details with yours (otherwise you’ll be using git as me and that would be weird):
git config --global user.name "John Doe"
git config --global user.email "[email protected]" - Celebrate – Git is now installed on your machine.
Get your source code into Git:
We’re going to use our new-found Git awesomeness to manage our code. It’s fairly straightforward, but there’s a few commands we need to run to make sure Git knows where our code is and how it should manage it.
I’m doing this on a Mac – the Windows commands should be identical other than things like changing directory which is “cd” on Mac and “dir” on a PC.
I’m going to be using a fresh copy of Wordpress that I’ve downloaded, unzipped and put on my desktop.
- First, we’re going to change directory to our unzipped folder:
cd ~/Desktop/wordpress - Then we’re going to initialise a Git repository in this folder:
git init
You should see something like: “Initialized empty Git repository in /Users/User/Desktop/wordpress/.git/” - Next, we’re going to add all the files in here to Git:
git add -A - And then we’re going to commit those. Committing in Git is a bit like putting a stick in the sand and saying “at this point in time, this is what everything looks like and we shall refer to it as this”. In this case, we’ll refer to it as “initial commit”:
git commit -m "initial commit"
You could change whatever is between the two quotes to say something else – it’s not anything functional, just whatever you’d like to call it. - Check that your code’s all committed:
git status
If you see “nothing to commit, working tree clean” then you’re all set to go!
very interesting your publication thank you for sharing it. good night...
thx for information now i know about Wordpress
Hi, Iv'e been thinking about setting up a wordpress space so thanks very mooch.... and for your vote earlier :)