On The Bench Today......I'm Making A Chair
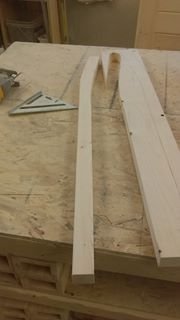
Today I was fortunate enough to have @gardengirlcanada out for the day to the shop, to give me a hand in building a few chairs. This post will be a step by step to making a chair. I made the chair out of White Pine. I used wood screw's and a nail gun to put the seat on. I have went ahead and cut most of the pieces out. All the pieces are straight cuts except for the longest piece the legs.
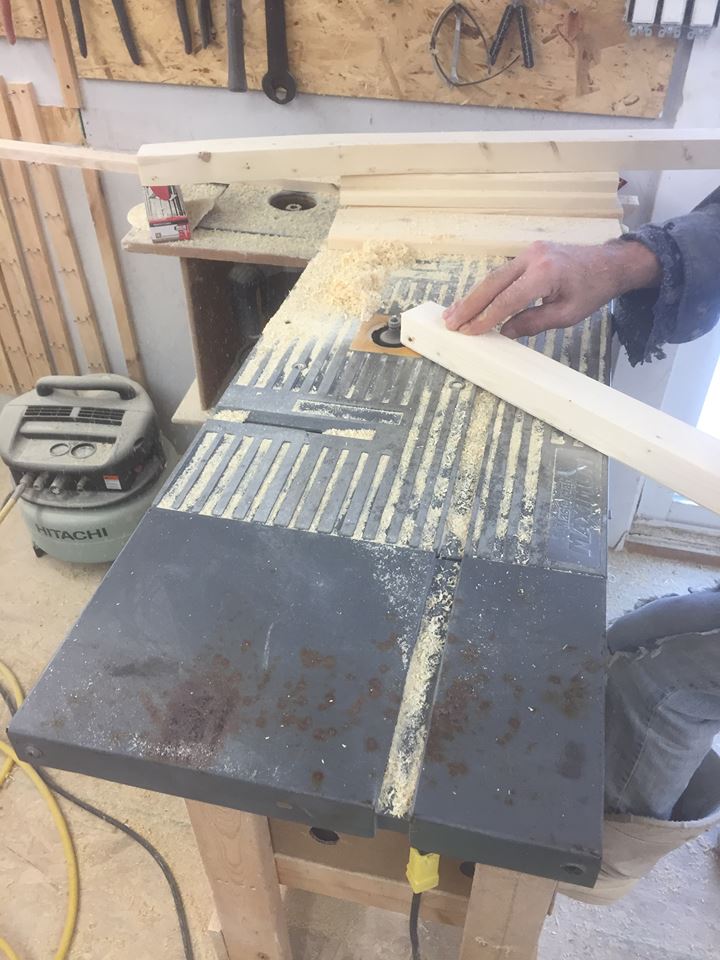
Then I routed the edges of these legs.
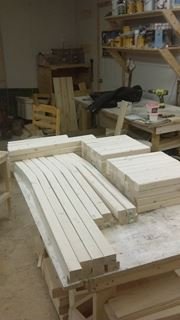
So here is the pile of wood I will turn into a few chairs.
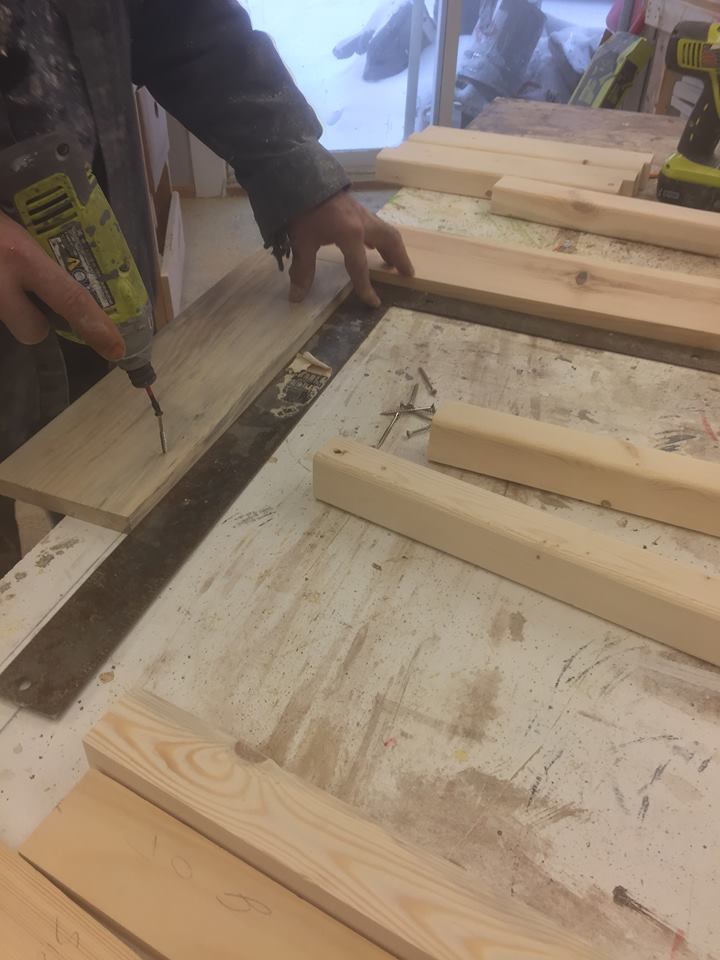
Next I will make a jig to keep my pieces together while I screw the pieces together, and make sure they are completely square. I screwed some boards down on my table, following a Metal square first before screwing them down to my table.
Next I will lay the legs and the pieces out.
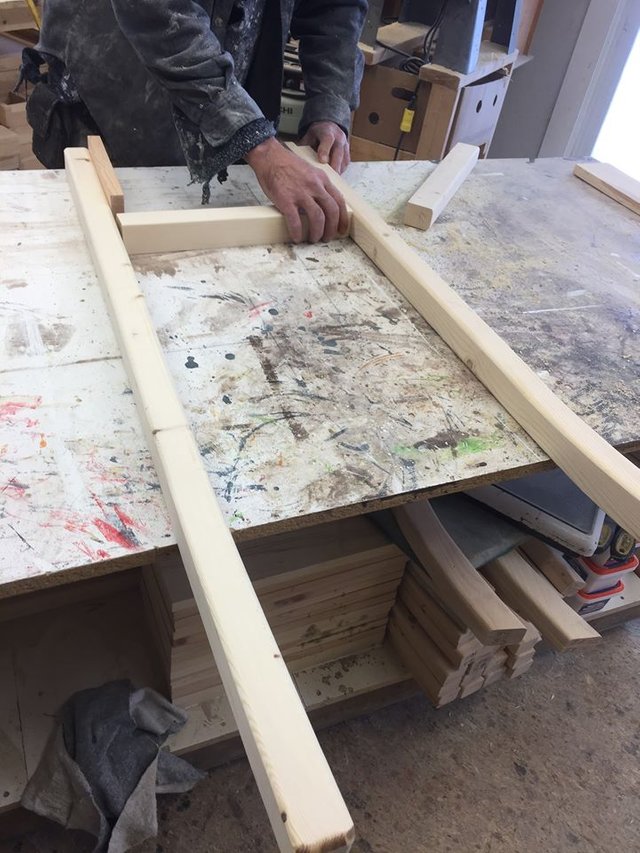
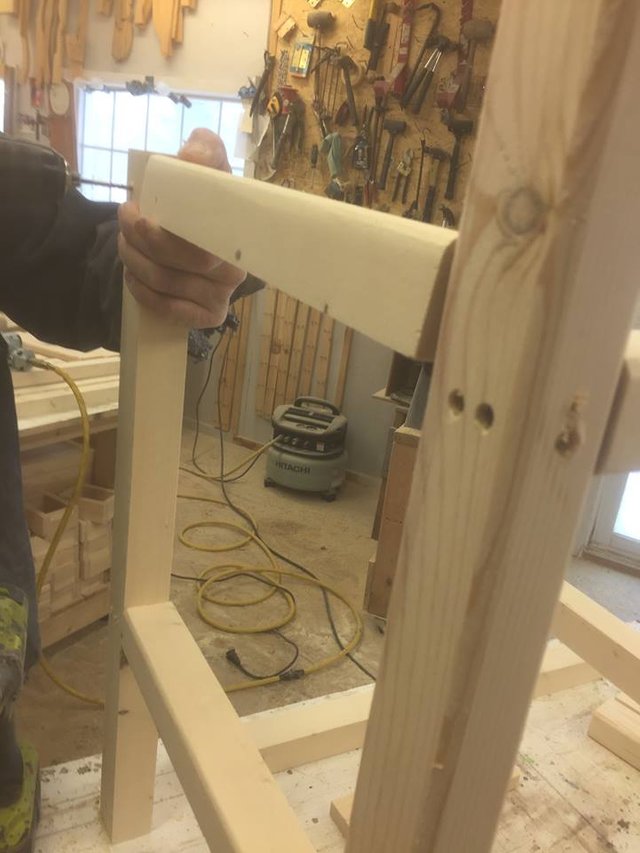
This piece is the back of the chair, that is the easiest to start with. Laying the 2 pieces.
Now this is where I needed @gardengirlcanada to hold the back up while I install the 2 side pieces of the frame.
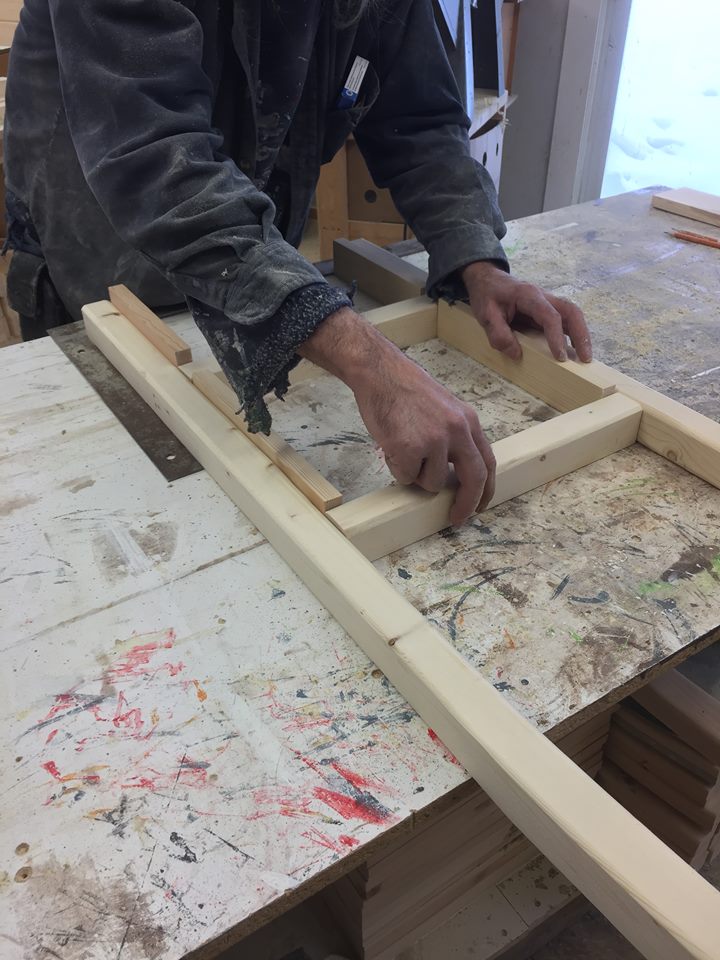
Then onto the other side and front.
I use blocks to keep my measurements all even all around the square of the frame pieces. I label each board with the right sides. Middle, back, front etc. I always number my pieces as I need to install them.
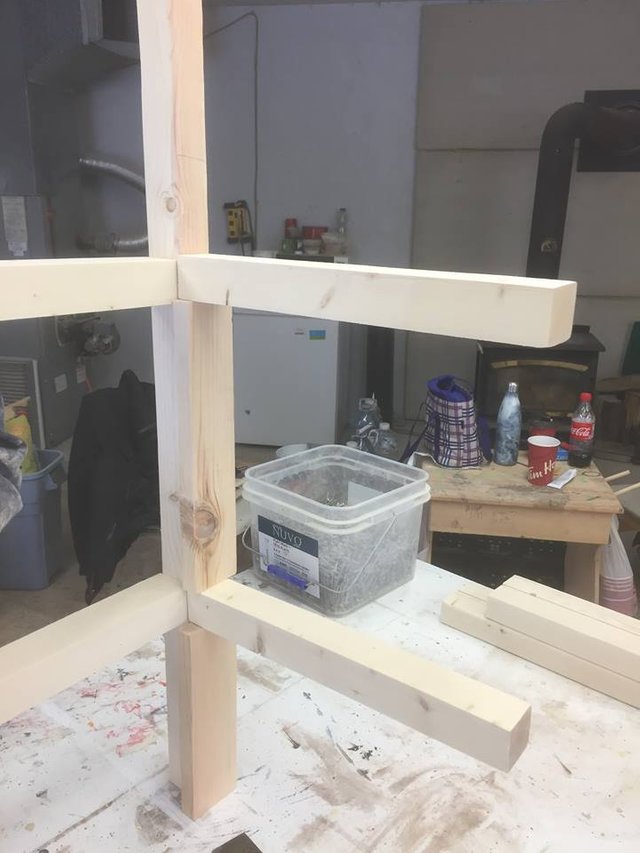
I pre-drilled all my holes first then screwed them in. I am installing the last of the straight pieces, for the frame of the chair.
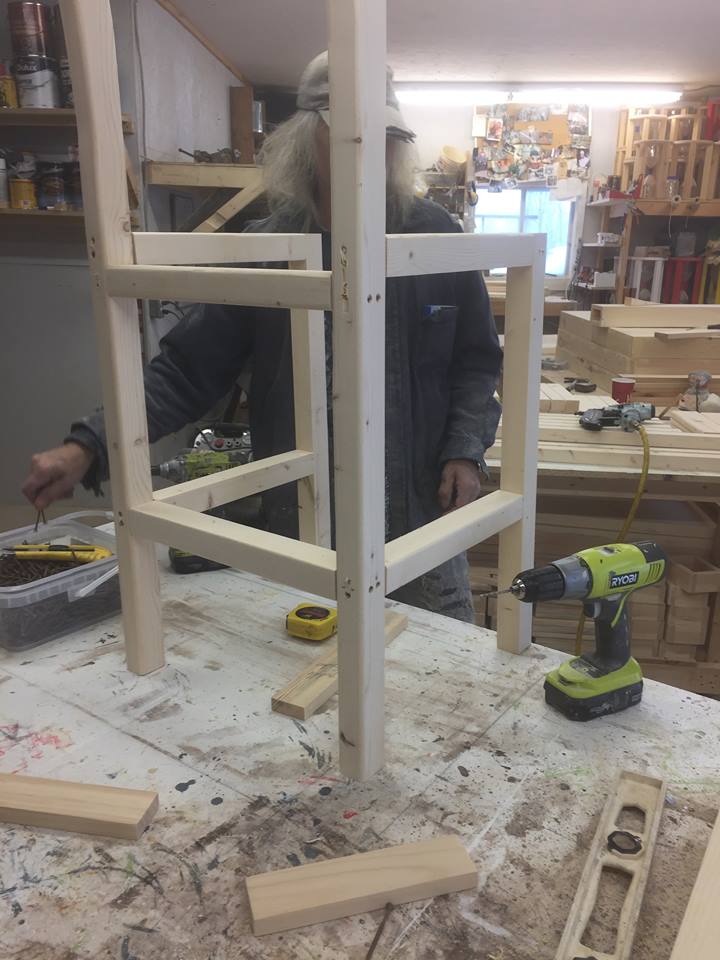
There you now have the frame of the chair complete.
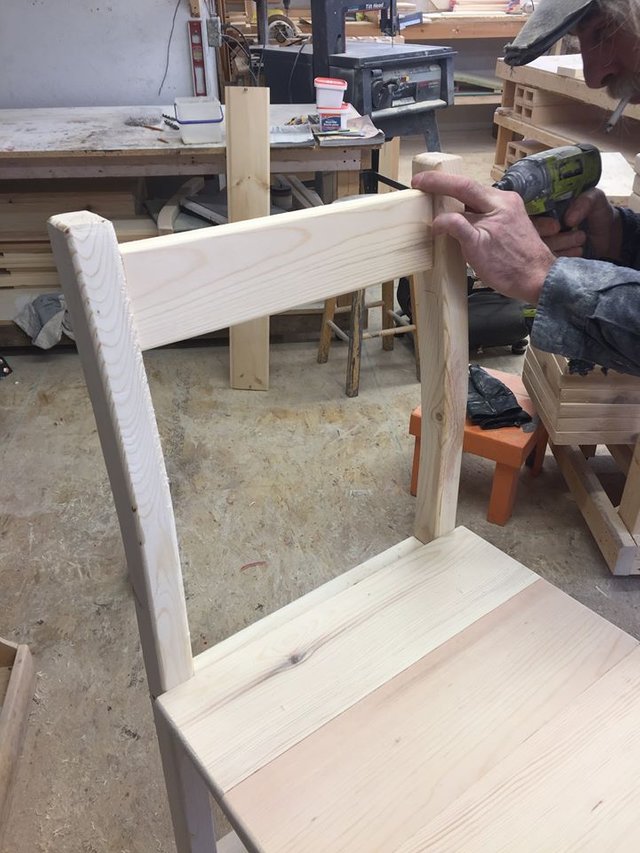
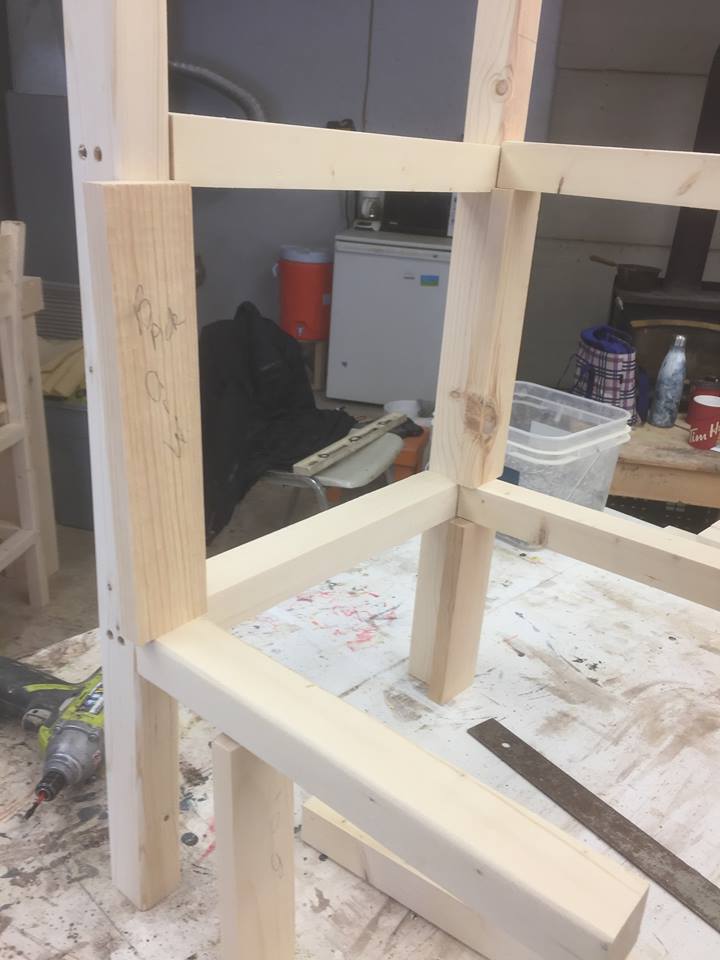
Installing the backs.
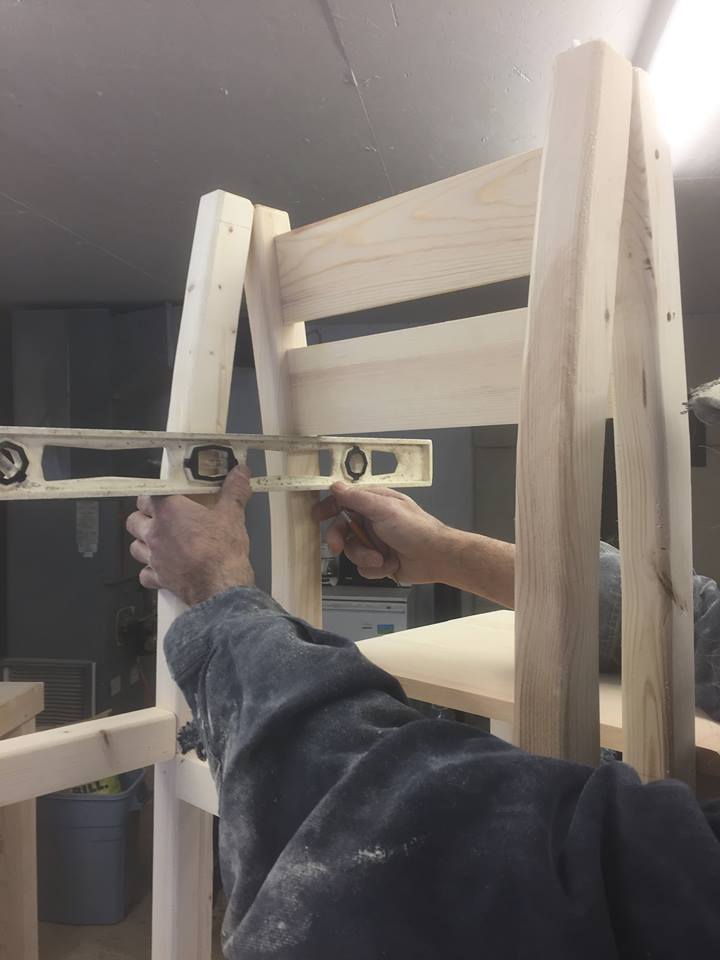
Making sure the backs are level and even. Then screwing 2 screws into each piece.
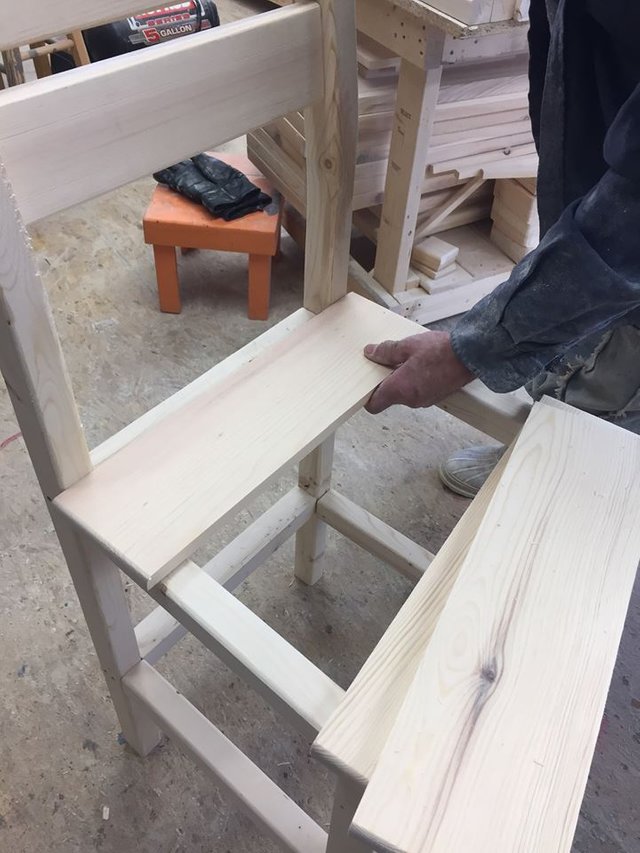
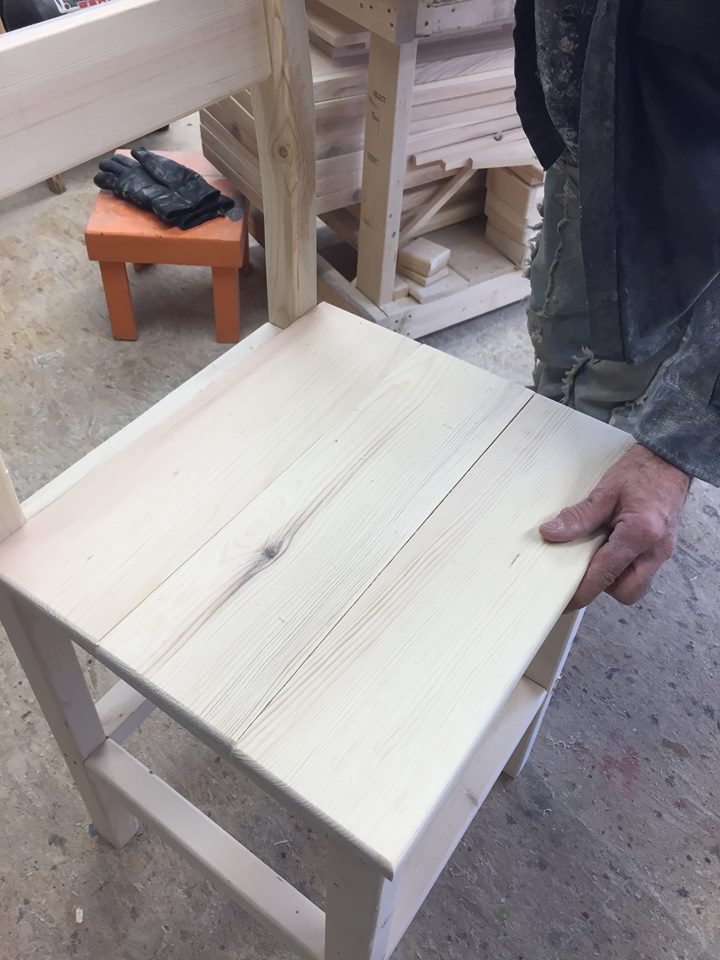
Adding the last pieces for seat. I just used a brad nail gun on top along the edges. I will fill those holes with wood filler and then sand them before I stain, and varnish, them tomorrow.
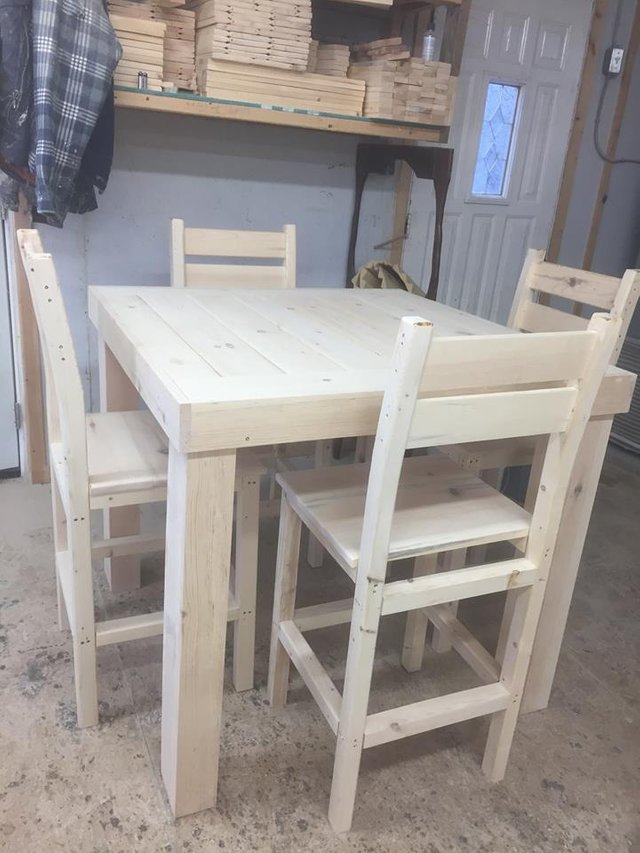
Then you have a chair to finish the set of the Counter height Table I made last week.
So there you have it. A simple basic chair. Now tomorrow I will stain and varnish the chair. Hope you enjoyed my step by step instructions. Thank you @gardengirlcanada for holding the pieces, having patients with me and being my photographer.

Impressive work, Sir! Thanks for sharing!
This post has been resteemed by @woodworkcurators
Awesome step by step! I love your awesome creations. Too bad I'm not close enough to purchase from you!
Take care,
@amymya
Those look really nice!
Nice build. Curious about the back legs (the long pieces). It has a nice bent look at the top, but am I seeing it correctly from your pictures that you cut it out of a larger piece with that curve? Smart move. I would've been fussing over a steam box and getting them to curve the way I want. What are you thinking for stain and varnish?
Congratulations! This post has been upvoted by SteemMakers. We are a community based project that aims to support makers and DIYers on the blockchain in every way possible. Find out more about us on our website: www.steemmakers.com.
If you like our work, please consider upvoting this comment to support the growth of our community. Thank you.
You make it look so easy to do. Nice job and wishing you more oil to your engine.
Nice work. The set looks great, and it will look better finished
Love it. Chairs, sofas, any kind of seating I've always avoided building. After seeing your post I might have to change that.
Also love seeing other people using spacer blocks!
I have Ryobi cordless too, but only because I needed a cordless finish nailer, so I went all ryobi. I just wish their quality was a little better because they make just about every cordless tool a handy man could want.
really cool to see the process of making these @canadianwoodguy. hope to see more projects in the future :)