Whittling Post 1: Requirements and Setup
Hello Steemit!
This is Orothrim with a post about one of my hobbies, whittling. I've been whittling in my spare time for about 8 months, I'm just going to talk about what is required tools and a basic setup.
First however I do want to warn anyone who is interested in starting to whittle, it is easy to cut yourself if you aren't careful and you should always wear protection and be careful with knifes. If anyone is below 18 or the appropriate age for your country please don't do this without your parents consent.
Required Tools:
- Knife/s
- Sharpening Stone
- Wood
- Finger Protection
- Sandpaper (Optional
Knife/s:
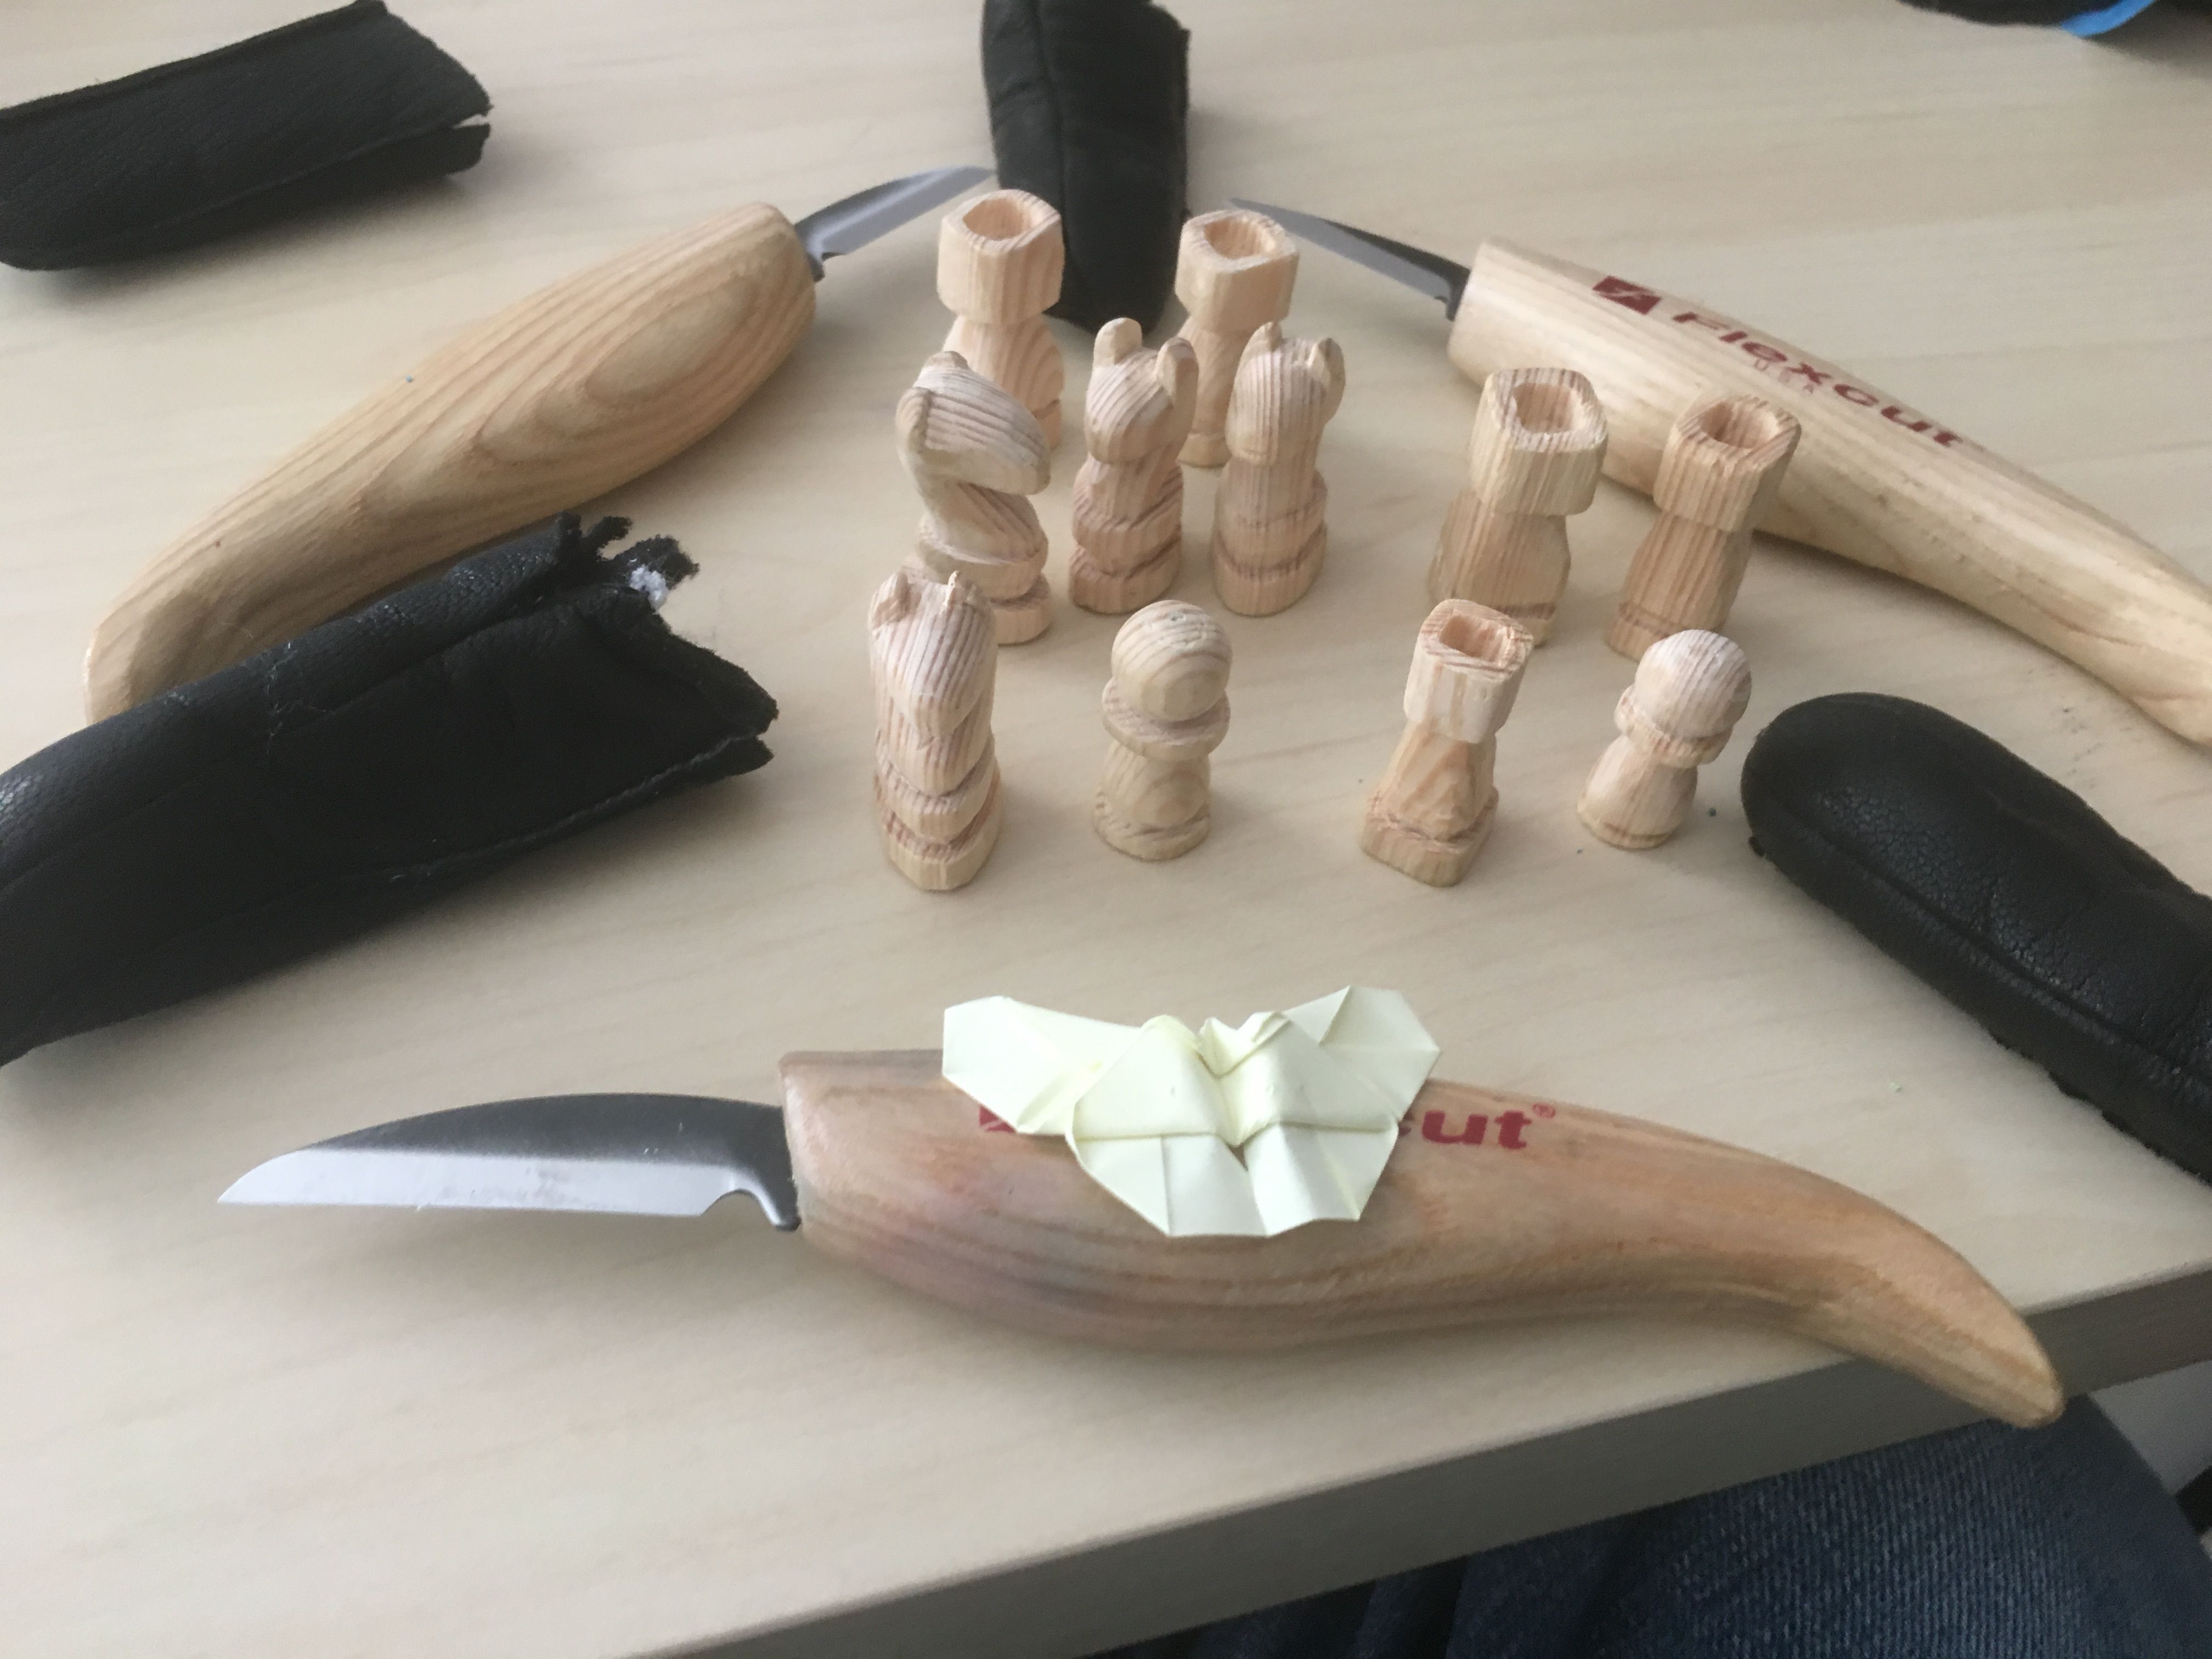
I have five different knifes I use for whittling, three I brought as a set specifically for whittling and are in the above photo, one I made with my cousin and one I bought as a pocketknife and occasionally it is the most convenient to use. A knife can be dangerous which is why I highly recommend finger protection and keeping a sharp knife. If your knife is not sharp it will require more force to cut through the wood and therefore will have a more "jerking" motion while cutting. However, since the knife is sharper it can cut you more easily, hence the finger protection. If you are just starting out, a pocket knife is an excellent starting point. However, as you get more into whittling, a set of knifes is ideal, such as a detail knife, a roughing knife and a cutting knife.
The set knives are my preference for whittling as they are incredibly sharp and ergonomic. They regularly come with a stone to sharpen them on and are each used slightly differently.
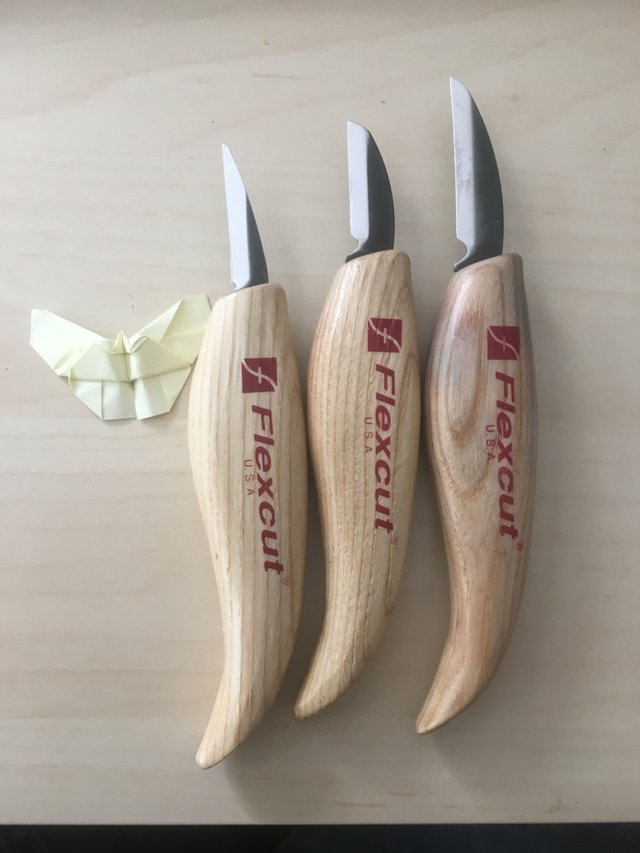
The right-most knife (cutting knife) is used for the largest cuts, it is very thick for separating the cuts from the piece and very long for added cutting area. This is always used to cut away from the body as it can have more force behind it than other knives. This is used earlier on in a piece to get the wood to a basic size, it is not used for detail or to get the rough shape out of the wood.

The middle knife is a roughing knife, it is used largely to get a rough shape, it has the shortest cutting area of the three while still being very thick. This knife is used after the wood is the rough size of the piece to start introducing the shape you desire for the piece. It is still used to cut mostly away from your hand but you will occasionally have to cut towards your hand with a pull stroke (pare cut) with it, the technique for which is simple but I will explain in a different post on whittling technique.
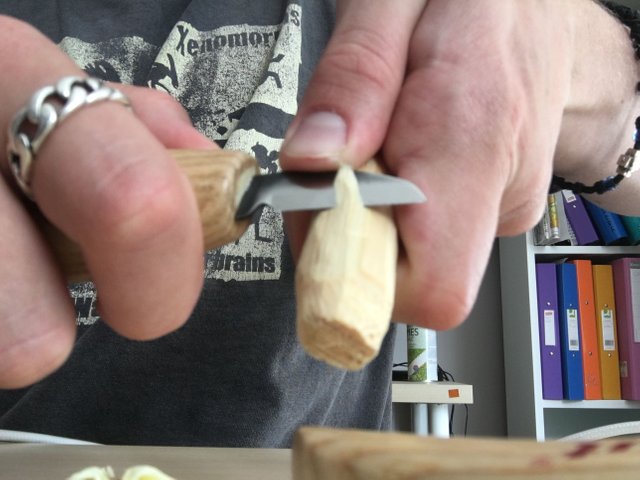
The left-most knife is a detail knife and it is (logically) used to create the sharper details it should require very little force since it is creating very small cuts. It is used at a large variety of angles in order to get more specific details out of the piece. This is when you will definitely want finger protection as it is can slip easily due to the thinner blade. Which I only didn't wear in the photo to make the image more clear.
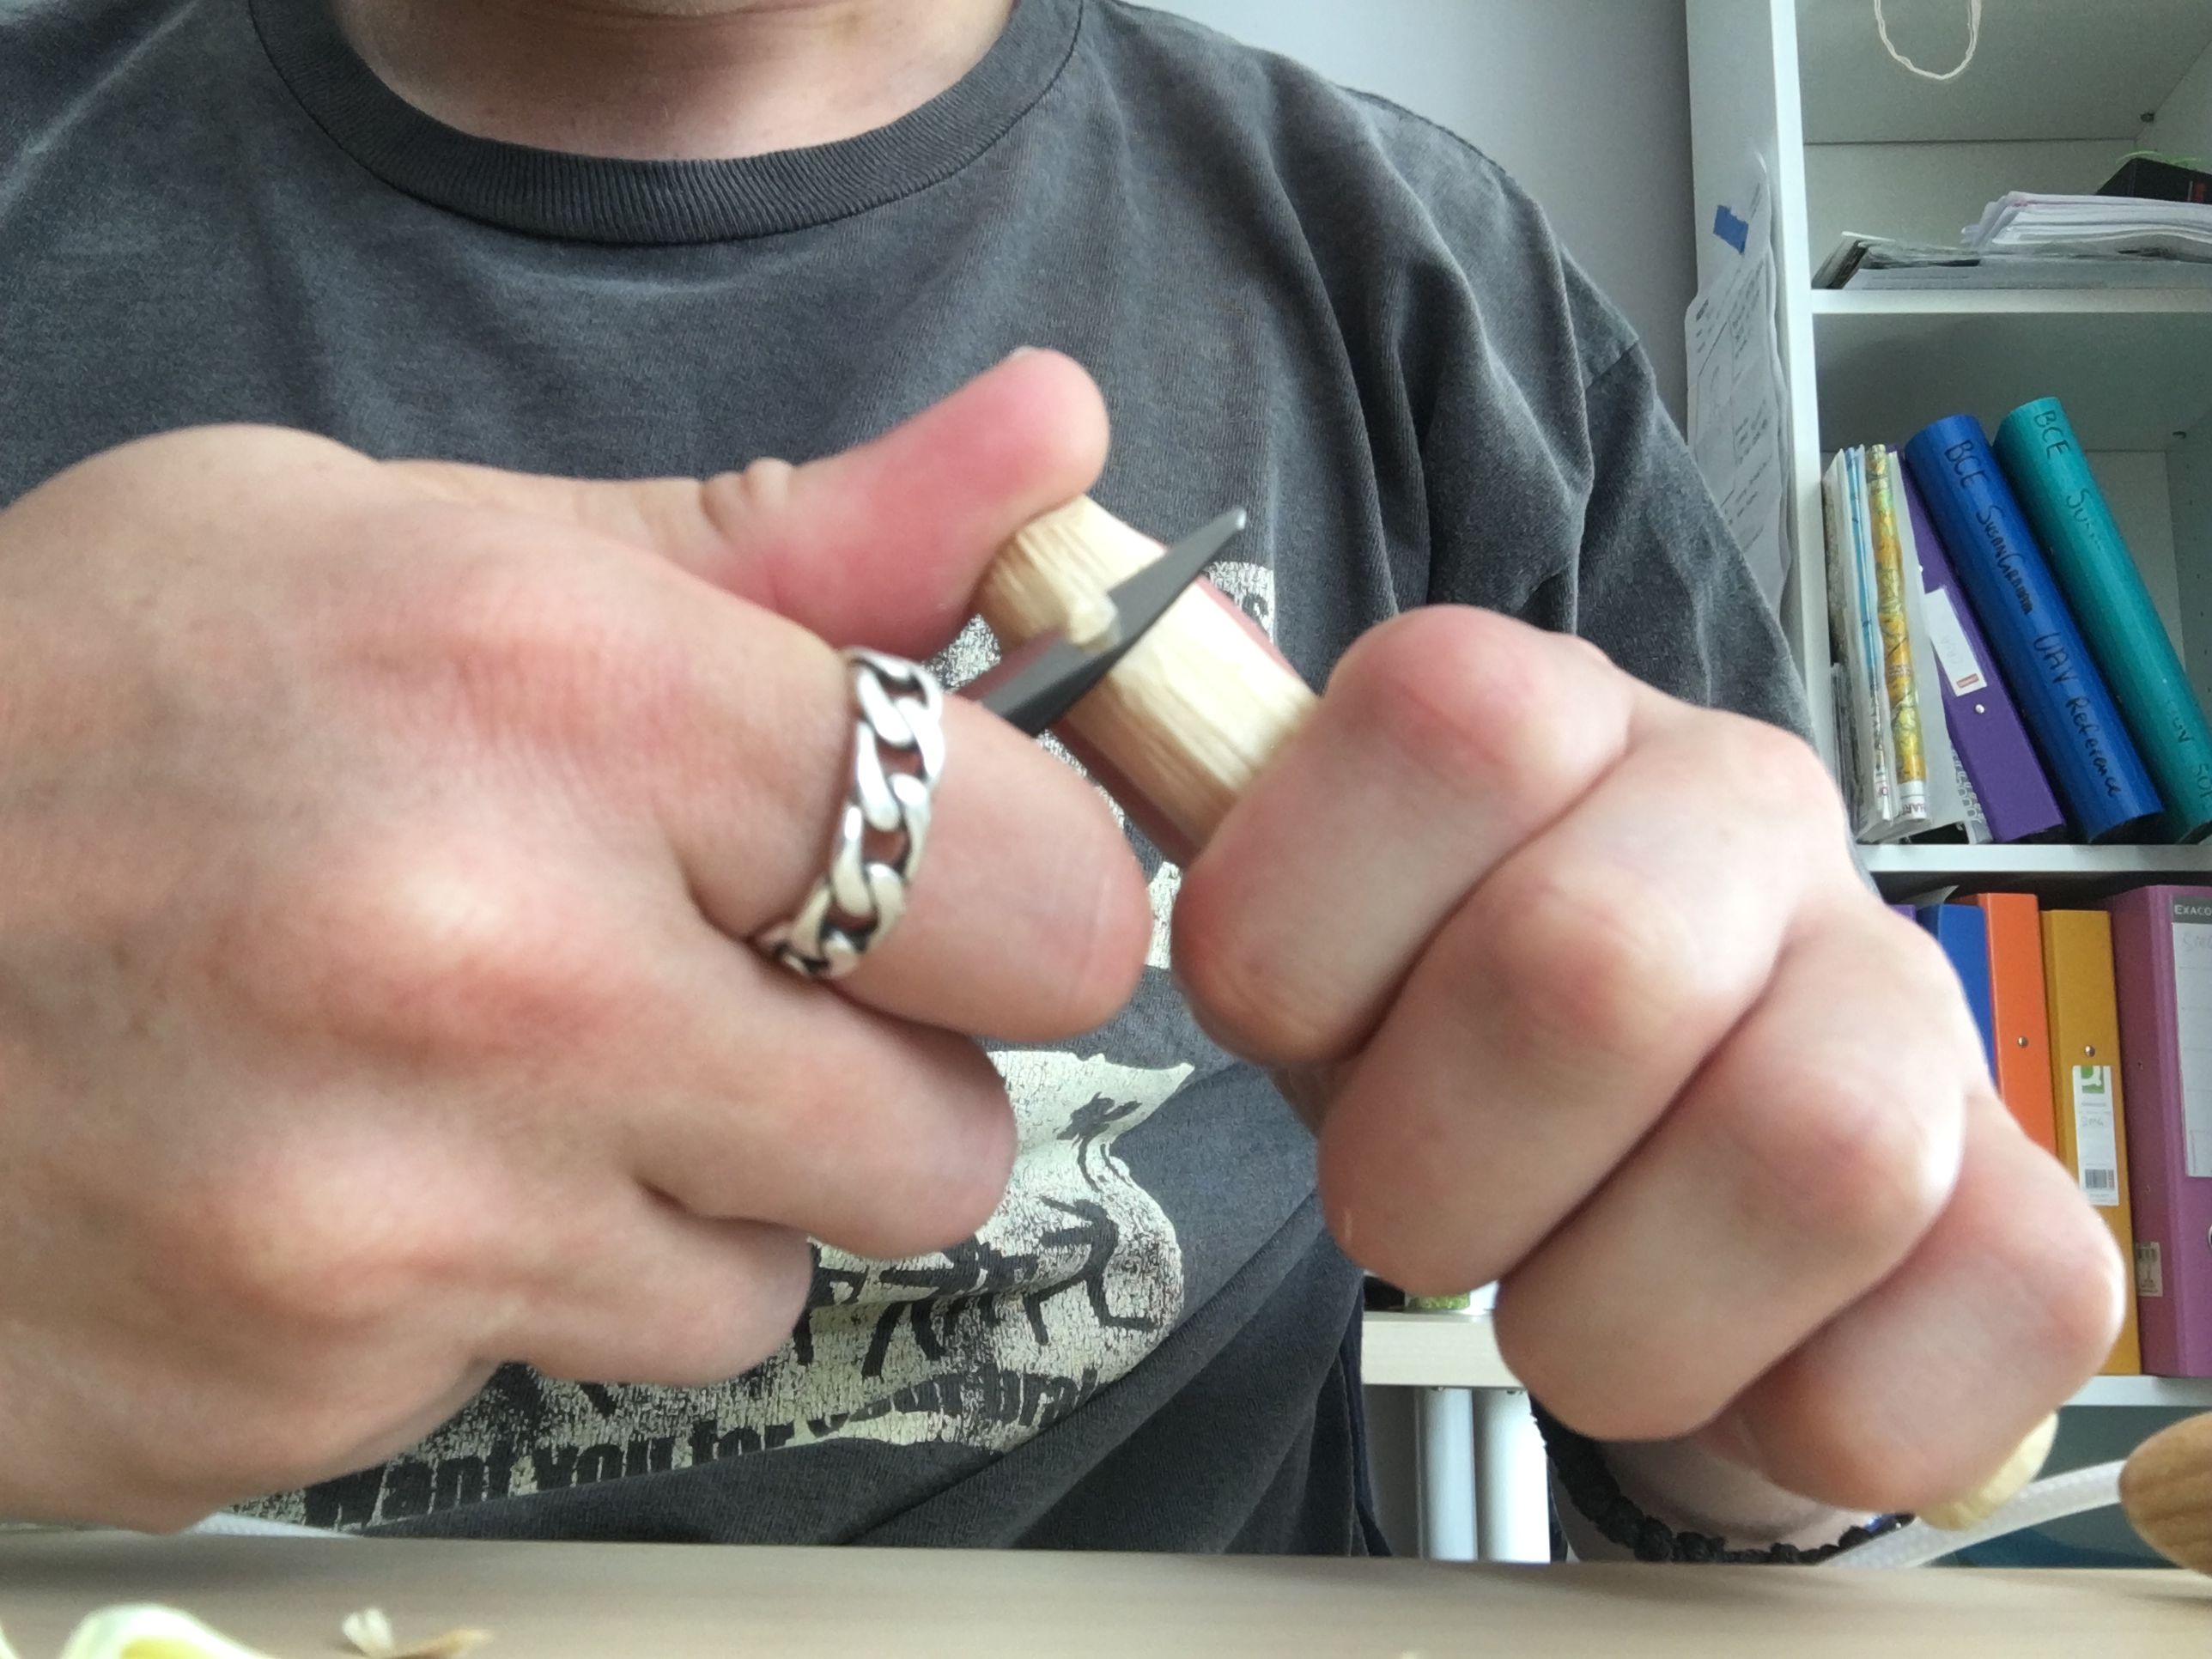
If you chose to go with a pocket knife to start it is ideal to get one with a strong locking mechanism as your knife can experience a bit of force at times.
- http://www.ebay.co.uk/itm/Flexcut-3-Piece-Starter-Knife-Set-KN500-951172-/192119816623?clk_rvr_id=1293663240606&rmvSB=true
- https://www.amazon.co.uk/Kirschen-815412-Whittling-Double-Sided-Curved/dp/B0001JZWOO/ref=sr_1_2?ie=UTF8&qid=1503760211&sr=8-2&keywords=whittling+knife
- https://www.amazon.co.uk/C-K-Classic-C9038L-Locking-Lambfoot/dp/B0052CDYDG/ref=sr_1_12?s=diy&ie=UTF8&qid=1503760247&sr=1-12&keywords=pocket+knife
Sharpening Stone:
As stated earlier it is important to sharpen your knifes when whittling for your safety, a blunt knife can still cut skin but has trouble cutting wood, thus it will stick in the wood and then slip free when you apply a lot of force, cutting too far into your wood and maybe into your hand.
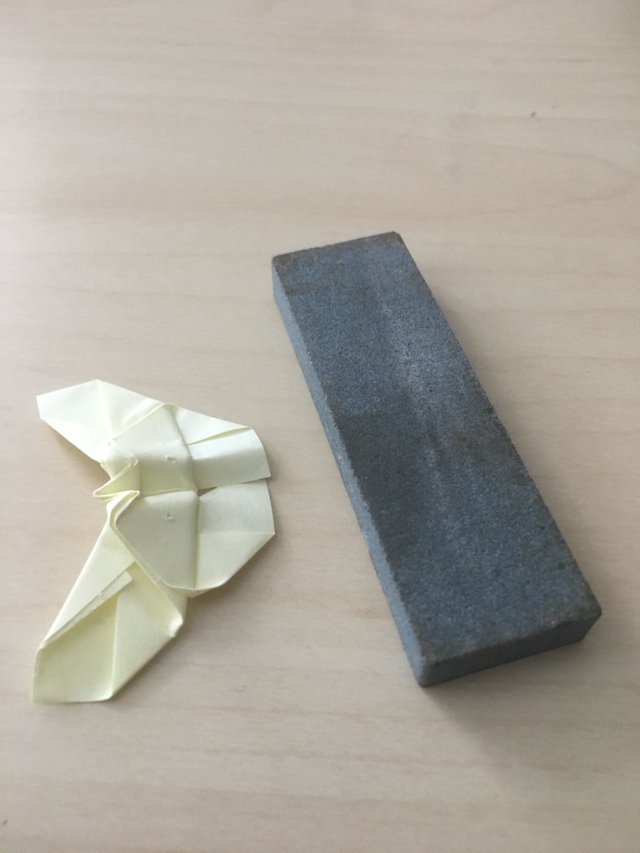
There are many different options for a stone, a whittling set often comes with one, sometimes you can use a wetstone, as long as you buy a high quality stone which has low grit it is generally acceptable. There are also some tools that have been made for sharpening, I use mainly the stone that comes with a set as the company ideally has designed them to suit together. As long as you have a grit in the thousands, it should be fine. Although you can get stones which have different grits on the two sides, start with the smaller grit and work towards the higher grit. I'll have another post showing sharpening technique if people are interested. Don't spend too much on this to begin with unless you are requiring surgical level precision in your cuts.
- https://www.amazon.co.uk/BearMoo-Sharpening-Combination-Waterstone-Sharpener/dp/B01IHOOZ4M/ref=sr_1_1?s=diy&ie=UTF8&qid=1503760405&sr=1-1&keywords=wet+stone
- https://www.amazon.co.uk/Lansky-Deluxe-Knife-Sharpening-System/dp/B000B8IEA4/ref=sr_1_2?s=diy&ie=UTF8&qid=1503760509&sr=1-2&keywords=knife+sharpening
Wood:
There are many different woods you can use, however for starting out there are basically one two approaches, super cheap or very soft. If you want to avoid spending too much until you know if you really like whittling then merely use tree branches, they are a perfectly good option and have been used to create beautiful pieces in the past.
If you want soft wood, then a wood like balsa is good to get your technique down, however what you create won't survive all that long. My current preference is for pine as it is relatively soft, easily accessible but won't get too damaged if you drop a part. However, it is important to note that thin parts can still break on pine carvings. For example the pawns I have shown in the photo below had parts which were too thin and easily broke.
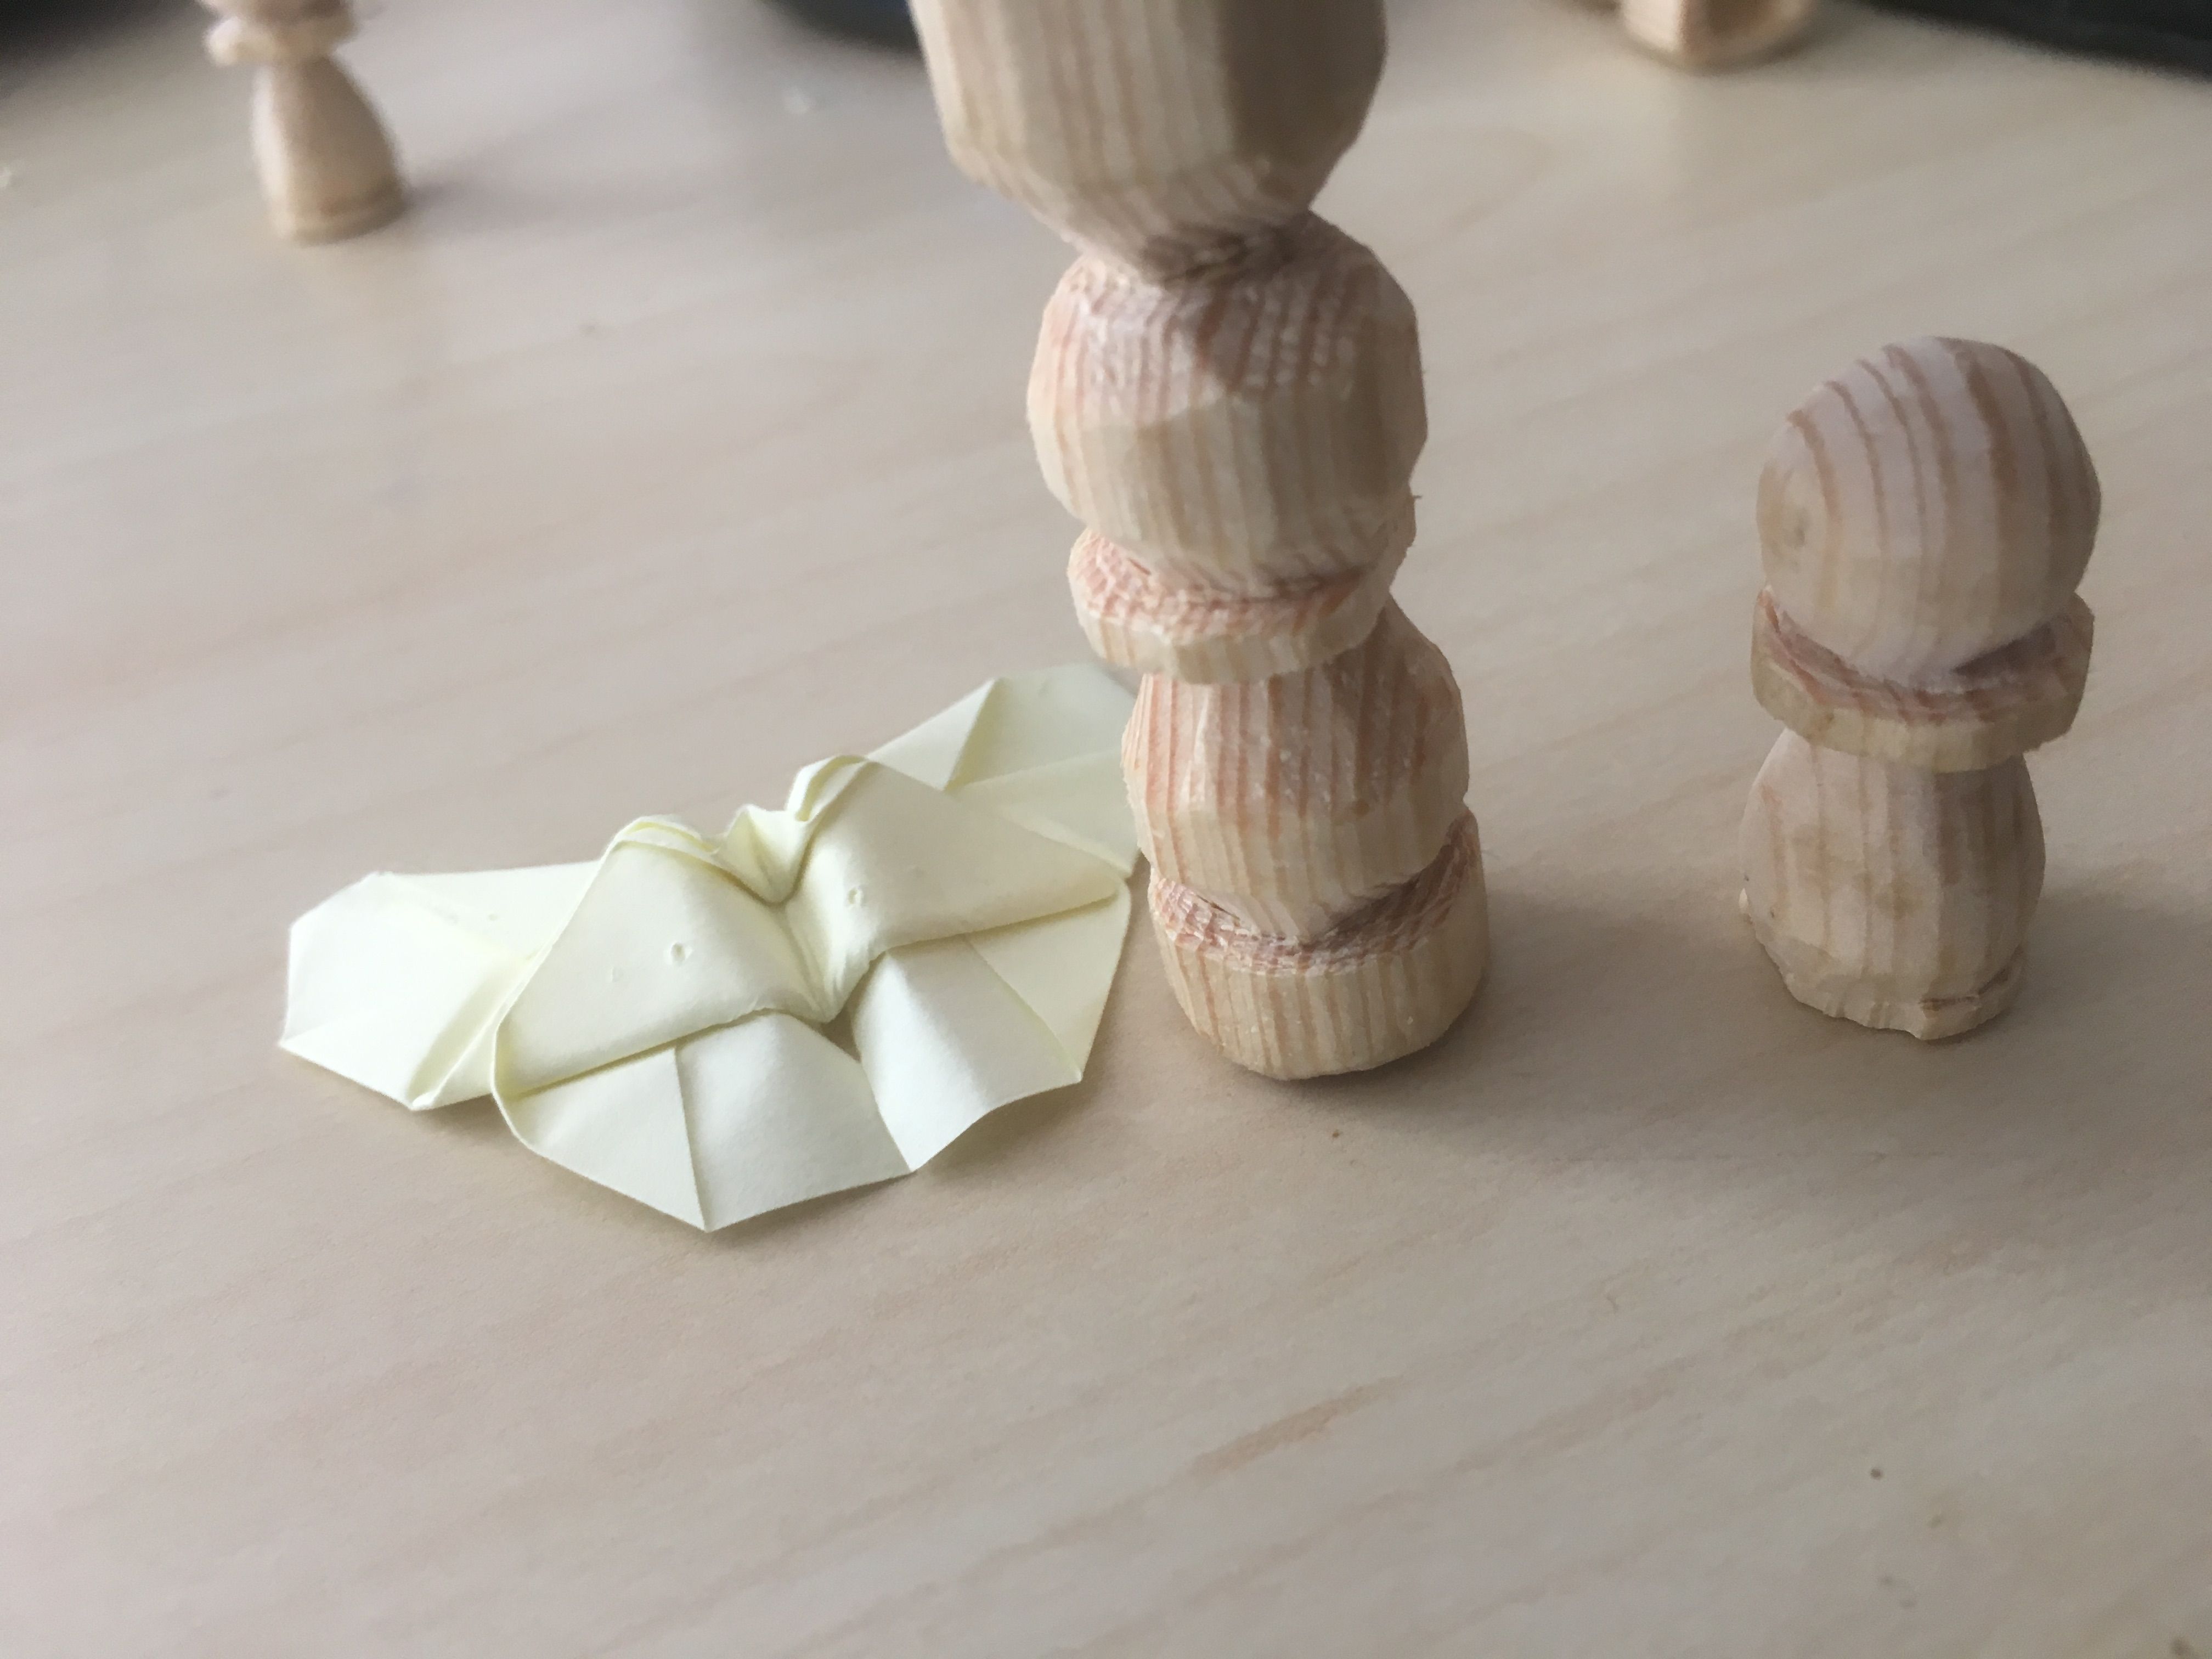
I won't link to any sources for the wood as it will largely depend on your physical area. Wickes in the UK and Bunnings in Australia are two good sources.
Finger Protection:
I have ranted about finger protection a lot due how many times I have gotten cut before I was consistent with it. I currently prefer using the cut off fingers from leather gloves. The thicker the gloves the better, however you can get whittling finger and thumb protectors which are made from incredibly thick leather. That's all you need, something covering your fingers so they don't get cut when you are using a pull stroke or forcing your knife too much.
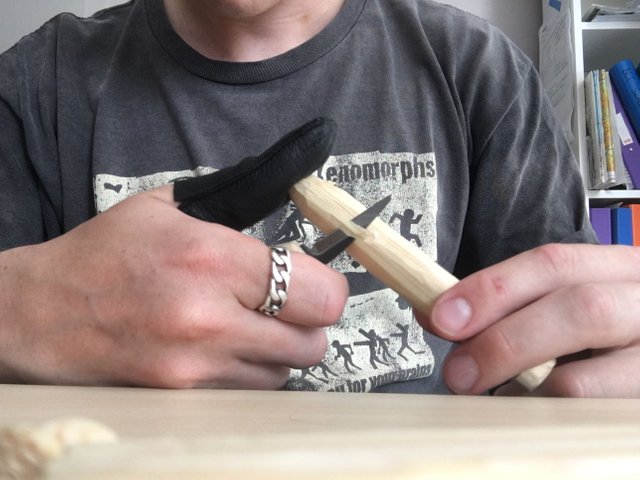
- https://www.amazon.co.uk/gp/product/B0002IY0II/ref=s9u_simh_gw_i3?ie=UTF8&fpl=fresh&pd_rd_i=B0002IY0II&pd_rd_r=QG79AH8B929T86ZWQPH1&pd_rd_w=andwi&pd_rd_wg=8iyHF&pf_rd_m=A3P5ROKL5A1OLE&pf_rd_s=&pf_rd_r=661120KBE9FR68BZM2D7&pf_rd_t=36701&pf_rd_p=187bec3b-0822-4044-bbe9-441718232b3f&pf_rd_i=desktop
- https://www.amazon.co.uk/gp/product/B01EWAWP5Q/ref=s9u_simh_gw_i4?ie=UTF8&fpl=fresh&pd_rd_i=B01EWAWP5Q&pd_rd_r=QG79AH8B929T86ZWQPH1&pd_rd_w=andwi&pd_rd_wg=8iyHF&pf_rd_m=A3P5ROKL5A1OLE&pf_rd_s=&pf_rd_r=661120KBE9FR68BZM2D7&pf_rd_t=36701&pf_rd_p=187bec3b-0822-4044-bbe9-441718232b3f&pf_rd_i=desktop
- https://www.amazon.co.uk/HAND-Leather-Finger-Thimble-Protector/dp/B01MXK0WA0/ref=pd_sim_328_5?_encoding=UTF8&psc=1&refRID=F91BZY5FTR37B6XNEQ2H
Sand Paper:
This is used to smoothen your part for presentation, it is highly unlikely you will have perfectly smooth parts after whittling. Ideally you have a range of sand paper and cut off small squares for using to smoothen the parts out. I recommend going from the low hundreds (250 grit) to about 1000 grit and use 3 or 4 stages. Any more than 1000 grit sandpaper isn't overly necessary for simple whittling. It may, however satisfy an inner urge if you prefer.
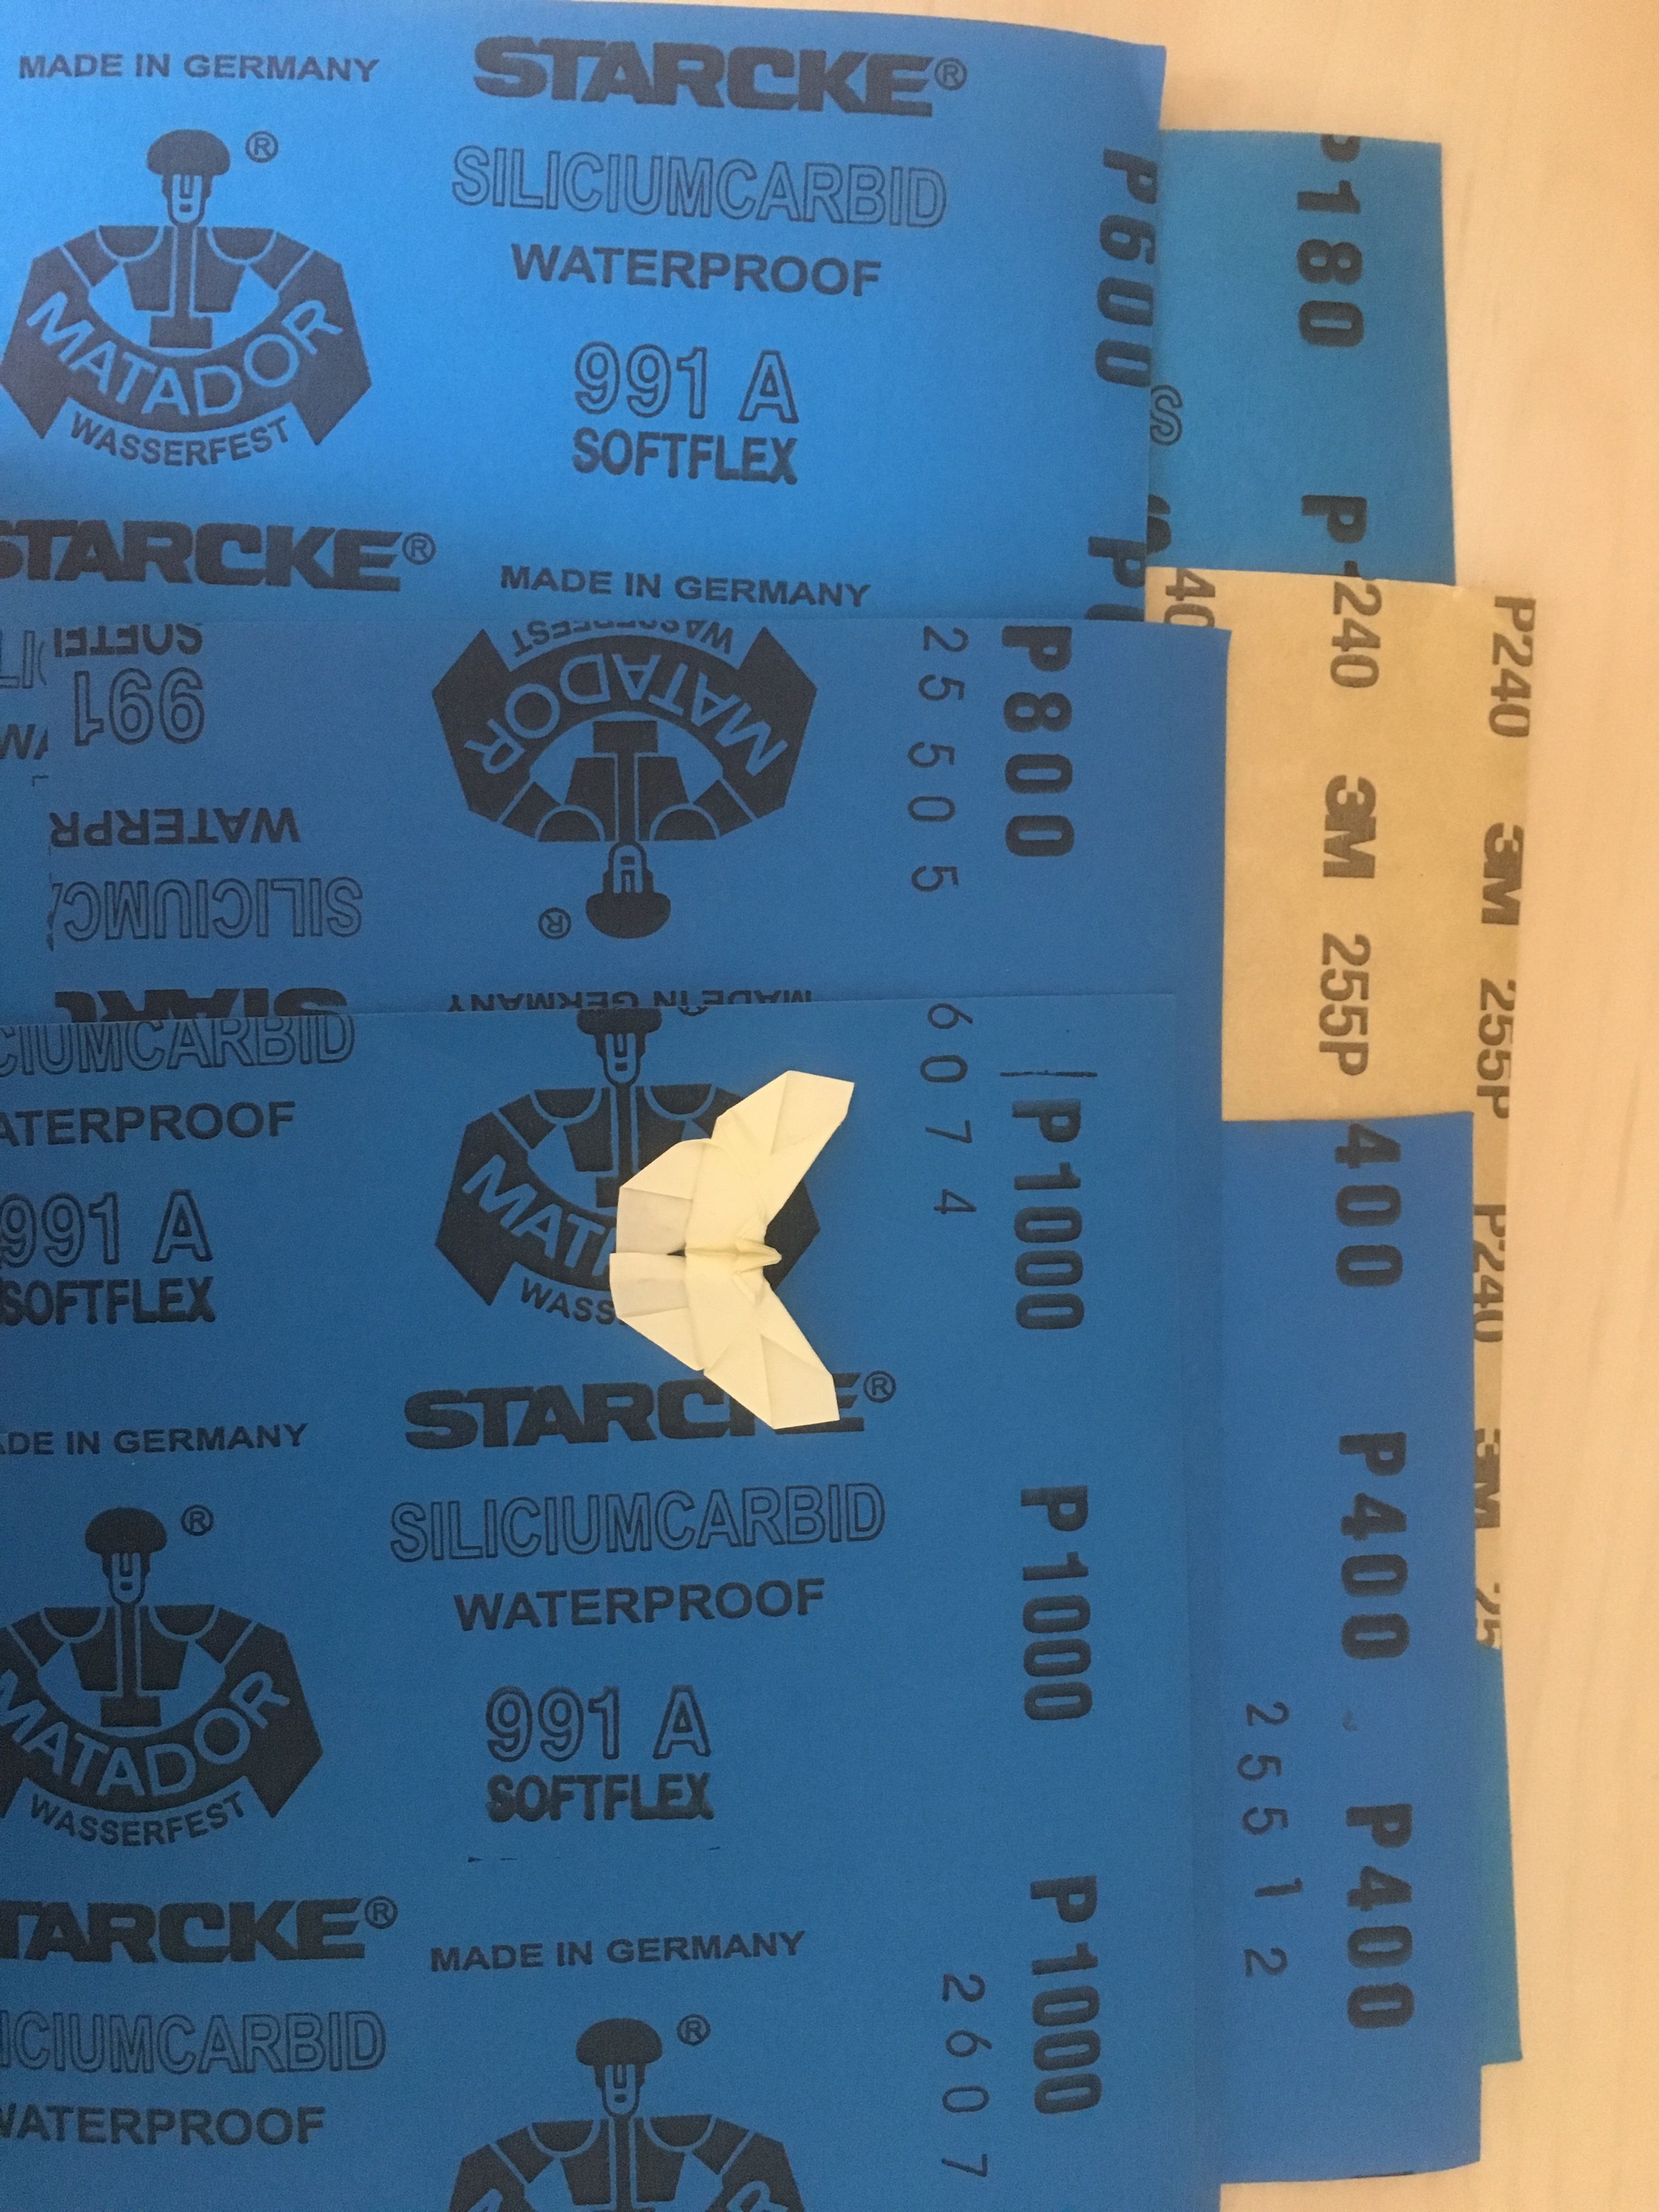
Once the sand paper appears "full" of wood try to wash it out with water for a few seconds. This will free the sandpaper to shave more wood off the piece. Otherwise you will merely shave off very little with each stroke of the sandpaper. In the below photo you can see that the top piece is partly filled with wood and won't be shaving off nearly as much wood as when it is clean.
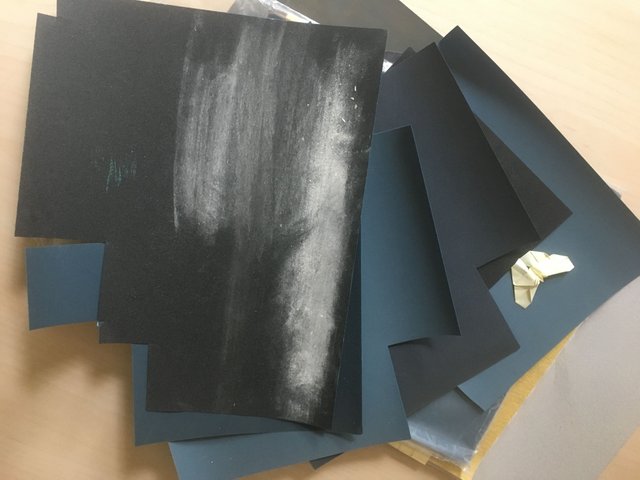
The key to sanding is a consistent pressure and even spread across the surface of the part.
- https://www.amazon.co.uk/Sandpaper-Assortment-Automotive-Furniture-Finishing/dp/B01KMDZHP2/ref=sr_1_1?ie=UTF8&qid=1503761581&sr=8-1&keywords=sandpaper+kit
- https://www.amazon.co.uk/Sandpaper-Assortment-Automotive-Furniture-Finishing/dp/B01KMDZHP2/ref=sr_1_1?ie=UTF8&qid=1503761581&sr=8-1&keywords=sandpaper+kit
Thank you very much for reading, please advise, comment and tell me what you think. If this is well received I will post more about whittling, however I have a large range of topics I am interested in posting about. I am a robotics engineer at work and I have a range of things that I would be excited to talk about.
-Orothrim
Congratulations @orothrim! You have completed some achievement on Steemit and have been rewarded with new badge(s) :
Click on any badge to view your own Board of Honor on SteemitBoard.
For more information about SteemitBoard, click here
If you no longer want to receive notifications, reply to this comment with the word
STOPThis is awesome. Thanks for the upvote.
Congratulations @orothrim! You have completed some achievement on Steemit and have been rewarded with new badge(s) :
Click on any badge to view your own Board of Honor on SteemitBoard.
For more information about SteemitBoard, click here
If you no longer want to receive notifications, reply to this comment with the word
STOPVery cool!