Hivefleet Rotah: Objectives
Hello everyone!
This time I created a little larger post than usual, but I hope you enjoy it!
Custom objectives
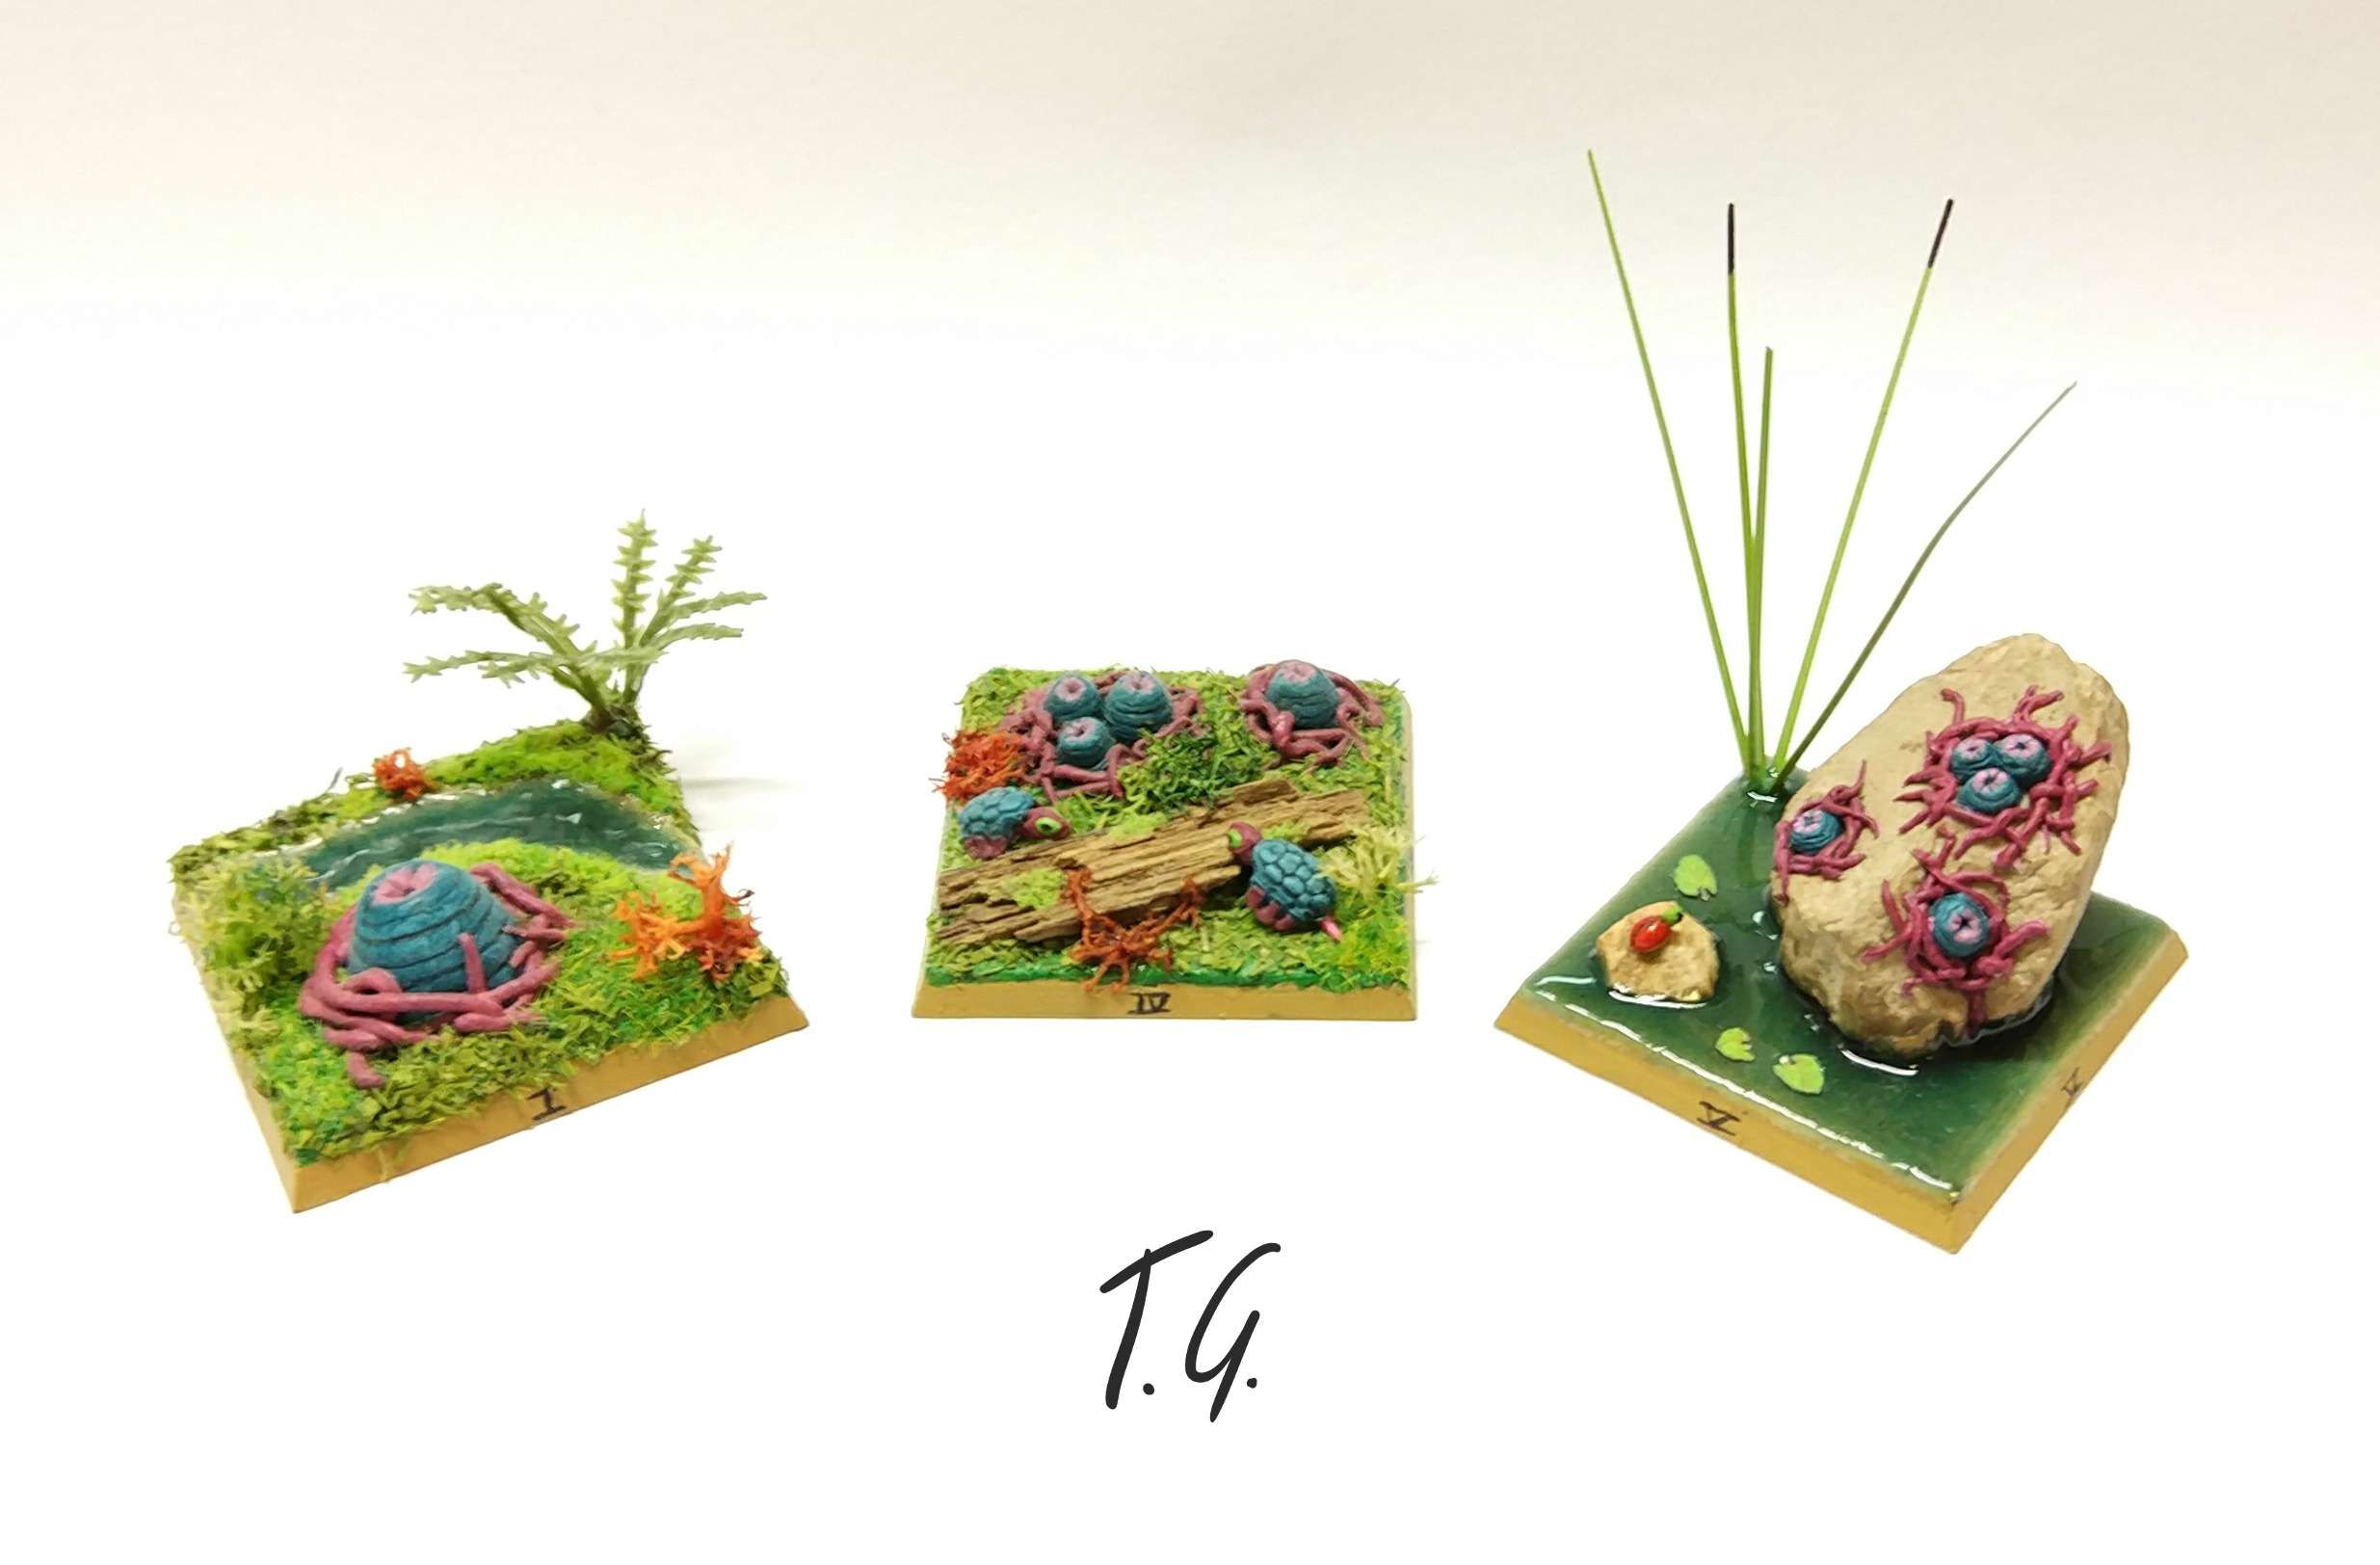
Even if I do not play with my tyranid army, I still wanted to make some hivefleet rotah themed objectives. So I went to my local hobby store and bought six 40mm bases. Luckily the store always has some spare bases and bits you can buy and usually these are very cheap.
Now that I had the bases I needed some ideas for the objectives itself. I wanted to use some of these tyranid terrain pieces (guess they are called infection marker in the Lost Patrol board game). Thought it would be cool to use them as indicator for the objective number as there are two variants: Two and three spore dispenser (? – Anyone any idea how they are called?).
I could use multiple of them to represent the numbers 4, 5 and 6. Only for the 1 I need to make my own – no problem, as I made some smaller ones for bases already. In fact after making the first three objectives I guess I do all of them on my own. I did not start with the other three as I only have an idea for one of them. I want to use a tree and no idea where to get a suiting tree for a jungle. Guess either I buy a miniature willow or I try making my own wire based tree – but there are too many other miniatures laying around waiting.
And here is how I made the objectives 1, 4 and 5:
I started with number 1:
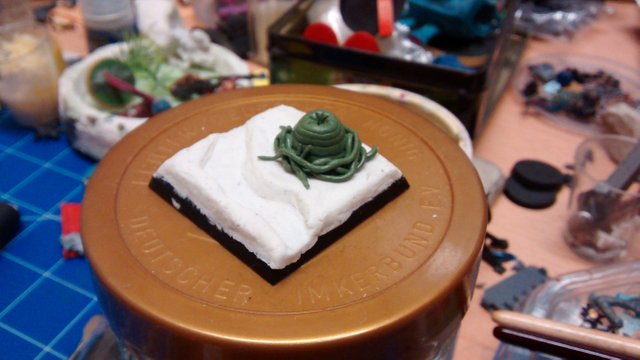
On the right side there is the spore dispenser made of greenstuff, the rest of the base is made with some inexpensive putty. I formed a small river on the left side. It should be filled with water effect later on.
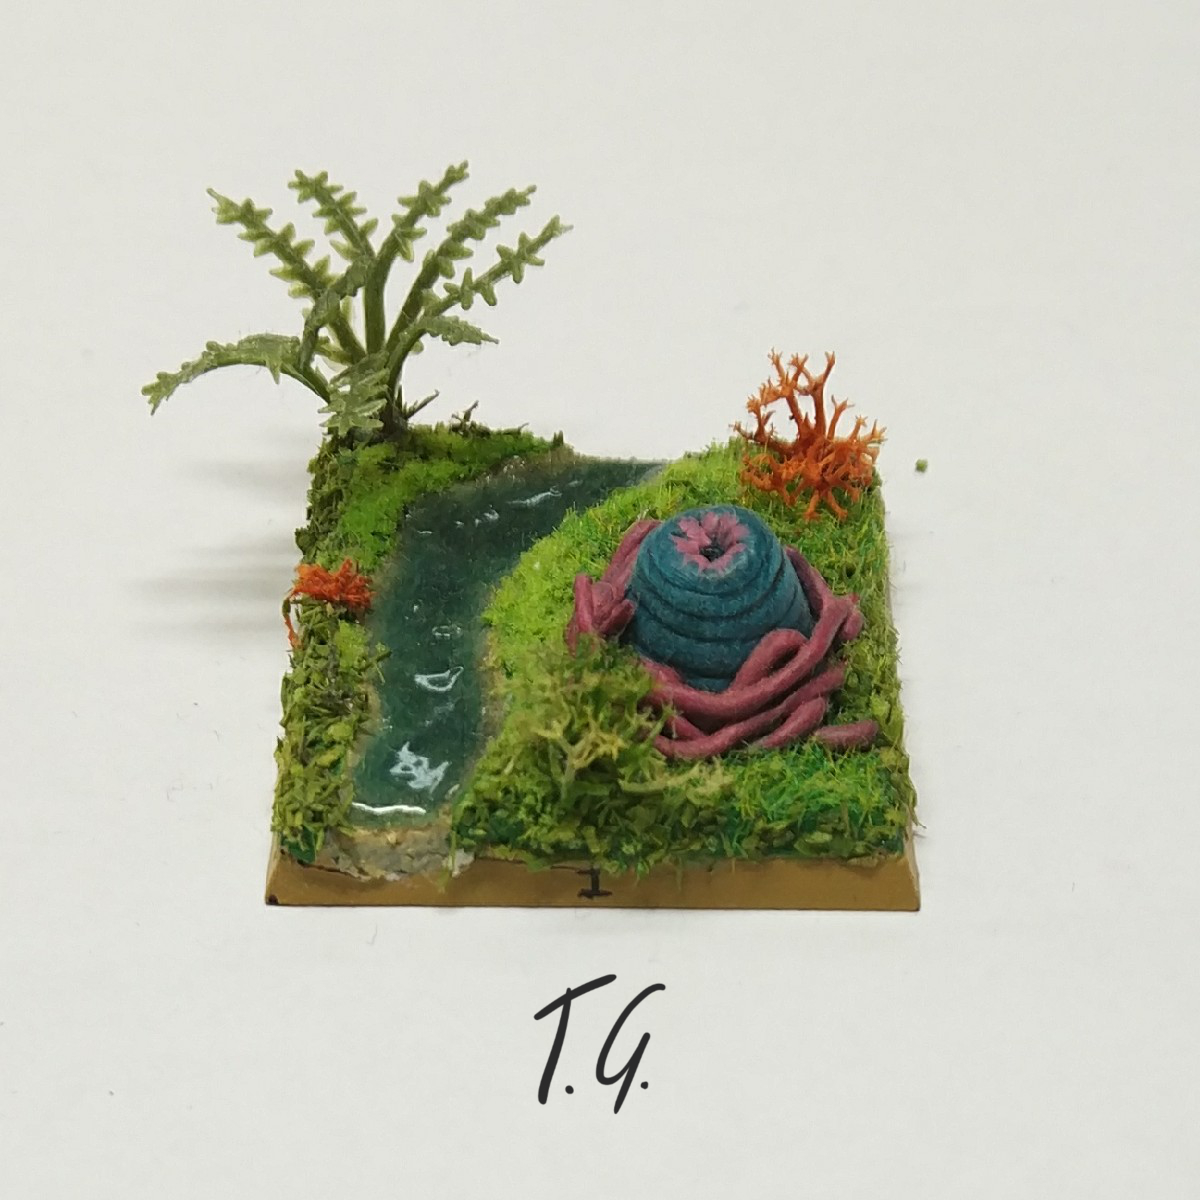
After that I started painting the whole thing and then I put some sand on the base for the river bed. Next thing to do was the water effect. I started with a kinda turquoise color then used a more greenish and realistic looking color. The last layer is just the clear water effect with no color added.
Unfortunately I had to do this twice, as the last layer of the first attempt got blind and the whole thing looked horrible to me – I guess I did not shake the water effect well enough.
Finally I could add the usual flock and basing stuff, and because it looked quite empty I made a little fern plant from a plastic fern.
The next one that I made ended up to be the fourth marker:
I had some piece of wood and two of my self-made tyranid organisms (I call them Cheloptera Tyranidica). After some experimenting I got this prototype setup:
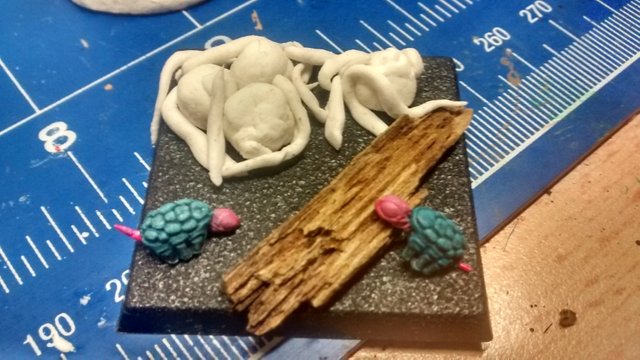
I took me quite a while to model the infection marker on this as they had to be very tiny and you need so much patience for them. Sorry for the horrible quality of the picture, but this shows you some progress:
To make the wood piece last longer I sprayed it with some clear varnish. To remove the shiny look I painted various layers of matte varnish from Vallejo afterwards. I glued it on the base and did the usual basing stuff. In the end I added the Cheloptera.
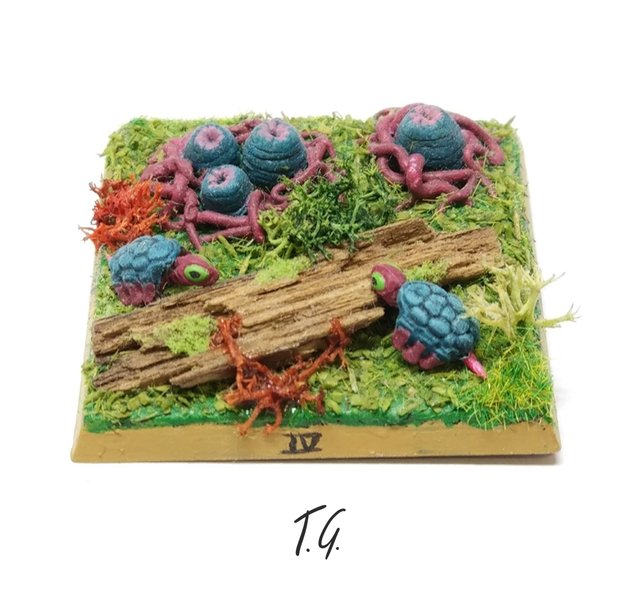
Last one to show you is number 5:
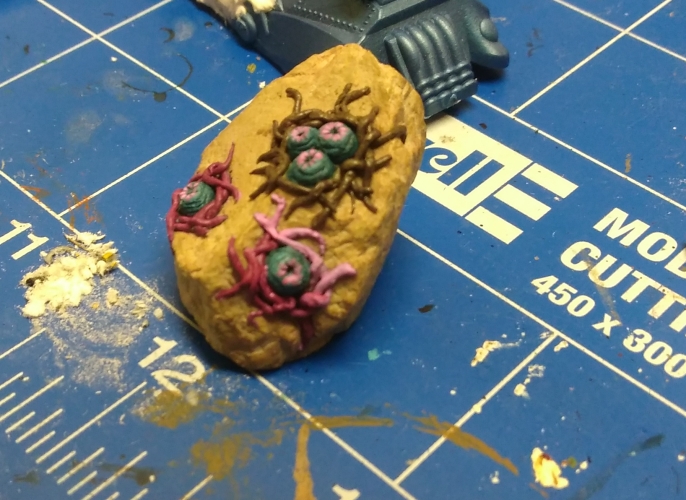
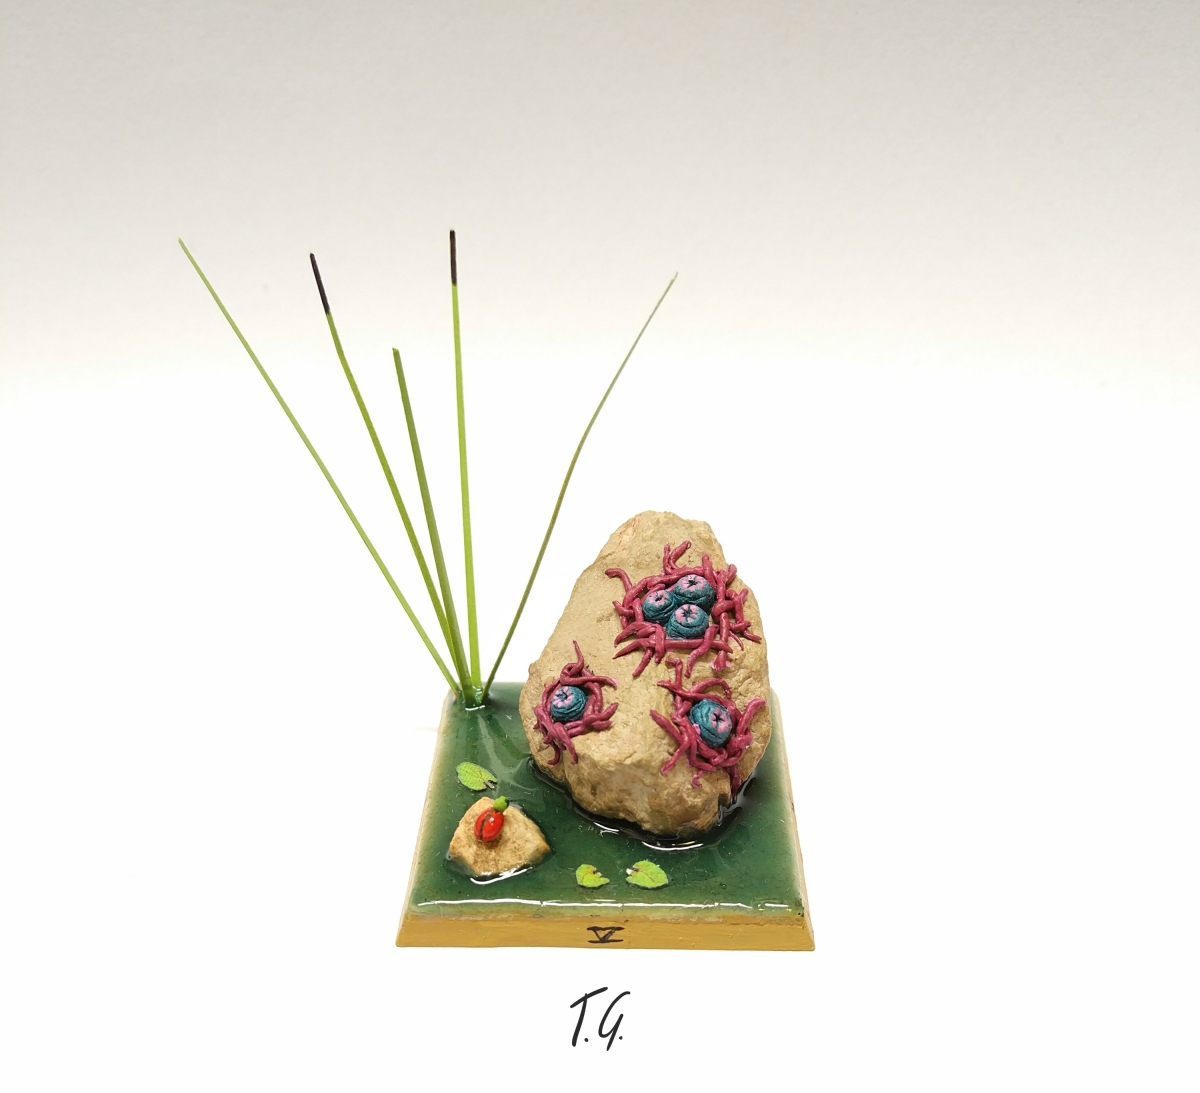
For this one I wanted a stone sitting in some jungle water. The infection marker should overgrow the stone. It did not take long to find a suiting stone. I primed it with a thin layer of Reikland Fleshshade. It took me even longer to model the infection marker on the stone as these not only needed to be tiny but should also stick on the stone.
For the "middle" of the markers I used glue, but this was not possible for the tentacles. Lots of patience needed – definitely not a fun thing to do. I switched from greenstuff to brownstuff which is basically the same but with different characteristics. A thin layer of greenstuff is still little flexible when dry – brownstuff gets really hard and will break. But the main reason I used brownstuff this time is that it is stickier than greenstuff during modeling.
Because I needed to be really careful with painting to not get any color on the stone, I started painting the "middle" part of the infection markers and then build up the tentacles around.
Here you can see some progress on the objective:
After I finished the stone I glued it on the base along with another stone and some decorative plant. Next big step was adding multiple layers of water effect on the base. Here you can see an early image:
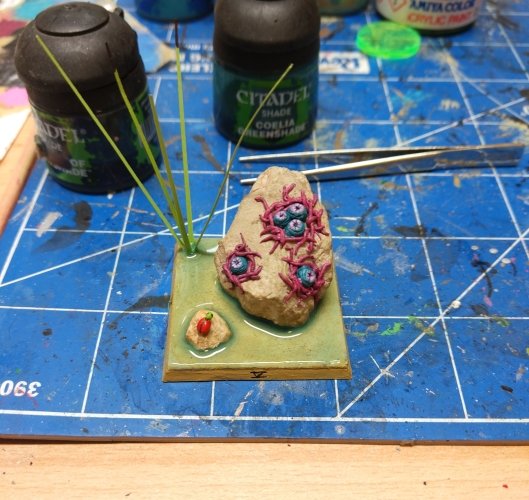
Basically I did the same to build up the water color as with the river on the first objective marker. Every layer got plenty of time to dry to avoid any problems arising from not letting it dry long enough.
Finally this is the result:
Greetings and I hope you liked this post!
~ Tami
Looking good, I like the last one with the water effect the most :)
wow, really cool pieces