How to set up a Vultr VPS for WordPress Hosting
I set up my first website on a Vultr VPS this week. I liked how cheap vultr is, and I already have a boat load of addon domains on my shared hosting account. All of those addon site directories and DNS records get confusing.
Getting Started
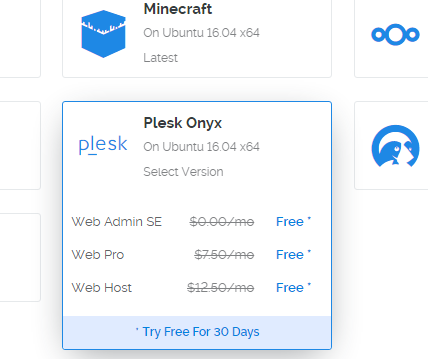
I registered my domain at Namecheap and spun up an Ubuntu VPS with the Plesk Onyx panel. I get so much more time freed up with hosting panels. cPanel and Plesk are good, but cPanel charges a license fee on a server, so I took the free Plesk panel.
If you're like me, you don't want to spend a ton of time on the command line for maintenance tasks for a WordPress website. Even if that's oddly in style now, when you're a one-man show, it gets old really quick.
My hobby is spinning up niche sites on WordPress. I often purchase a theme from Themeforrest. Then I set up a child theme for the themeforrest theme and customize it to my needs. Then I gradually start putting up content. New features in php can be added gradually as needed also.
This process, plus a good control panel, is the quickest way for me to get ideas online. Since my sites are heavily content based vs. web applications, you may have different needs for your VPS. This is just what I have been doing for years and what I am good at.
Prep your control panel and update Linux packages
Get your Plesk panel setup on your first login. This mainly involves telling Plesk what your domain name is that will be pointed at the server.
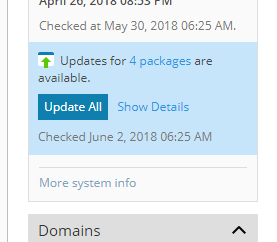
Also, be sure to update all Ubuntu packages. You can do this within the Plesk panel or the shell prompt. The new VPSs on vultr are always out of date and you need to run it. Allow some time because it takes a while (mine needed to update 150 packages on first run).
Point the domain
It took me a while to figure out where to manage DNS settings. I found a good guide on vultr's site. I felt a little dumb after reading the article because the settings are under a tab on the main dashboard:
I added my domain name and then pointed the domain to the vultr nameservers inside my domain registar's dashboard. The domain propagated really darn fast globally, like 15 minutes fast. This is a good site to check the propagation status for your domain:
https://www.whatsmydns.net/
Install WordPress and have at it
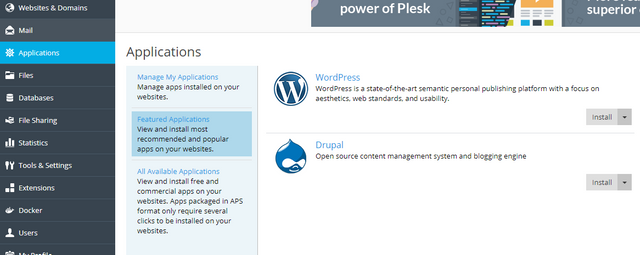
Once the domain took hold, I logged back into Plesk and ran the WordPress auto-installer under the "Applications" tab:
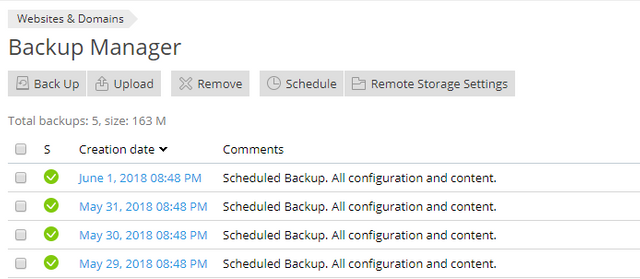
I also configured the backup manager to run a backup nightly. My cheap plan at my shared hosting charged extra for automated backups and I had to run it manually. It's cool to see Plesk does it out of the box and it's free.
This gives me a little more peace of mind. A recent backup is always there, even if I have forgotten to download one for over a month like on my shared hosting.
The autoinstaller does a good job. At this point, the default WordPress installation is on your domain. You can log in to wp-admin and start building.
All of the benefits of cloud hosting without the shared hosting bells and whistles
What's cool about this is that it is in fact cloud hosting. You can add more horsepower to your server if your site gets insanely popular with a few button clicks in the vultr dashboard. You can throw on more ram, CPUs, bandwidth, etc.
On garden variety shared hosting, the plans were bundled with features I didn't need. So I was charged a good deal more for any plan that was one step up from what I had. All I really wanted was more server power, not premium support tickets, more email accounts or whatever.
Also, let's not forget the power of having root access to your hosting server.
 [
[


