Effects | Glitch Text | Gimp #7
Effects | Glitch Text | Gimp #7
I am so excited for this part as this my favorite effect out of all. Today I am making a tutorial on how you can make Glitch Text effect to write any word in a way that it looks like it is glitched. I am just making it confusing so without any further due, let's jump right into it.
You should have basic understanding of GIMP and how it works to fully understand this tutorial.
Tutorial
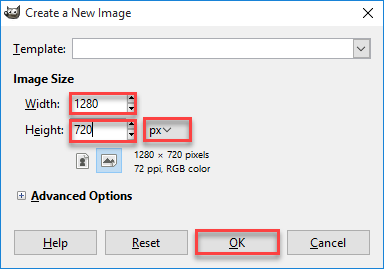
First of we need to - of course - start the the Gimp. The version I am using is v2.8 but any version above 2 will work just fine. Let's start by making a new document. Change the width to 1280 and height to 720, that will give us a nice white canvas. Also make sure while making a new canvas that measurement unit is selected as "px" which stands for pixels. After changing the settings click "OK".
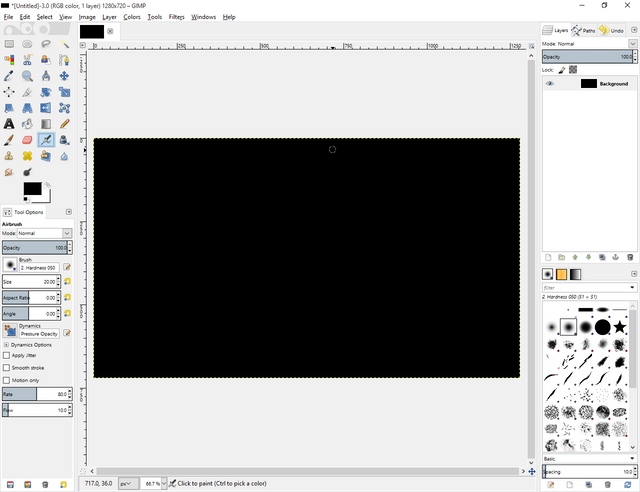
Now we need to change the white canvas to black color to give it dark look which will improve the final result. You can do this by going to drop down menu of edit and then click fill with FG color. FG color stands for Fore Ground Color. It will give you a plain black canvas.
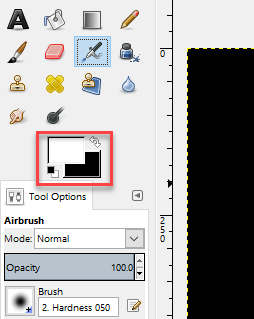
Before going in to main parts, we need to flip the foreground and background color which will give us white as foreground color and black as background.
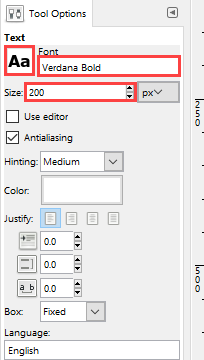
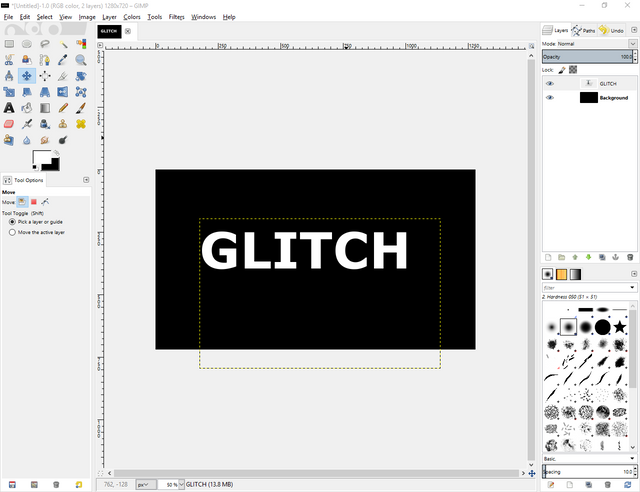
Now let's drag the text tool to form a big rectangle. The font I am is using is Verdana Bold, you can choose any sans font and it will work just fine for this tutorial. Change the the size according to your needs but the size I am gonna be using is 200px. You can change the size and font from the left panel.
Use the move tool from tool bar and use it to center the text.
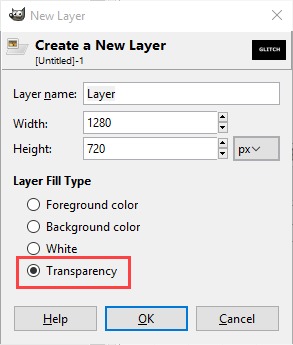
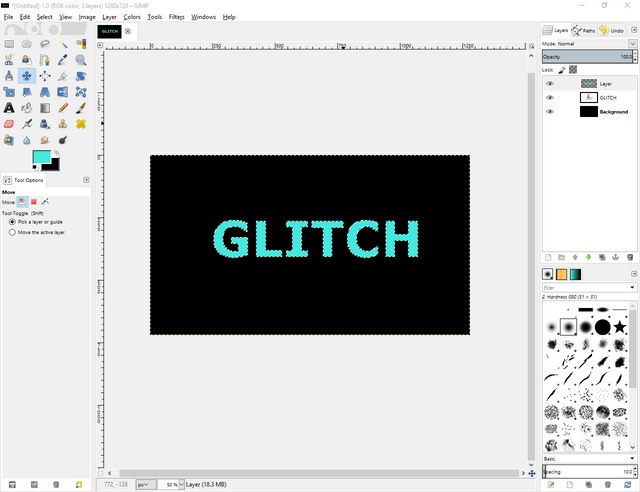
Now that you have centered the image, it's time to create the glitch. To do this first we need to create blue outline around the text. To do this you will need to create a new layer, when creating a layer keep the layer fill type as transparent.
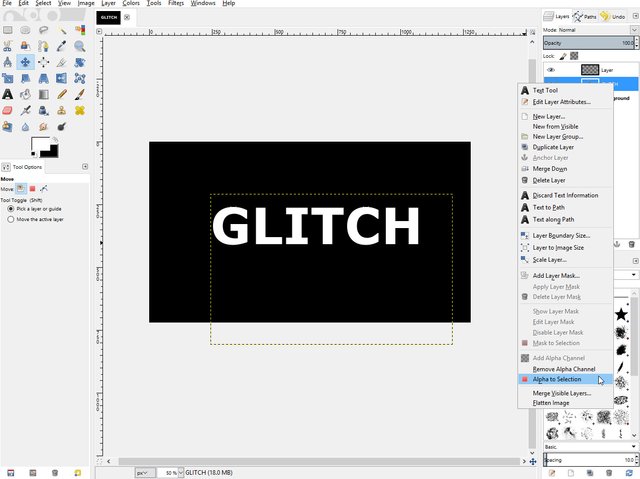
Now go back to text layer and right click on it and then click on alpha to selection. It will result in selection around the text.
After selection go back to the new layer you created and change the foreground color to blue and then go to drop down menu of edit and fill with FG color. This will result in turning the text to blue which will look something like this.
Now you can deselect by going to drop down menu of select and click "none". Now we need to move the blue text to a bit towards right. You can do this by using move tool from tool box and pressing ctrl to lock onto horizontal axis. Move it towards right a bit like this.
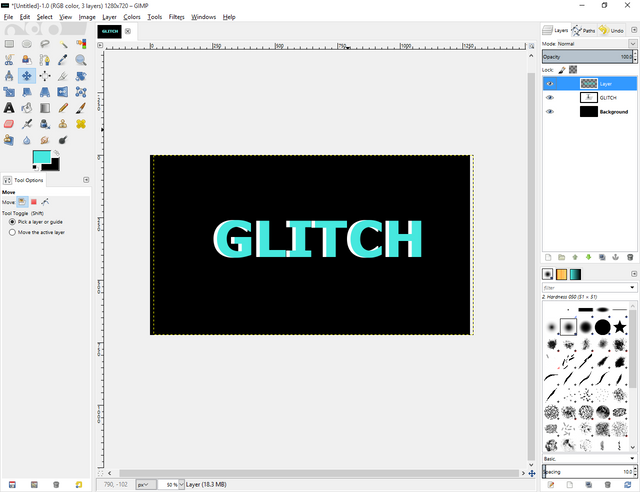
Now drag the blue text layer and put it beneath the normal text layer, this will result in something like the image below.
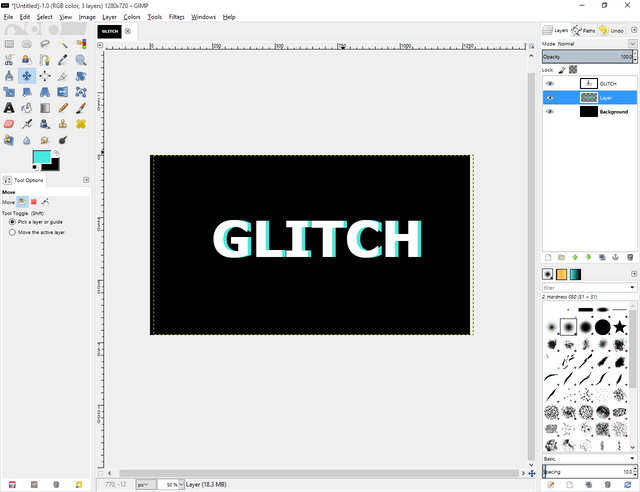
Now repeat above steps for pink color but this time move it towards left side and then at end drag it beneath both blue and normal white text. That will give us a good glitch effect as far as it goes in color but we need to improve it. Anyway here's what it will look like.
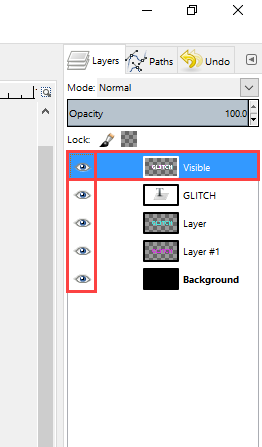
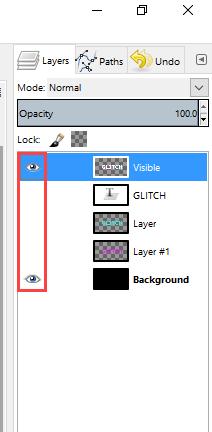
Now for the further steps we need to make all the text layers merged. To do this first turn the visibility of background off and right click on first layer, then click on "New From Visible". This will create a new layer with all the text in it. After the process you can turn on the visibility of background layer.
You can now turn off the visibility of all text layers except for the one you just created.
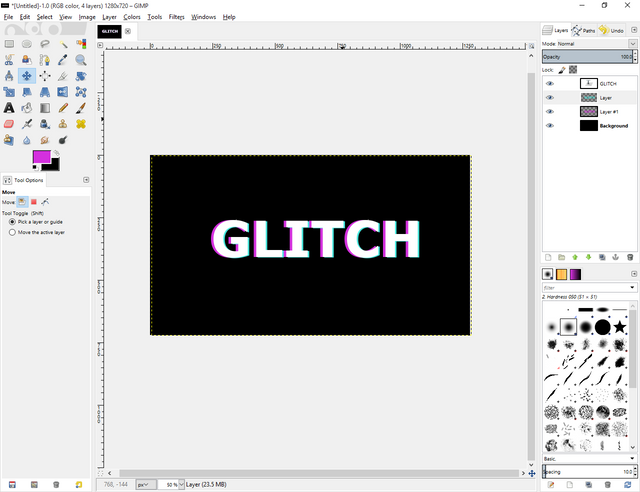
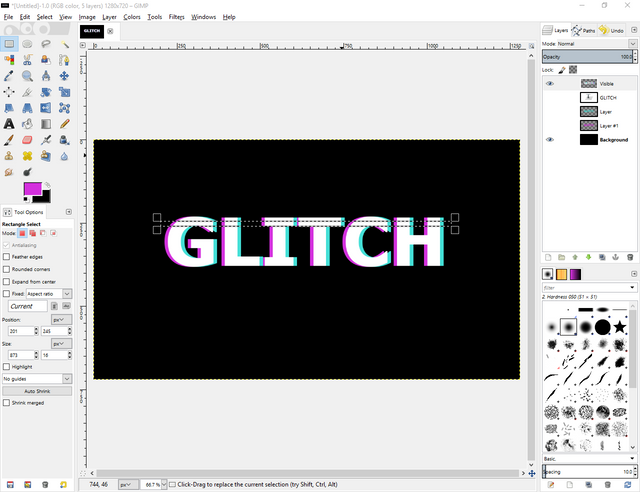
Go to the merged text layer and using rectangular select tool, select a small chunk of the text, like done in the image below.
After selecting it, right click and go to select then click on float. This will allow us to move the selected part of the image. Move it towards right a bit. Result will be something like this.
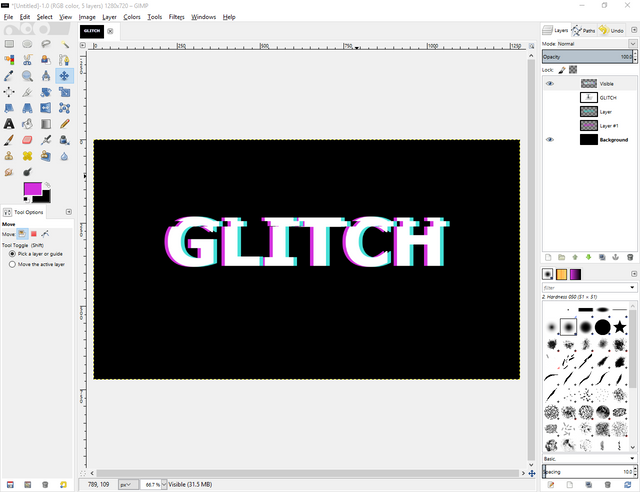
Do this a couple of times till you have something like this.
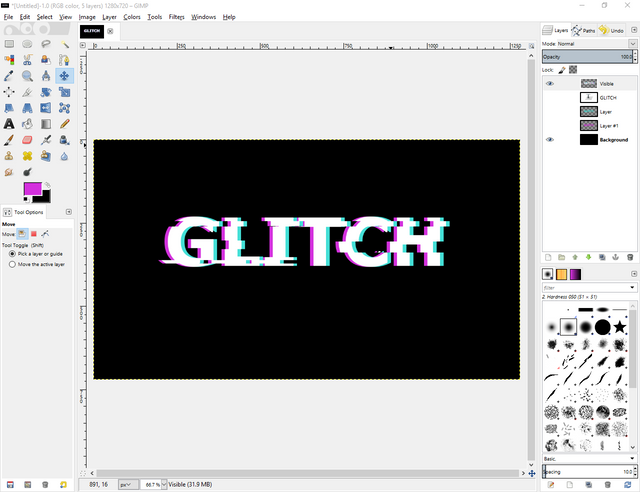
Wollah Effect = Done!
Final Product
Hope you have learned something new in this part, stay tuned for the next one. Remember if you have any confusion state them in comments. I'll be more than happy to help.
Cya! Next Time
Posted on Utopian.io - Rewarding Open Source Contributors
Thank you for the contribution. It has been approved.
You can contact us on Discord.
[utopian-moderator]
Hey @umais I am @utopian-io. I have just upvoted you!
Achievements
Suggestions
Get Noticed!
Community-Driven Witness!
I am the first and only Steem Community-Driven Witness. Participate on Discord. Lets GROW TOGETHER!
Up-vote this comment to grow my power and help Open Source contributions like this one. Want to chat? Join me on Discord https://discord.gg/Pc8HG9x