GIMP for Beginners: Foggy Window Text Tutorial
What Will I Learn?
- You will learn How To Create Text On Wet Window\GIMP
Requirements
Write here a bullet list of the requirements for the user in order to follow this tutorial.
- You should have basic understanding of GIMP
- Gimp software above 2.0
Difficulty
Either choose between the following options:
- Intermediate
Tutorial Contents
Yes this is trazen and in today's tutorial I'll be demonstrating how you can create text written into a foggy window using GIMP and this was originally a Photoshoptutorial and I thought it would be pretty cool to show you how this could be created in GIMP as well so throughout this tutorial both images I'll be using will be linked in the below of the article and I'll even be linking this font file that I'll be using as well this is called a milkshake that's font otherwise any cursive style font should work.
Step 1
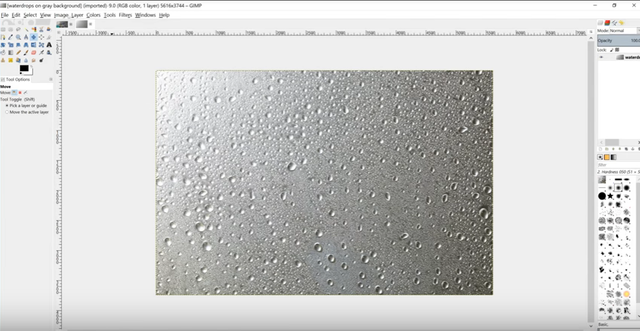
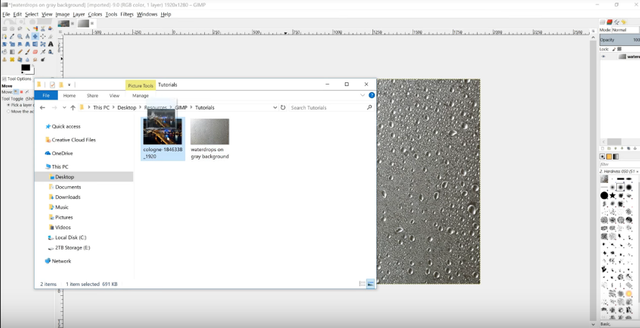
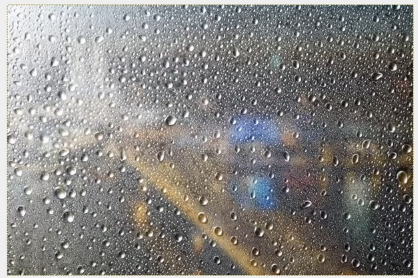
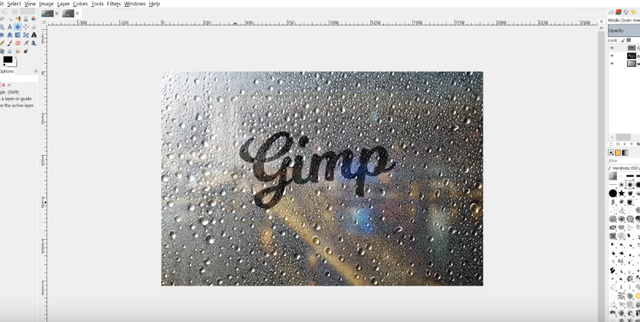
So the first thing we want to do is open up our image of the water drops on a gray background so I'm going to right click that and open it with GIMP
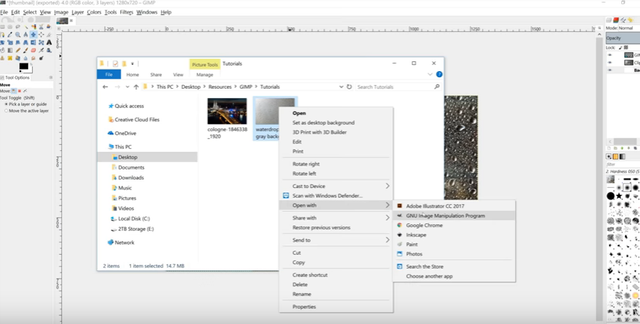
and there's that.
Step 2
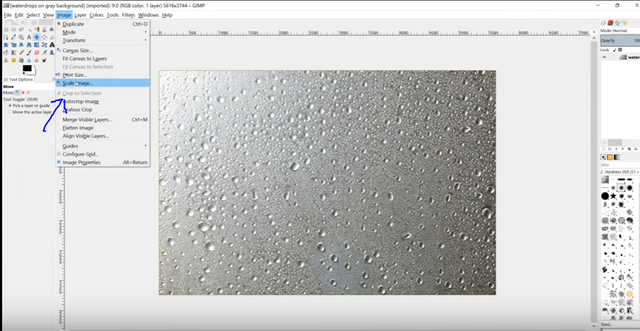
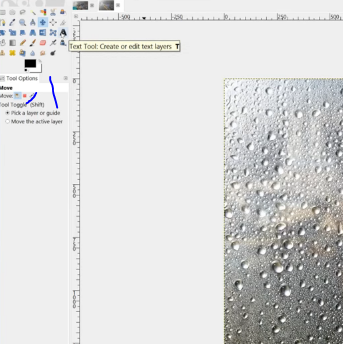
What we want to do now is change the size of this image because it's a little too big we'll go to image
scale image
and the width of this as you'll see it's 56:16 which is we'll need it to be that big we just change it to 1920
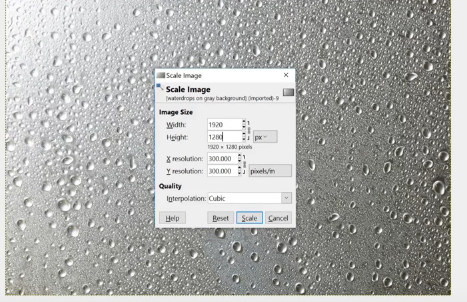
go ahead and click on the next box and it should automatically adjust the height to 1280 if not you might not have this lock icon set so go ahead and set that lock I kind of try it again or you could just manually write in 1280 like that
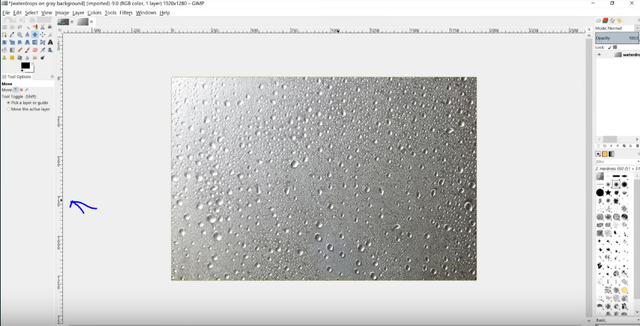
go ahead and click scale and I'm just going to zoom in a little bit by holding ctrl and rolling up on the mouse wheel a few times like that that's pretty good.
#Step 3
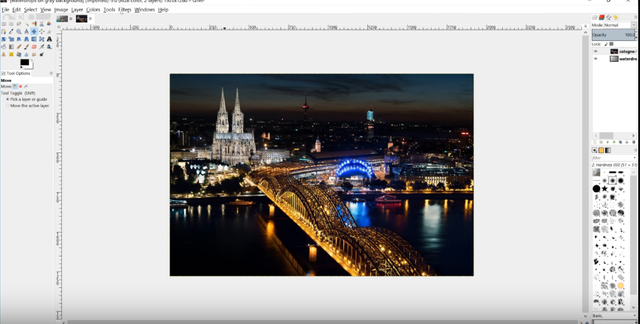
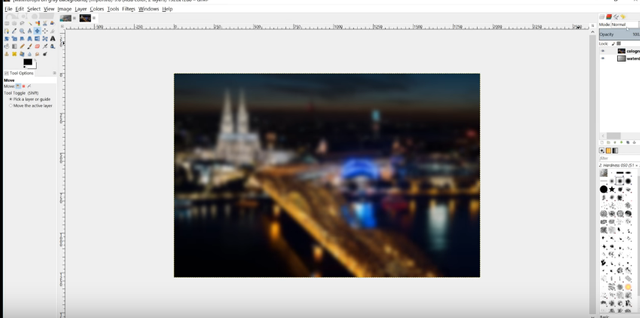
And then we'll open up our image of colonne here and for the image anything was like a night like a night sky usually works it doesn't really work that well with like a blue sky because it's supposed to be raining you could try like a darker cloudy sky but a night sky usually gives you more contrast which works a lot better
Step 4
for what we're going to do so what we have now is we have this image of this city here it's a really really clear image what we want to do is blur this because this is going to be the background the water drops on the window are going to be the subject they're going to be in focus so the background has to be out of focus
Step 5
To do that we're going to add a blur so we'll go to filters blur Gaussian blur and for this one we're going to use a 45 point blur like that
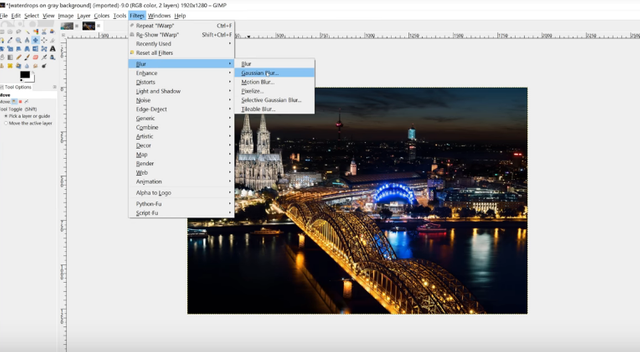

Go ahead and click OK that should make that nice and out-of-focus like that
Step 6
And then we'll change the mode from up here from this drop-down we'll change that to overlay
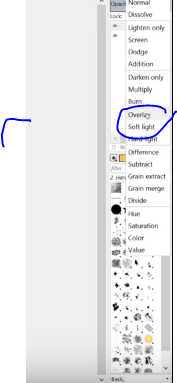
and then it should sort of look like this drops images a window a foggy window looking out onto that city that that night city like that above
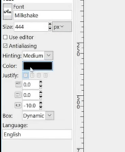
Step 7
And what we'll do now is add our text so we'll come over to the text tool and for my presets I already have the font set is called milkshake
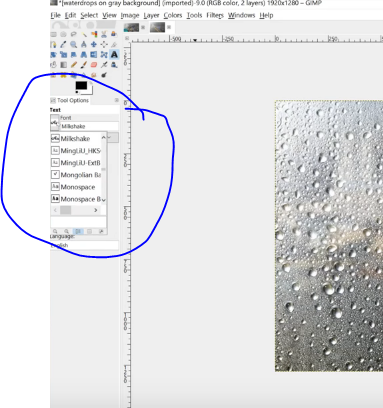
You can go ahead and find that font or use a similar cursive font or any font you want it really it just it just looks more realistic with the cursive fine it looks like it's handwritten the size pretty big like we're going to want like a 400 pixel size here black color the spacing about negative 10 for this particular font anyway if using a different font don't worry about this the spacing between the letters
Step 8
Click the cursor onto the canvas over here and just type in your text for this one I'm just going to use GIMP like that
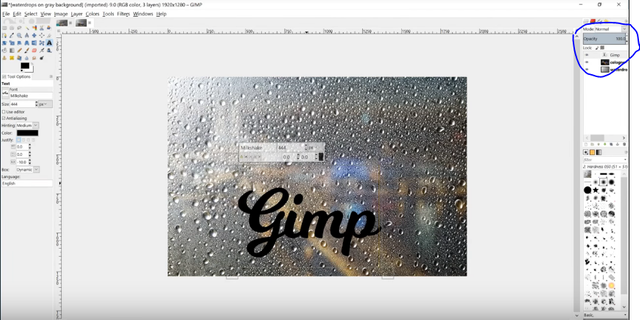
and I'll grab the move tool and I'll move this towards the center of the page and I'm just going to rotate this around a little bit to giveit a bit of a slant just to make it look a little more realistic I mean if you were going to write this into a foggy window with your finger chances are you wouldn't have it perfectly oriented on the horizontal axis like that
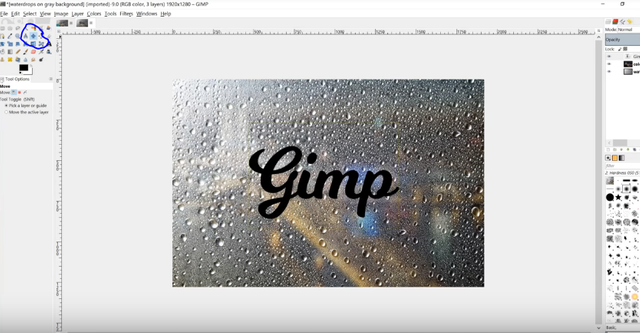
so I like to give it a little bit of a little bit of a slant so go to the rotate tool and just click and drag that around a little bit like that
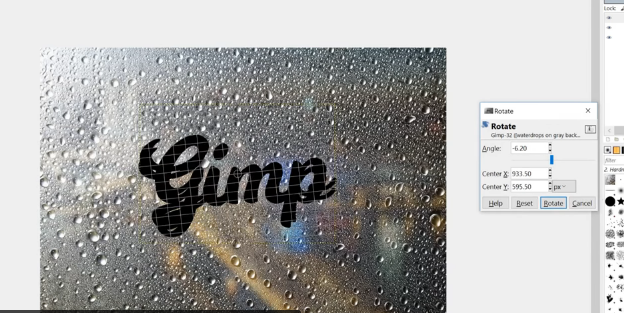
go and click wrote rotate
Step 9
what I'll do now is I'll change the mode of that to grain merge
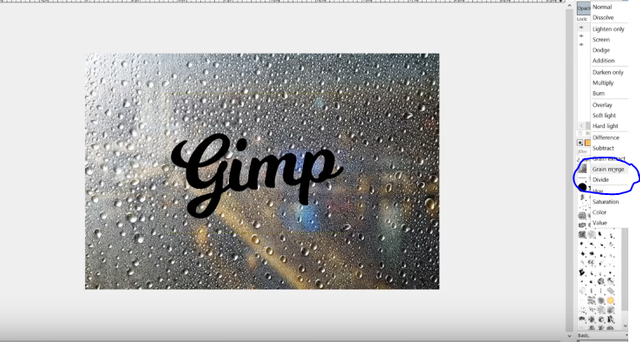
and it's going to make it look like it's written into the foggy window it's like a finger or something
and I want to actually bring the opacity of this down a little bit maybe to like 85 just to make it look a little more realistic a little too harsh those too dark when it's brought up to 100% but at a at 85 I think it looks pretty believable
move this up a little bit
Step 10
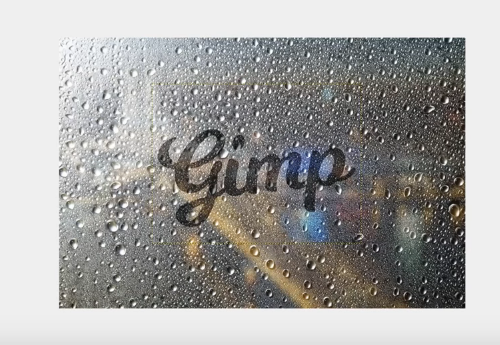
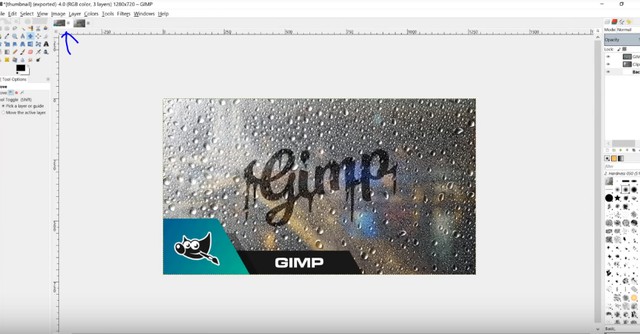
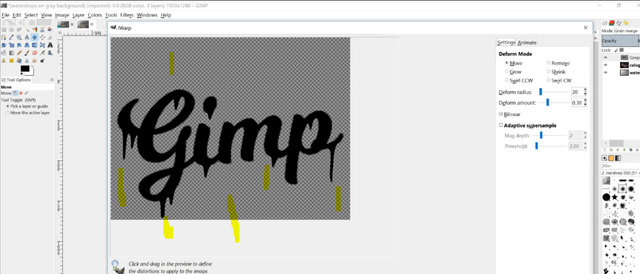
He final step would be to add some drips going down it like you see here in the thumbnail I added some drips going down some of the letters
to do that with the layers selected the text layer we'll just go to filters distorts I work
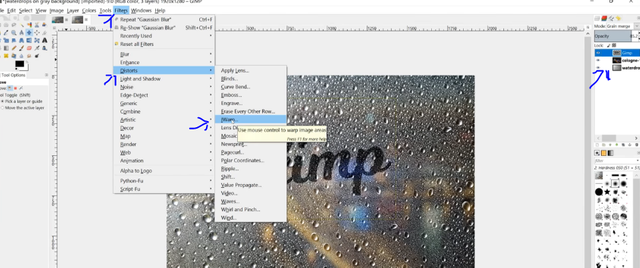
I take the cursor and click and drag down like that on the edge
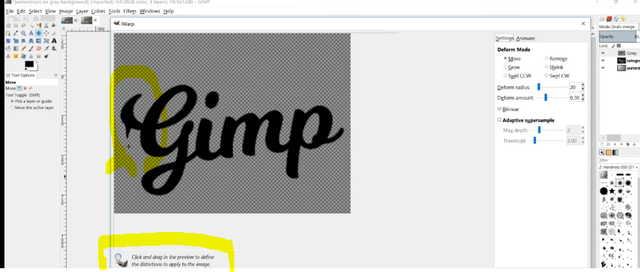
just to create some water drips that put another smaller one right here I'll put another one down here if you want you could really take your time and really crack these and make them look nice make them look longer and everything like actual water I'm just kind of going through this pretty quickly for I out for the sake of the tutorial put another one down here one down here another one down here I'll make this one longer maybe another little one up here right there and that's you should pretty much get the idea it makes it looks like it's dripping down like water like a condensation from the window accumulating and forming drops that roll down the glass so once we've done that we can go ahead and click OK
and there we have that maybe make those drops like a little longer like I did in my thumbnail over here

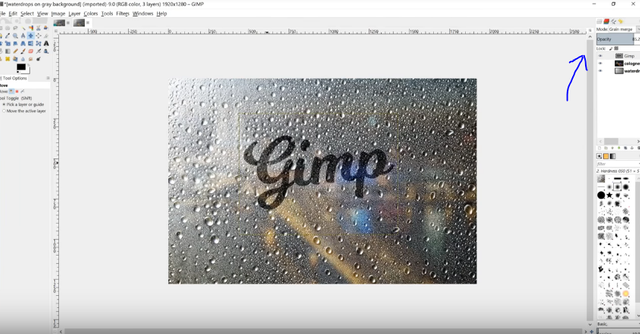
but just to give you a general idea of how that could be done you can even adjust the opacity a bit according to your liking I think that looks pretty good right there maybe 89 so that's how you can do that with GIMP so if you have any questions let me know and to go ways thanks for reading.
Posted on Utopian.io - Rewarding Open Source Contributors
Good job!
thnks
are you a moderator
awesome job
Your contribution cannot be approved because it does not follow the Utopian Rules, and is considered as plagiarism. Plagiarism is not allowed on Utopian, and posts that engage in plagiarism will be flagged and hidden forever.
You can contact us on Discord.
[utopian-moderator]
Congratulations @trazen! You received a personal award!
Click here to view your Board
Congratulations @trazen! You received a personal award!
You can view your badges on your Steem Board and compare to others on the Steem Ranking
Do not miss the last post from @steemitboard:
Vote for @Steemitboard as a witness to get one more award and increased upvotes!
Hey @syedumair / @umais / @masterbot / @masterbank / @anoniam / @syedubair / @funb /@trazen Please return my sbd that you stole from me. 300sbd. Thank you
dont do this again
I deserve my money back. Ill give you a day to give it back. I already talked to someone. I gave em the proof. If you cant give it back. There goes your accounts