Electronic Project # 3: "COLLISION AVOIDANCE ROBOT using ARDUINO UNO"
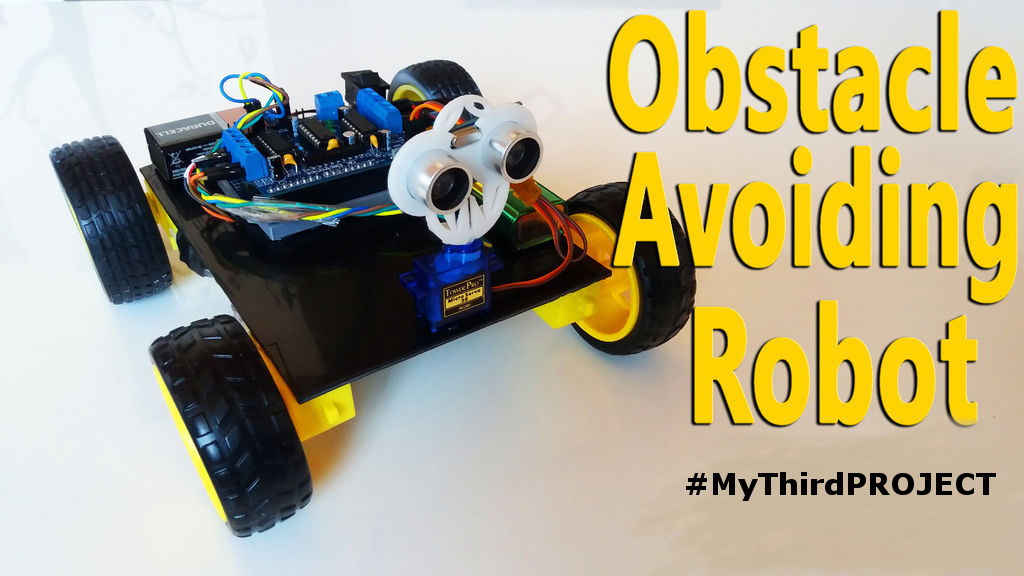
This post and video will definitely help you understand What is Collision Avoidance Robot or also called Obstacle Avoiding Robot , How to make Collision Avoidance Robot and How does it works. With that, I wanna cover the procedures in making this project and since I already discussed about what are robots really mean in my previous post and tutorial, you can View it here, I'll now giving you the process of the sensors of this robot on how does it communicates to the Brain (Arduino Uno), the wide application of this Robot or project and how can this robot be helpful in the future in the field of technology.
Actual video of the final output of the COLLISION AVOIDANCE ROBOT
(little summary GIF)
Watch the full video below
Robots has three main laws (Brief explaination)
♦ Robots should not injure a person and come to a situation where humans are being harm
♦ Robots must obey and follow the command of the human beings unless the command will conflict the first one
♦ Robots must protect its own self unless it will conflict to the first and second law
♦ Zeroth law ➢This law is actually added after the first 3 laws being mentioned but this law only states in general that Robots must not harm any human beings or allow a robots actions make any person come to harm
Collision avoidance robot is our third project last year when we are in third year college of engineering
Of course there are many errors and difficulties, but thankfully we succeed to fix those problems in a limited time given
The main reason why I did sharing these kind of stuffs and beautiful information is just to give emphasis how robots and technologies can make our lives more easier and productive in the near future.
Also, these kind of activities and projects will really enhance our capabilities to adapt into the environment of high technologies, then therefore, we can start even in ourselves the power of innovations of our technologies into much more beautiful and useful machines with great efficiency and productivity.
In this Tutorial post, You will learn how ultrasonic communicates and gives information or signal to the brain (Arduino Uno) and what are the possible application of this beautiful project Robot for the benefits of the society and improvement of our technology/technologies.
⓵ I will also give emphasis about the Parts that this Robot actually made of 👌
⓶ The functions of those every parts 👌
⓷ And ways how to use different software for components simulations and testings 👌
④ What codes are being used in programming for this robot to follow a special task👌
⑤ I will also include our expenses in making this Robot just for transparency purposes and also serves as a guide👌
⑥ How ULTRASONIC SENSOR functions and communicates to the Brain of this robot (Arduino Uno)👌
PROJECT ABSTRACT
We all know that technology is one of the most important foundation in every society towards economic progression and improvement. We have observed, particularly in Southeast Asia , we are lack of smart machines that could greatly contribute to the improvement of our technology. So, we made this project to spread this beautiful idea not just limited for this particular application but we also propose this information for industrial and safety purposes. Collision avoidance robot application can really save many lives in the road then the question is HOW? Basically, collision avoidance robot is made up of Ultrasonic Sensor which serves as a safety device that can avoid obstacles to prevent accidents in the road. This project is also to encourage everyone, specially in poor countries in southeast Asia, to innovate something useful to the people and to become more competitive in the world of technologies.
What are the materials needed ?
♦ Arduino Uno
♦ Breadboard (In making Circuit)
♦ Copper Clad Board (Optional)
♦ Jumper wires
♦ Ultrasonic Sensor
♦ Servo Motor
♦ Battery (4.5v to 5 v)
Software
♦ Fritzing
♦ Arduino Uno for PC- Download Here
♦ Arduino Uno for Android - Download Here
Short description for the materials
| Materials | Pictures | Description |
|---|---|---|
| Arduino Uno | 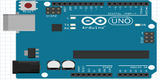 | It is a micro-controller board that has inputs and outputs that can be used to store the commands and codes then later will be process by this device. |
| Breadboard | 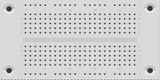 | It is an electronic tools for experimental purposes where you can make Circuit by experimentally mounting the components, wires and connections temporarily. |
| Copper Clad Board |  | It is a board in different sizes where you can sketch your design circuit connections and etch it for permanent layout and permanent circuit connections. |
| Jumper Wires | 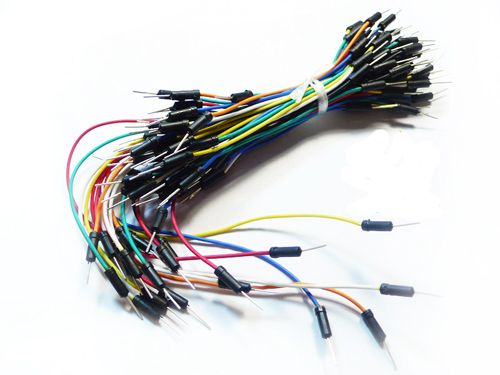 | Wires use for connections to be properly connected and to organize those connections clearly. |
| Ultrasonic Sensor | 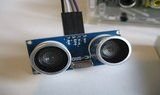 | This sensor serves as a safety device of this robot that sends information to the Arduino Uno whether it the robot needs to stop or continue activating. |
| Servo motor | 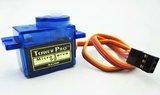 | It is an electronic components that can rotate in degrees and the speed can be adjusted into either slow or fast by some commands through arduino. |
| Power bank Battery | 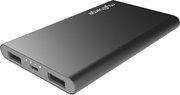 | Power bank battery is a device that can store a certain amount of electrical energy by charging and at the same time it can provide or give that stored energy into another device. We used Power bank since it is not disposable and this project should not be costly. |
BRIEF PROCEDURE
Since this project only needs the Ultrasonic sensor and barely contains the brain (Arduino Uno) and the two servos, I'll just show you how we made this project succesfully step by step. But before I do, I wanna teach you how to use again the FRITZING and ArduinoDroid software for visual guide purposes, testing of components and encoding of codes.
1. FIRST STEP
Circuit Construction of a sensor in BreadBoard
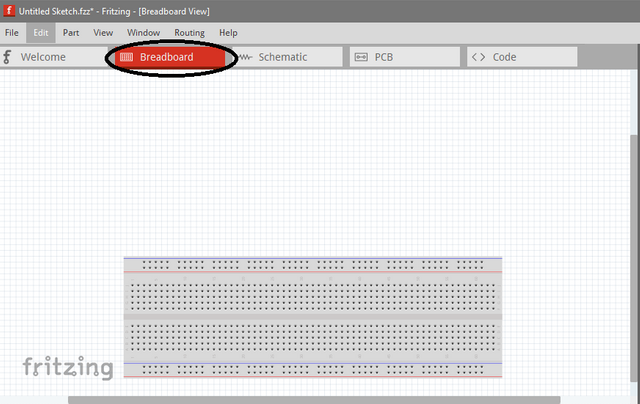
❶ Open the fritzing Software - In this part I'm using again this type of electronics software for testing components and circuits construction for Flexibility and visual purposes 🔥. Also, this procedure is for realistic testing of components connected to arduino to clearly analyze the process and connections.
.png)
Beta version can also do the same as the original software
❷ Click on the breadboard
❸ Find and arrange the components
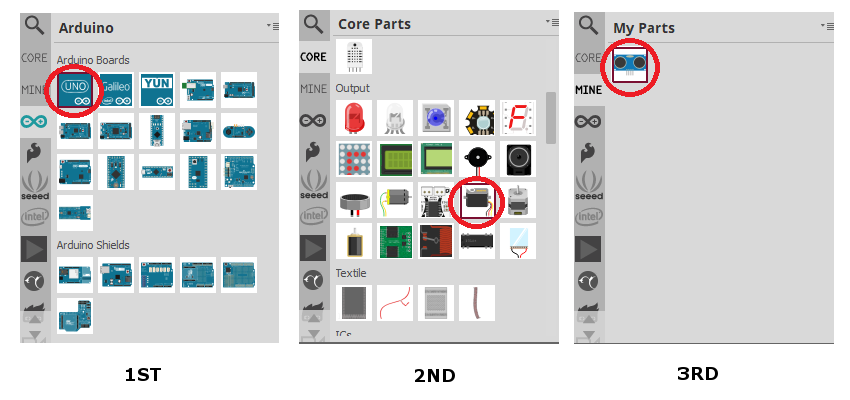
In this part, usually normal installed Fritzing are not complete on its components or tools. In my case, I don't have the Ultrasonic component so I will teach you how to add that component in fritzing easily. Just follow the few easy steps below:
HOW TO ADD ULTRASONIC SENSOR TO FRITZING
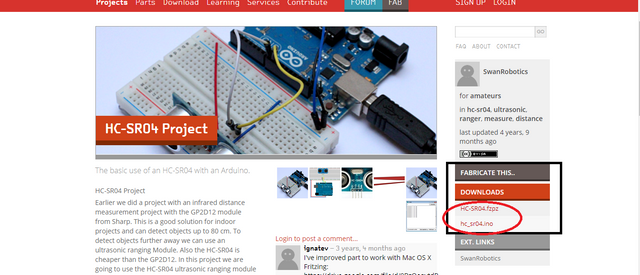
ⓐ First, download the library here
ⓑ After the download, Copy that .fzpz file and paste it to the library parts of the FRITZING software
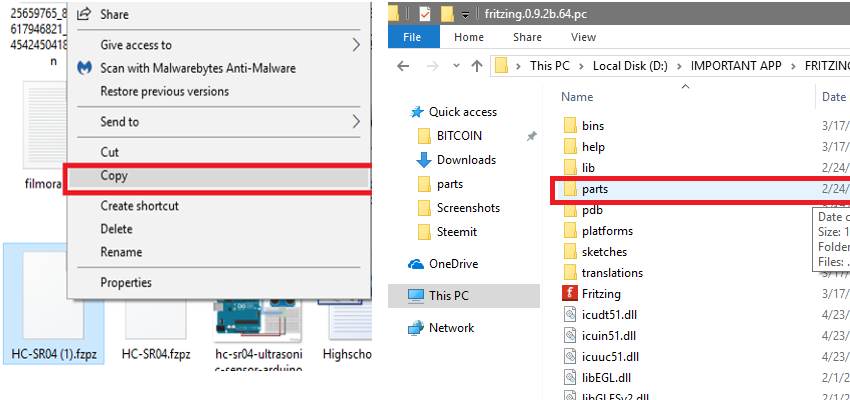
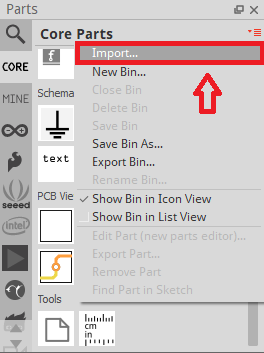
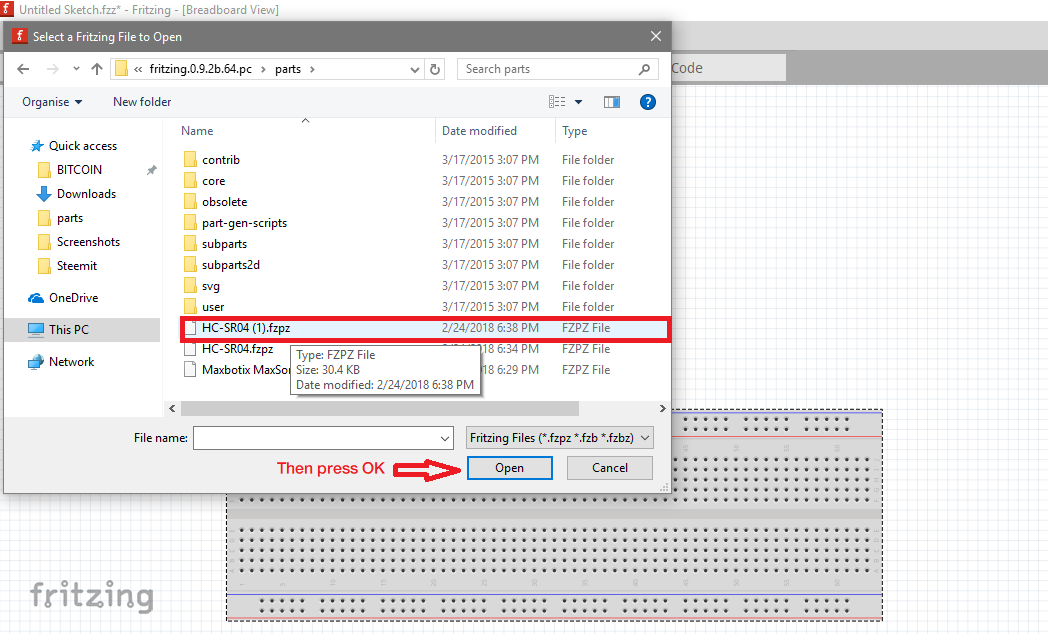
ⓒ Lastly, Go now to fritzing software and click import and select that file you recently paste to the library parts of the fritzing software
.png)
.png)
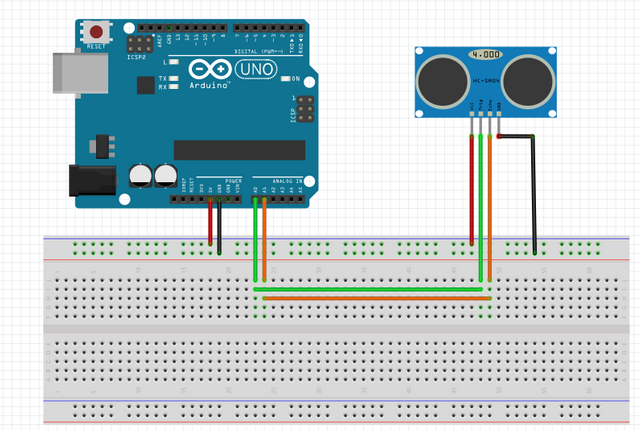
❹ Then connect the components as the desired Circuit
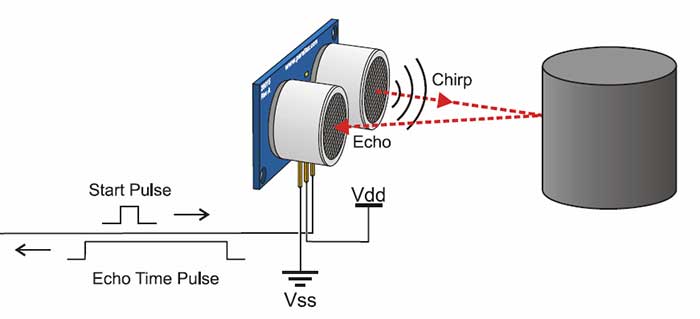
Basic Principle of the Ultrasonic Sensor
.jpg)
As what you can see and observe, the Basic principle of ultrasonic sensor is to emit a certain level of sound which is used as the basis of the distance of a certain object. This sound was Emitted for distance calculation purposes of a certain object base on the eco time travel back to the receiver side of the sensor.
2. SECOND STEP
After making the circuits of the Collision avoidance robot as a guide, plan next your robot prototype form. It depends to your creativity on what would you want to your robot to be looks like as an output. In our case, since I already made the last tutorial post about the Line follower robot and to save money and time, what we did is we dismantle that robot and we change the base or chassis by a smaller and light material one.
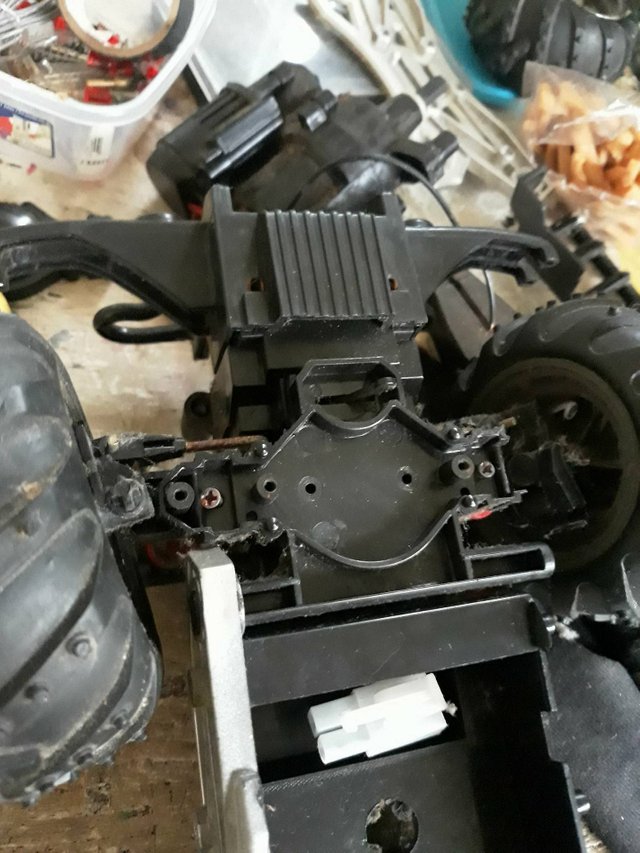
We make used again the Wheels of that previous robot
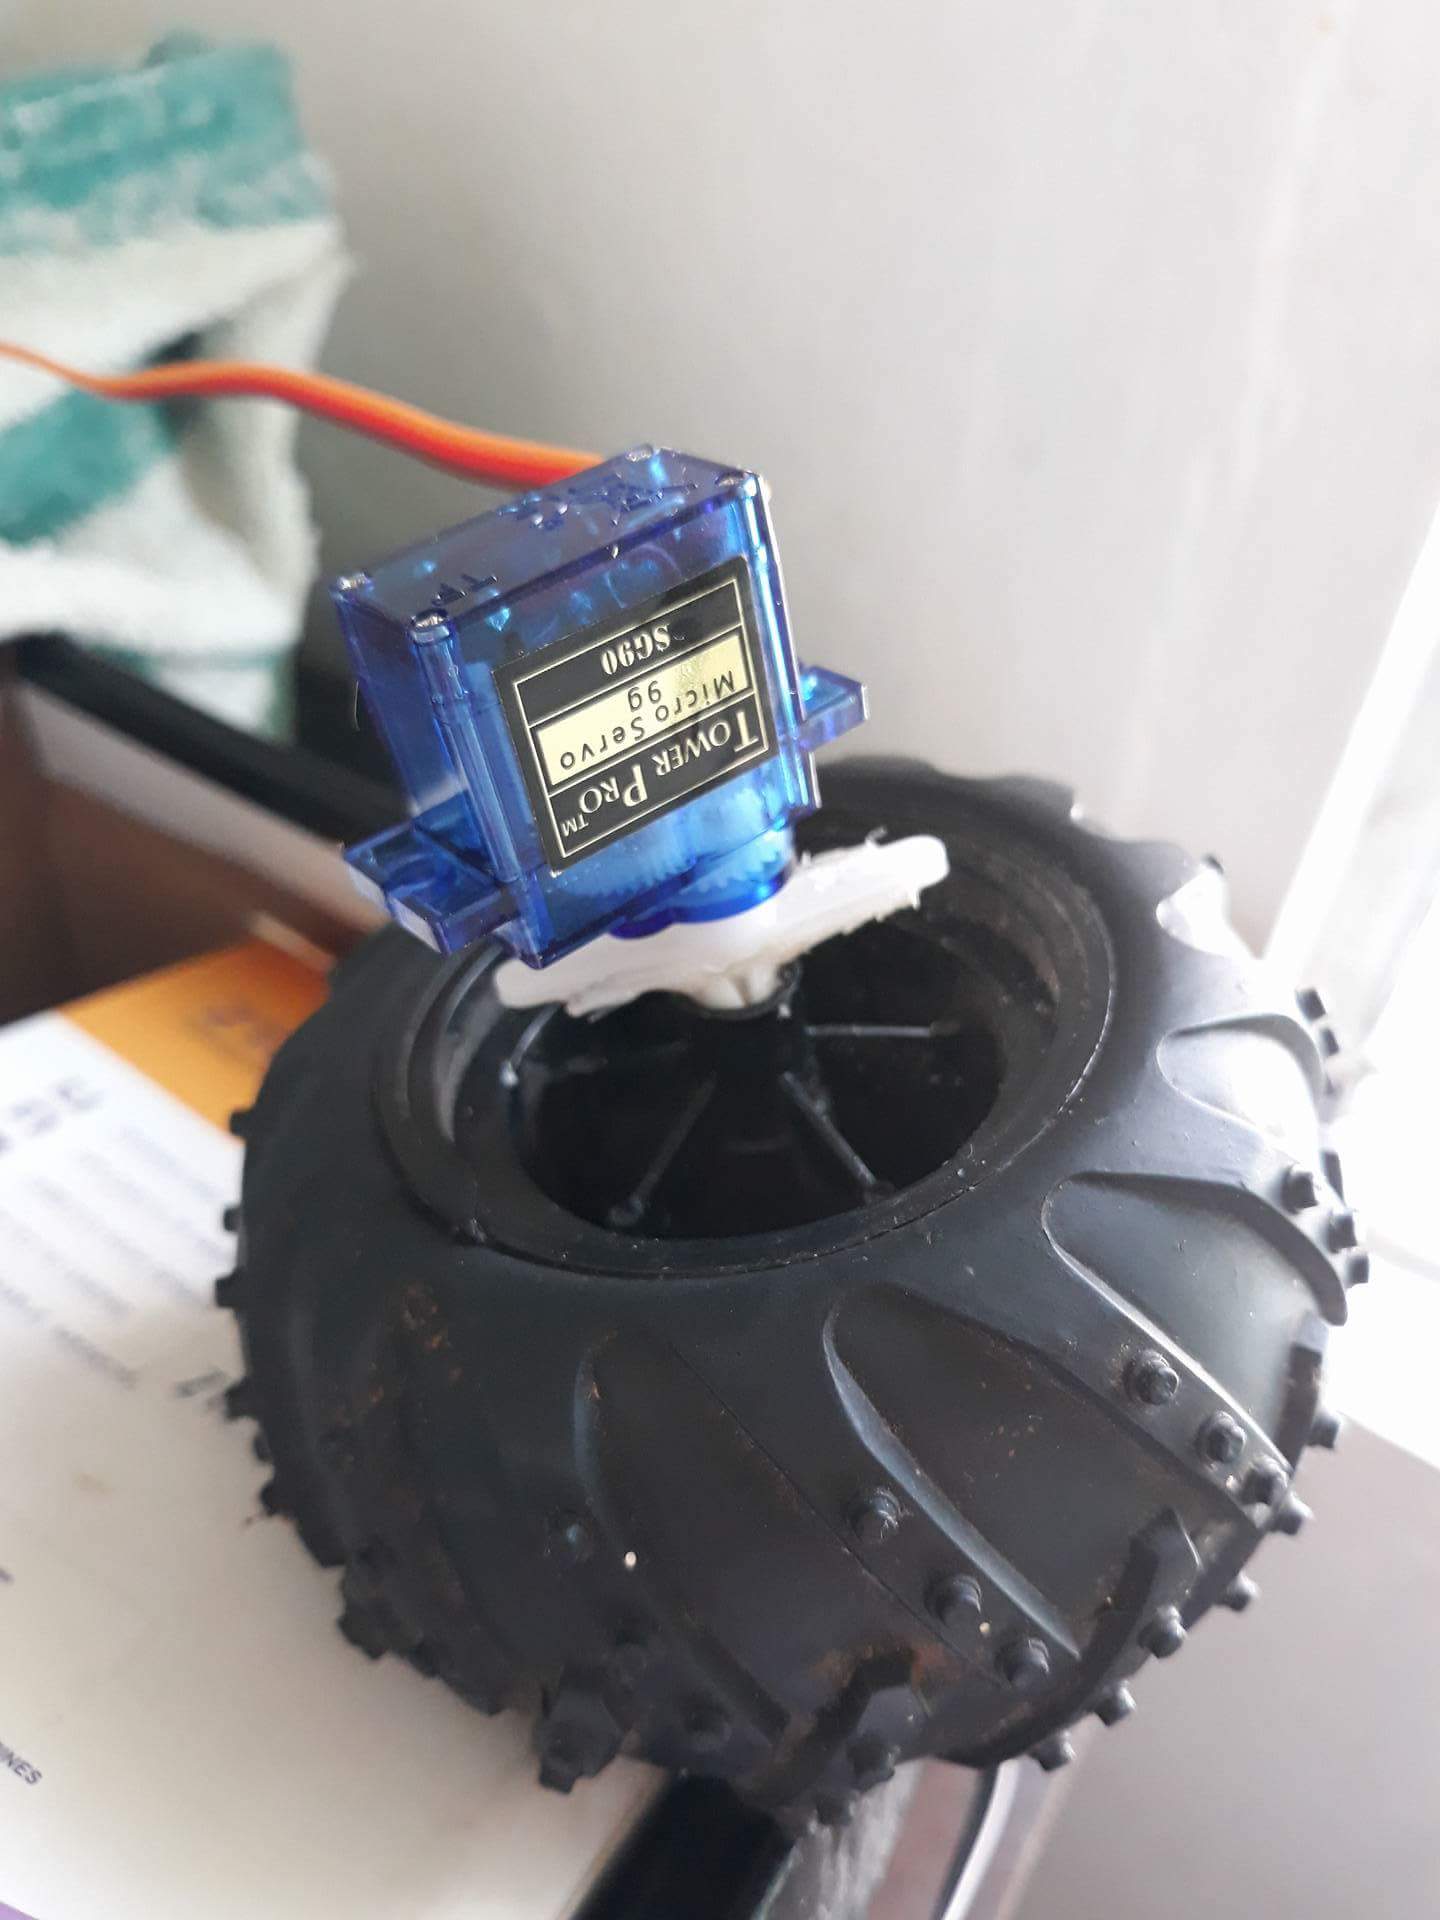
3. THIRD STEP
After making the chassis of the robot, We directly set-up the Ultrasonic sensor in front of the Robot chassis to serves as an eye sensor for obstacles .
4. FOURTH STEP
We then put the codes in arduino by using the Android software ArduinoDroid in the cellular phone
Here is the Arduino Codes
#include <Servo.h>
//Declare Servos
Servo leftservo;     //Left servo
Servo rightservo;    //Right servo
Servo scanservo;     //Ping Sensor Servo
const int turntime = 500;  //Turning time in milliseconds
const int pingPin = 7;
const int leftservopin = 9;
const int rightservopin = 10;
const int scanservopin = 6;
const int distancelimit = 10;    // the robot will stops and looks for where to go when this certain distance was reached
void setup()
 {
  leftservo.attach(leftservopin);
  rightservo.attach(rightservopin);
  scanservo.attach(scanservopin);
  delay(2000);        // wait two seconds
}
 void loop(){
  go();
  int distance = ping();
  if (distance < distancelimit){
    stopmotors();
   char turndirection = scan();
   switch (turndirection){
     case 'l':
       turnleft(turntime);
       break;
     case 'r':
       turnright(turntime);
    break;
  case 's':
    turnleft(turnaroundtime);
    break;
   }
 }
}

int ping(){
  long duration, inches, cm;
  //Send Pulse
   pinMode(pingPin, OUTPUT);
  digitalWrite(pingPin, LOW);
  delayMicroseconds(2);
  digitalWrite(pingPin, HIGH);
  delayMicroseconds(5);
  digitalWrite(pingPin, LOW);
  //Read Echo
  pinMode(pingPin, INPUT);
  duration = pulseIn(pingPin, HIGH);
  // convert the time into a distance
  inches = microsecondsToInches(duration);
  cm = microsecondsToCentimeters(duration);
  Serial.print("Ping:  ");
  Serial.println(inches);
  return round(inches);
}
 void go(){
  leftservo.write(30);
  rightservo.write(150);
}
void turnleft(int t){
  leftservo.write(150);
  rightservo.write(150);
  delay(t);
  }

  void turnright(int t){
  leftservo.write(30);
  rightservo.write(30);
  delay(t);
}
void forward(int t){
  leftservo.write(30);
  rightservo.write(150);
  delay(t);
}
void backward(int t){
  leftservo.write(150);
  rightservo.write(30);
  delay(t);
}
void stopmotors(){
  leftservo.write(90);
  rightservo.write(90);
}

char scan(){
  int leftscanval, centerscanval, rightscanval;
  char choice;
  //Look left
  scanservo.write(30);
  delay(300);
  leftscanval = ping();
  //Look right
  scanservo.write(150);
  delay(1000);
  rightscanval = ping();
  //center scan servo
  scanservo.write(88);

  if (leftscanval>rightscanval && leftscanval>centerscanval){
    choice = 'l';
  }
  else if (rightscanval>leftscanval && rightscanval>centerscanval){
    choice = 'r';
  }
  else{
    choice = 's';
  }
  Serial.print("Choice:  ");
  Serial.println(choice);
  return choice;
}
long microsecondsToInches(long microseconds){
  return microseconds / 74 / 2;
}
long microsecondsToCentimeters(long microseconds){
  return microseconds / 29 / 2;
 }
5 . FIFTH STEP
At this moment, we finally set-up and put the power bank battery that will serves as a power supply to the robot as it moves in the ground.
Future Social applications and Benefits
Collision avoidance robot can be a great machine if properly enhance for the safety of the people in the society. Actually tesla cars are already the same applications as this but we future young engineers can create a much lesser cost robot as telsa cars can do. It could also prevent loss or injuries of the workers if ever implemented in dangerous iron and steel industries.
Future plans about this project
Since we already know the basic principle how ultrasonic communicates to Arduino uno and how codes must be organize to command a robot into a specific task, we are now planning to apply this idea in vehicles (either Public or Private) specially in our country (Philippines) where accidents are very prone. Of course, we need to find ways to make that robot a cheaper one to increase availability.
PROJECT COMPONENTS AND EXPENSES
| COMPONENT | EXPENSES (PHP) |
|---|---|
| Arduino Uno | 450 |
| Breadboard (Actual testing) | 150 |
| Jumper wires (M-M, 20pcs) | 100 |
| Servo Motor | 200 |
| Ultrasonic Sensor | 170 |
| Power bank battery | 200 |
| Total | PHP - 1270 (25 USD) |
This price is just Good for testing
The Collision avoidance Robot Actual video
Objective of this project
The main objective of this third project is to simply understand the basic principle and application of this robot. Still, creativity can do more so don't limit your ideas about this project . Tho tesla products are the same application as this, we need to think more possible applications of this project for the benefits of many people especially in the third world country like philippines.
I hope that this will be helpful to everyone specially students and fan of Electronics ❤️
Have a blast guys 🔥
Yours sincerely,
@thinkvincent

Hi Mr.Vincent
I was missing you here from 2 days as no new post was published
from your side now wolla a great project is alive here we are happy
to see u here with your robotic loving post as for me it not easy to
understand all the coding described as i am not a technical person in
coding with languages
do visit my blog on photography
https://steemit.com/streetphotography/@maujmasti/street-photography-sometime-its-amazing-can-t-catch-it-again-moments
Thanks
@maujmasti
Amjad Siddiqui
thank you sir :)
Welcome Sir
and thanks for visiting my blog