Arduino : Using "LM-35" a Termo Sensor Module
What Will I Learn?
- You will learn to use Sensor Termo (LM 35) Sensor
- You will learn how to integrate the Termo sensor with the arduino uno board.
- You will learn how to make simple termometer with termo (LM 35) sensor
Requirements
Hardware
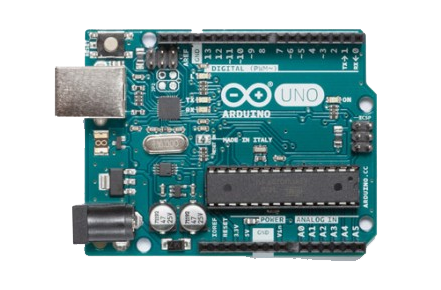
- Arduino Uno
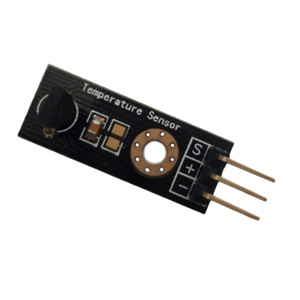
- LM-35 Module
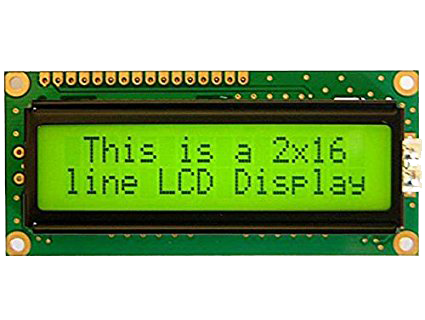
- Liquid Crystal LCD ( 16 x 2 )
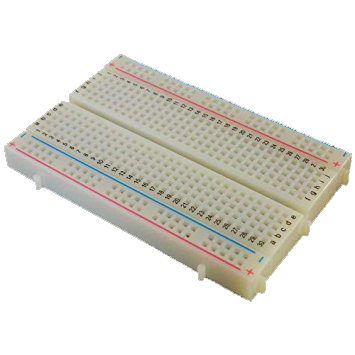
- Breadboard
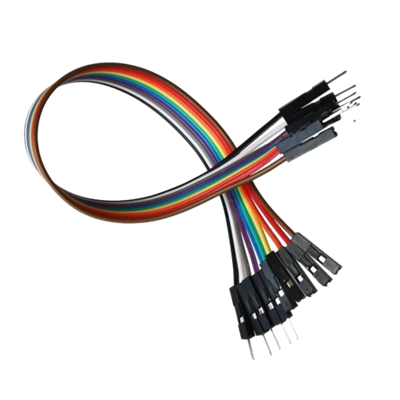
- Jumper Wires Male To Male
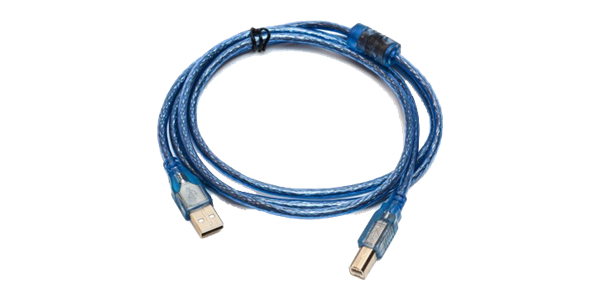
- USB type A to B cable
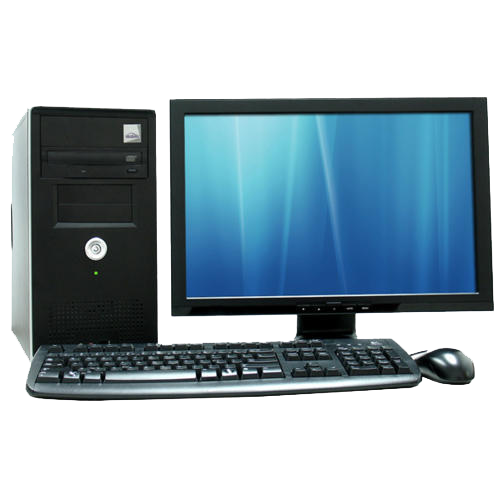
- Personal Computer (Laptop)
Software
- Arduino IDE

Knowledge
- Electronics and Robotics Basic
Difficulty
- Basic
Project Introduction
- This project uses a temperatur sensor (LM-35) Module that is controlled by an arduino uno board. The LM-35 Module connect to analog pin as reader input termperatur and LCD connected to arduino uno board serves as Output viewer media.
Component Description
Arduino Uno - is a Atmega32-based microcontroller board. Having many digital and analog pins, the arduino can be easily programmed via a computer or laptop with USB and is designed to facilitate electronic users in various fields. As open source he comes with 2 products namely Hardware Arduino Board and Arduino IDE software.
LM-35 Module - LM35 is a sensor that can be used to measure temperature with output that is proportional to temperature (° C). Often used because it is more accurate than thermistor and easily combined with arduino board. The low price is also a major factor in the use of this tool. LM-35 has 3 pins "V (+)", "GND (-)" and signal (S).
Tutorial Contents
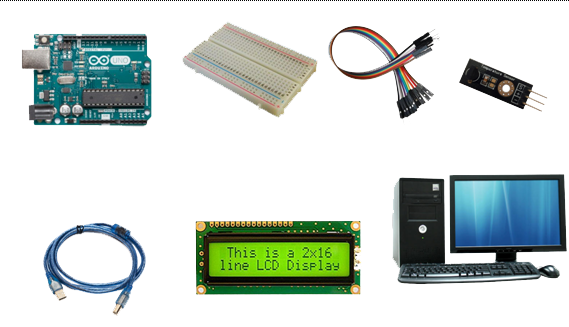
Step 1 : Prepare All Parts
You can buy from online store or directly to the Electronics Shop
Step 2 : Build Circuit Architecture
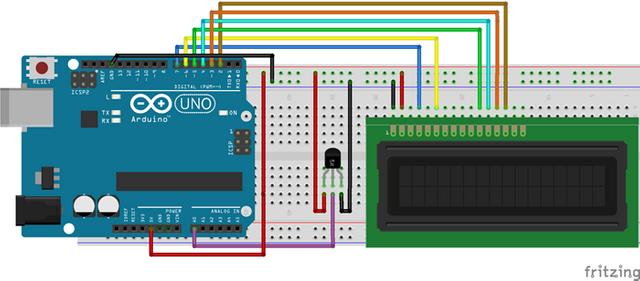
- Connect the "GND" of the arduino uno board to "VSS" LCD and "V(+)" LM-35.
- Connect the "5V" of the arduino uno board to "VDD" LCD and "GND(-)" LM-35 .
Pin Connect LCD
- Connect the "pin number 7" of the arduino uno board to "RS" LCD.
- Connect the "pin number 6" of the arduino uno board to "E" LCD.
- Connect the "pin number 5" of the arduino uno board to "DB(4)" LCD.
- Connect the "pin number 4" of the arduino uno board to "DB(5)" LCD.
- Connect the "pin number 3" of the arduino uno board to "DB(6)" LCD.
- Connect the "pin number 2" of the arduino uno board to "DB(7)" LCD.
Pin Connect LM-53
- Connect the "Analog Number 0" of the arduino uno board to "Singnal" LM-35.
Step 3 : Programing
- Connect Arduino to the computer with USB .
- Open the Arduino IDE > Chose your Board Type
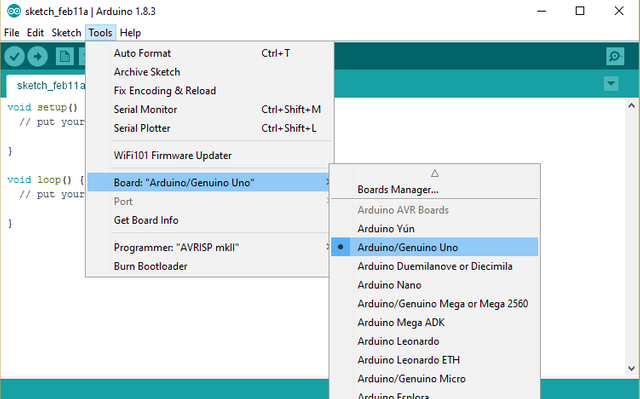
Copy the code below and paste it into your own sketch in the arduino software.
- Simple thermometer
#include <LiquidCrystal.h> // include library for LCD

LiquidCrystal lcd(7, 6, 5, 4, 3, 2); // pin to LCD
int potPin = 0; // select the input pin for the LM35
float suhu = 0;
long val = 0;

void setup()
{
Serial.begin(9600);
lcd.begin(16, 2); // set up the LCD's number of rows and columns
}

void loop()
{
val = analogRead(potPin); // read the value from the sensor
suhu = (5.0 * val * 100.0)/1024.0; // convert to Celcius
lcd.clear(); // clear LCD screen
lcd.setCursor(0,0); // set text to LCD row 1
lcd.print("current temp. "); // some text to add meaning to the numbers
lcd.setCursor(0,1); // set text to LCD row 2
lcd.print((long)suhu); // writing temperature value
lcd.print(" deg.C");
delay(1000);
}
After Copy the codes, click the "Verify button" to save and compile the sketch. This will also check for any errors in the program.
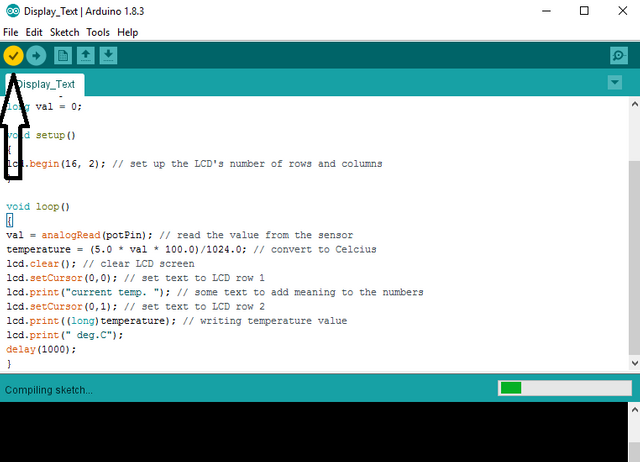
If no errors is found , now you can click "Upload button" to start installing the program into the arduino uno board.

Posted on Utopian.io - Rewarding Open Source Contributors
Your contribution cannot be approved because it is not as informative as other contributions. See the Utopian Rules. Contributions need to be informative and descriptive in order to help readers and developers understand them.
You can contact us on Discord.
[utopian-moderator]