Using Glide library version 3 and version 4 to load images in android
What Will I Learn?
• Glide Library in Android
• Implementation of Glide Library in Android
Requirements
• A PC/laptop with any Operating system such as Linux, Mac OSX, Windows OS
• Preinstalled Android Studio, Android SDK and JDK
Note: This tutorial is performed in Android Studio in laptop with Windows 10 Home, 64 bit OS
Difficulty Basic, anyone with prior programming knowledge about Android can catch up this tutorial.
Tutorial Contents In this series of tutorials, we will learn basics of Glide Library and its implementation in android projects.
What is Glide?
In simple language, Glide is an image loading framework for Android. While developing android application there are many scenarios where we should fetch the image from the server to display it in app. Initially this task of showing image in ImageView from the server was very lengthy as we had to download the image to display it. Hence Glide is an efficient and very fast library which wraps media decoding, memory and disk caching, and resource pooling into a simple and easy to use interface.
Implementation in the project
Using Glide in our application is very simple and easy task. So let us start by creating a simple project name GlideTutorial.
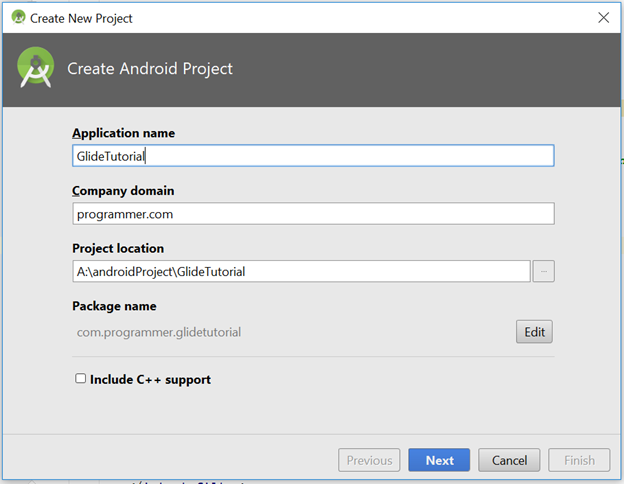
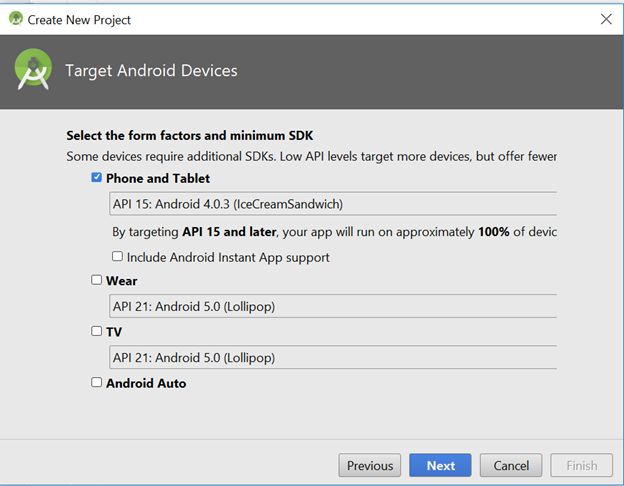
Select Phone and Tablet as this application is targeted to phone and let the minimum API level be default as it means that our application will be compatible from API level 15 and onwards.
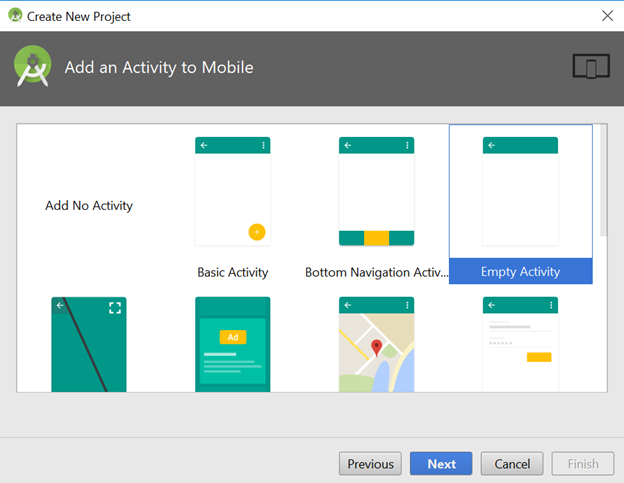
Select EmptyActivity.
You can name the activity whatever you want but I will leave it to default.
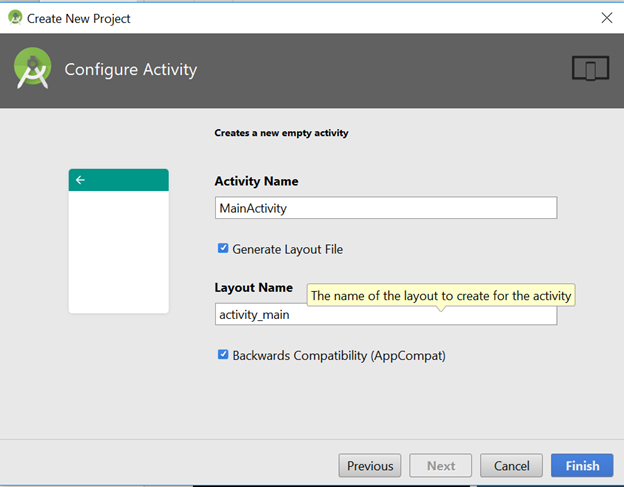
Finally click finish and then Android studio will take some time to build the gradle. Wait for some time and after the gradle build is completed now we will start implementing Glide.
For adding Glide in our project open the Module level Gradle file by expanding Gradle Scripts as shown in the image
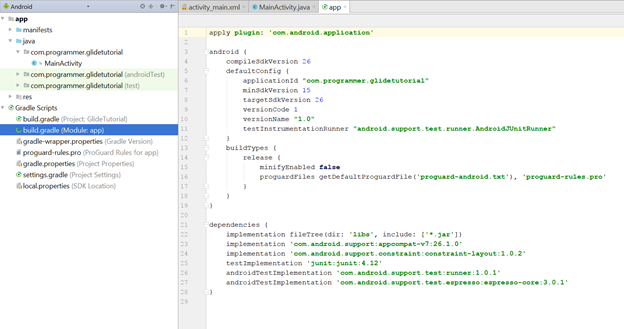
Now in the dependencies section add the following line:
implementation 'com.github.bumptech.glide:glide:3.8.0'

and click sync now on the top right corner of android studio to resync your Gradle. After adding this dependency now we can use Glide's component in you app to display image.
As we are loading image from the image url we will also require Internet permission in order to load image. In order to give internet permission to the app open AndroidManifest.xml
<uses-permission android:name="android.permission.INTERNET"/>
Write this line of code right above your tag
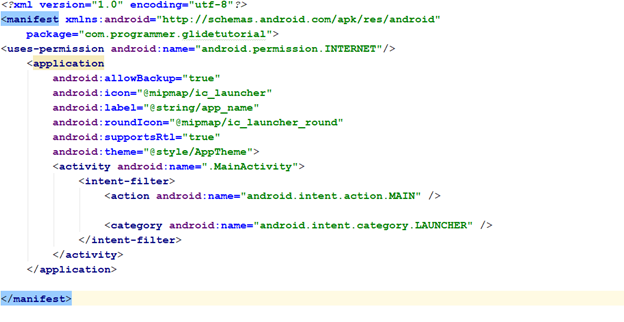
Now in order to display image first we have to create a view in xml that is ImageView. So open conten_main located inside layout of res and add ImageView like this:

After we have added ImageView in our layout we now have to make the ImageView identifiable in our corresponding java class. So open your MainActivity.java file and initialize the ImageView.
ImageView displayImage=findViewById(R.id.diplay_image);
By this line of code we are identifying the xml view in our java class. Now in order to display image in the ImageView using you need a url of the image. You can specify the url as you want.
String url="http://goo.gl/gEgYUd";
Now, finally in order to load the url we have to write the following code:
Glide.with(this).load(url).into(displayImage);
with(this) Here this means context
load(url) Here we keep the url of the image to be displayed
into(displayImage) Here we name the ImageView where we are supposed to display the image. Finally, your code looks like this:
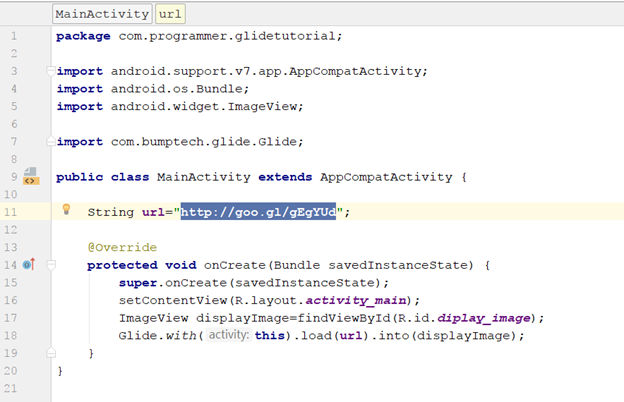
The output
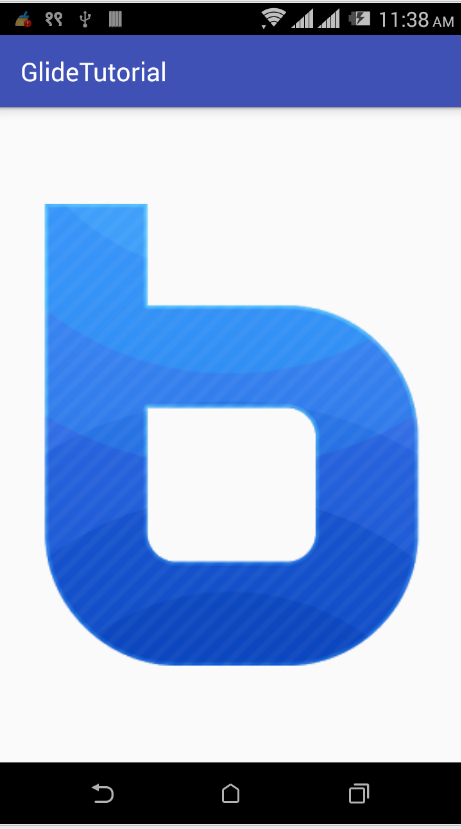
In this way we can use Glide library to load images. In the above tutorial we used Glide version 3 to load images. Glide has now introduced version 4 to generate an API that allows applications to access all options in RequestBuilder, RequestOptions and any included integration libraries in a single fluent API.
Generated API for Glide 4.x.x
In order to use Glide version 4 we have to use the following dependency:
implementation 'com.github.bumptech.glide:glide:4.6.0'
annotationProcessor 'com.github.bumptech.glide:compiler:4.6.0'
We have to create a new class extending AppGlideModule
like this:
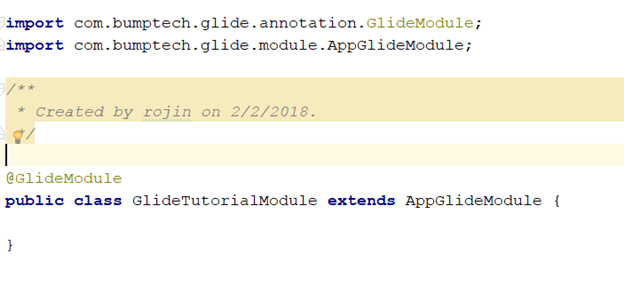
We shouldn't forget @GlideModule because it allows us to get access to Generated API via GlideApp. After this step you should rebuild your project so that we can access GlideApp.
Now we can use the following code to display image using Glide v4
GlideApp.with(this).load(url).into(displayImage);
Posted on Utopian.io - Rewarding Open Source Contributors
Your contribution cannot be approved because it is a duplicate. It is very similar to a contribution that was already accepted here.
You can contact us on Discord.
[utopian-moderator]
Hey @rufans, I just gave you a tip for your hard work on moderation. Upvote this comment to support the utopian moderators and increase your future rewards!
Congratulations @rojina! You received a personal award!
Click here to view your Board
Congratulations @rojina! You received a personal award!
You can view your badges on your Steem Board and compare to others on the Steem Ranking
Vote for @Steemitboard as a witness to get one more award and increased upvotes!