GIMP (open-source) tutorial: Draw a Paint Brush
Introduction
In this tutorial, we will be learning how to draw a paint brush on GIMP. For a starter, this might be a little bit complex but trust me its not as hard as it might look. To understand the basics better, I'll recommend you get one or two GIMP's books. There are so many of them in most bookstores. So let's get started:
Step 1
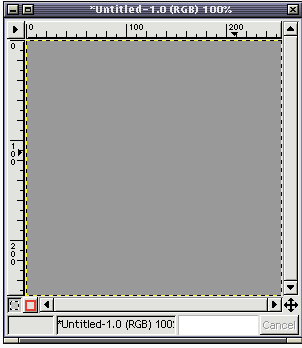
First you open GIMP and make sure you have a plain grain image just like this one below
Step 2
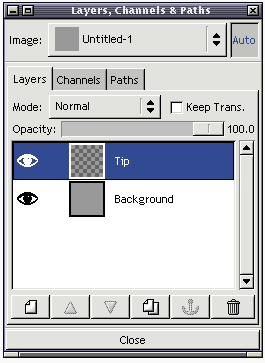
Then create a new layer that is transparent. You can name it "Tip" to remind you you'll be starting the drawing from the brush tip just like this
Step 3
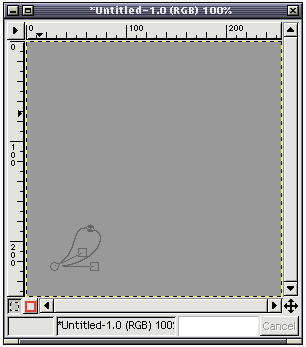
Next you'll use the Bezier tool otherwise known as the paths tool to make a selection looking like a brush shape just like the one below. Don't worry if you don't get it at first, just keep trying. Checking out the tutorial on how to use the Bezier tool might be helpful.
Step 4
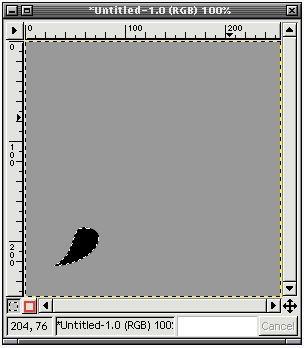
You'll then fill your already made selection with black color giving it that that brush tip look just like this
Step 5
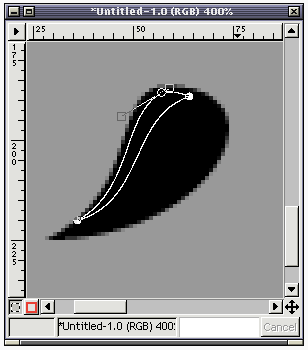
To make it look like a real paint brush, you'll then make another selection inside the black tip of the brush you've made before using the Bezier tool like the one below. You'll then think of where the light is coming from and use that to make your selection.
Step 6
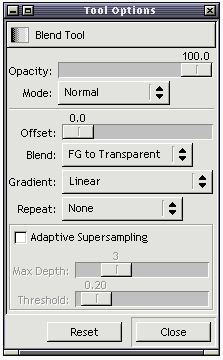
We need to make the highlight next, so we will use the Blend tool also known as gradient fill. To make it editable later, you might consider creating a new layer for it. It is however important to change the blend mode to "FG to Transparent" because we'll only be adding to white to the selection.
Step 7
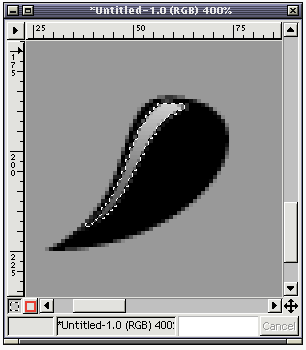
Next you'll want to make the white fades to towards the tip of the brush you've created, so you'll a blend running from the top to the bottom. Just like the one below.
Step 8
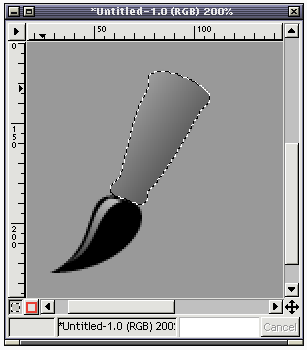
The next step is to form the brush's metal handle. This will be done by making another bezier selection. You should know where you want the handle to point to and then you'll make sure it has a round end. Then you'll add a mid gray gradient to the selection making it look like the one in the image below.
Step 9
This next step might seems a little big rigorous but to bring your drawing alive, you'll need to use the airbrush tool to add black shadow to it. This will give the shape a 3-dimensional look with more depth. You should start first by using the large fuzzy airbrush, then later use the small fuzzy airbrush to give it a finer detail. Again you'll think of where the light is coming from and how the shadow is meant to look on a real object. It takes some practice to make this perfect.
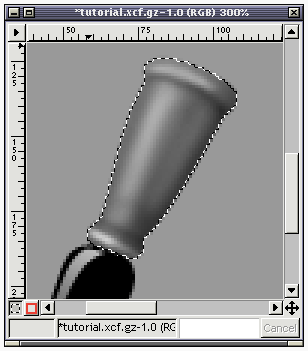
Step 10
You'll then use the white color airbrush to add some highlights. You can add another highlight to the edge to give it a metal-like appearance. if there's a color in the background, a tint of it can be added to the other reflection. The Dodge/Burn tool can also be used here to make both the highlights and the shadow stronger. You should be having something like this.
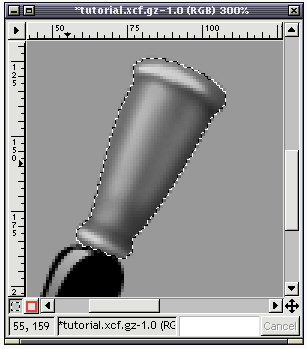
Step 11
Next you'll engrave a letter ornament on the metal handle by painting with a black small brush. Airbrush works perfectly for this.
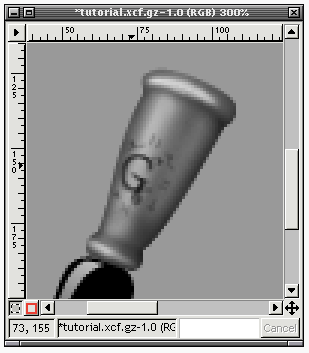
Step 12
You'll then add highlights with white color to areas you want to give reflection to. You'll make the highlights go from the top to the right bottom of the engraved shape.
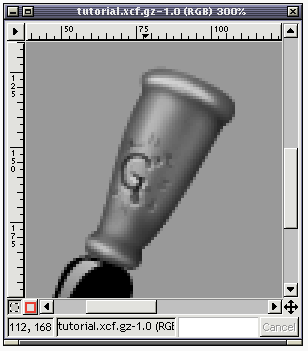
Step 13
To complete the rest of the handle, you'll create another layer. The layer should be at the back of the metalpart layer. See the arrangement below.
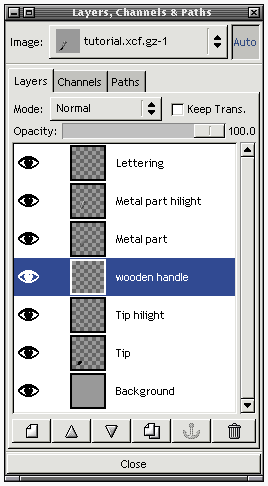
Step 14
You'll then make a bush handle shape using the bezier tool. The shape should look like this
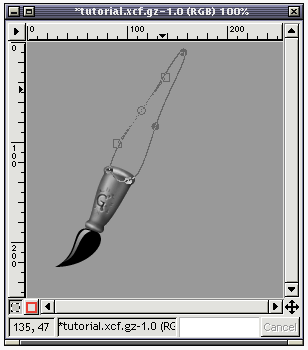
Step 15
You'll Double click Bucket fill tool and select Pattern source afterward. This will give the work an handle texture. You'll then fill with a wooden pattern making it look like this.
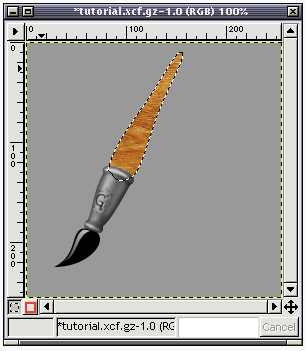
Step 16
For the wood's highlight, you'll need to add another layer putting it above that one of the handle.
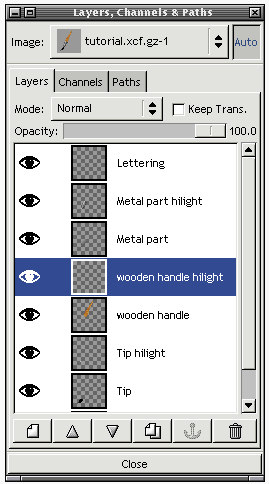
Step 17
Use the airbrush tool to shade the wooden handle to give it a round shape. Then you'll repeat Step 5-7. You should reduce the fill opacity because the wood is not suppose to be as shining as the tip of the brush.
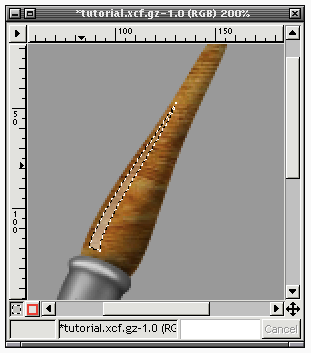
Step 18
As you can see, the brush is ready but you need to add a little bit of shadow to make it look better.
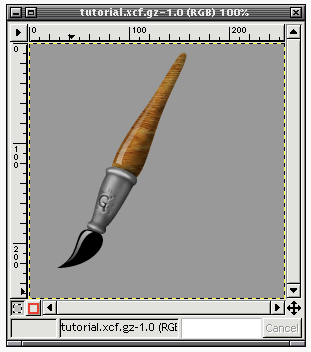
Step 19
So now what you need to do is to delete the background right after duplicating the image. Then you'll select "Merge Visible Layers" to make all the layers one.
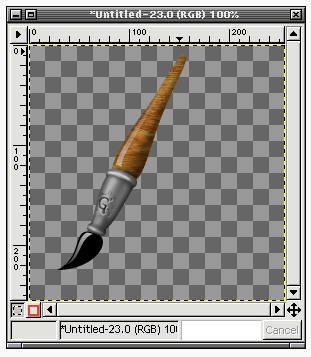
Step 20
Open the layer dialog and check "Keep trans" . Then select the image and use the bucket tool to fill it black.
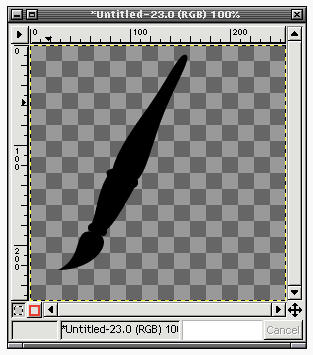
Step 21
Uncheck the 'Keep trans" and blur the image a little bit using radius close to 20.
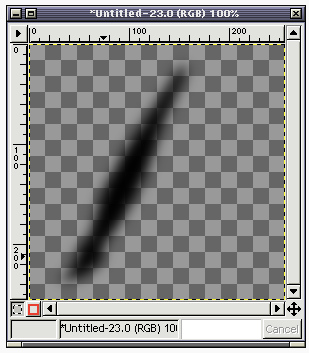
Step 22
Now you need to re scale the image to make the height 60% of its original while leaving the original width. Change the image aspect ratio by clicking the "Chain" button.
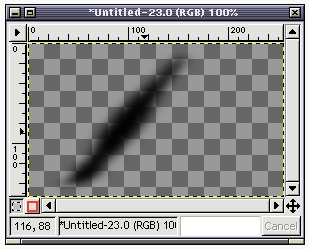
Step 23
Drag the shadow layer above that of the background and onto the main image. This will give you something like this
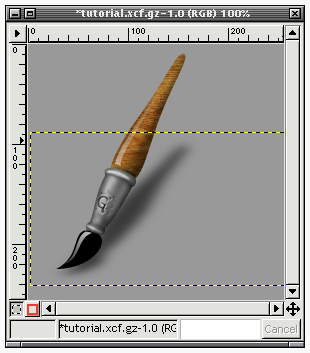
Step 24
You can erase some if the shadow to give your image a more realistic appearance.
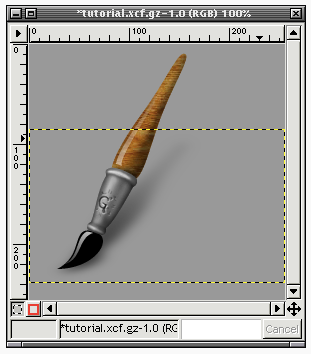
Step 25
And there is your Paint brush drawn by you.
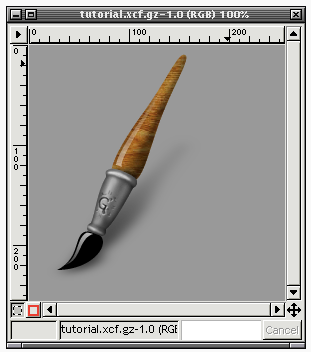
Thank You
Posted on Utopian.io - Rewarding Open Source Contributors
I never thought Gimp will be as simple as this.. nice info :))
thank you!!
done upvote me
https://steemit.com/photography/@schatengarg/i-ll-convert-ur-pic-into-a-a-game-cartoon
Thank you for the contribution. It has been approved.
You can contact us on Discord.
[utopian-moderator]
Hey @osblog I am @utopian-io. I have just upvoted you!
Achievements
Suggestions
Get Noticed!
Community-Driven Witness!
I am the first and only Steem Community-Driven Witness. Participate on Discord. Lets GROW TOGETHER!
Up-vote this comment to grow my power and help Open Source contributions like this one. Want to chat? Join me on Discord https://discord.gg/Pc8HG9x