Move Objects According To The Mouse Position With Phaser 3
Repository
Create Animation And Scene Transitions In Phaser 3
What Will I Learn?
- You will learn the setRotation() function.
- You will learn Angle.Between() function.
- You will learn setOrigin() function.
- You will learn to move objects according to a specific position.
- You will learn how to find the angle between and two points with phaser 3.
- You will learn mousePointer() function.
Requirements
- Have basic html5 and javascript knowledge.
- Visual Studio Code
Difficulty
- Basic
Tutorial Contents
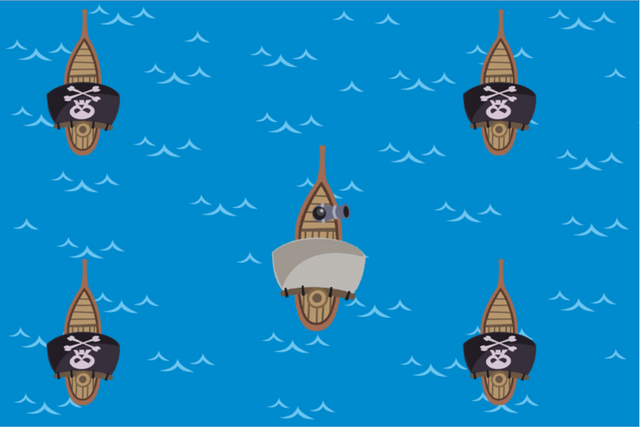
In this article, we will destroy objects that collide and we will move the objects according to the mouse position with phaser 3.
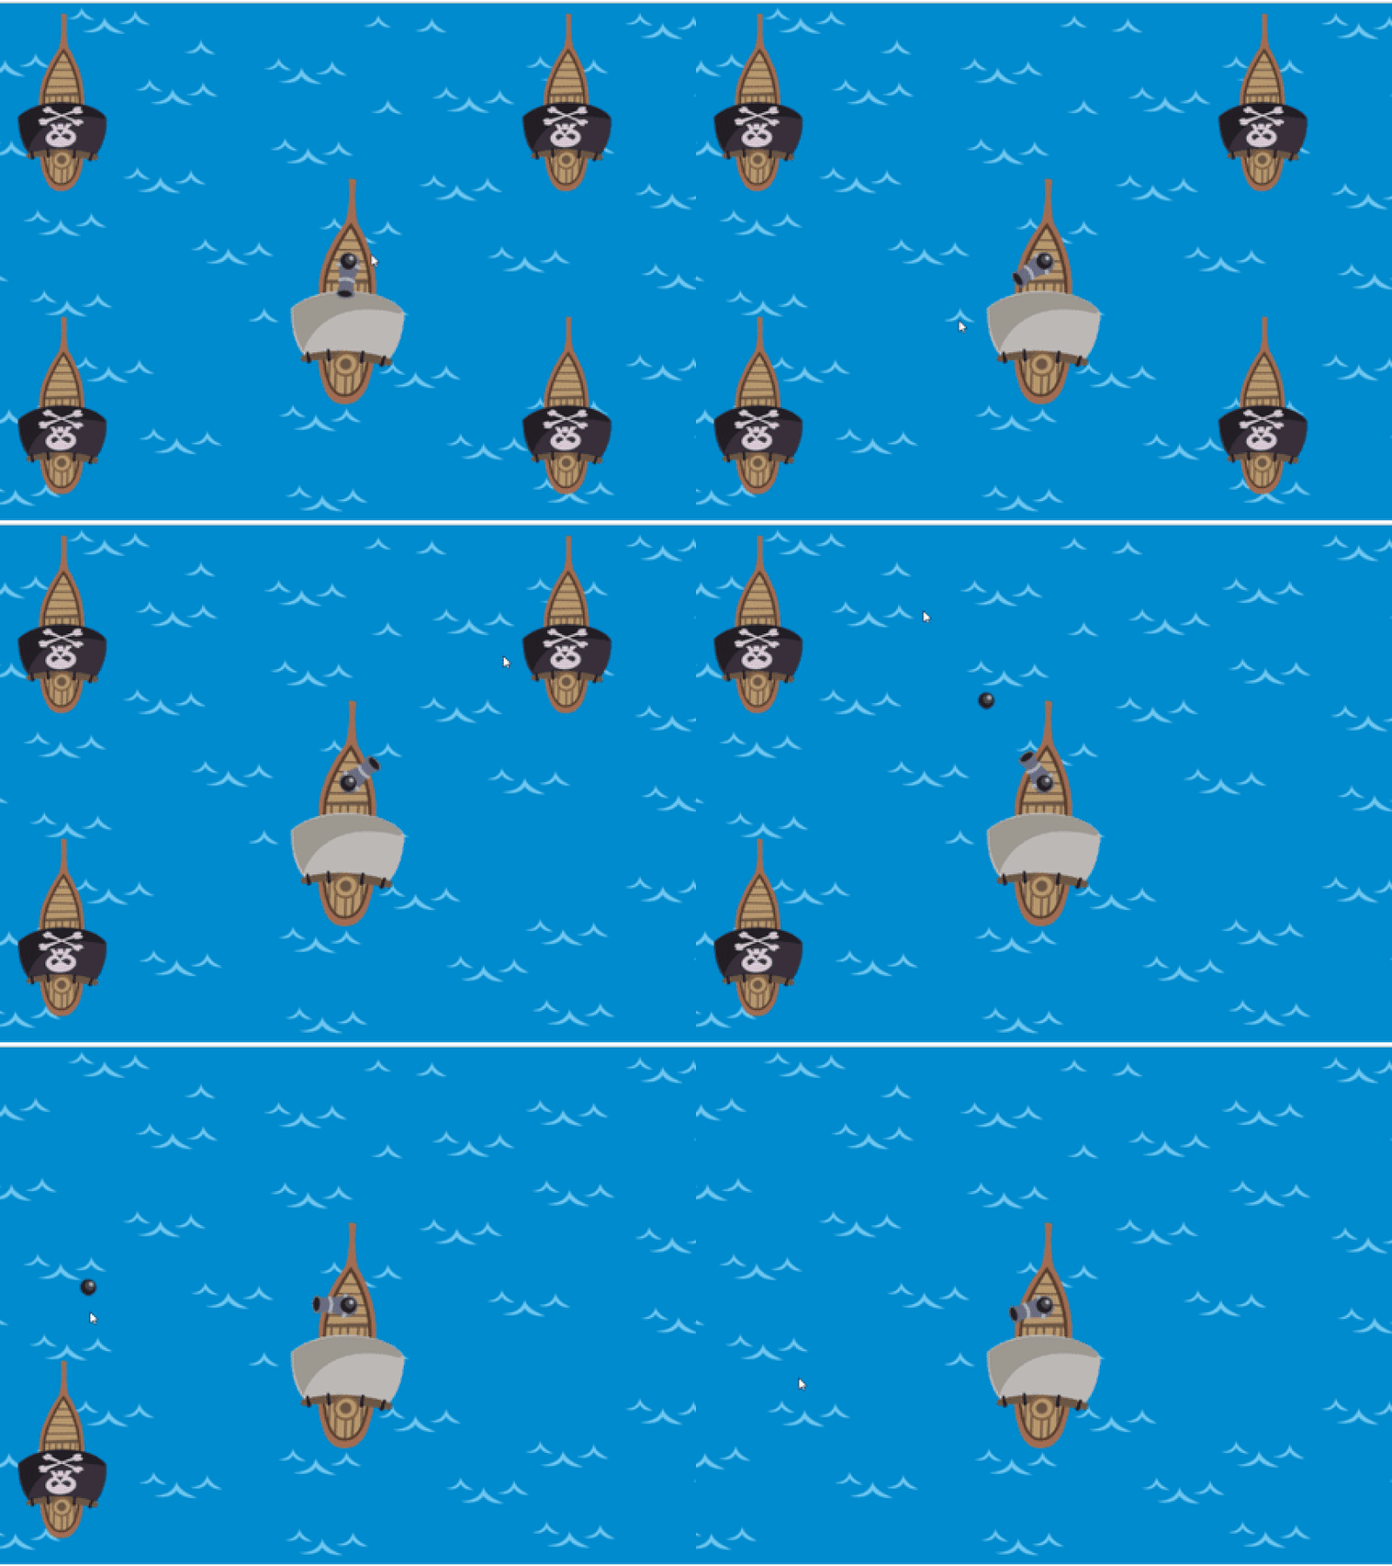
We will make one example to perform these operations. In our example we will create a ship and try to immerse enemy ships. There will be one firing cannon on our ship and it will move towards the point in the mouse positionand we will rotate the ball direction continuously according to the mouse position.
In this article we will be able to see phaser 3 rotating objects, finding the angle between two points, and losing objects when objects collide.
When we finish our example, it will conclude as follows down.
Load Pictures For Use In Game
Let's start, loading the pictures we will use on the sample.
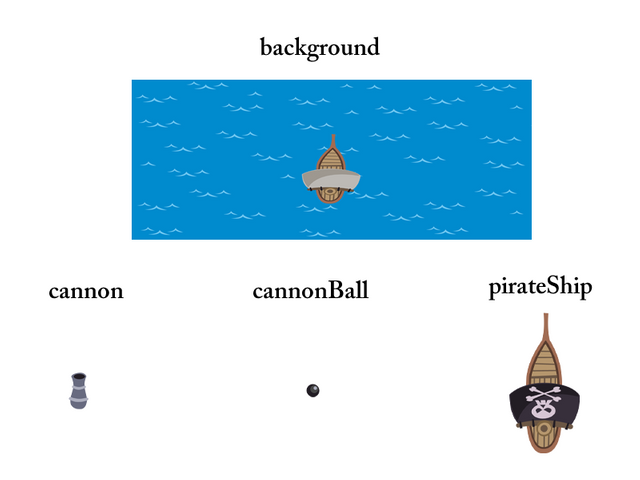
These pictures can be found at the project's github address. We will perform a mini-game using these images and set their names as shown in the picture.
Before uploading the images we must have created our index.html page and create the script.js file where we will write the codes. In the script.js file we will set the game object and the config object of the game.
//create scene object
var scene1=new Scene();

//create config for game object
var config={
    type:Phaser.AUTO,
    width:768,
    height:512,
    scene:scene1,
    physics:{
        default:'arcade',
        arcade:{
            gravity:{y:0}
        }
    }
};
//create phaser game
var game=new Phaser.Game(config);
Let's create the scene in the scene.js file because we created the object without creating the scene class.
//create scene as class
class Scene extends Phaser.Scene{
   constructor(config){
       super(config);
       Phaser.Scene.call(this,{key:scene});
   }

   preload(){
   }

   create(){

   }

   update(){

   }
}
In order to use the images, let's load in the preload () function.
preload(){
        //load game images
        this.load.image('background','./assets/background.png');
        this.load.image('cannon','./assets/cannon.png');
        this.load.image('cannonBall','./assets/cannonBall.png');
        this.load.image('pirateShip','./assets/pirateShip.png');
}
So we can now create these pictures as physics objects.
Rotate The Cannon According To The Mouse
We need to know the setRotation () and Angle.Between () functions in phaser to perform the ball rotation according to the mouse.
The setRotation () function performs the rotation of the object from the center point at an angle.
The Angle.Between () function allows us to find the angle between two points.
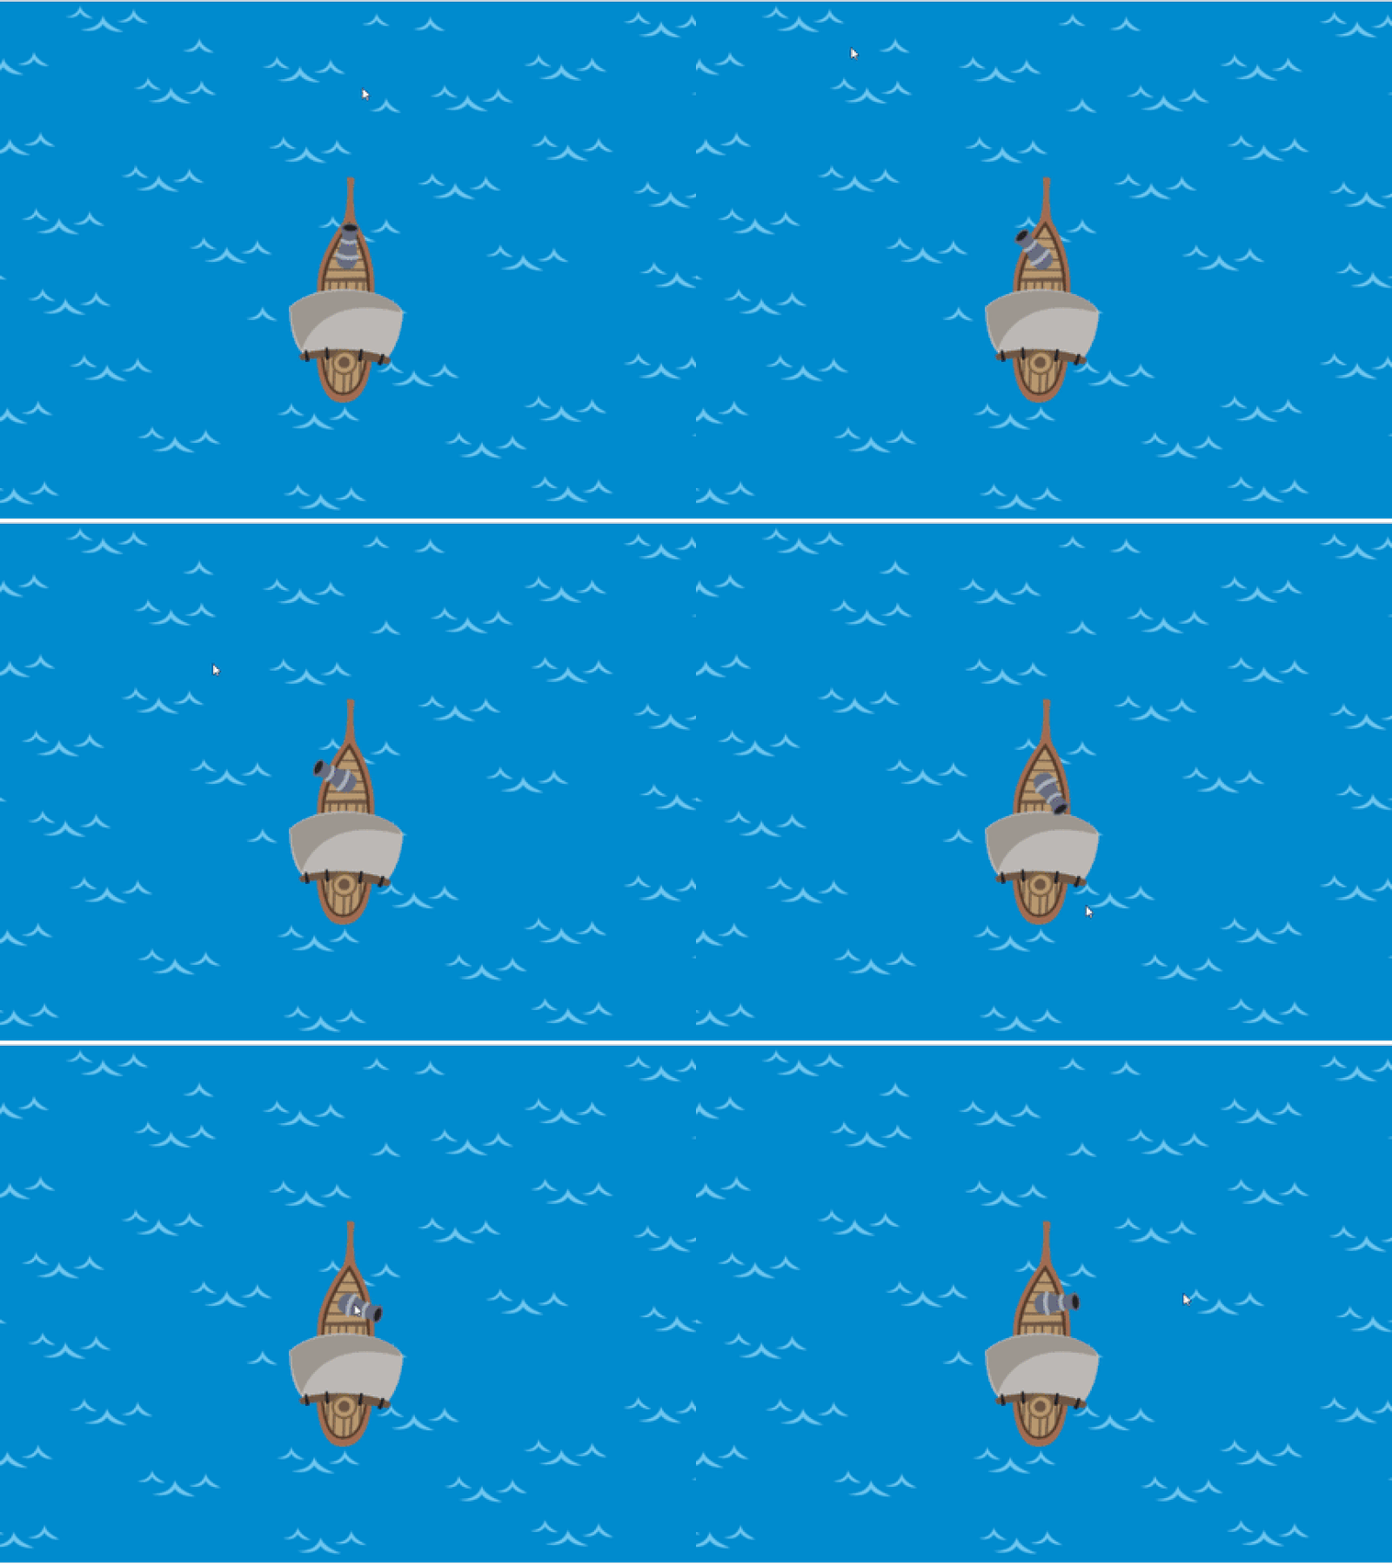
By combining this information, we will rotate the cannon according to the position of the mouse.First of all we have to do is to upload the background image.
//Create image using setOrigin
this.add.image(0,0,'background').setOrigin(0,0);

We can change the center of images using the setOrigin() function. Since we made the center points of the background image as x=0-y=0, we made positioning according to 0,0 point.
We need to place the cannon on the deck of the ship for a smooth appearance. We need to adjust the x and y points for the cannon.
//cannon creation according to the ship in the background
cannon=this.physics.add.sprite(384,256,'cannon');

We have produced the object of cannon. We can proceed to adjust the mouse position.
We will use this.input object for the mouse position. Let's create a variable named input and pass this.input value to this input variable in the create () function so we can access the values of the input in the update () function.
var input;
…
create(){
//for mouse position
input=this.input;
}
We need to find the angle between the two points in the update function. Thus, we can find the angle between the mouse and the cannon and rotate it according to that angle.
update(){
    //angle between mouse and ball
    let angle=Phaser.Math.Angle.Between(cannon.x,cannon.y,input.x,input.y);
    //rotation cannon
    cannon.setRotation(angle);
}
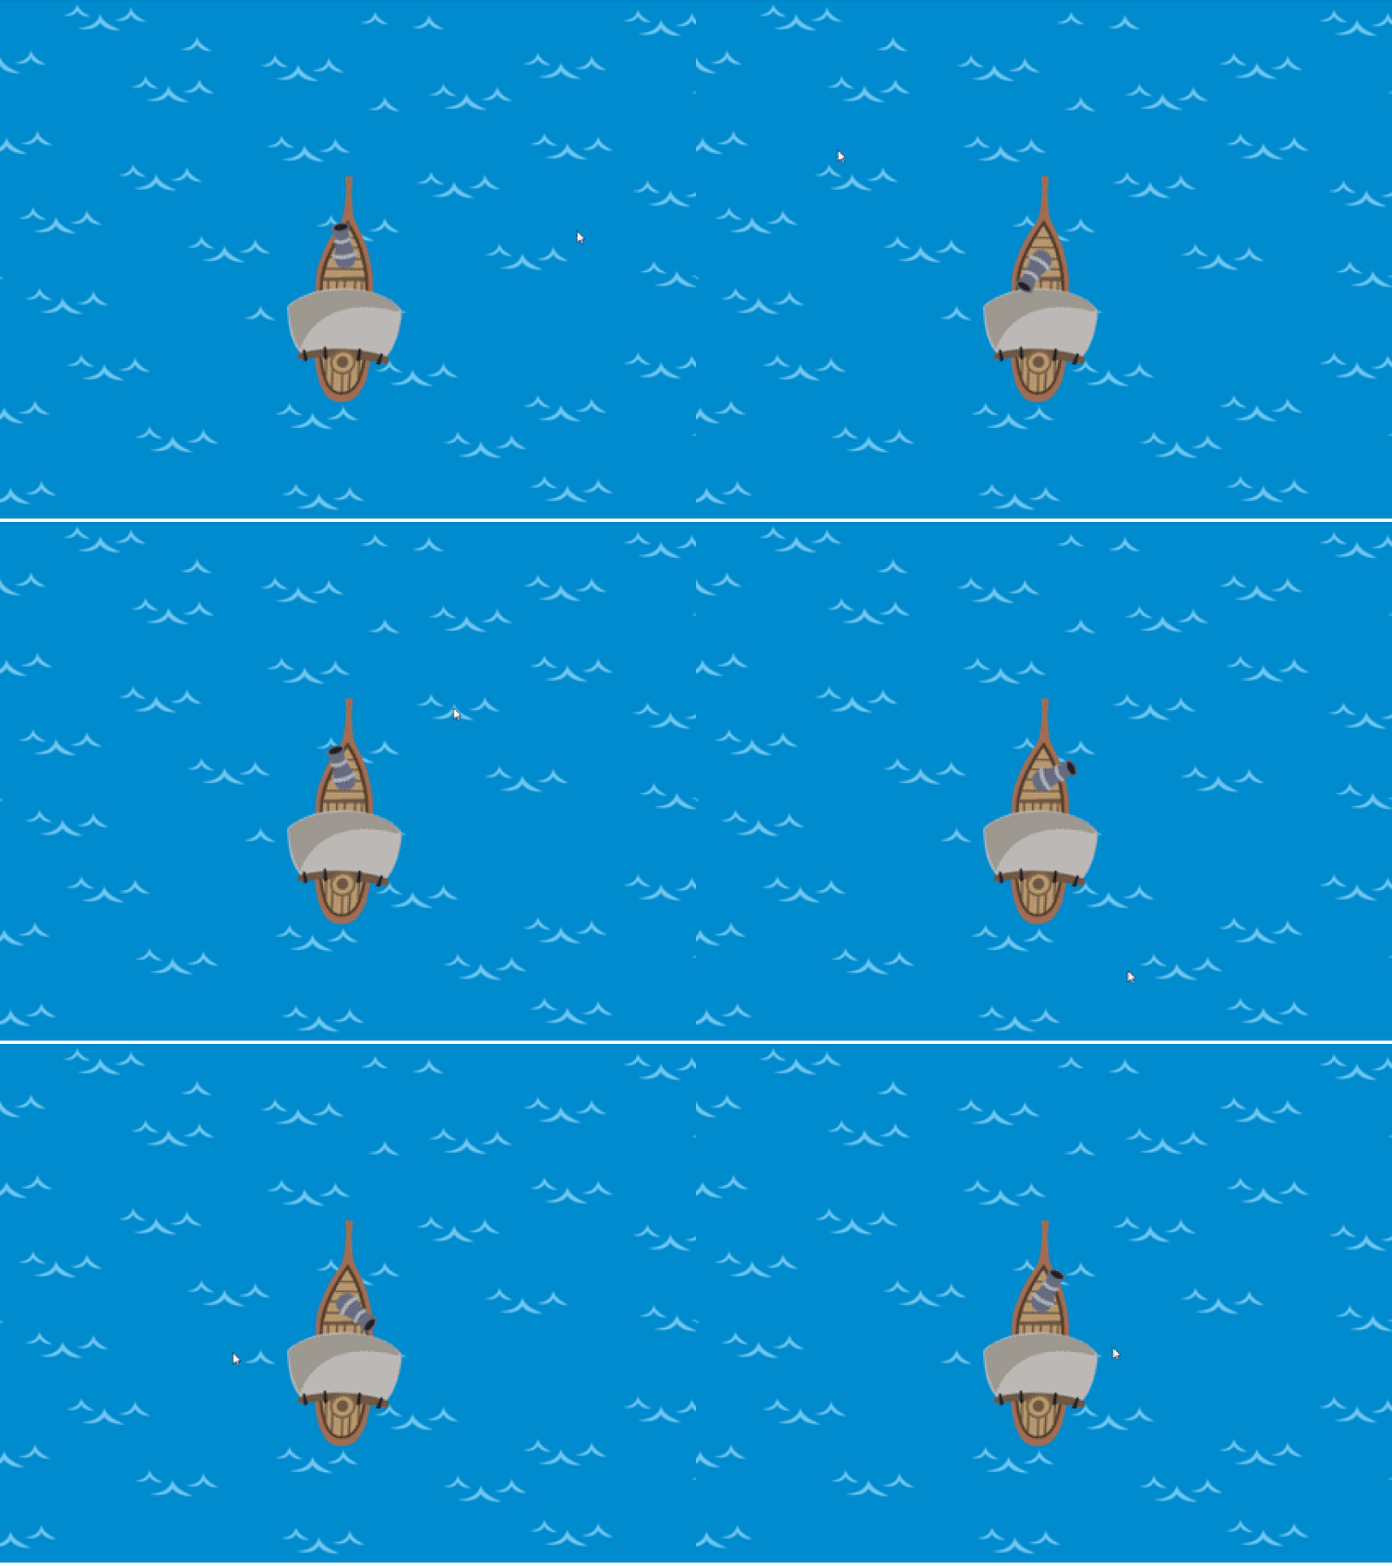
We did the ball rotation, but it does not rotate exactly according to the position of the mouse. Since the position of the cannon is the cause of this problem, the difference with the mouse is PI/2. If we shift the rotation by PI/2, we will catch the mouse.
To reach the PI number with phaser, we need to use the PI constant in the Math library. We will rotate the ball by adding PI/2 to the angle.
//rotation cannon with PI/2
cannon.setRotation(angle+Math.PI/2);
Fire Cannon Ball
We need to find the position of the mouse to fire the ball and move the ball according to that position.
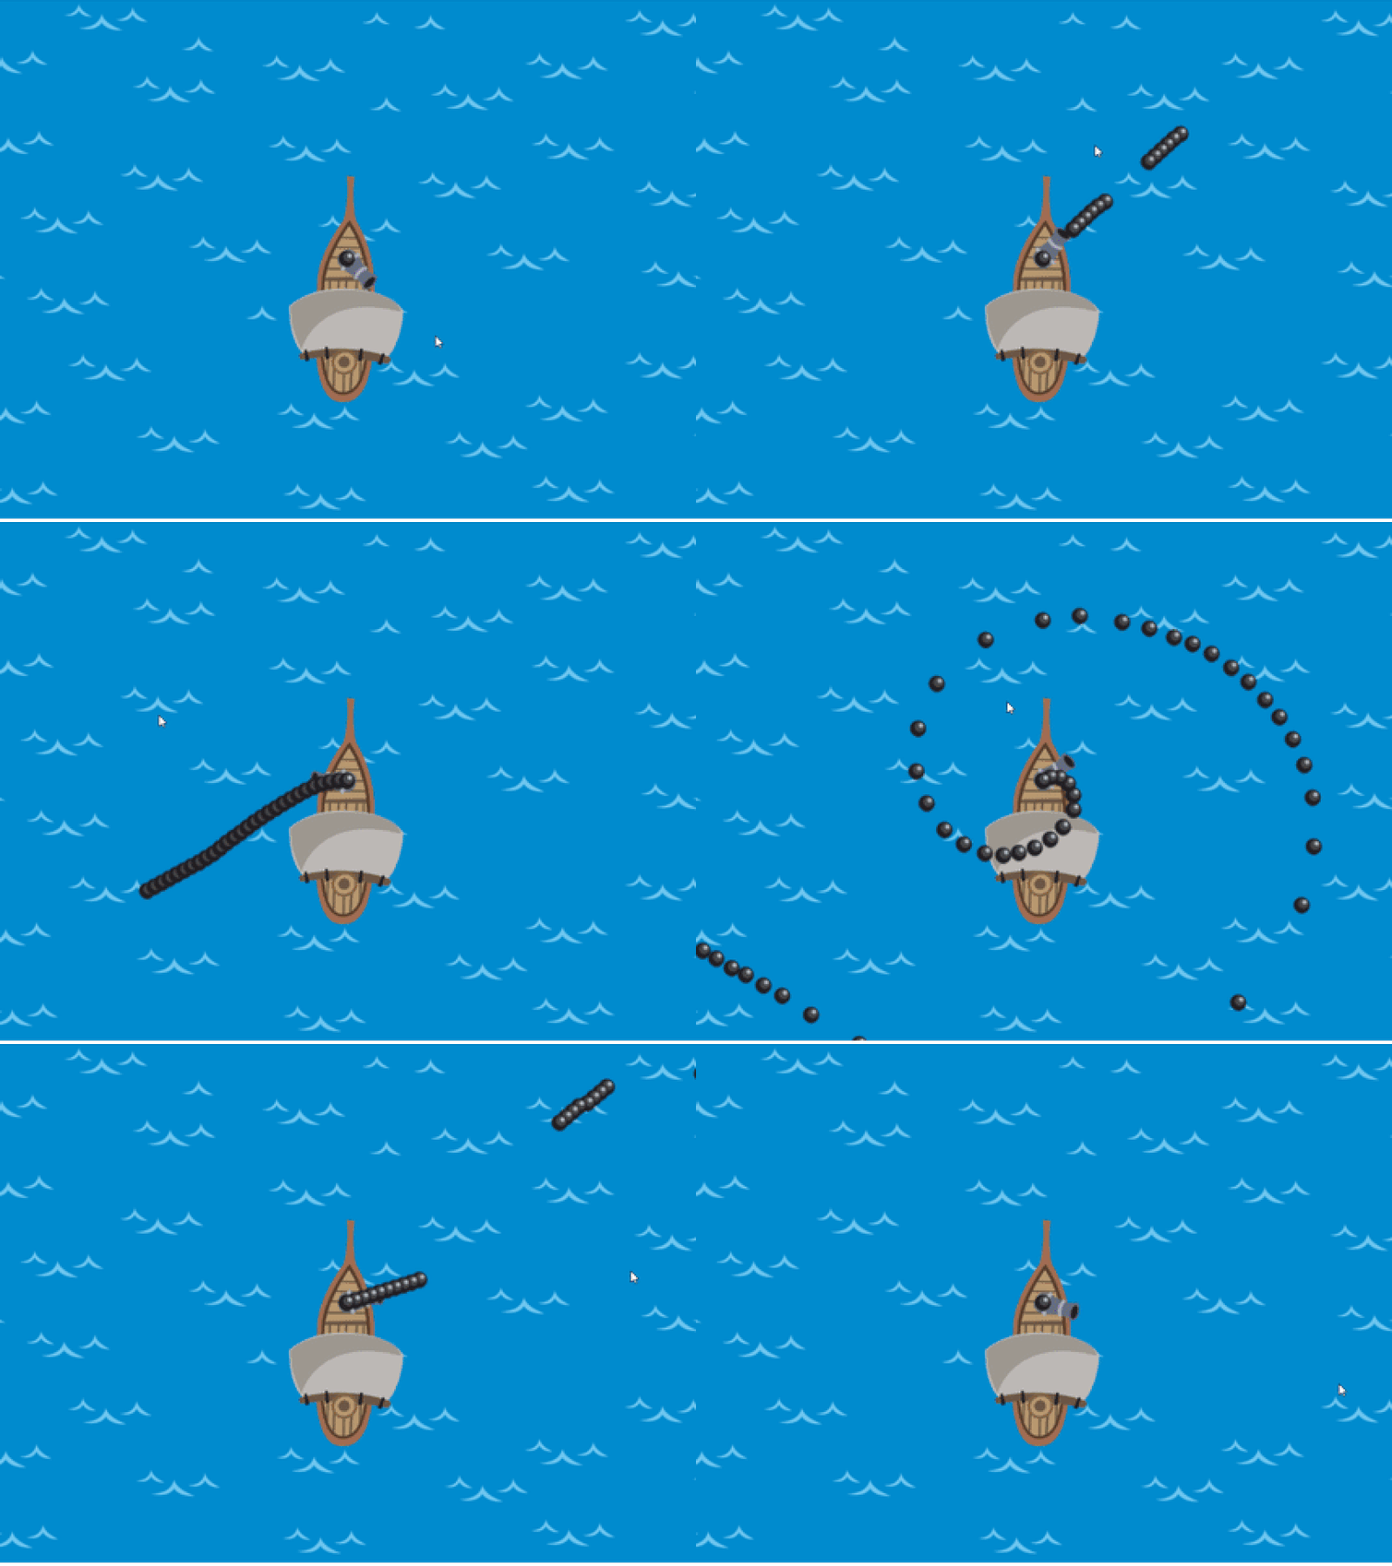
We can use the moveTo() function to move an object relative to a position. The moveTo () function takes the object to act as the first parameter. We must give the x and y points of the position to be moved as the second and third parameters and the fourth parameter is the speed of the movement.
Let's create the ball and move it when the mouse is clicked.
//cannonball creation according to the cannon
cannonball=this.physics.add.sprite(384,256,'cannonBall');
We will create the ball exactly in the center of cannon so that the ball will come out of the mouth.

We must create the mouse click event to set the firing. In order to capture the mouse click event, we must create the mousePointer object in the input.
var mouse;
…
create(){
//for mouse click event
mouse=this.input.mousePointer;
}
Let's move the ball when the mouse is clicked in the update () function.
//mouse clicked
if(mouse.isDown){
    //for fire again
    cannonball=this.physics.add.sprite(384,256,'cannonBall');
    //move to mouse position
    this.physics.moveTo(cannonball,input.x,input.y,500);
}
Control For Single Ball Shot
We can fire more than one cannon without any control. We can create the game we want by controlling shots.
Let's create the control variable and let it shot when this variable is false.
var control=false;
…
update(){
//mouse clicked
if(mouse.isDown&& control==false){
   //for fire again
   cannonball=this.physics.add.sprite(384,256,'cannonBall');
   //move to mouse position
   this.physics.moveTo(cannonball,input.x,input.y,500);
   control=true;
}
}
We set the ball's motion event when the mouse is clicked and the control variable is false and then where we set the control variable to true.
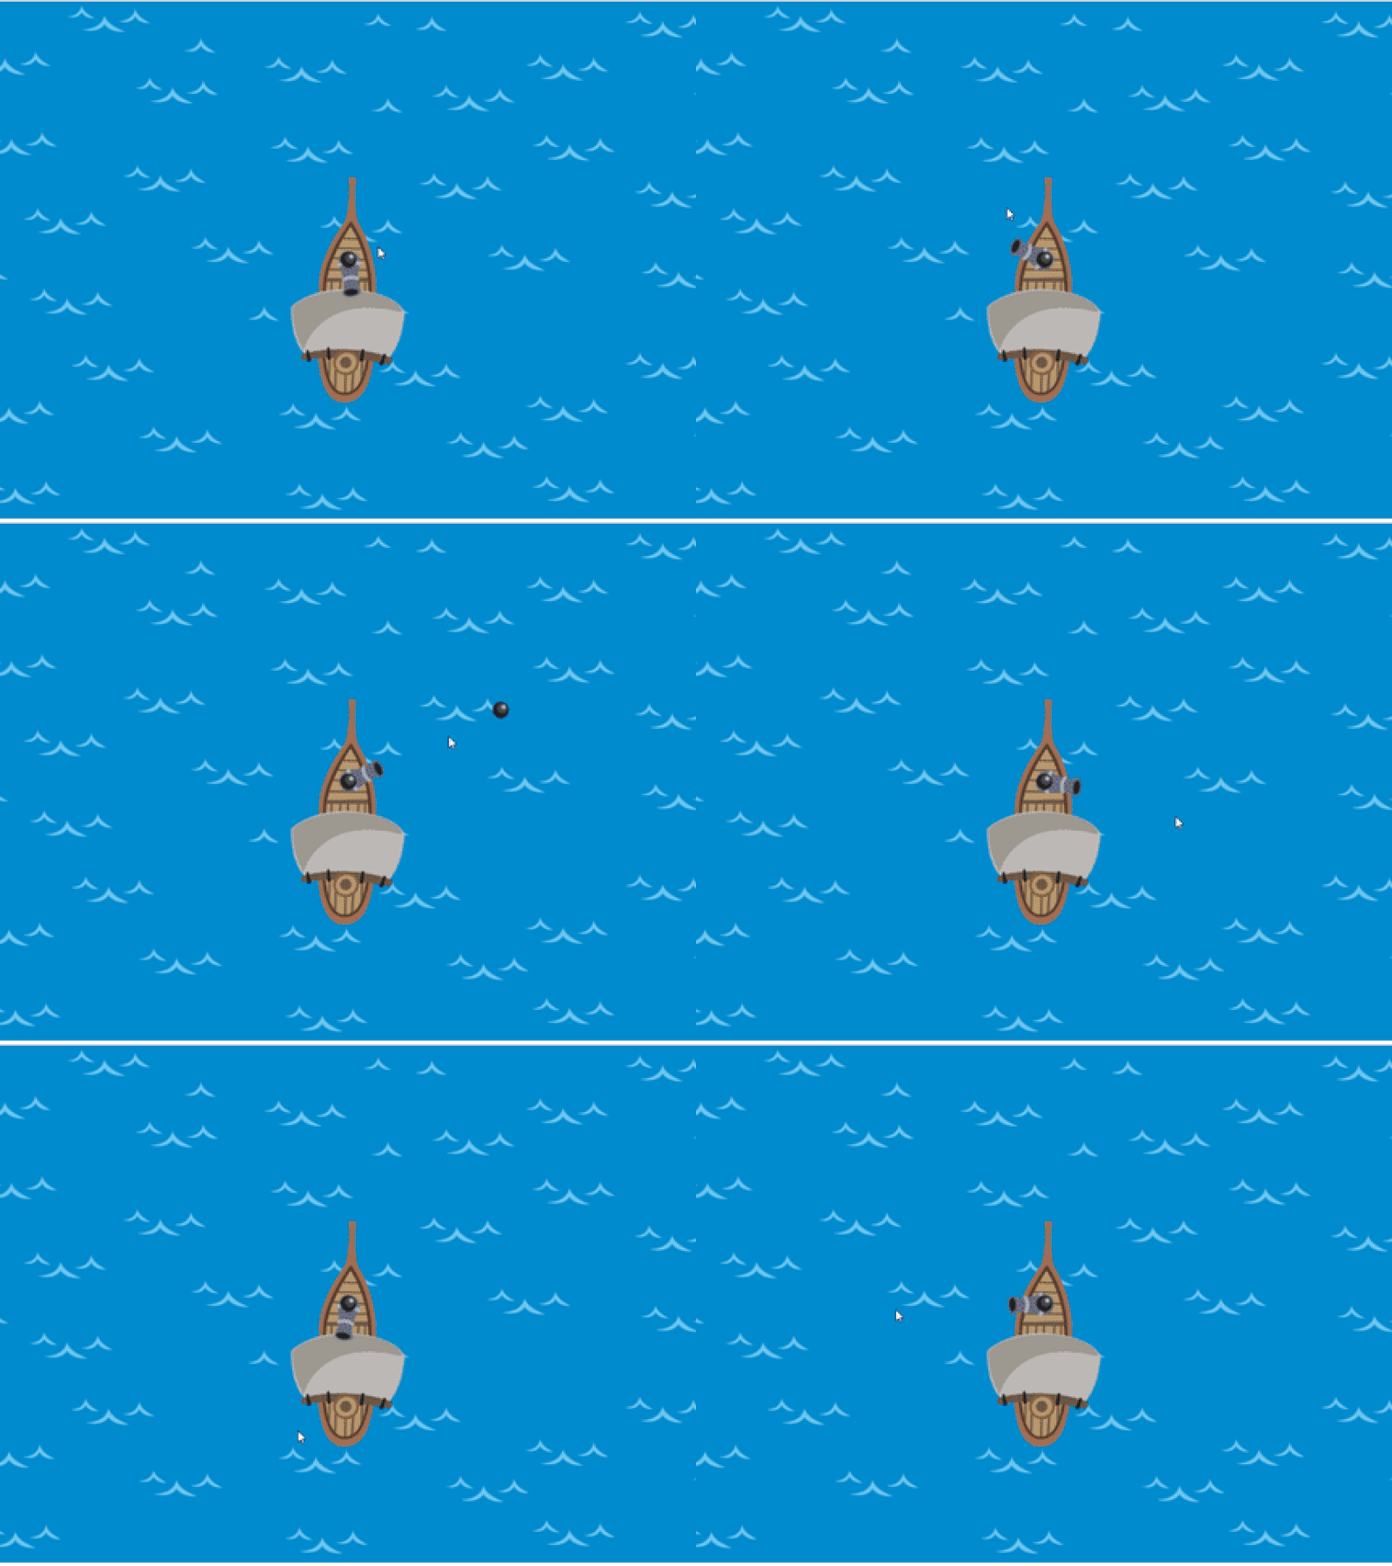
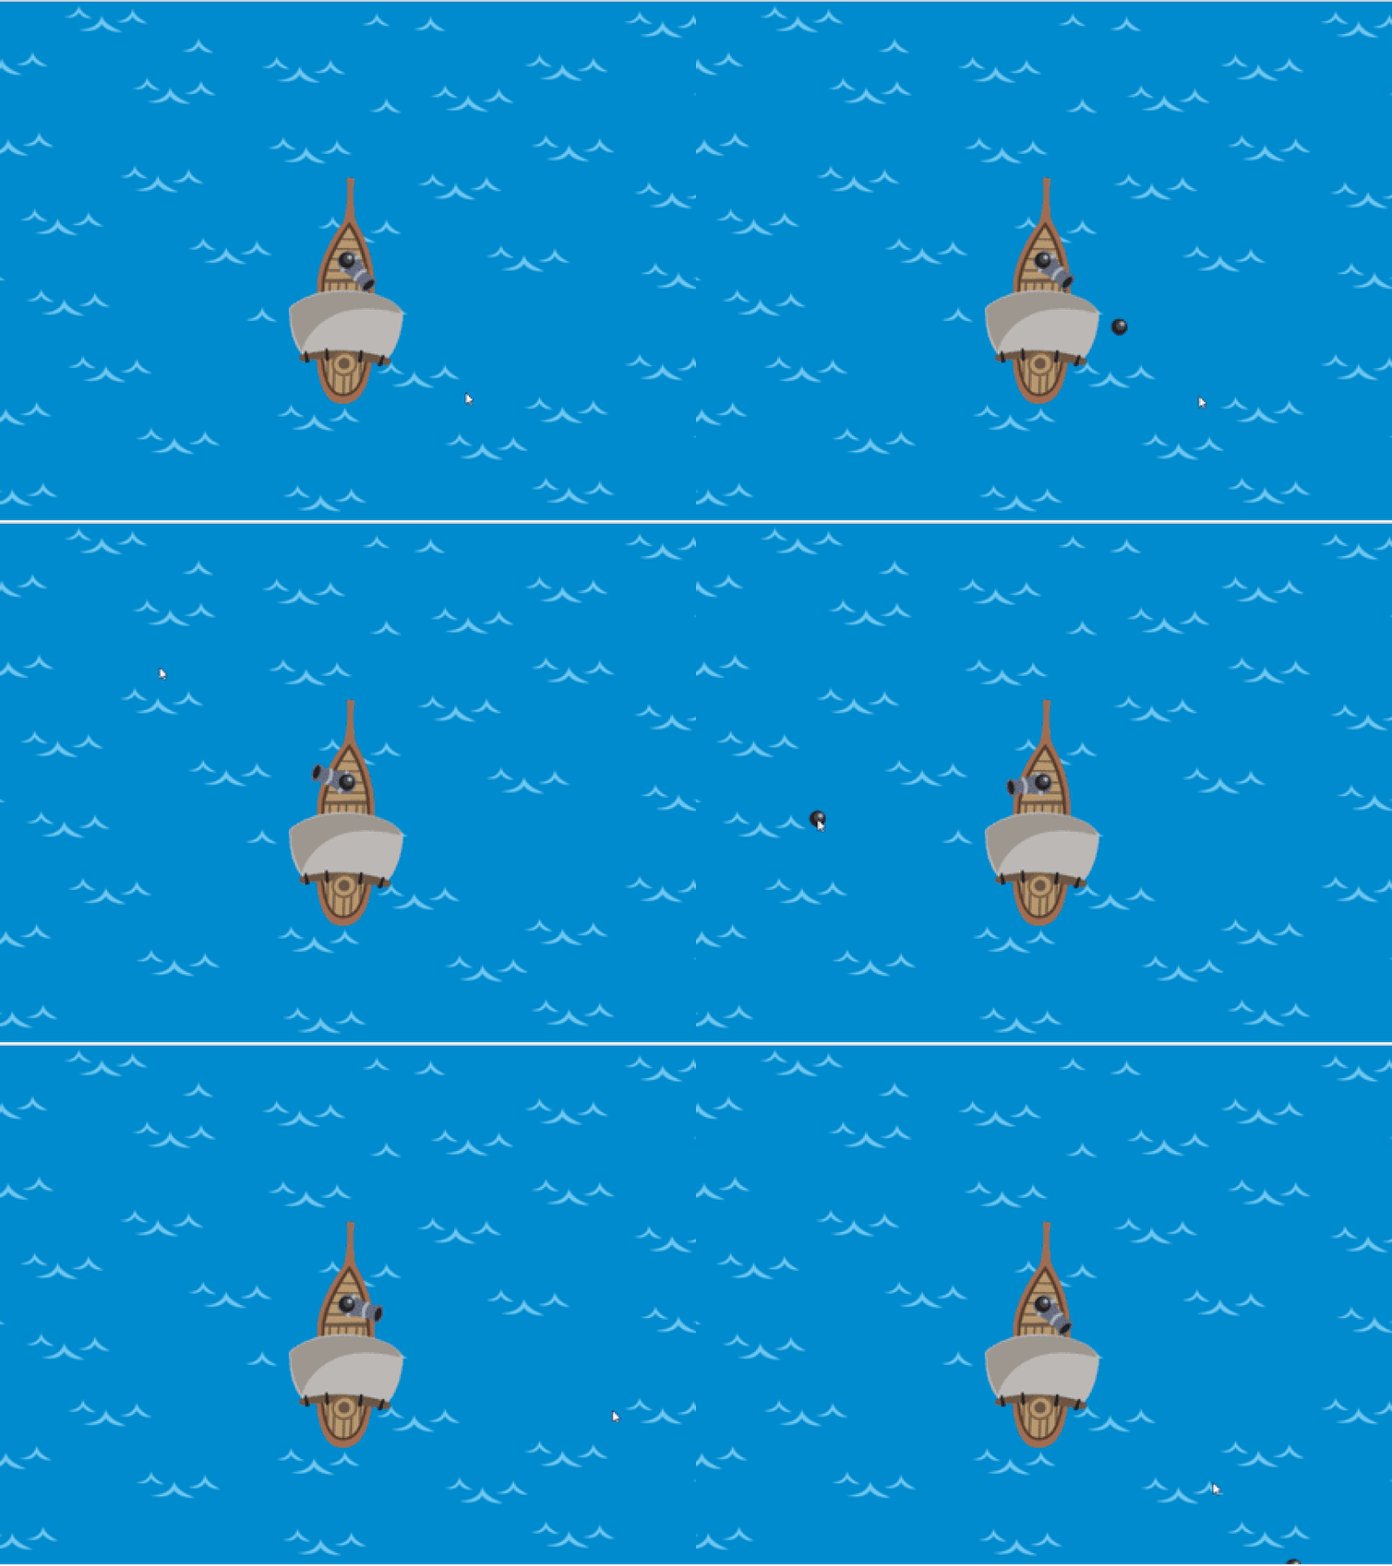
When we do that, we can only move one ball. Certain operations must be performed to fire another cannon. When the ball passes beyond the game limits, let's get the other ball ready to fire.
We must use the world.bounds object to find the limits of the game.
var worldBounds;
…
create(){
   //set game bounds
   worldBounds=this.physics.world.bounds;
}
In the update () function, let's check the time when the ball crosses the limits of the game and set the control variable to false when the ball crosses the limits.
//check world bounds
if(cannonball.x>worldBounds.width || cannonball.y>worldBounds.height ||cannonball.x<0 || cannonball.y<0){
    control=false;
}
Destroying Pirate Ships
Since we will create more than one pirate ship, we will use the group () function so we can make collision easier.
//create pirate ship
pirateship=this.physics.add.group();
pirateship.create(100,100,'pirateShip');
pirateship.create(600,100,'pirateShip');
pirateship.create(100,400,'pirateShip');
pirateship.create(600,400,'pirateShip');

When the collision takes place we can destroy the pirate ship and the cannon with a function. We must send colliding objects into the function and destroy them using the disableBody () function.
We will use the overlap () function to capture the collision moment of cannonball and pirateShip objects in the update () function
//for collision
this.physics.add.overlap(cannonball,pirateship,destroy,null,this);
Destroy function will run as soon as two objects collide. Then let's create this destroy () function outside the scene.
//collide cannonbal and pirateShip
function destroy(cannonball,pirateship) {
  pirateship.disableBody(true,true);
  cannonball.disableBody(true,true);
  control=false;
}
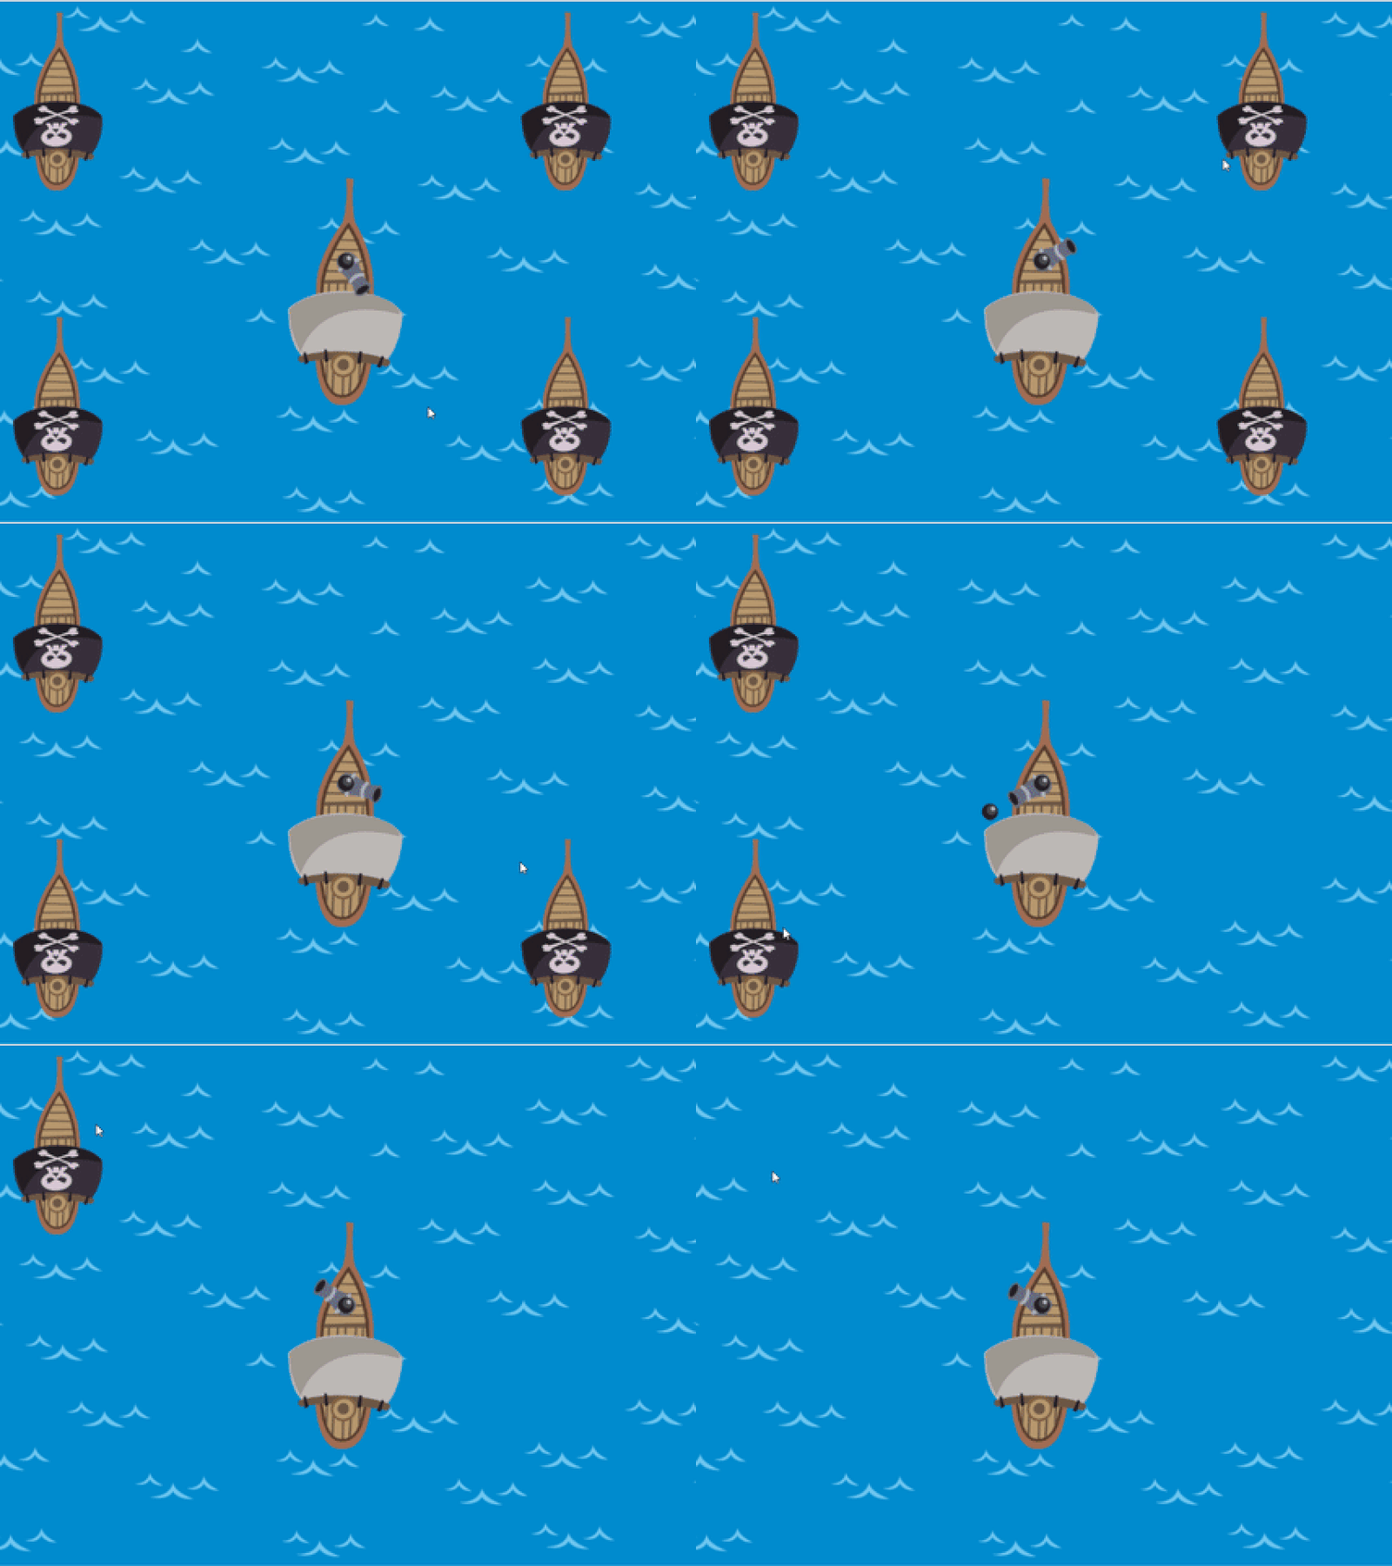
Proof of Work Done
https://github.com/onepicesteem/Move-Objects-According-To-The-Mouse-Position-With-Phaser-3
Thank you for your contribution @onepice.
After reviewing your tutorial we suggest the following points listed below:
Thank you for your work in developing this tutorial.
Looking forward to your upcoming tutorials.
Your contribution has been evaluated according to Utopian policies and guidelines, as well as a predefined set of questions pertaining to the category.
To view those questions and the relevant answers related to your post, click here.
Need help? Chat with us on Discord.
[utopian-moderator]
Thank you for your review, @portugalcoin! Keep up the good work!
Hi @onepice!
Your post was upvoted by @steem-ua, new Steem dApp, using UserAuthority for algorithmic post curation!
Your post is eligible for our upvote, thanks to our collaboration with @utopian-io!
Feel free to join our @steem-ua Discord server
Hey, @onepice!
Thanks for contributing on Utopian.
We’re already looking forward to your next contribution!
Get higher incentives and support Utopian.io!
Simply set @utopian.pay as a 5% (or higher) payout beneficiary on your contribution post (via SteemPlus or Steeditor).
Want to chat? Join us on Discord https://discord.gg/h52nFrV.
Vote for Utopian Witness!