Making Ship Hitting Game With Phaser3 Using Html5 And Javascript (Part 1)
Repository
What Will I Learn?
- You will learn how to make a game using the
phaser 3library. - You will learn to play music in the background while make a game in phaser 3.
- You will learn how to add a picture in phaser 3.
- You will learn how to move pictures in phaser 3 .
- You will learn how to change the movement speed of pictures.
- You will learn
Game()function in phaser 3. - You will learn
load.image()andadd.image()functions in phaser 3. - You will learn
load.audio()andsound.add()functions in phaser 3. - You will learn
setLoop()andplay()functions in phaser 3. - You will learn
sprite()function in phaser 3 physics. - You will learn
setVelocityX()in phaser 3
Requirements
- Have basic html5 and javascript knowledge.
- Visual Studio Code
Difficulty
- Basic
Tutorial Contents
In this article, we begin to make game with html5 and javascript from the beginning using the phaser3 library. In the game you will pass the battle ships ahead of us and we will try to shoot them.
We will start creating the game. Then we will set up a music playing in the background of the game with phaser 3. We will see how to adjust this music and how to play it continuously in this article.
Then we will learn how to build ships and how to move this ship. We will also learn how to create and position multiple ships randomly.
Before creating the game you can get the phaser3 library and the pictures and music used in the game in my githup repo.
Create A Game
We need html page for html5 game. We create the page where the game will work with this page.
Let's create a page named index.html.
<!DOCTYPE html>
<html lang="en">
<head>
    <meta charset="UTF-8">
    <meta name="viewport" content="width=device-width, initial-scale=1.0">
    <meta http-equiv="X-UA-Compatible" content="ie=edge">
    (html comment removed:  To use the phaser3 library )
    <script src="phaser.js"></script>
    (html comment removed:  To write the javascript codes )
    <script src="script.js"></script>
    <title>Ship Hitting Game</title>
    (html comment removed:  destroy space in the page )
    <style type="text/css">
        body {
            margin: 0;
        }
    </style>
</head>
<body>

</body>
</html>
We've written basic html codes in the index.html page. We called phaser.js in the file's directory to use the phaser3 library.
We also created the script.js file and we called to use it on the index page. In script.js, we'll create javascript codes to create the game.
To prevent any gaps in the page, we did the margin adjustment in style tags.
We use the Game() function in the Phaser library to create a game with phaser. In the Game() function, it takes an object that we define the game's settings as a parameter and creates the game in html5 according to those settings.
var config = {
    type: Phaser.AUTO,//oyun tipi
    width: 800,//width of play ground
    height: 600,//height of play ground
    physics: {
        default: 'arcade'
    },
    scene: {//game algorithm
        preload: preloadGame,
        create: createGame,
        update: updateGame
    }
};

//The game field is created according to the config information.
var game = new Phaser.Game(config);
In the config settings, we can determine the dimensions of the game field and the mechanism that will run the game. In addition, we defined the functions to be used in the game algorithm in scene attribute.
Thus, the game screen will be created within the html page.
Screenshot 1

Create Background
We will place a background image on the playing field. We will use the background.png file as a background image so there will be a sandy beach in the background.
To upload a picture to the playground with the phaser library, we need to preload this image first.
To preload we have defined the preloadGame() function in the config object.
Let's make our background image available in the preloadGame() function.
function preloadGame ()
 {
    //With the background name we can access this image.
    this.load.image('background','assets/background.png');
 }
We load the image we want to use using the load.image() function. We can access background.png using background name.
Of course we need to create this picture after booting.
In the config we will use createGame() to create objects that are preload with phaser.
function createGame ()
{
    //location of center point
    this.add.image(400, 300, 'background');
}
We use the add.image () function to load the picture that is preload.
When using phaser, it is processed based on the center points due to the canvas feature. We've created a 800x600 playing field and we've got a 800x600 background image, so we've got a 400x300 center location.
Screenshot 2

Play Background Music
To play music in the background with phaser3, we need to enable disableWebAudio in the audio feature in the config object.
//for music
    audio: {
        disableWebAudio: true
    },
We can now play music by making such a setting in game.
After configuring music with config, we must define the audio file in the game's preloadGame() function.
With the load.audio() function, we can make the audio file usable.
function preloadGame ()
 {
//We are loading the audio file to be used.
  this.load.audio('backgroundSound', 'assets/audio/backgroundsound.mp3', {
         instances: 1
 });
We can now access the background audio file with the name backgroundSound.
We can create the audio file after making it available. If you want to play the sound file continuously loop should be taken.
function createGame ()
{
//create sound
var music = this.sound.add('backgroundSound');
//set loop
music.setLoop(true)
//play sound
music.play()

}
We can create the sound file using sound.add().We created a sound file that we created that we can use later. With the play() function, we can play the audio file during the game.
If you create the sound file this way, it will play once and then stop. we can play continuously with setLoop() function because we want a sound that will play continuously in the background.
Create Ship
We cannot load the background image as we loaded ship because we will move the ship.
We have enabled physics in the config object. Thanks to physics we can move the pictures we uploaded to the playground.
We should first load the ship image in the preloadGame () function.
function preloadGame ()
 {
    //With the ship name we can access this image.
    this.load.image('ship','assets/ship.png');
 }
We'll create a moving image and add it as a sprite using physics.
function createGame ()
{

  //We have defined such for moving.
  this.physics.add.sprite(200, 200, 'ship')

}
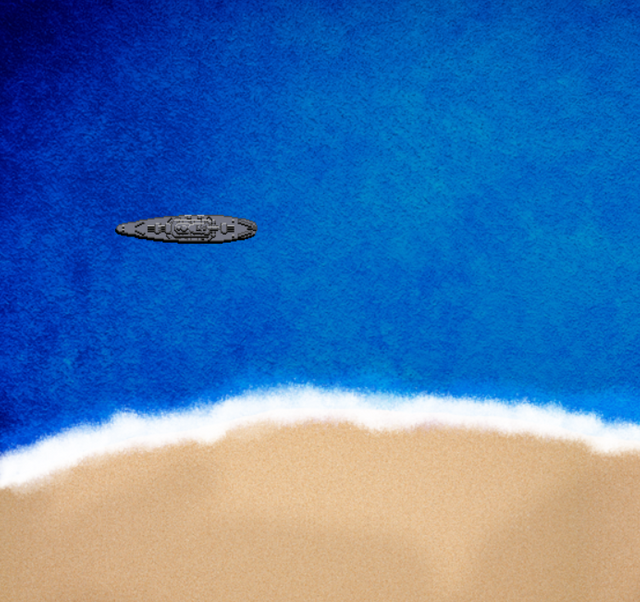
So we create the ship at 200x200 position on the screen.
Screenshot 3
Move Ship
With the phaser 3 you are creating a valid game of arcade physics rules.
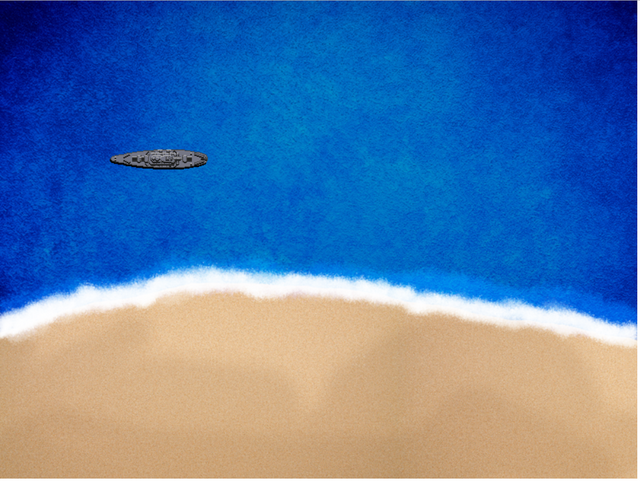
When we create a sprite with physics, the speed is created as the default 0. We need to change the speed if we want to bring the ship into action.
Then we create the ship variable to access the ship and keep the speed information in the variable speed.
var ship;
var speed=5;
With the setVelocityX and setVelocityY functions, we can change the speed of an object.
Now we can adjust the speed within the createGame() function because we haven't changed the speed of the ship.
//We have defined such for moving.
ship=this.physics.add.sprite(200, 200, 'ship')

//We adjust the speed in the x direction.
ship.setVelocityX(speed);
Screenshot 4
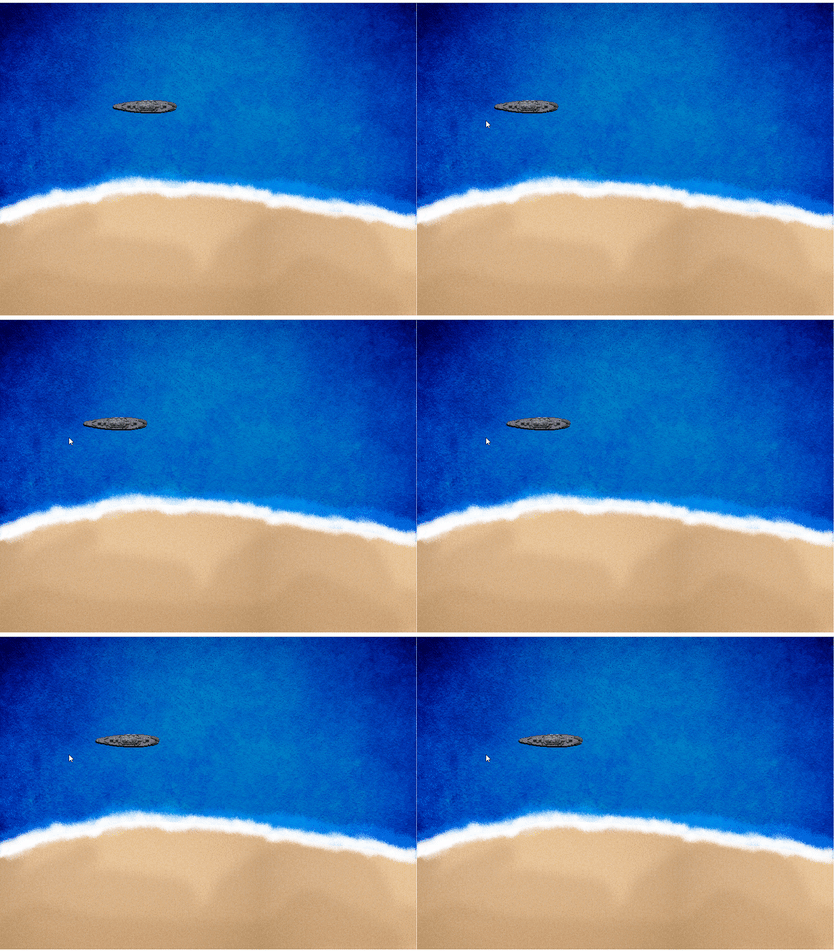
If we want, we can change the speed at the beginning and move it faster.
var speed=100;
Screenshot 5
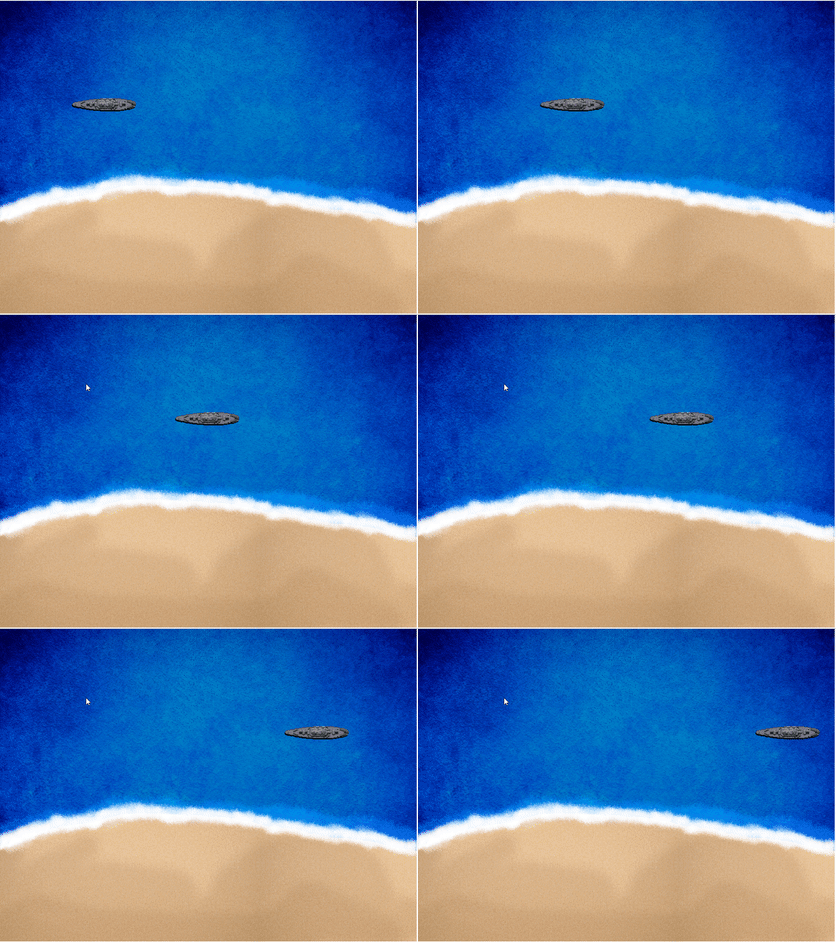
If we enter a positive value in the setVelocityX() function, the object moves to the right. we can move the object to the left by entering a negative value.
var speed=-10;
Screenshot 6

See you in the next article.
Proof of Work Done
Making Ship Hitting Game With Phaser3 Using Html5 And Javascript (Part 1)
Thank you for your contribution @onepice.
After reviewing your tutorial we suggest the following points listed below:
We look forward to seeing new features in your next tutorial.
Your contribution has been evaluated according to Utopian policies and guidelines, as well as a predefined set of questions pertaining to the category.
To view those questions and the relevant answers related to your post, click here.
Need help? Chat with us on Discord.
[utopian-moderator]
Thank you for your review, @portugalcoin! Keep up the good work!
Hi @onepice!
Your post was upvoted by @steem-ua, new Steem dApp, using UserAuthority for algorithmic post curation!
Your post is eligible for our upvote, thanks to our collaboration with @utopian-io!
Feel free to join our @steem-ua Discord server
Hey, @onepice!
Thanks for contributing on Utopian.
We’re already looking forward to your next contribution!
Get higher incentives and support Utopian.io!
Simply set @utopian.pay as a 5% (or higher) payout beneficiary on your contribution post (via SteemPlus or Steeditor).
Want to chat? Join us on Discord https://discord.gg/h52nFrV.
Vote for Utopian Witness!
This is brilliant. I'm currently learning web development. This is all facinating yet slightly challenging. I'm more of an artist myself. I'd love to do games like that. Soon...
If you are familiar with javascript, follow my other content