Impingement deterrent system with keypad disarm using Arduino
What will I learn
You will learn how to use a motion sensor.
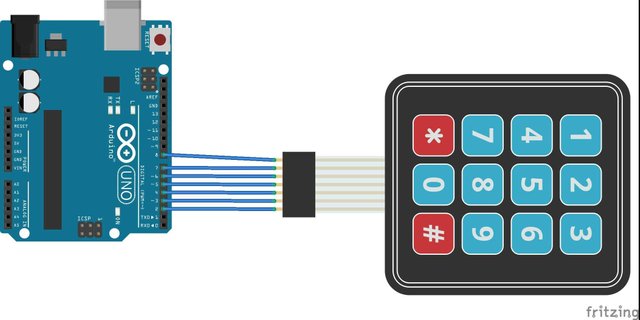
You will learn how to implement a keypad membrane.
You will get insight to the program code.
You will learn how these parts works together and form an anti impingement system.
Requirement
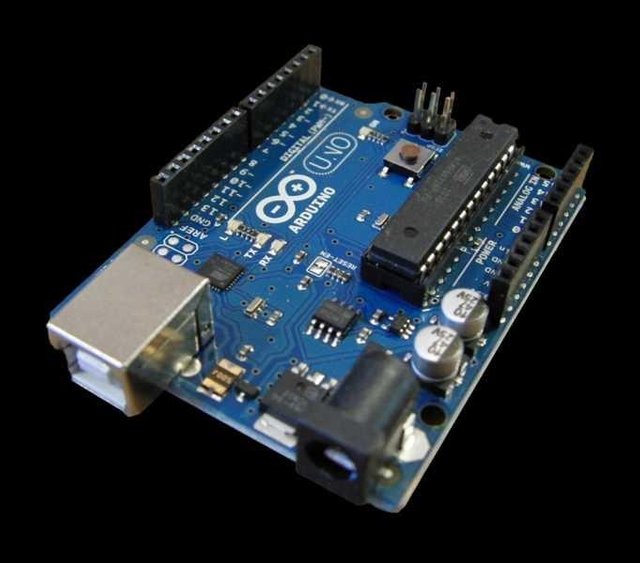
- Arduino uno
- 4×3 Keypad membrane
- PIR motion detector

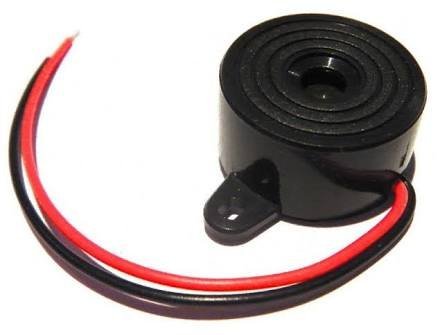
- Buzzer
- LCD display

- Connecting cables

- USB cable Type A to B
.jpeg)
- A computer

- Software
Arduino software/IDE
Knowledge
Knowledge of Electronics Engineering
Knowledge of programming
Difficulty
Intermediate
Tutorial Contents
The project is an embedded system consisting of a microcontroller, motion detector and LCD which can control the Buzzer depending on the presence of an impingement within six meters of range. By using this procedure valuable properties and homes can be secured as the Buzzer is triggered when there is an impingement.
- Steps
1 . Gather all the components
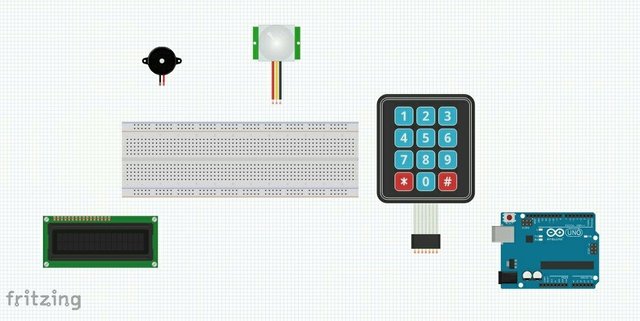
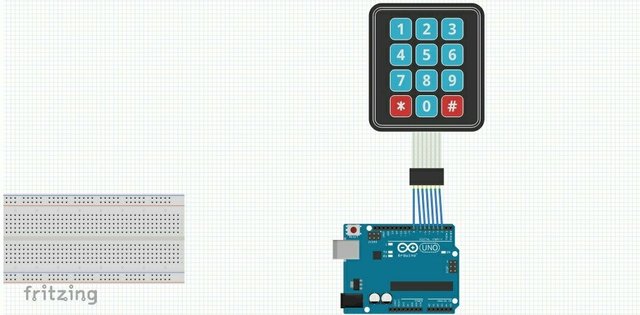
2 . Connect keypad to Arduino board
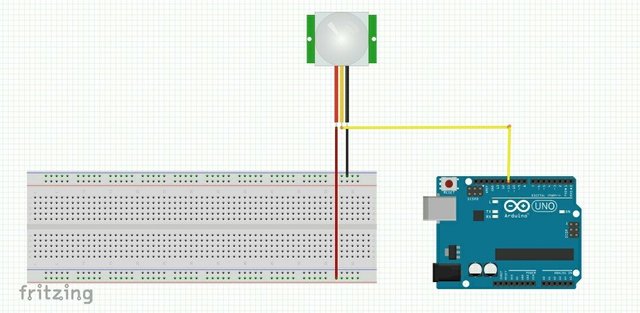
3 . Connect PIR motion detector to Arduino board
Pin 1: 5V VCC in Red
Pin 2: output in Yellow
Pin 3: GND in black
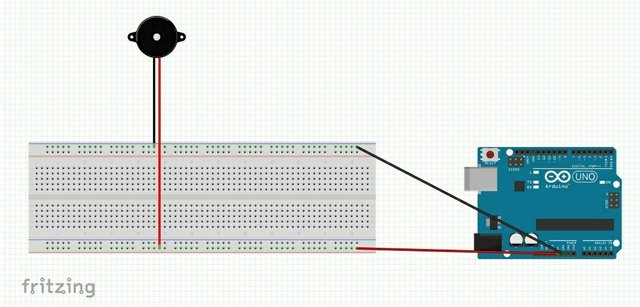
4 . Connect Buzzer to Arduino board
Pin 1: 5V VCC in Red
Pin 2: GND in black
5 . Connect LCD to Arduino board
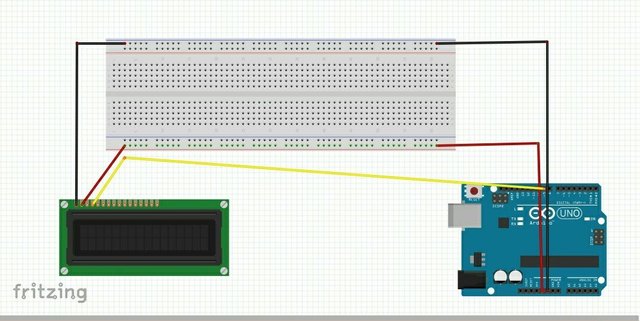
Complete system connection
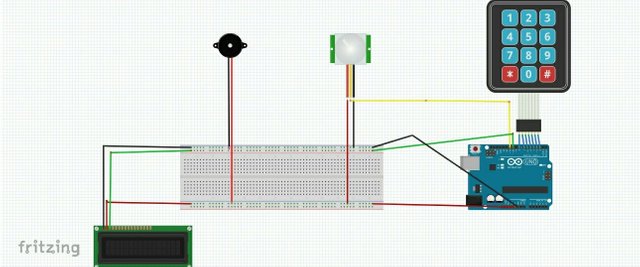
6 . Programming
- Keypad library setup.
i. Download the keypad library here
ii. Extract the keypad library
iii. Install the keypad library into Arduino IDE by moving extracted folder into Arduino\libraries
iv. Restart your Arduino IDE
- connect the set up to your computer
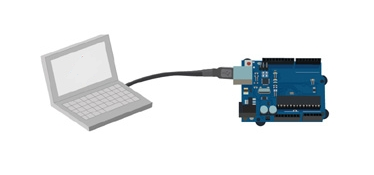
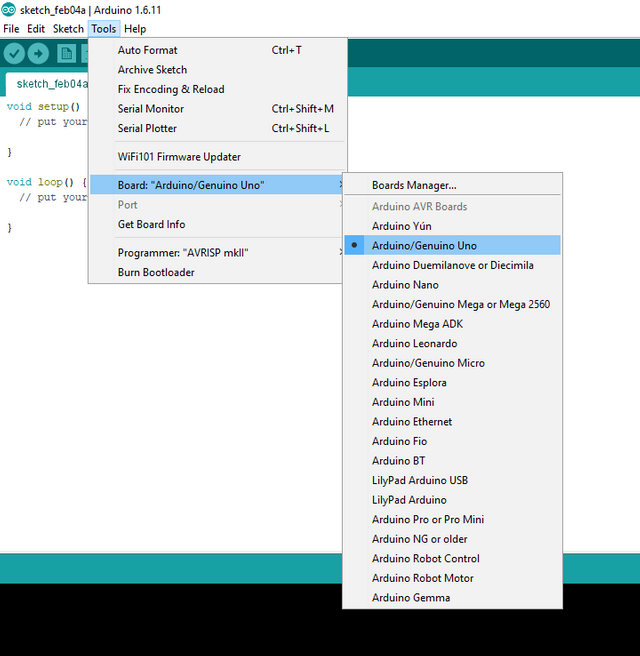
- open the Arduino IDE, go to Tools>board>select Arduino Uno
- copy my code here and paste into the IDE
The program code does the following:
- It initializes the Microcontrollers
- It initializes the Keypad
- It asks you to Input New Password
- It asks you to confirm Password
- It initializes the Sensor PIR
- It initializes the LCD
- It Setups a Continuous loop
- It reads data from Sensor
- Condition 1
-. Is there any motion?
A. If YES: It initiates a buzzer sound
B. If No: It continues the Loop
- Condition 2
-. Is Correct password inserted?
A. If YES: It deactivates buzzer
B. If No: It continues the Loop
Loop continues to 1
- save and compile the code

this will check for errors in the code
If there are no error found, upload unto the Arduino board
7 . Testing
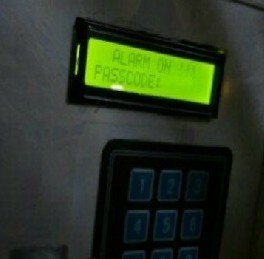
Having followed all the steps rightly, power on the project. It will display as shown and it will ask for new user password.
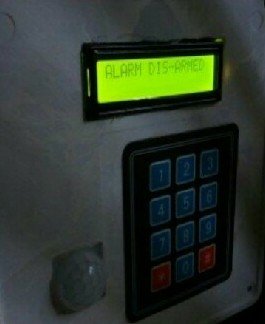
Thank you for the submission.
Contributions in the tutorials category are expected to teach significant aspects of an open source project. For this reason, tutorials teaching general electronics and/or a certain circuit build/module are not considered proper in the category. Tutorials in Utopian should focus on teaching the software not the build or module since Utopian rewards contributions based on their additional value on the software.
Contributors also expected to provide the GitHub repository of the project they contribute to, as a link in the beginning of the post.
Guideline Reference:
As stated in the Utopian Guidelines, this kind of tutorials are not considered in the voting phase.
I hope I provide enough clarifications to help you through with your future contributions.
Need help? Write a ticket on https://support.utopian.io/.
Chat with us on Discord.
[utopian-moderator]
Thank you for the clarification