Learn Python Digital Imaging with OpenCV and NumPY Packages
What Will I Learn?
- You will learn Python
- You will learn OpenCV
- You will learn PYCharm
- You will learn Digital Imaging
Requirements
- PYCharm
- OpenCV Package
- NumPY Package
Difficulty
- Intermediate
Tutorial Contents

Hello Everyone, I want to tell you about how to make digital imaging with python using OpenCV Package. But first, you must have PYCharm or NetBeans to run Digital Imaging Program.
Okay, here I'm using PYCharm, follow my instructions.
1 . The first program we make Zoom program, this is tutorial how to make zoom with Python using OpenCV and NumPY packages.
- Create new Python file on your PYCharm with name resize-zoom.
- Copy an image to folder project.
- Write the source code below.
import numpy as np
import cv2 as cv

img = cv.imread('test.jpg',1)
sizex, sizey = img.shape[0]*1, img.shape[0]*1
img_new =cv.resize(img, (sizex, sizey))
cv.imshow('Old Image', img)
cv.imshow('Image After Resize', img_new)
cv.waitKey(0)
cv.destroyAllWindows()
- Run it, and see the output.
Explanation Code:
import numpy as np
import cv2 as cv
To called OpenCV and NumPY package on this program.
img = cv.imread('test.jpg',1)
The img variable saves the result of the image file invocation performed by the function cv.imread
sizex, sizey = img.shape[0]*1, img.shape[0]*1
img_new =cv.resize(img, (sizex, sizey))
To know the dimensions or the physical size of the image and the number of channels in it you can use the shape, this code img.shape img.shape[0]1, img.shape[0]1 width and height will multiply 1. And then, resize() function for change size image.
cv.imshow('Old Image', img)
To show image file default, you can use cv.imshow('Title window', variable image file)
cv.imshow('Image After Resize', img_new) this code to show image file after zoomed, because at there you call variable which image has zoomed.
2 . The Second program about how to blur an image with python using OpenCV and NumPY Packages.
On this program, we will use the Averaging technique.
- Create new Python file on your PYCharm with name averaging.
- Copy an image to folder project.
- Write the source code below.
import numpy as np
import cv2 as cv

img = cv.imread('test.jpg',1)
blur = cv.blur(img, (10,10))
cv.imshow('Old Image', img)
cv.imshow('Image After Blur', blur)
cv.waitKey(0)
cv.destroyAllWindows()
- Run it, and see the output.
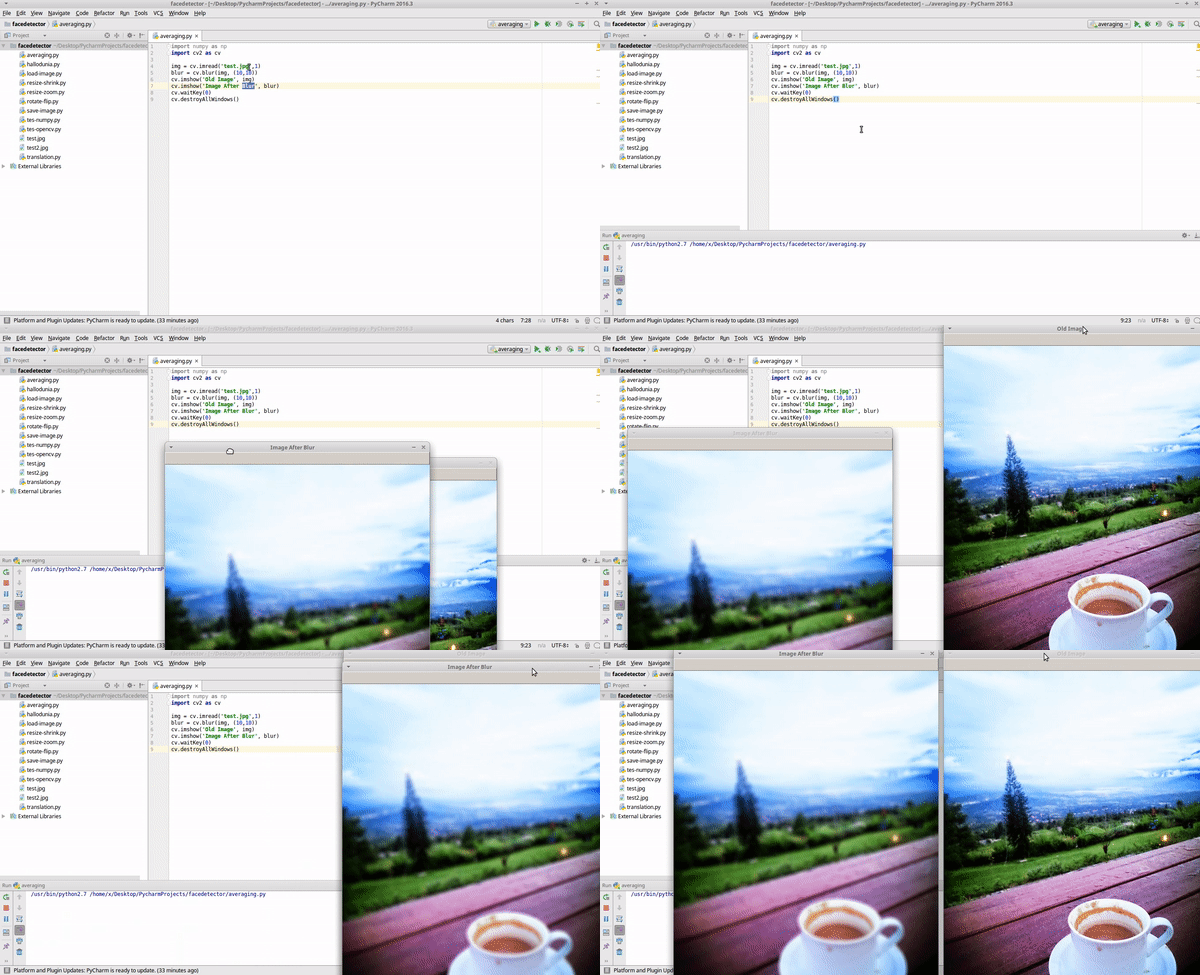
Explanation Code:
blur = cv.blur(img, (10,10))
This code has two arguments are img to called a variable where image file place and (10,10) where the intent of 2 argument that is to regulate how high rate of bleeding to be obtained. The high value will result in the higher blur effect.
3 . This third program if you want to clear the noise image, can use technique Median Blur
- Create new Python file on your PYCharm with name median-blur.
- Copy an image to folder project. Attention! use noise-effect images for this technique.
- Write the source code below.
import numpy as np
import cv2 as cv

img = cv.imread('noise.jpg',1)
blur = cv.medianBlur(img,5)
cv.imshow('Old Image', img)
cv.imshow('Image After Gaussian Blur', blur)
cv.waitKey(0)
cv.destroyAllWindows()
- Run it, and see output.
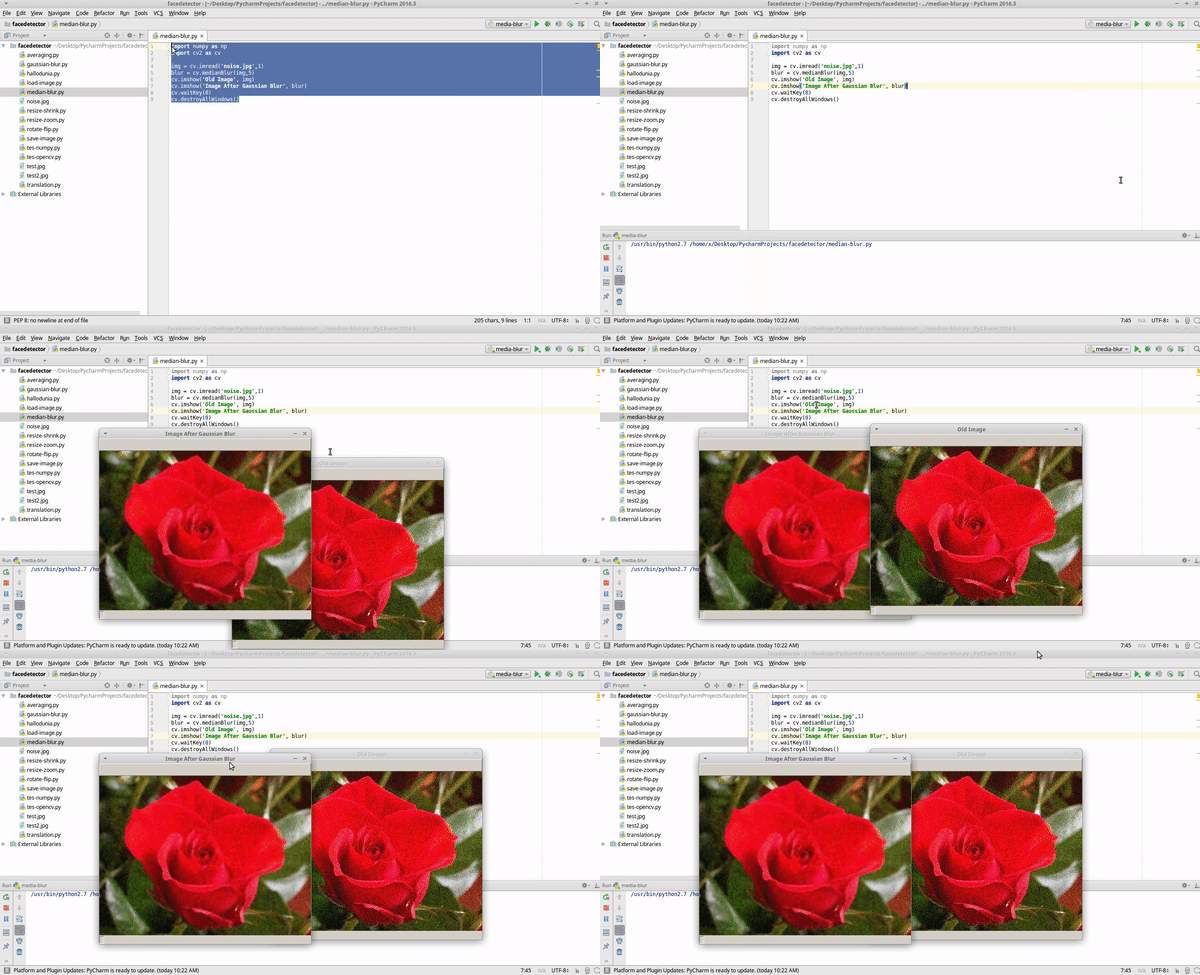
Explanation Code:
blur = cv.medianBlur(img,5) Just use the two arguments src as img variable where the image file is stored, and its value is 5 to set the strength of the resulting blur.
4 . The fourth program uses the Edge Detection technique which only detects the line of objects in each image
- Create new Python file on your PYCharm with name edge-detection.
- Copy an image to folder project.
- Write the source code below.
import numpy as np
import cv2 as cv

img = cv.imread('test.jpg',1)
blur = cv.Canny(img,50,60)
cv.imshow('Old Image', img)
cv.imshow('Image After Edge Detection', blur)
cv.waitKey(0)
cv.destroyAllWindows()
- Run it, and see output.
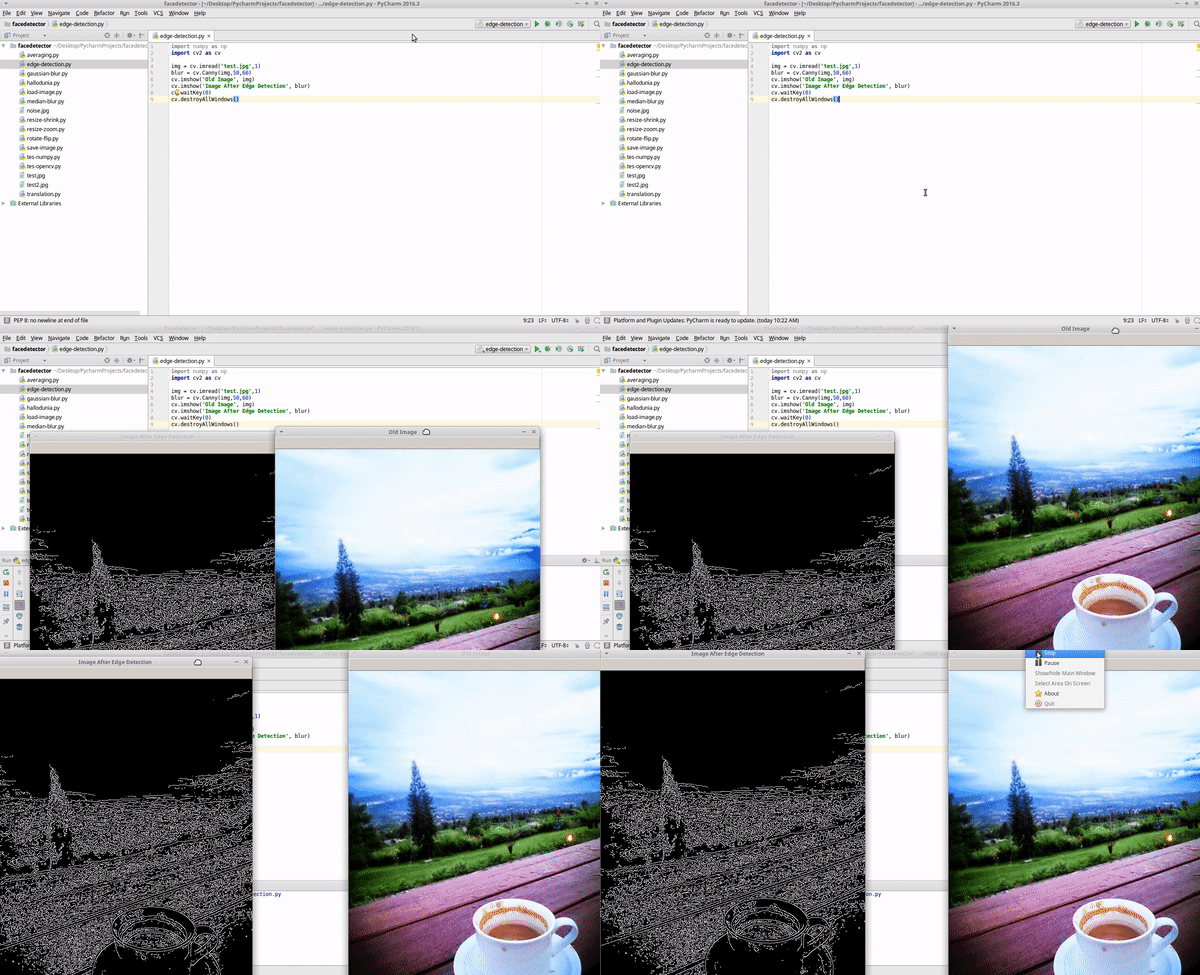
Explanation Code:
blur = cv.Canny(img,50,60)
Value 50 as minVal.
Value 60 as maxVal.
minVal and maxVal which means as the value that governs the intensity of the gradient on the object.
If the value is changed to be smaller, then the line will be much more detailed.
Curriculum
Posted on Utopian.io - Rewarding Open Source Contributors
Your contribution cannot be approved because it does not follow the Utopian Rules.
Explanation:
You've explained (some of) the code you were using incorrectly, and as a whole you only discuss 4 trivial code snippets using 1 OpenCV method for each snippet. And combined those examples don't lead to anything.
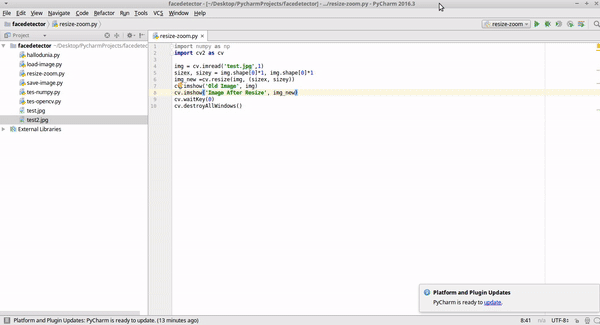
Te code in your first resize (which you call "zoom") example, contains the following lines:
Not only doesn't the
*1operation do anything, in effect you are passing the same value (img.shape[0]) twice (once to both thesizexandsizeyarguments of theresize()method), which in effect does not "zoom" but "square" the image (same width as height). But you probably didn't even notice / understand that because your "explanation" of this code is:The number of channels in it? Multiply by 1?
(...)
You can contact us on Discord.
[utopian-moderator]
Hey @scipio, I just gave you a tip for your hard work on moderation. Upvote this comment to support the utopian moderators and increase your future rewards!
You can really write. I love your post @farahulfa
thank you for supporting me @kissyou
Congratulations @farahulfa! You received a personal award!
Happy Birthday! - You are on the Steem blockchain for 1 year!
Click here to view your Board
Congratulations @farahulfa! You received a personal award!
You can view your badges on your Steem Board and compare to others on the Steem Ranking
Vote for @Steemitboard as a witness to get one more award and increased upvotes!