JQuery Tutorial: How to develop a Progress Bar in JQuery
What Will I Learn?
By continuing our tutorial series on utopian network, today we come up with a JQuery tutorial. In this tutorial you'll learn how to develop a Progress bar in JQuery
- Progress Bar in JQuery
- Get HTML Objects in JQuery
- animate function in JQuery
Requirements
For this tutorial you don't have a deep knowledge about and a grip on mentioned programming languages.
- Basics of Programming
- Ability to code in JQuery
- Ability to code in HTML and CSS
Difficulty
- Basic
Tutorial Contents
-What is a Progress Bar
- Create Necessary Files
- Code HTML
- Link your file to JQuery
- Develop HTML for Progress Bar
- Develop Progress Bar
What is a Progress Bar
A progress bar is a graphical representation of the progression of an extended computer operation, For Example uploading a file, installing a software. Here follow you'll learn how to develop a progress bar in easy and step by step procedure.
Create Necessary Files
Open your text editor and create a file with a name progressbar.html , here in this tutorial we used atom text editor. You can use whatever you like. For this tutorial we only create a single file
Code HTML
After creating your file write all the basic HTML code require for HTML format. Here follow you can see the code.
<!doctype html>
<html>
    <head>
        <title>Progres in JQuery</title>
    </head>
    <body>

    </body>
</html>
Link your file to JQuery
There are two methods to link your your file to JQuery(a JavaScript Library)
- The 1st one is to link with the help of URL
- and the 2nd in to download JQuery source file from its website and then link it to your file.
Here in this tutorial we use the 1st method, you can see in the <head> tag
   <head>
        <title>Progres in JQuery</title>
        <script src="http://code.jquery.com/jquery-3.3.1.min.js"></script>
    </head>
A <script> tag with an attribute src assign a url links JQuery.
Develop HTML for Progress Bar
After setting up an environment for to develop progress bar now we'll start to develop our progress bar. First you've to write the HTML code for progress bar within the <body> tag. Here you can see
Source Code
<body>
        <div id="main">
            <div id="inputDiv">
                <input type="number" name="percent" id="percentVal" value="" placeholder="%age">
            </div>
            <div id="parentDiv">
                <div id="childDiv" ></div>
            </div>
        </div>
    </body>
Now give some styling to it with help of CSS code. Here I do some styling for our progress bar, you can do your own way if you've a grip on CSS language. In this tutorial we use a single file this is why we put the CSS code in same file you can also write it externally if you don't want.
In the <head> tag
<head>
        <title>Progres in JQuery</title>
        <script src="http://code.jquery.com/jquery-3.3.1.min.js"></script>
        <style>
            #parentDiv {
                background-color: #cddbf7;
                width: 500px;
                height: 18px;
                padding: 4px;
                margin: 10px;
            }
            #childDiv {
                width: 0px;
                height: 17px;
                text-align: center;
                color: #e5e6e8;
                background-color: #588bef;

            }
            #inputDiv{
                margin: 10px;
            }
            input{
                font-size: 18px;
                border-radius: 1px;
            }
        </style>
    </head>
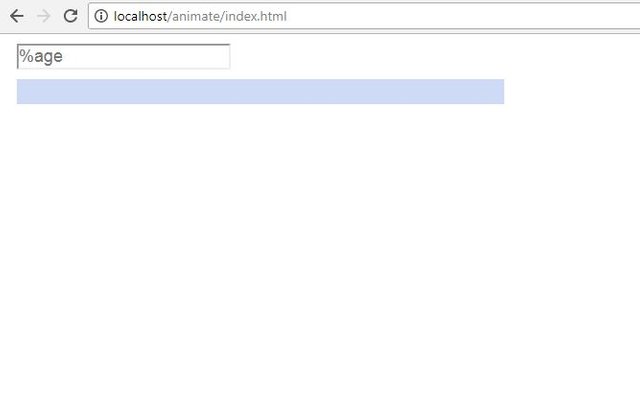
Output

Here in CSS you can see I make the width of the child div 0px, we'll increase its in JQuery that'll result in a progress bar.
Develop Progress Bar
Once you done with all the necessary HTML and CSS code for progress bar we'll move to our jQuery code.
Just under the your HTML code of the progress bar write a <script> tag and withing it write the jquery code to initiate the jquery.
<script laguage="javascript">
            $(document).ready(function(){

            });
        </script>
Now get the id of your input field with jquery and use onchange method of jquery that it runs the code (progress bar code) within it whenever you change the input field.
Source Code
<script laguage="javascript">
            $(document).ready(function(){
                $("#percentVal").change(function(){

                    var percentage = $("#percentVal").val();

                    $("#childDiv").animate({width: (500 *percentage)/100}, 3000);

                });
            });
        </script>
var percentage = $("#percentVal").val(); this will access the input id
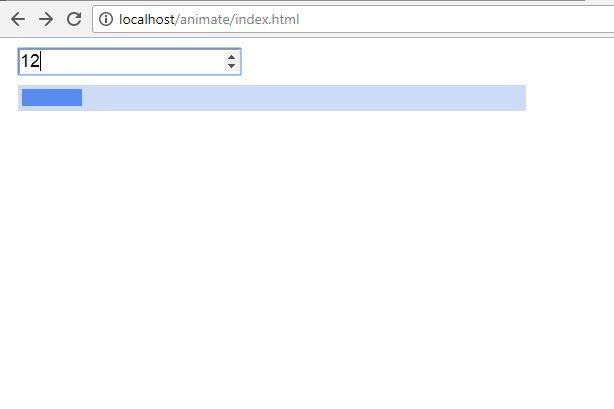
$("#childDiv").animate({width: (500 *percentage)/100}, 3000); this incrementally fills the child dive withing the main div by increasing its width. Here follow in the image you can see the child div appears and it works as a progress bar. 500 in the code is the width of the main <div>, the size of our child div is the percentage of the main div.
output

Our progress bar works fine here, but here is one problem it isn't showing the percent number how much it is completed.
Don't you worry, just add this code in you jquery code
$({ counter: 1 }).animate({ counter: percentage }, {
                    duration: 3000,
                    step: function () {
                        $('#childDiv').text(Math.ceil(this.counter) + ' %');
                    }
                });
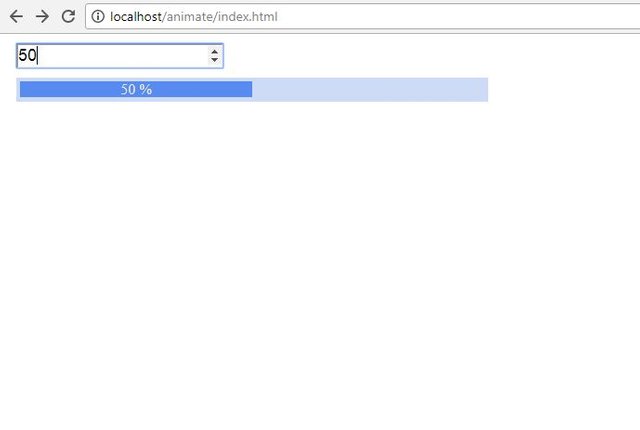
Here above we run a counter that it can counts up to the number you put in the input field, and then put it in the child div with the help of text() method and ceil() method used to round off the decimal result.
Now runs your code this will work as

Here is the whole code of our Jquery Progress Bar file.
<!doctype html>
<html>
    <head>
        <title>Progres in JQuery</title>
        <script src="http://code.jquery.com/jquery-3.3.1.min.js"></script>
        <style>
            #parentDiv {
                background-color: #cddbf7;
                width: 500px;
                height: 18px;
                padding: 4px;
                margin: 10px;
            }
            #childDiv {
                width: 0px;
                height: 17px;
                text-align: center;
                color: #e5e6e8;
                background-color: #588bef;

            }
            #inputDiv{
                margin: 10px;
            }
            input{
                font-size: 18px;
                border-radius: 1px;
            }
        </style>
    </head>
    <body>
        <div id="main">
            <div id="inputDiv">
                <input type="number" name="percent" id="percentVal" value="" placeholder="%age">
            </div>
            <div id="parentDiv">
                <div id="childDiv" ></div>
            </div>
        </div>

        <script laguage="javascript">
            $(document).ready(function(){
                $("#percentVal").change(function(){

                    var percentage = $("#percentVal").val();

                    $("#childDiv").animate({width: (500 *percentage)/100}, 3000);

                    $({ counter: 1 }).animate({ counter: percentage }, {
                    duration: 3000,
                    step: function () {
                        $('#childDiv').text(Math.ceil(this.counter) + ' %');
                    }
                });

                });
            });
        </script>
    </body>
</html>
####Conclusion
In this session you learnt how to develop a progress bar in jquery, hope you like it, upvote us to support us, that we'll come up some interesting tutorials in the future. Thanks...
Curriculum
Place here a list of related tutorials you have already shared on Utopian that make up a Course Curriculum, if applicable.
Posted on Utopian.io - Rewarding Open Source Contributors
Your contribution cannot be approved because it does not follow the Utopian Rules.
Violated Rule:
My Opinion:
A tutorial must be informative and explanatory, but also "tutor". This tutorial lacks "tutor"ing, and it is nothing more than "Do whatever I do." kind of tutorial.
Too trivial.
You can contact us on Discord.
[utopian-moderator]
Thanks for the detailed explanation, I always look for experts from https://iwanta.tech/outstaffing/ for writing code