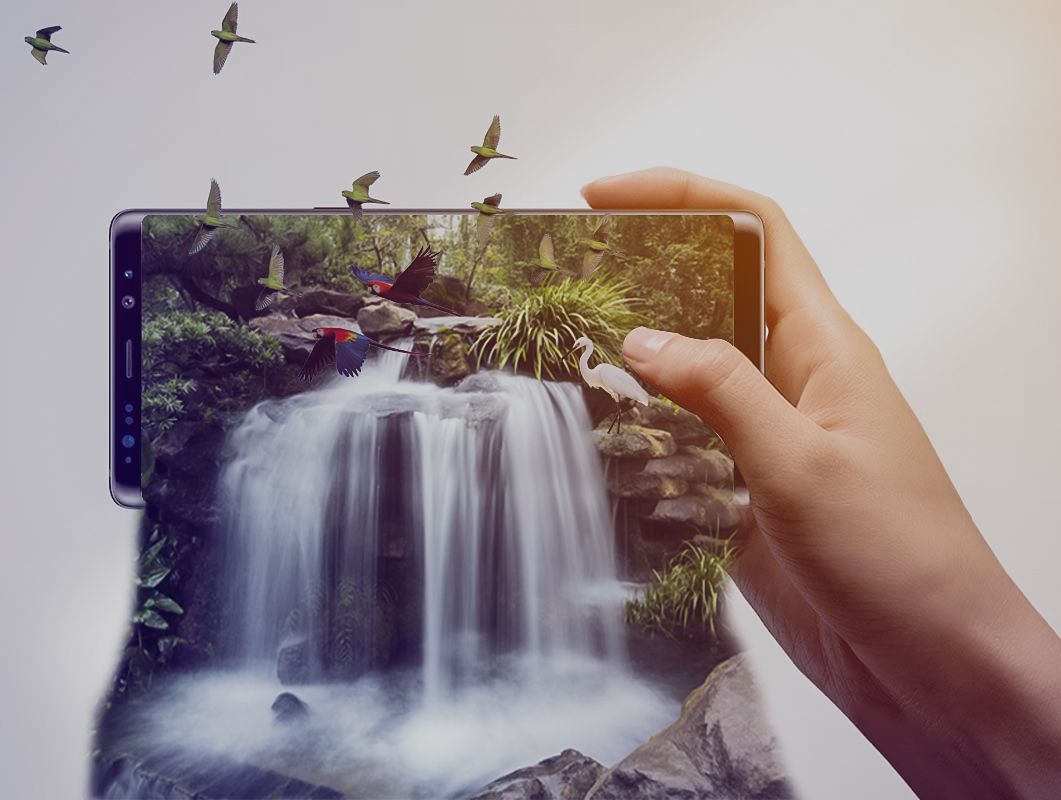
HOW TO CREATE A 3D POP OUT EFFECT IN PHOTOSHOP (3D EFFECT ON MOBILE PHONE) #3

Open your Photoshop Application and load the phone which has been position in a landscape mode and Duplicate the layer.


• Select your Pen tool and make selection of the screen of the phone.

• Right click on and select Make Selection from the pop up menu to make a selection of the selection portion.


• Make a new layer on top of the Duplicated Layer and make the new Layer active. Press Ctrl + Backspace then make the duplicated layer active and again press Ctrl + X.


• Open your waterfall image and move it onto the Phone and resize it. Reduce the opacity of the waterfall so that you can be able to adjust the position of the water fall on the screen of the phone.


• Right click on the waterfall layer and click on Create Clipping Mask then increase the opacity back to 100%.


• Duplicate the waterfall image and move it a little bit downwards. Click on Add layer mask at the bottom of your layers. Select the layer mask and press Ctrl + I. Select your Brush tool and make sure the Default foreground colour is white then brush where the duplicated waterfall image was to reveal some part of the image.


• Open your Parrots picture, select your Magic wand tool to make the select of the clouds the click on select and select inverse to make selection of the Parrots. Use the move tool to move it on the document you are working on and resize it, apply this method to the rest of the animals.


• Click on the adjustment layer and select Gradient. Select the colour in the picture which is violet and orange and set the style to Radial and the scale to 199% the check the Reverse box then Press OK. There you go….


Thank you for your time and hope you achieve the 3D effect at the end of the process
This post has received a 0.12 % upvote from @drotto thanks to: @banjo.
Nice tutorial
Oh wow @desmond41. That is awesome. Thanks for the tutorial :)
I will be posting more of my works here so that others can also learn.