Learning 3D Graphics With Three.js | How To Use a Raycaster
What Will I Learn?
- What a
Raycasteris and how to use one within three.js - How to use a raycast to fake gravity
- How to use a raycast to fake a first person camera
Requirements
- Basic familiarity with structure of three.js applications
- Basic programming knowledge
- Basic 3D math knowledge (vectors, rays)
- Any machine with a webgl compatible web browser
- Knowledge on how to run javascript code (either locally or using something like a jsfiddle)
Difficulty
- Intermediate
Ray Casting
Casting rays is an important part of any 3D graphics application. It is often used to pick out objects in a 3D scene with the mouse. For example here is one of the three.js standard examples which can be found on their website.
Before beginning let's refresh ourselves on what a ray is. A ray is a mathematical entity that in common programming applications is stored as two Vector3's. One is the origin of the Ray, the other is the direction the Ray travels in.
We use a raycast to check for the location of objects based on where the ray intersects with the object. It can be used as a cheap way to fake physics, or as a way to interact with a 3D scene using a 2D interface (a computer monitor).
Static Raycast
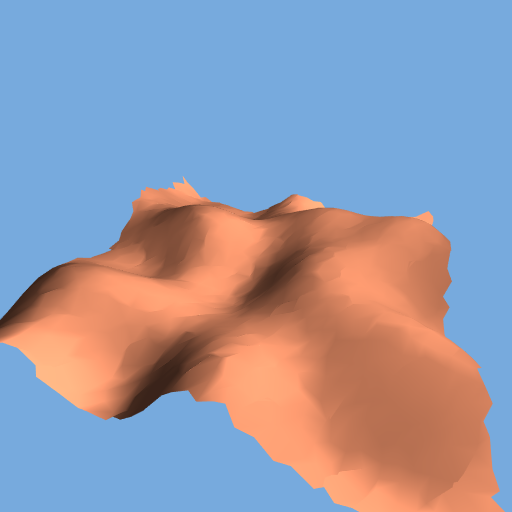
To begin we start with a little terrain. The terrain I will use here is almost the same as what is described in my previous tutorial on procedural geometry in three.js. I would recommend checking it out before continuing if you do not have a terrain already made.
var terrain_geometry = makeTile(0.1, 40);
var terrain_material = new THREE.MeshLambertMaterial({color: new THREE.Color(0.9, 0.55, 0.4)});
var terrain = new THREE.Mesh(terrain_geometry, terrain_material);
terrain.position.x = -2;
terrain.position.z = -2;
terrain.updateMatrixWorld(true);
scene.add(terrain);
So the creation is fairly straightforward. We shift the terrain over so that it is centered about the origin, this is not necessary but it helps keep things easy. The one line that should look unfamiliar is the call to updateMatrixWorld. If you read through my tutorial on matrices you would have read that three.js updates the local and world matrices for each object every frame. The world matrix tells three.js where in space your object is located. This is obviously important when raycasting. To update something every frame three.js updates it each time render is called. But we want our raycast to happen before then, so we need to tell three.js to update the world matrix for the terrain before the render call. We do this by calling updateMatrixWorld on the terrain itself. We pass in true to tell three.js that we need to update the matrix immediately and not just on the next render call.
With all this in place you should be able to see a little bit of terrain appear.
Next, let's add a sphere to the scene so we have an object to move around.
var sphere_geometry = new THREE.SphereGeometry(0.1, 32, 32);
var sphere_material = new THREE.MeshPhongMaterial({color: new THREE.Color(0.9, 0.55, 0.8)});
var sphere = new THREE.Mesh(spheregeometry, sphere_material);
scene.add(sphere);
This should all look rather straightforward by now.
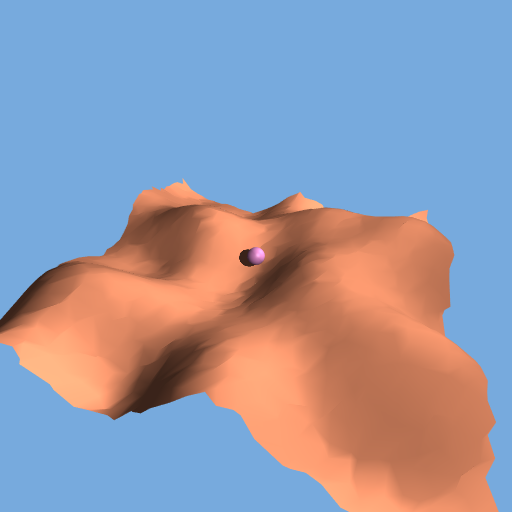
So far so good! We have a small terrain with a small ball sitting on top.
But something is not quite right, it is hard to tell but the ball isn't even touching the terrain. It was initialized at the point (0, 0, 0) and that is where it sits. Lets zoom in for a closer look.
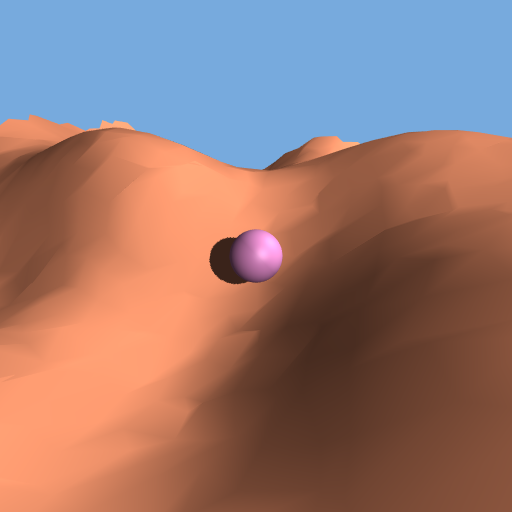
Up close you can tell the ball is definitely floating above the terrain. To fix this we need to know how high the terrain is at the point directly below the ball, we can get this information with a raycast.
var raycaster = new THREE.Raycaster();
raycaster.set(sphere.position, new THREE.Vector3(0, -1, 0));
To perform a raycast you need a Raycaster object and you need a ray. We generate the ray by calling set on the Raycaster. We set the origin of the ray to the position of the object we are casting from. And we set the direction to straight down in the y direction. This is because we are looking for the point directly underneath the object. We can set the direction to whichever direction we want. This can be used to find the distance to any object in the scene.
Next we actually perform the raycast.
var intersects = raycaster.intersectObject(terrain);
We do that by calling intersectObject on the Raycaster. And we pass in the object we want to test for collisions against. If we also want to test for collisions against that object's children we would pass in a second optional parameter as true. The Raycaster object also has a built in method called intersectObjects which takes a list of objects rather than a single one. This is useful for raycasting an entire scene or other group of objects.
intersectObject returns a list of intersections. If the ray failed to intersect with the object then it returns an empty list.
A single intersection has 5 main components: distance, face, faceIndex, object, and point. These components are fairly intuitive:
distancereturns the distance from the ray origin to the point of intersection.facereturns a reference to the face of the object where the intersection occurred.faceIndexreturns the index of the face in the face array of the object intersected.objectis a reference to the object that was intersected.Finally,
pointis the point in world space where the intersection occurred.
For our purposes we only need to use the point component because we simply want to know the height of the terrain (the y component) given a position over the terrain (the x and z components).
We take the intersection and we set the height of the sphere to equal the intersection height plus the radius of the sphere.
sphere.position.y = intersects[0].point.y + 0.1;//radius of sphere
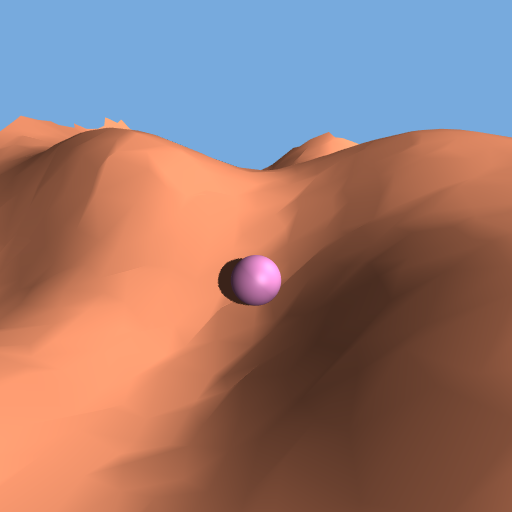
This ensures that the sphere is not clipping through the terrain and instead sits on top of it. Notice how we are accessing the intersection as intersects[0] and not intersects because intersectObject returns an array of intersections.
After doing this we can now see that the sphere sits snugly on top of the terrain and is no longer floating in midair.
Dynamic Raycast
The above is a great way to place objects into a dynamic scene where the terrain is not calculated in advance. But the real strength of the raycast is when you have an object moving around a scene and you want it to stick to the height of the terrain.
In order to do this we first need to get the sphere moving. The easiest way to do that is to increment the position of the sphere each frame we do that by inserting one line into the animate function:
var animate = function() {
    requestAnimationFrame(animate);
    sphere.position.z += 0.01;
    renderer.render(scene, camera);
};
Next we take the raycast code from above and insert it into the animate function:
raycaster.set(sphere.position, new THREE.Vector3(0, -1, 0));
var intersects = raycaster.intersectObject(terrain);
sphere.position.y = intersects[0].point.y + 0.1;//radius of sphere
We can reuse the same Raycaster every frame, but we need to reset it to match the new position of the sphere.
Doing this gives us the following:
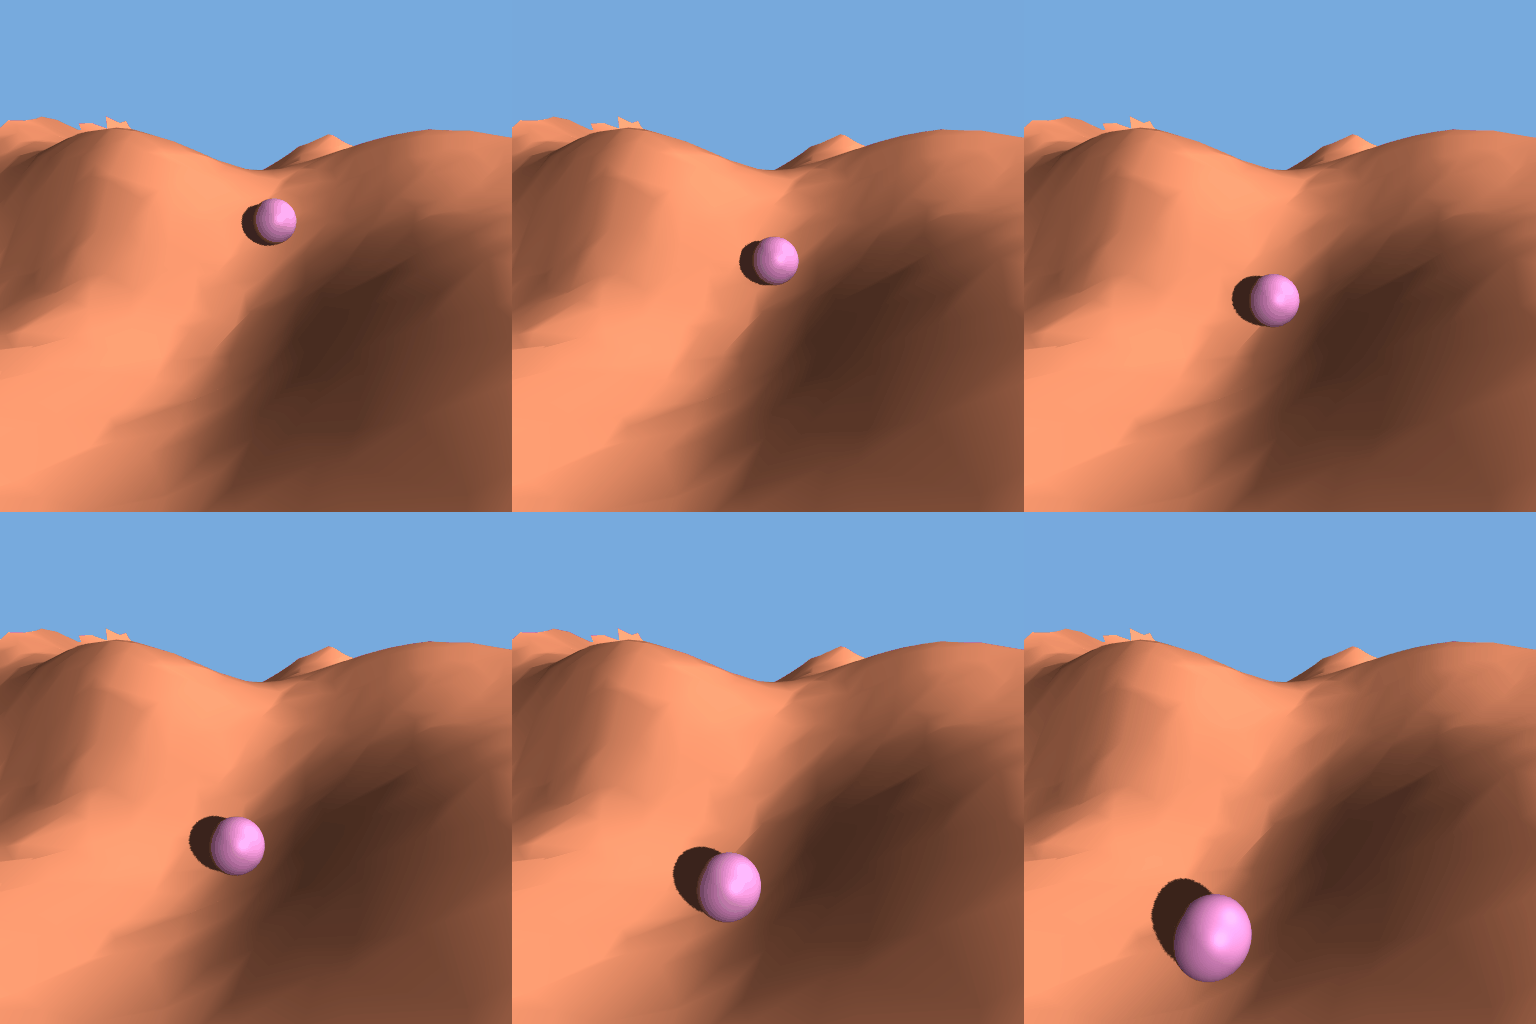
Where this really becomes useful is when used in conjunction with a camera. When implementing first person cameras you typically want to either fly around or follow some sort of terrain or other topography. You may or may not need physics. If you don't then all you need to do is a single raycast and you can get your camera to follow the terrain. To do that we first switch over the references from sphere to camera.
camera.position.z += 0.01;
raycaster.set(camera.position, new THREE.Vector3(0, -1, 0));
Raycaster has a built in method called setFromCamera which, although sounding perfect, does not actually do what we want it to. setFromCamera takes a mouse position in normalized screen coordinates and a camera object and casts a ray from the camera into the scene. What we want is to cast a ray directly directly below the camera to intersect with the height of the terrain.
One additional thing to note. You will have to raise the camera up a little higher than the sphere was. This is because the camera takes up some physical space. If it moves directly along the ground you end up clipping through. For example if the camera is centered at the height of the terrain, half of your screen will be above and the other half will be below the terrain. Therefore when we set the camera position we set it 0.2 units above the height of the terrain. Although this value is arbitrary, it can be any amount you wish. Typically it is the height of your character.
camera.position.y = intersects[0].point.y + 0.2;
Following the same track as before you can now experience the terrain first hand!
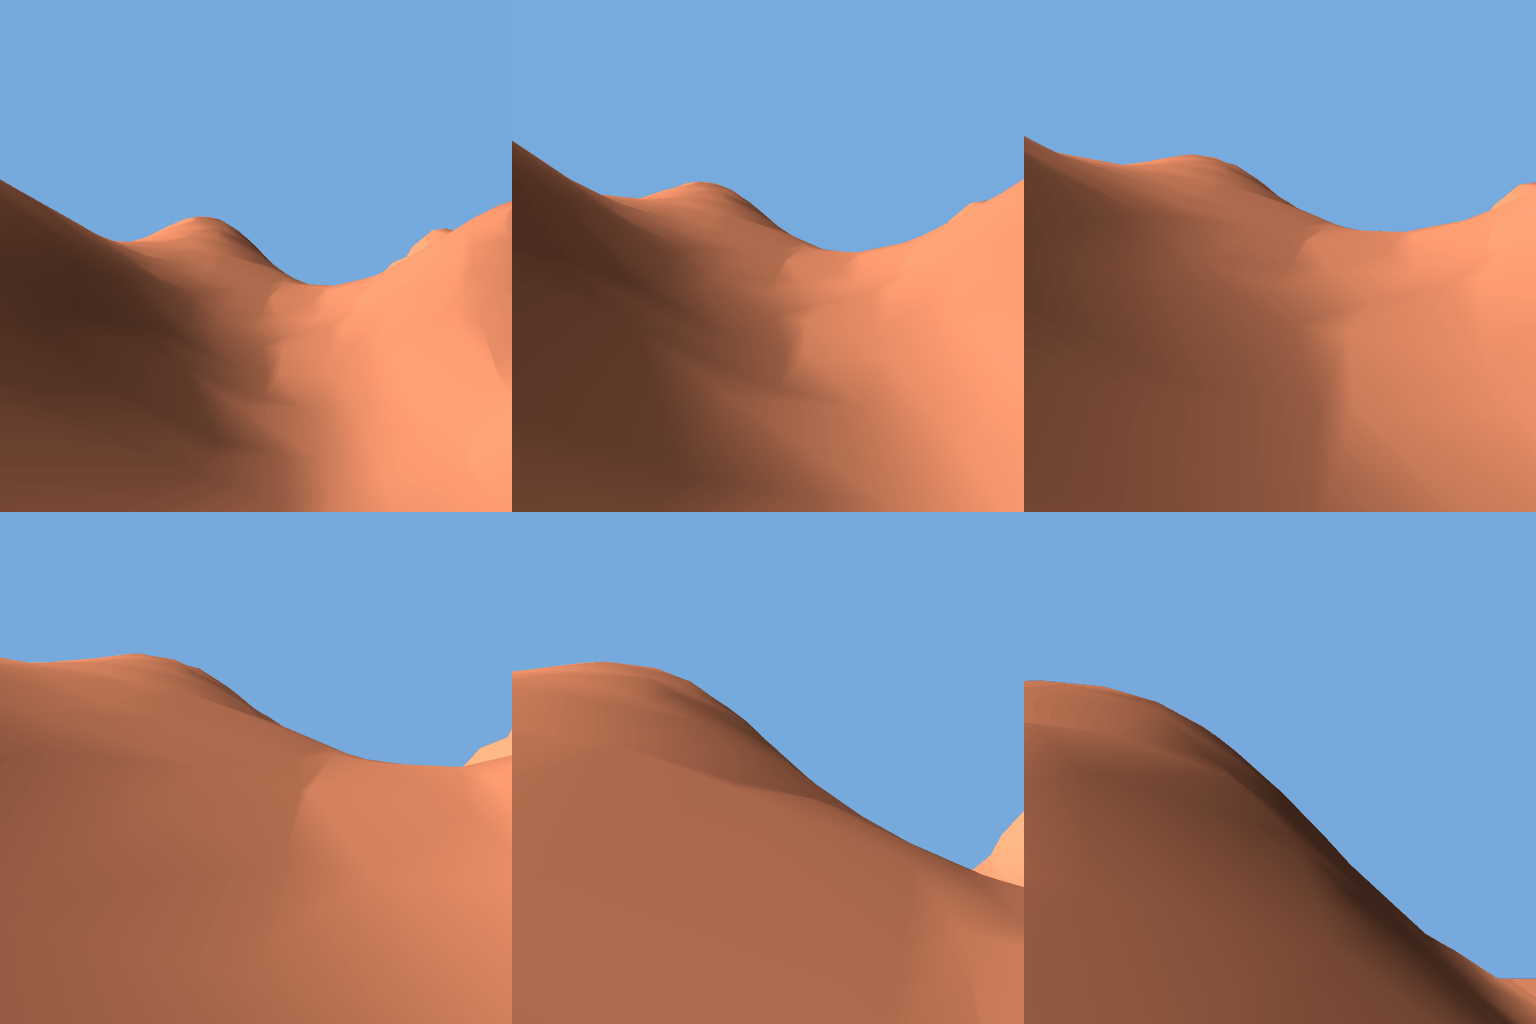
Summary
You have seen how to raycast an object in three.js in order to fix an object to the height of another. This is a very useful way to keep a character on the ground without using actual physics. Although, if you were making a game or an interactive piece where you wanted more realistic movement you may want to consider using physics.
Hopefully you have learned:
- How to set up a
Raycasterand how it works in three.js - How to place an object onto a terrain
- How to get the ball rolling using a
Raycaster(pun very much intended) - How to fake a first person camera that follows the contours of a terrain
Next Tutorial will be covering how to use a Raycaster to create very simple physics suitable for web demos and games.
Curriculum
In order to get a terrain like I have here you will need to follow this tutorial: Procedural Geometry in three.js
If you did not understand some of the properties return at the intersection then this tutorial will help you: Dynamic Geometry in three.js
If you want to understand more about the basics of three.js follow this tutorial: Materials in three.js
If you are interested in other more advanced topics in three.js check out this tutorial: Manual Matrices in three.js
Posted on Utopian.io - Rewarding Open Source Contributors
Thank you for the contribution. It has been approved.
You can contact us on Discord.
[utopian-moderator]
Hey @yandot, I just gave you a tip for your hard work on moderation. Upvote this comment to support the utopian moderators and increase your future rewards!
cool stuff! yes raycasting is very useful!
Hey @clayjohn I am @utopian-io. I have just upvoted you!
Achievements
Community-Driven Witness!
I am the first and only Steem Community-Driven Witness. Participate on Discord. Lets GROW TOGETHER!
Up-vote this comment to grow my power and help Open Source contributions like this one. Want to chat? Join me on Discord https://discord.gg/Pc8HG9x