The Use of Slides and the ChangeListener Interface in Java Using Eclipse IDE
What Will I Learn?
In this tutorial;
- You will learn how to create a slider component in Java.
- You will learn how to set the major and minor thick spacing of the slider.
- You will learn the use of the ChangeListener interface.
Requirements
- Java SE Development Kit (Not necessarily the last version) is required.
- Eclipse IDE or any similar Interated Development Enviroment (IDE) that is designed for Java programming language is required.
Difficulty
- Intermediate
Tutorial Contents
The purpose of this tutorial is to introduce the use of sliders in Java. A color chooser program which is controlled by red, green and blue (RGB) components of a color is prepared for this purpose. The user will determine the RGB components of the color and determined color will be shown this program simultaneously. For this program, we have two Java files.
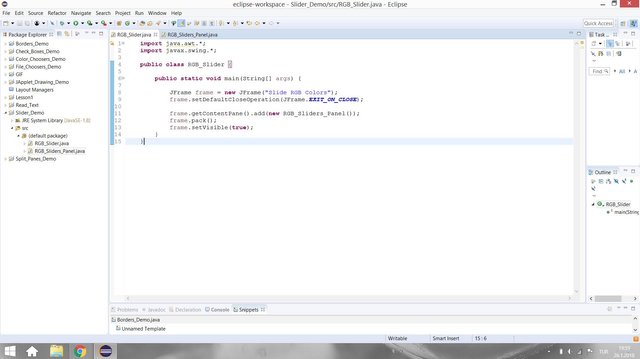
- For the main program (RGB_Slider.java);
- For the RGB sliders and color panel (RGB_Slider_Panel.java);
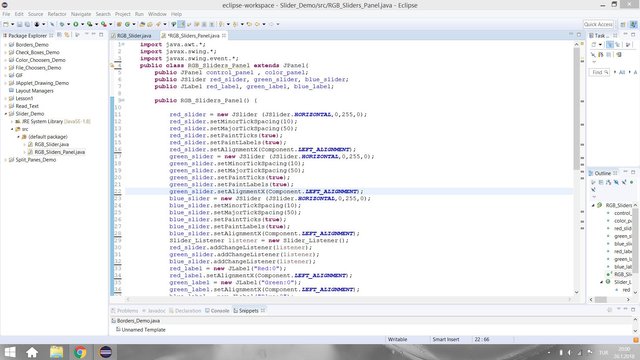
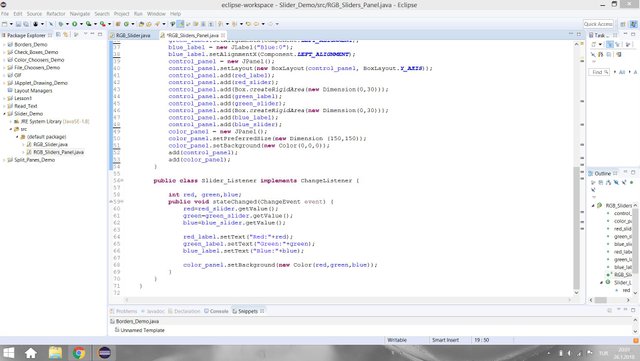
We need to start with implementing the class for the controller and color panels. Then, we can directly use this class in the main java file.
public class RGB_Sliders_Panel extends JPanel{
In this class, we need to construct the control panel that contains three slider to determine the components value and three label for displayin current slider value, and the color panel to show the chosen color. Therefore the following variables need to be defined.
    public JPanel control_panel , color_panel;
    public JSlider red_slider, green_slider, blue_slider;
    public JLabel red_label, green_label, blue_label;
JSlider
The JSlider class allows us to create a slider components that allows user to specify a value. Its constructor takes the orientation, minimum value of the range, maximum value of the range and initial value as parameters respectively. Its minor thick spacing can be determined by using setMinorThickSpacing method and its major thick spacing can be determined by using the setMajorThickSpacing method. The setPaintTicks(true) needs to be invoked to see the minor thicks on the screen and the setPaintLabels(true) needs to be invoked to see the major thick in the screen. There are three sliders which are neccessary for this program.
Red Component Slider
      red_slider = new JSlider (JSlider.HORIZONTAL,0,255,0);
      red_slider.setMinorTickSpacing(10);
      red_slider.setMajorTickSpacing(50);
      red_slider.setPaintTicks(true);
      red_slider.setPaintLabels(true);
      red_slider.setAlignmentX(Component.LEFT_ALIGNMENT);
Green Component Slider
      green_slider = new JSlider (JSlider.HORIZONTAL,0,255,0);
      green_slider.setMinorTickSpacing(10);
      green_slider.setMajorTickSpacing(50);
      green_slider.setPaintTicks(true);
      green_slider.setPaintLabels(true);
      green_slider.setAlignmentX(Component.LEFT_ALIGNMENT);
Blue Component Slider
      blue_slider = new JSlider (JSlider.HORIZONTAL,0,255,0);
      blue_slider.setMinorTickSpacing(10);
      blue_slider.setMajorTickSpacing(50);
      blue_slider.setPaintTicks(true);
      blue_slider.setPaintLabels(true);
      blue_slider.setAlignmentX(Component.LEFT_ALIGNMENT);
ChangeListener
Before continue to construct our panel, we need to add a listener to the sliders in this part to use the sliders. A slider produces a change event. This means that we can use the ChangeListener interface which has single methot called stateChanged.
    public class Slider_Listener implements ChangeListener {
        int red, green,blue;
        public void stateChanged(ChangeEvent event) {
The getValue() allows us to get the value of the sliders.
            red=red_slider.getValue();
            green=green_slider.getValue();
            blue=blue_slider.getValue();
Now, we can update the labels and the color with these values.
            red_label.setText("Red:"+red);
            green_label.setText("Green:"+green);
            blue_label.setText("Blue:"+blue);
            color_panel.setBackground(new Color(red,green,blue));
At this point our listener is ready. You need to go back where we left. Then, you should create the listener and add it to the sliders with following code.
        Slider_Listener listener = new Slider_Listener();
        red_slider.addChangeListener(listener);
        green_slider.addChangeListener(listener);
        blue_slider.addChangeListener(listener);
Now, we can set up the labels for the sliders with their orientation;
        red_label = new JLabel("Red:0");
        red_label.setAlignmentX(Component.LEFT_ALIGNMENT);
        green_label = new JLabel("Green:0");
        green_label.setAlignmentX(Component.LEFT_ALIGNMENT);
        blue_label = new JLabel("Blue:0");
        blue_label.setAlignmentX(Component.LEFT_ALIGNMENT);
We need to create a panel to add all these components. While adding the components the layout can be set as Box layout to see the components on the Y Axis. In addition to this we can add a blank space between sliders with createRigidArea method.
        control_panel = new JPanel();
        control_panel.setLayout(new BoxLayout(control_panel, BoxLayout.Y_AXIS));
        control_panel.add(red_label);
        control_panel.add(red_slider);
        control_panel.add(Box.createRigidArea(new Dimension(0,30)));
        control_panel.add(green_label);
        control_panel.add(green_slider);
        control_panel.add(Box.createRigidArea(new Dimension(0,30)));
        control_panel.add(blue_label);
        control_panel.add(blue_slider);
A panel is also neccessary to display the chosen color, Then, we can add the created panels to the system.
        color_panel = new JPanel();
        color_panel.setPreferredSize(new Dimension (150,150));
        color_panel.setBackground(new Color(0,0,0));
        add(control_panel);
        add(color_panel);
In the main program, we only need to create a frame and a RGB_Sliders_Panel object. Then, the RGB_Sliders object can be added to the frame.
Results
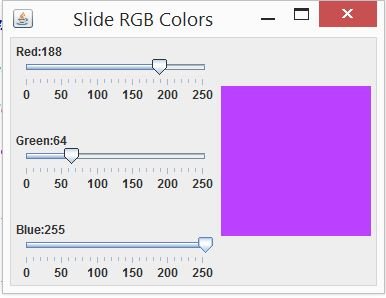
When you run the program, following window opens.
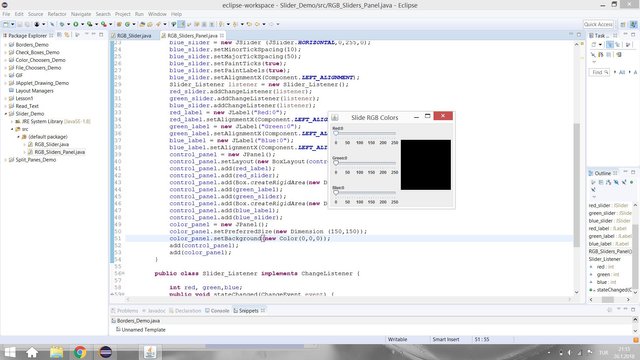
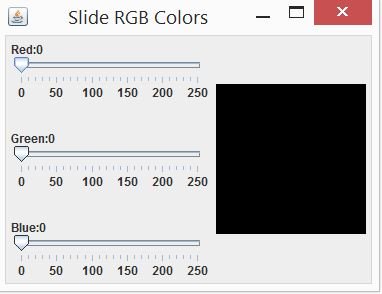
You can choose any color you want by playing the sliders. The color of the color panel (left) changes directly with the change in the position of the sliders.
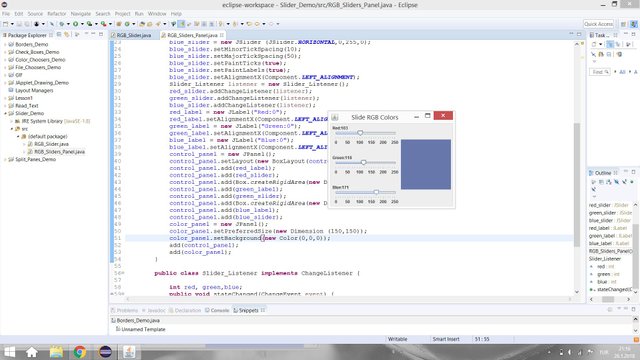
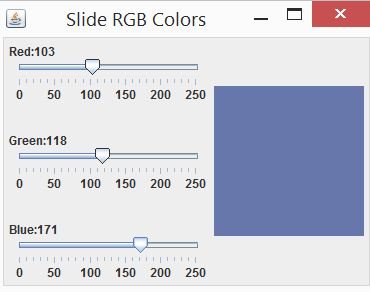
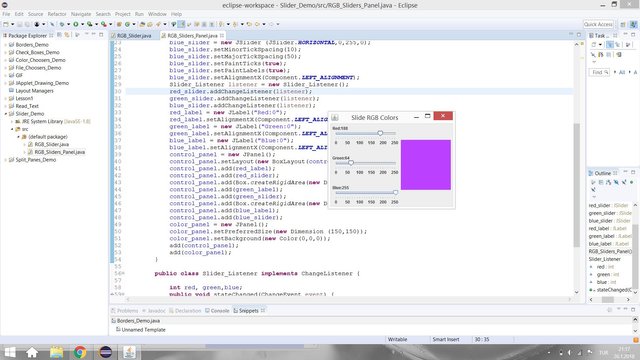
Another example;
Github
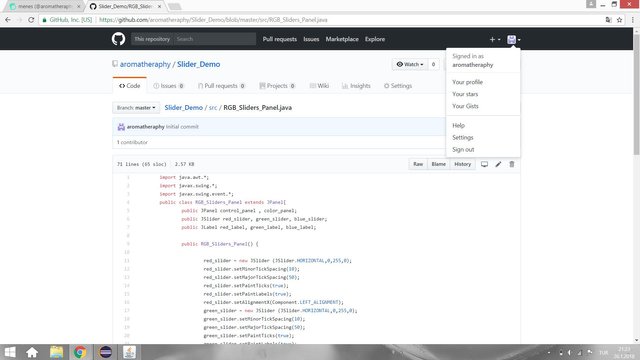
You can get this program here.
Code of the Program
//RGB_Slider_Panel.java
import java.awt.*;
import javax.swing.*;
import javax.swing.event.*;
public class RGB_Sliders_Panel extends JPanel{
    public JPanel control_panel , color_panel;
    public JSlider red_slider, green_slider, blue_slider;
    public JLabel red_label, green_label, blue_label;
    public RGB_Sliders_Panel() {
        red_slider = new JSlider (JSlider.HORIZONTAL,0,255,0);
        red_slider.setMinorTickSpacing(10);
        red_slider.setMajorTickSpacing(50);
        red_slider.setPaintTicks(true);
        red_slider.setPaintLabels(true);
        red_slider.setAlignmentX(Component.LEFT_ALIGNMENT);
        green_slider = new JSlider (JSlider.HORIZONTAL,0,255,0);
        green_slider.setMinorTickSpacing(10);
        green_slider.setMajorTickSpacing(50);
        green_slider.setPaintTicks(true);
        green_slider.setPaintLabels(true);
        green_slider.setAlignmentX(Component.LEFT_ALIGNMENT);
        blue_slider = new JSlider (JSlider.HORIZONTAL,0,255,0);
        blue_slider.setMinorTickSpacing(10);
        blue_slider.setMajorTickSpacing(50);
        blue_slider.setPaintTicks(true);
        blue_slider.setPaintLabels(true);
        blue_slider.setAlignmentX(Component.LEFT_ALIGNMENT);
        Slider_Listener listener = new Slider_Listener();
        red_slider.addChangeListener(listener);
        green_slider.addChangeListener(listener);
        blue_slider.addChangeListener(listener);
        red_label = new JLabel("Red:0");
        red_label.setAlignmentX(Component.LEFT_ALIGNMENT);
        green_label = new JLabel("Green:0");
        green_label.setAlignmentX(Component.LEFT_ALIGNMENT);
        blue_label = new JLabel("Blue:0");
        blue_label.setAlignmentX(Component.LEFT_ALIGNMENT);
        control_panel = new JPanel();
        control_panel.setLayout(new BoxLayout(control_panel, BoxLayout.Y_AXIS));
        control_panel.add(red_label);
        control_panel.add(red_slider);
        control_panel.add(Box.createRigidArea(new Dimension(0,30)));
        control_panel.add(green_label);
        control_panel.add(green_slider);
        control_panel.add(Box.createRigidArea(new Dimension(0,30)));
        control_panel.add(blue_label);
        control_panel.add(blue_slider);
        color_panel = new JPanel();
        color_panel.setPreferredSize(new Dimension (150,150));
        color_panel.setBackground(new Color(0,0,0));
        add(control_panel);
        add(color_panel);
    }
    public class Slider_Listener implements ChangeListener {
        int red, green,blue;
        public void stateChanged(ChangeEvent event) {
            red=red_slider.getValue();
            green=green_slider.getValue();
            blue=blue_slider.getValue();
            red_label.setText("Red:"+red);
            green_label.setText("Green:"+green);
            blue_label.setText("Blue:"+blue);
            color_panel.setBackground(new Color(red,green,blue));
        }
    }
}
//RGB_Slider.java
import java.awt.*;
import javax.swing.*;
public class RGB_Slider {
    public static void main(String[] args) {
        JFrame frame = new JFrame("Slide RGB Colors");
        frame.setDefaultCloseOperation(JFrame.EXIT_ON_CLOSE);
        frame.getContentPane().add(new RGB_Sliders_Panel());
        frame.pack();
        frame.setVisible(true);
    }
}
Curriculum
You can find my other java related tutorials in below links.
- Adding JPEG or GIF image files into the GUI in Java using Eclipse IDE
- Reading Text Files and Parsing It Using Iterators and Delimiter in Java with Eclipse IDE
- Drawing Methods in Java Applet (JApplet) Using Eclipse IDE: Drawing a Snowman
- Check Boxes (JCheckBox) and Its Listeners in a Java GUI using Eclipse IDE
- Use of Layout Managers and Tabbed Pane in Java Using Eclipse IDE
- Use of Borders in a Java GUI Using Eclipse IDE
- The Use of File Choosers in Java Using Eclipse IDE
- The Use of The Color Chooser (JColorChooser) and do - while Statement in Java Using Eclipse IDE
- The Use of Split Panes and the ListSelectionListener Interface in Java Using Eclipse IDE
Posted on Utopian.io - Rewarding Open Source Contributors
Emeğinize saglik üstad
Teşekkürler :)
Thank you for the contribution. It has been approved.
You can contact us on Discord.
[utopian-moderator]
Hey @aromatheraphy I am @utopian-io. I have just upvoted you!
Achievements
Suggestions
Get Noticed!
Community-Driven Witness!
I am the first and only Steem Community-Driven Witness. Participate on Discord. Lets GROW TOGETHER!
Up-vote this comment to grow my power and help Open Source contributions like this one. Want to chat? Join me on Discord https://discord.gg/Pc8HG9x