Learning Basics Of Flask
Welcome to my new series in which I will be teaching you guys how you can create web apps using Python and Flask. If you are a beginner Python developer you must have in your mind that how you can use Python to develop websites and hopefully this series will help you learn how you can develop web apps using Flask. You might be wondering if you'll be able to make websites like Utopian.io or Dtube by following this series, the answer to your question is "Yes" but it's not that easy by abit help of your brain and my tutorials you will be able to do it.
Repository
https://github.com/pallets/flask
What Will I Learn?
This tutorial will not help you install flask as it is very basic task and you probably do it yourself. Here are things that you will learn in this tutorial.
- Basics of Flask
- Running server on localhost
- Routing
- Rendering templates
- Creating a Layout
- Variables and Usage of Layout
- Creating Static directory and Adding CSS
- Using url_for()
Requirements
You must know basics of Python and stuff like while loops and for loops. You must also know what are variables, strings and integers etc. You also need a good code editor and I recommend PyCharm because it is very convenient. I will also be using PyCharm in this tutorial.
Difficulty Level
Intermediate
Tutorial
Basics
Flask is a micro-framework made in Python and is based on Jinja2 template engine. We are going to make a simple website with couple of pages that show some text by using Flask and Python. The first step would be to open a Code Editor, as said above I will be using PyCharm.
After opening Code Editor make a new Python file, name it anything (like app.py) and again assuming you know how to do it. Import Flask which we can do by below code
from flask import Flask
After the above code the next thing which you will write is
app = Flask(__name__)
In the future you will find yourself adding these two codes almost every time you do anything related to Flask so let me explain it to you. The first code is just us importing Flask and second code is us assigning name to Flask application which you can kinda guess.
Running a server on local host
Now you should write this line of code.
if __name__ == "__main__":
  app.run()
You'll thinking what the hell this _ name _ == "_ main " means. Before even running the code Python has some built in special variables and one of those variables is name when the code is run the _ name _ is set to " main _" which is a string. It's just adds a extra protection and then runs the app and without this it is not an easy task to run the flask application.
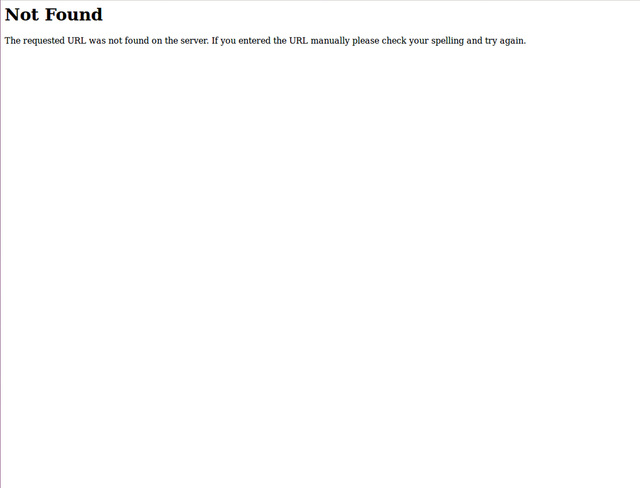
Now you can run the the app by running the python file and you can check it by going to https://127.0.0.1:5000 but there will be a 404 error on the page showing Not Found that is because we haven't set any routes or haven't tasked Flask to show anything on our page.

Routing
To show the pages we have something called routes in Flask. Routes are very easy to handle. To make the home page we will need to make a route. We can simply make a route by the code given below.
@app.route("/")
def home():
  return "Home"
The name of the function can be anything but just for the sake of simplicity I have named it home. Now when we will go to our local host we will receive a text "Home" instead of 404 error.

Now instead of just returning a string you can also return some HTML code. So if you type
return "<h1>Home</h1>"
Templates
It will work and will be shown on the website but this isn't the correct way to do it instead you might want to make templates. You can do this by creating a folder name templates inside the directory in which your python file is. After creating template folder inside python directory just create a html file inside the template folder, you can name it "home.html". Open the file and type "<h1>Home</h1>" inside it. You can try to run the website but it will not work.
To make it work we will need need to render the template so Flask knows that we have created a html file. We can do this by importing another module from flask, add render_template after the previous module like below.
from flask import Flask, render_template
After this instead of returning a string in the route you can add following code.
return render_template("Home.html")
and run it, hopefully it will now get the html code from the html file you have made.
Layout
Alot of time there will be alot of code that will be used in many pages and that's not a good sign to use same code at many places so If you want to make change to that code you will have to go through each and every template to do that. To solve this problem we make layouts and this layout is used in every page so if you want to change a code then you will have to change it at only one place which is perfect.
To create a layout you will have have to create a html file named "layout" inside the templates folder. In that file will be everything that will be displayed on every page like menu bar. Menu bar is shown on every page but adding it to every html file is a risky task because if we will need to change it then we will have to go through each and every page. In the layout layout paste the code from here, it will give you a nice menu and sidebar by using bootstrap.
Variables And Changing Home Code To Support Layout
You might of saw some code like {% block body %} and {% endblock %}. This is a block and you can also call these variables. I know these types of variables are not common and you may have not worked with variable that have both open open tag and end tag but don't worry it is not that hard to work with them. Now that we have added the block to the layout section let's change the home.html file.
Instead of all the html code we will just have to add this code {% extends layout.html %} this will make flask know that you are extending the layout now to have to show stuff inside body just start the body block by {% block body %} and then end it with {% endblock %}. All the things will inside this will be shown at the position of this block in layout.html file. Now if you want to change the menu then you will only have to change it on the layout.html file.
Adding CSS Making Static Directory
You might of notice that the menu isn't working correctly no need to worry because that's just because of missing stylesheets and that can be fixed by adding css. To add css to your html file, you will need to create a static directory and inside that make a css file and copy the css from here. Now we will need to link the css files with the html files. Go to the layout file and add below code under the header
<link href=" " rel="stylesheet">
Using url_for
If you know about this already then you might know that at the "href" we set it the location where css file is present but in the flask there is something called url_for which is used to for stuff like this but first we will need to import it so after importing render_template, put a comma and then type "url_for". Now add these code code to link.
<link rel="stylesheet" href="{{ url_for('static', filename='main.css') }}">
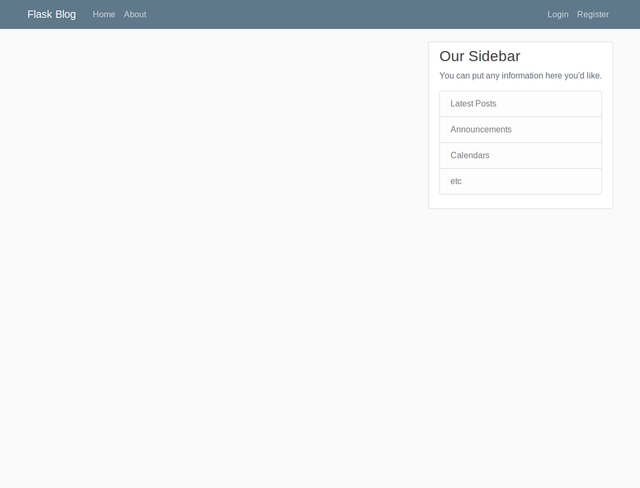
The first parameter is used to define the folder where file is present and second is filename. url_for will now be automatically giving html the link and hopefully menu will be working and will be looking something like this.

What we have done so far?
We have created the templates directory and have made two files in it, one with the name of layout (which is layout for whole website) and one with the name of home (which extends the layout). We also have a main python file with the code. All code can be found on Github and link will be at the end. Now when we run the server on our localhost and go to 127.0.0.1:5000 then we can see menu, sidebar (because of snippets that I provided) and some text. Hopefully this will be enough for this tutorial and till next tutorial, keep practicing!
Code
All the code using in this tutorial can be found here.

Thanks for the contribution.
Link to the Answers of the Questionnaire -
Click here
Need help? Write a ticket on https://support.utopian.io/.
Chat with us on Discord.
[utopian-moderator]
Hey @anonfiles
Thanks for contributing on Utopian.
We’re already looking forward to your next contribution!
Contributing on Utopian
Learn how to contribute on our website or by watching this tutorial on Youtube.
Want to chat? Join us on Discord https://discord.gg/h52nFrV.
Vote for Utopian Witness!