Tutorial #1- How to select the Right Digital Images for your Blog
Tutorial#1
How to select the Right Digital Images for your Blog
Hello Steemians
@bullionstackers from #whalepower Community Project,
Today, I'll show you by example - How to select the Right Digital Images for your Blog
Why it is selected from( 1 to 8 photos )?
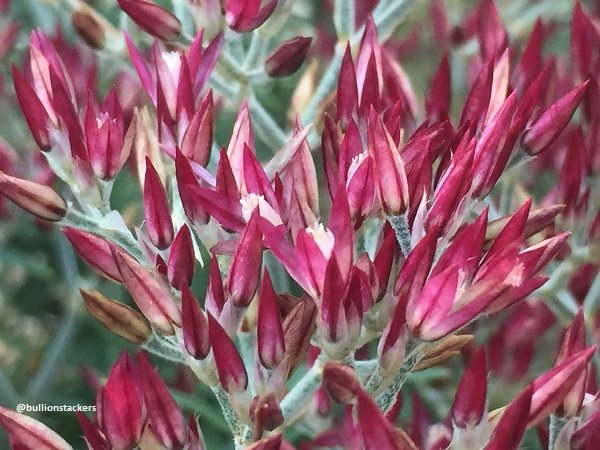
See the Photo 5 below:
Selected because of good color depth and balance, full image and eye-catching, good focus, and depth of field makes the image and appealing! A little green in the background and good detail on the stalks. Nice typeface and location for copyright watermark. Small size only 140Kb!
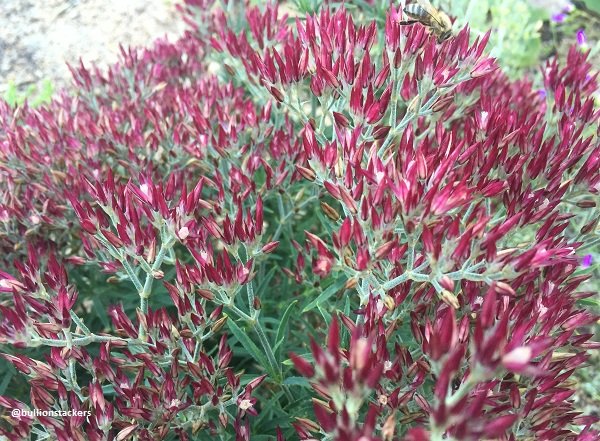
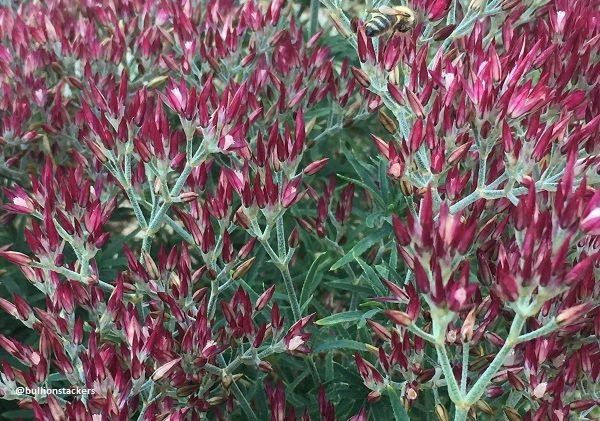
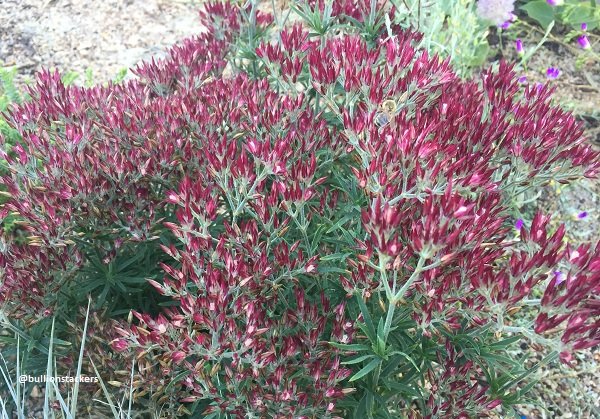
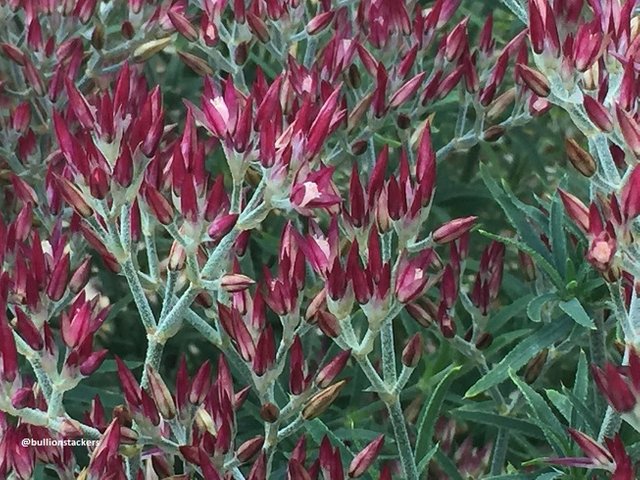

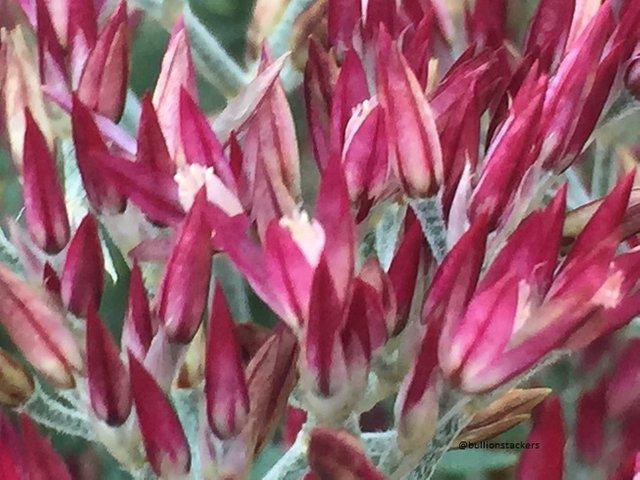
photo 6 is slightly blur
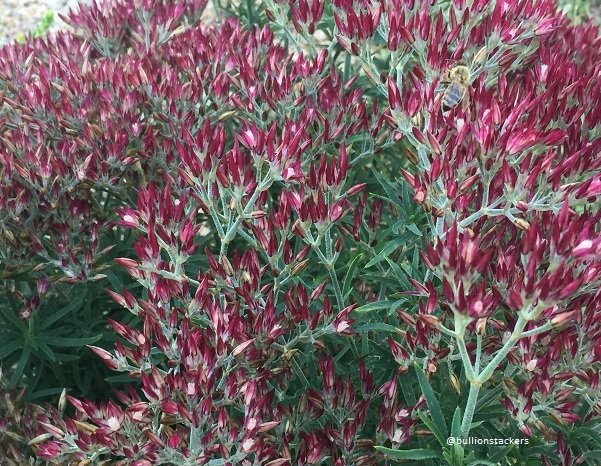
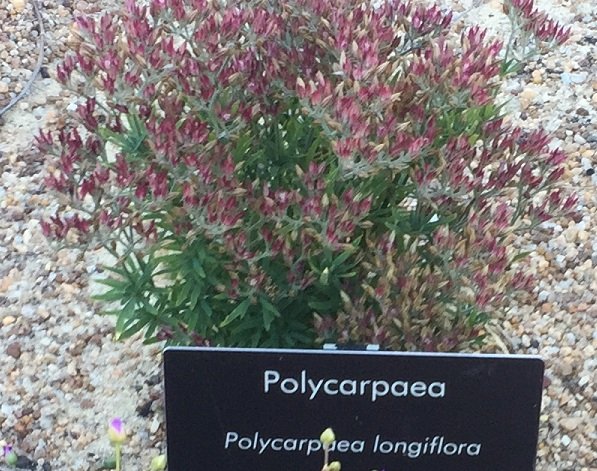
All this from Tiny flowers, where one can use such images to add into your Blog
Tutorial #1- How to select the Right Digital Images for your Blog - Photography and Author by @bullionstackers
Own Photography - Original By @bullionstackers
- 100% Own Work / Content
- All Content / Images Copyright Reserve
About #whalepower Community Project

Hi, I am @bullionstackers ,
The Founder / Owner for #whalepower # whale-power Tag
Curator / Moderator / Commentator
For #whalepower ( preferred ) Tag.
#whalepower Project for Better Community
Our Mission
Provide Free Manual Curation Service
Our commitment to you.
We give you, Free Curation Service.
Project Focal Point For Newbies Author.
You can helps us by Support / Upvoting / Reblogged ( Resteem) Our's Posts. @bullionstackers or @paul-gillbanks
Alternative is by Contribution / Donations
Forward to @bullionstackers
Helps Us to Grow , so we can give you MORE!!!.
#whalepower Recommendation:
We Recommend that you help other #whalepower Members / Authors
We are #whalepower community . We stand in Unity.
Our Motto ONE For ALL - All For ONE
Guidelines
- All Topic contents are Welcome*
- *Except Plagiarism , SPAM , Hate Speech , NSFW , Racism
( If misused, We will ask you to remove the usage of the Tag , Followed by a Warning.
Flagging, or Even Straight Flagged if inappropriate. ) - Original Content - Highly Recommended
- Do not Copy - Paste. - Discouraged .
- Help / Interaction with others #whalepower authors is Highly Recommended.
- Use #whalepower # whale-power Tags in any order, can also be the last tag.
- Reblog and spread #whalepower Tag across as far as possible.
- Always remember to cite the source of your images / contents ( if you are copying it ) and provide any references / links.
- if you are the owner of the image / contents Please state - 100 % Own Work
Gift / Donation / Sponsor - Gratefully accepted at @bullionstackers to help #whalepower Community Project.
If you Like it & Love It
Please Follow and Visit my Page at @bullionstackers

This Tutorial , really helps.
Wouldn't know where to begin, especially to load up images.
I guess, selection criteria is very important.
Even from such Tiny Flowers, where one can bring the images to live , bring up the images to real.
Go #whalepower
I like when, audience really read the content and straight to the point.
Thanks @cchauk , you are the only one that Read.
Very nice informative content here @bullionstackers, well done
Great to see different perspectives of the same photo like the example you posted, my favorite is #6
A lot of good information in this post for newbies like me, it will definitely help me improve on my post.Whalepower Steem On!
Regarding photos, I love doing photography so have a good stock of photos. One tip is to downsize the file to about 100 - 120K and then the photos upload very quickly and there is very little delay in opening them for others. The computer monitors don't need detailed images as the resolution is normally much less. If someone uploads a full file direct from the camera and has a few photos in their post it can be very slow to open and too long of a wait to see the post. There are some free programs to reduce the file size available and some inexpensive ones also that do a good job and are very useful for editing. Just Google photo editors and add free.
BTW thanks a bunch for doing the #whalepower, looks like a good program and am following.
Token send to your post. Thank for your observance and comment.
your tag usage misspell
I resize mine with a Photoshop action to 792x528 pixels at 72 DPI. That is far from the original size, but still good enough for monitor viewing.
This is indeed good tutorial that I can use. Still need a lot of practice and help to pick the best photo. I am not good and those taken by me are not clear. So it means I need to take a few in order to choose the best one from the lot?
Thanks for sharing and keep them coming.
Upvoted
@jackpot
Wow!!! Good photography..
Thank you for your comment
that is the reason why some good photogrpher took a lot of photos to select the best.
very nice tutorial, i always select my photos. also adding some digital
That's nice, to see some share the same opinion
Hi
Very nice tutorial
Hello @sureshgajera
Love this tutorial, very helpful :)
You are welcome @crystalpacheco30
Hope this will help in your photography selection for your Blog
Thank u for this tutorial, it really helps also I agree with u the more in depth the picture the more it will attract peoples eyes and show the beauty of the selected thing. Photo 5 is a really great shot as it clearly views the color of the flower the greenery, and the little opening of the blossoms.
Please read my post.
https://steemit.com/introduceurself/@moonprincess/hi-im-safiya-firstpost