Wander-full Visa Tips #2: New Zealand
Kia Ora, dear Steemians!
Are you a Filipino who:
..is a Lord of the Rings fan and wants to see the location where the film was shot?
..has bungee jumping or skydiving in New Zealand on your bucketlist?
..wants to see that fancy little town where Filipino celebrities, Anne Curtis and Erwan Heussaff, were married?
..have been dreaming of witnessing Aurora Australis?

If you answer yes to any of these questions, take the first step towards making this a reality: secure a visa!
We all know that as Philippine passport holders, there aint many countries we can visit visa-free. But I am positive that as more and more of us are now traveling without overstaying, more countries will have confidence in Filipino tourists and will hopefully loosen their visa rules/requirements. Just look at Taiwan who recently granted Filipinos visa-free entry! So there is hope! 😊
But while this has not happened yet for the other countries we wish to visit, we have to go through that process of applying for a visa.
In this post, I'll share the steps I did when I applied for a New Zealand visa and some tips in case you wish to visit the land of the long white cloud!
Are you ready? 😊
Requirements
I filed my application online so I submitted soft copies of the following:
1. Photo (the specification of an acceptable photo can be found here)
2. Scanned copy of your valid passport
3. Evidence of financial capacity or support - Proof that you have sufficient funds to support your travel (i.e. Certificate of Employment, Bank Certificate and Statement, Proof of Sponsorship if someone else is paying for your trip, etc.)
4. Evidence that you are a bona fide applicant - This is where you establish the purpose of your travel or prove that you intend to leave New Zealand after. What I submitted for this was a Proof of Approved Leaves from my employer. It usually indicates what your position is in your company, the duration of your vacation leaves, and when you will report back to work.
5. Evidence of identity - I attached my Government-issued ID and my notarized NSO birth certificate
6. Evidence of onward travel or flight booking - Yes, you need to book a ticket before you lodge your application. Some travel agencies can reserve your ticket until after you get your visa results but I personally have not tried this. I just booked a ticket to NZ when I saw a cheap flight and prayed really hard for the approval of my visa! 🙏 (Wait, maybe this should be the sequence: book a flight, apply for a visa, then pray) 😊
7. Others - I submitted other supporting documents to establish my identity, financial capacity and the purpose of my travel. I advise that you attach documents which will help increase your chances of getting approved (i.e. ITR, credit card billing statement, property titles under your name, signed letter of invitation and ID of the person who invited you, stamps in your passport showing previous travels, cover letter, etc.).
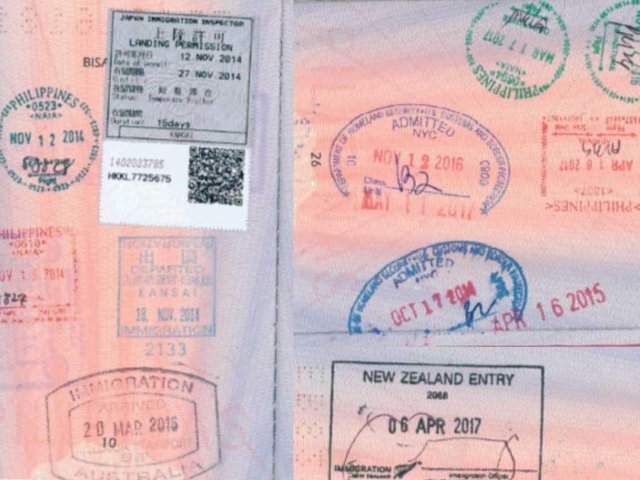
In some cases, you might be asked to provide proof of good character (e.g. police clearance) and/or proof of good health (e.g. certification from an accrediated doctor, etc.). I was not asked to submit any of these when I applied.
Process
Now that you have gathered all the needed documents, you have to:
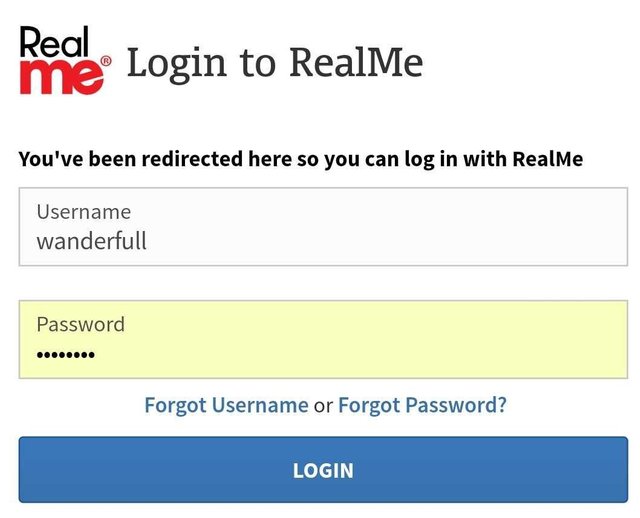
1. Create a RealMe account - This is where you will fill out the application form and attach all your documents
2. Print the acknowledgement page - After you have submitted your application, you will need to print the confirmation page or save a soft copy for printing later.
3. Submit your printed acknowledgement page and passport to VFS - If you are based in Manila, you can bring your documents and pay the handling fee at:
I sent mine via courier and since I prefer to have my passport delivered to me, I made a bank transfer to VFS. I deposited the amount equivalent to the handling fee and return courier service. VFS' bank details can be found here.
If you prefer this option too, don't forget the deposit slip when you send your documents. Write your name, passport number and application number at the back.
You can call VFS call center at +63 2 790 4905 for other questions you may have.
4. Wait for the results. If you have chosen to pick-up your passport, you will be notified when you can already do so via e-mail. If you paid for a courier service like I did, just wait for your passport at your delivery address.
That's it! Quite easy, right?! I think they can still streamline the process by skipping the sending of the passport to VFS for tourist visa applicants. They do not put visa label on your passport anyway. Your visa will be attached as PDF in your RealMe account.

You can then print it and bring it with you on your travel to New Zealand.
Fees
Filipinos do not have to pay an immigration levy for tourist visa application when coming to New Zealand for fewer than 60 days. Hooray!! 🙌 It's FREE!!
What you need to pay for is the receiving center's fee. Nope, you cannot send your passport or file your tourist visa application directly at the Embassy. You have to course it through VFS. Passport handling fee is PhP570. They have optional services too:
One-way courier service: PhP380
Two-way courier service: PhP600
SMS notification: PhP110
Frequently Asked Questions
1. How long is the processing time? Processing of online application usually takes 20 working days. I suggest you apply two months before your departure date just to have ample time in case they ask for additional documents.
2. Can I track the status of my application online? Yes. You can log in to your RealMe account to check the status of your application.
3. How much money do I need to have in my bank account? It's hard to say really but according to the New Zealand Immigration website, you need to have at least NZ$1,000 per month. That is roughly PhP38,000.
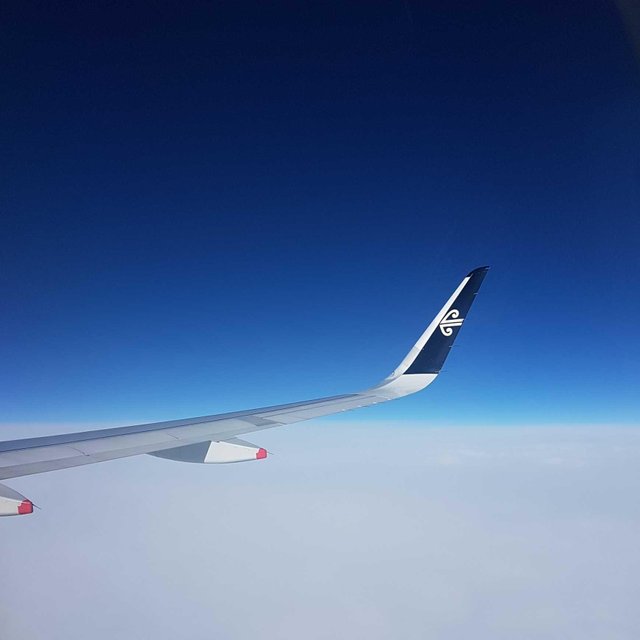
What are you waiting for? Plan a trip to New Zealand now and you will not regret it. I will write about the things you can do there and places you can visit next time.
Hope you found useful information here!
xoxo 😘,
@wander-full
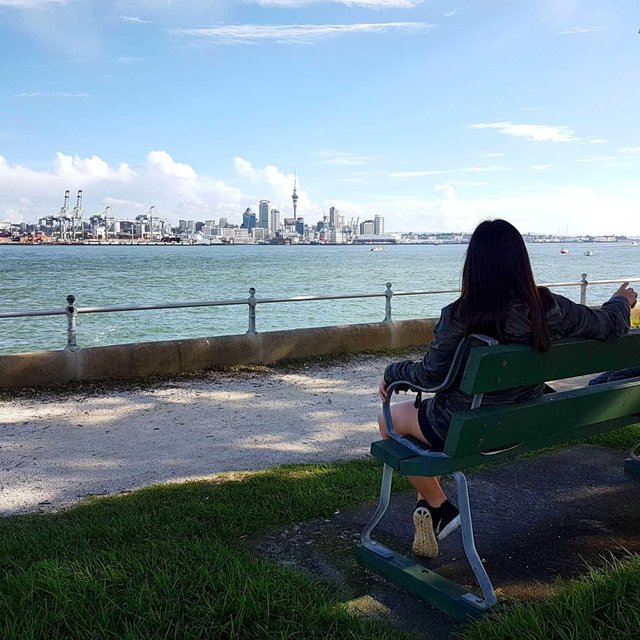
Wow! Yay! Thanks @travelfeed! 😙