Astrophotography 101 - How To Take That Stellar Milky Way Shot

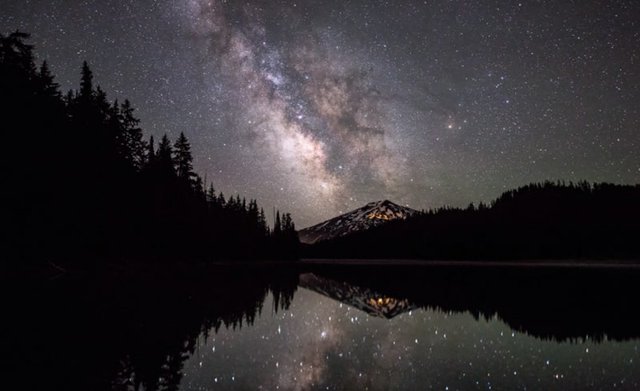
Have you ever wanted to take a shot of the milky way? Ever wondered how professionals get a clean crisp image? If you persist through most of my ramblings, you'll find out how. We mostly take photos during the day. Our cameras and sensors are happy here with our subjects illuminated adequately. You'll be able to capture some clear images without too much hassle. So why concern ourselves with the night sky at all? It seems to offer very little and hardly anything is illuminated. You can barely even see what you're taking a photo of let alone where you're walking! But if you look hard enough, it can open up your photography portfolio to a whole universe of opportunity. If you're not feeling small yet, you will when you look up at the stars.
We circle a giant nuclear reactor that is one of about a 100 Billion other stars in our galaxy
Our Galaxy is one of about 200 Billion other galaxies in the known Universe
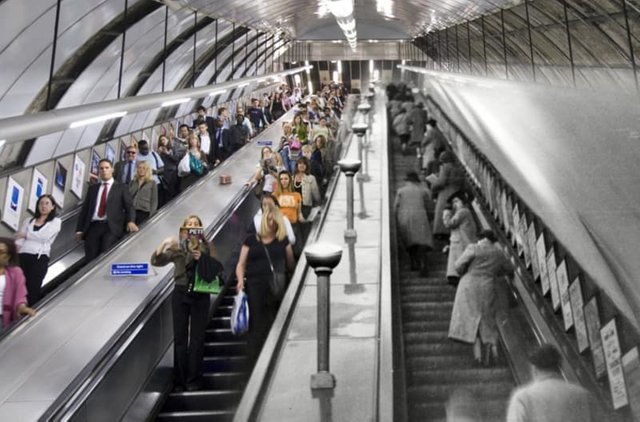
Photographer? or Time Traveller?
Taking a picture of the Milky Way is one of the most surreal things l have ever done. As you know, it takes time for light to travel any distance. Even the light from our own sun takes on average about 8 minutes to get to us. When you look up at the Milky Way, you're seeing stars ranging anywhere between 4.2 Light Years from our next closest star all the way up to 76,000 light years from the furthest reaches of the galaxy. Yeah, I did the maths, Milky way = 100,000 light years across in diameter, earth = 26,000 light years from the galactic center. Thats like taking a single photo of your house with your back yard still in the 19th century! Insanity!
Now that I've bored you with the physics of light, here's what you came for. This was designed to be a "quick" summary of things to consider. First lets start with the basics, here's a few things you'll need.
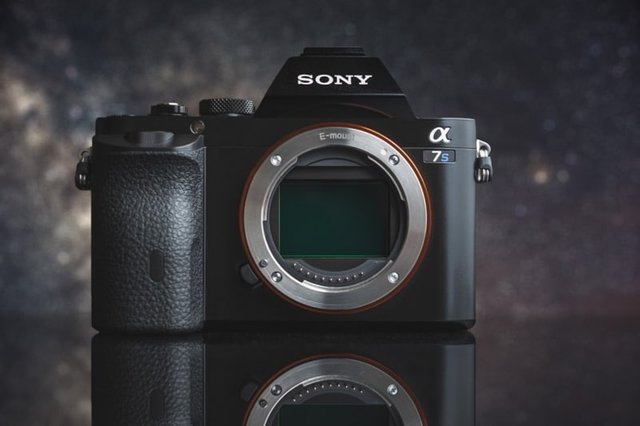
DSLR/Mirrorless/Camera Phone
I've tried both astrophotography on a camera phone and mirrorless camera. In no way can I see a camera phone out performing a "real" camera. At the same time I was pretty amazed at what a little editing can bring out. If you are going to use a phone, make sure you have one that you have access to full manual features like iso/shutter speed/aperture.
If you do opt for a mirrorless or DLSR you may want to consider its light gathering capability. A camera's ability to gather light accurately and reliably in low light conditions is basically influenced by two things. The lens and the camera sensor. When it comes to the sensor, you want one that is preferably full frame and has a high usable iso range. You'll actually find sometimes those full frame sensors with a lower megapixel resolution is better for this. The Sony A7S and A7S Mark II are considered one of the best low light cameras available.. Yet it's only capable of capturing 12 MP images. Of the crop sensor cameras, the Fujifilm X-T1 and the Sony A6000 are also pretty decent too when paired with the right lenses.
Lens
You need one with a large aperture. There's no real hard or fast rule for this (pun intended) but I'd suggest a lens with a maximum aperture ideally less than 2.8 and at least less than 4. The main reason is that effect of our world spinning on its own axis. Wide angle lenses tend to have less of the star trail effect. If you're not looking to do star trail photography and want to get a clean snap of the galaxy, you can't have your shutter speed too slow to compensate for your aperture. Although in saying that, it is still possible to get a decent shot of the milky way with your standard kit lens post processing.
Tripod
This is pretty much a must in astrophotography. Unless your super power is to have an extremely steady hand for at least 20 seconds (lamest hero power ever), I'd get a tripod. Doesn't have to be fancy. Something lightweight and small works well. Even a little desk tripod will do the job.
Headlight
Because its dark out, thats why. You want to be able to see where you're going and not accidentally step on a red belly black snake or a rabid Koala. Also great if you don't have complete military style muscle memory of where all your camera buttons are. I don't expect any of you to be able to dismantle and put your cameras together blind-folded.
Friend
It gets super creepy at night. Be safe, bring a friend. Preferably someone that is trusted and knows how to take down assailants Jason Bourne style. You'll often have to travel to remote locations to get a sky thats light pollution free. Unfortunately these are also places unsavoury locals go about their plundering and murdering. Kidding! I mean, it is a safety thing too, but it gets boring when you're out by yourself. Good company can make all the difference.
Now that you know what to bring with you, here's some tips on how to take those ace shots. Lets start with your camera settings.
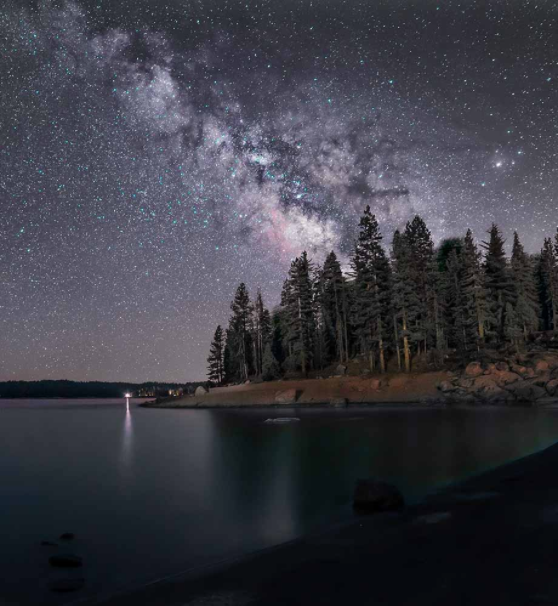
ISO settings
Like most things with photography, this one's by trial and error. Work with the iso settings that just brings up the clouds of the milky way but doesn't scatter your photo with noise. Remember it's way easier to bring out the milky way post processing rather than have to manually clean all the noise.
Shutter Speed
Generally speaking, if you've got a longer focal length lens or a smaller camera sensor, the shorter the shutter speed needs to be to prevent trailing. A good starting point would be using the following formula, also known as the 500 rule (creative):
Shutter Speed = 500/focal length/crop factor
F number
This one seems obvious. Go for the fastest aperture (lowest f number). At these apertures, some lenses may produce a fair amount of vignetting, but personally I've never run into too much trouble. At worst, it adds a nice effect to it, but depends on personal preference.
White Balance
If you're shooting one image then use auto white balance. Your scene can change shot to shot with cloud cover, moon light and light pollution. If you're shooting a time lapse, or multiple images for stacking, I'd recommend shooting with a static white balance (3900k). This way when editing your shots, you have a consistent white balance through all your photos and won't create any inconsistencies.
Other Settings To Consider
Shoot in RAW. It's the file format that contains the most amount of data and provides you with the greatest flexibility when editing in post. Disable your in camera noise reduction. I find that the noise reduction most cameras have in house are sloppy. They tend to consider a lot of smaller stars "noise" and gets erased from the image. Noise reduction in post processing and editing is a little bit tedious, but it gets you the best results.
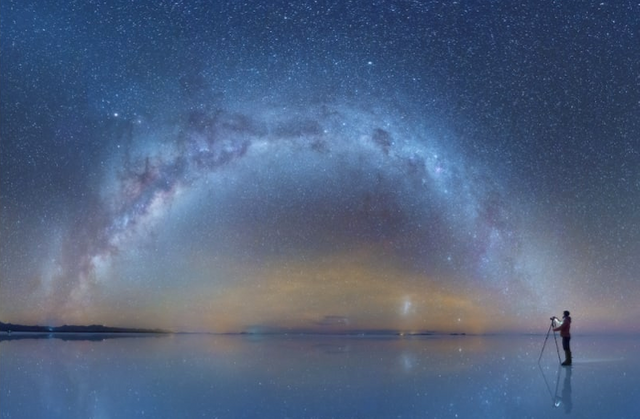
Finding the Galactic Center
This one's actually pretty hard to do by eye, unless you're in an area with absolutely no light pollution. It's closest to the brightest cluster of stars. You can make a rough guess and take a few shots before framing your actual shot. I've mentioned this before, but there are a few apps out there that help with timing, positioning and direction the milky way for any given date and location. PhotoPills is a great app and would highly recommend for any photographer. It even comes with a convenient augmented reality function.
Composing And Framing Your Shot
The single best tip I can offer is take the milky way with some foreground elements. It adds colour and perspective to the main attraction and can change a good shot into one thats EPIC! Add a barn, a windmill a light house or even yourself in the foreground. What I usually do is I end up taking 2 series of shots. One for the foreground and one for the sky. Then I merge both foreground and sky on photoshop for my final image. This is mainly because it's virtually impossible to satisfy both components with the one group of settings. If you're working with apertures of f1.2 or other apertures with a focus range of a hair, you'll need to do this to get a crisp foreground. Lighting for the foreground is always difficult at night. You often only need a small amount of light, especially with the long exposure nature of these photographs. I usually just end up using the illumination of my phone screen and set the lock mode interval to never.
Focusing The Night Sky
Always use manual focus. Most autofocus systems with fail completely in low light settings. The last thing you want to do is take a beautiful shot only to go home and open it on your desktop computer to find it out of focus. It is seriously one of the most annoying aspects of astrophotography. Basically you'll need to pick a star on your screen and slowly advance your focus ring towards infinite. You'll find a place where the star appears to be at its smallest. The more pin point you get this, the better. Alternatively you can focus on a decent light source that could be considered to be at infinite and then tape down your focus ring so as to not change focus while moving your camera.
Ok, that's all I have time for now. If there's enough interest, I'll go into how to stack images on photoshop and how to edit images in light room to get your galaxy shots looking like gallery material in a later post.
Now go forth, empower yourselves, be confident, multiply. Post your shots and share your tips! I'm keen to see what kind of milky way photos you have taken from around the world. Where is your favourite spot to look up at the stars? If you have any questions, post in the comments below.
Happy Snapping!

If you enjoyed this post, be sure to UpVote, Resteem and Follow me @lenscape especially if you're into travel, photography and reading words online.
Beautiful shots.
Thanks @team101 I hope other Steemites are inspired to go forth and take some as well
That's absolute amazeing Pictures
Thanks Hintenburg!
Awesome photos :) keep up the good work!
Thanks @digital-nomad
Great photos @lenscape
I'm impressed with your work.
Anyone can take them, you just need to know how, and then what to do with it after in post :P
These are great photos and tips! I am already addicted to Milky Way shoots and just experienced my first one about a month ago. Looking forward to more.
cant wait to see the results!
Spectacular! I paint the milky way, not photograph it, but there is still some great advice in there :) oh and of course the epic pictures!!
Loved your painting "stardust". Painting is just a whole other level of artistic talent!
:) Thank you so much! It means a lot to hear such kind comments <3
fantastic!