Setting Up Multiple Masternodes For Tokugawa
Skip step 1-9 if you already have Tokugawa Masternode Server
First you guys need create vps server. I will use vultr for this guide. Here is the link to start https://www.vultr.com/?ref=7188571
Required Operating System: Ubuntu 14.04
Setting Up a Server
After creating Vultr Account click on the big plus sign

It will take you to the creating server page.
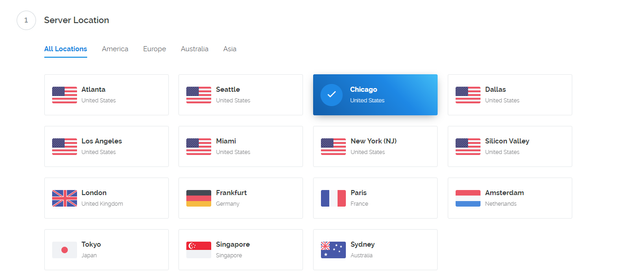
1.First choose your server location. Which means choose the closest place to you. In my case Chicago.
2.Choose Server Type.
We would like to choose Ubuntu 14.04

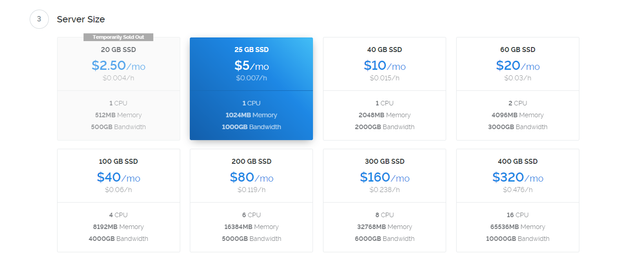
3.Choose Cheapest Server Size :)
4.Give it a server name. I named simple tokugawa-1

5.Press Huge button Deploy Now and done. Let's wait until server is finished.
Setting up a control wallet in Linux
After we have finished setting up a server. We are going to click on the manage

Download Putty In order to access to the server. Here is the link.
https://the.earth.li/~sgtatham/putty/latest/w64/putty-64bit-0.70-installer.msi
After downloading putty go to your windows search bar and search for the putty word it should show up. Now open up your putty in order to access to the server
Now go back to your web browser. You should see this page.

Copy your server ip address put it in the putty.
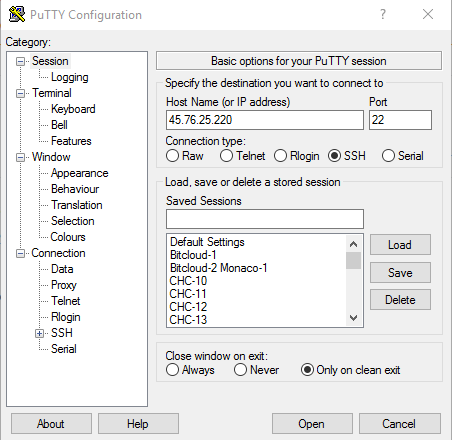
Press Open and press Yes. You should see a terminal looks something like this.
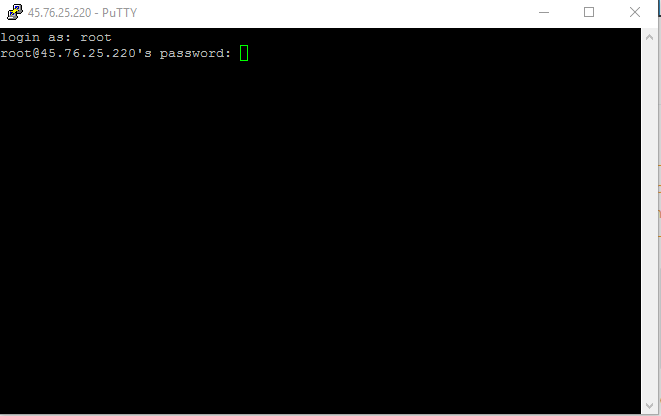
Now type the username:root
press enter
after that copy or type the password. Copy the password from vultr and paste to the terminal simply right click on mouse will paste to the terminal. Password will be hidden.
It is just simply copy paste from now on. Just copy what I have and paste to the terminal :).
- Let's update and upgrade the server
apt-get update -y
apt-get upgrade -y
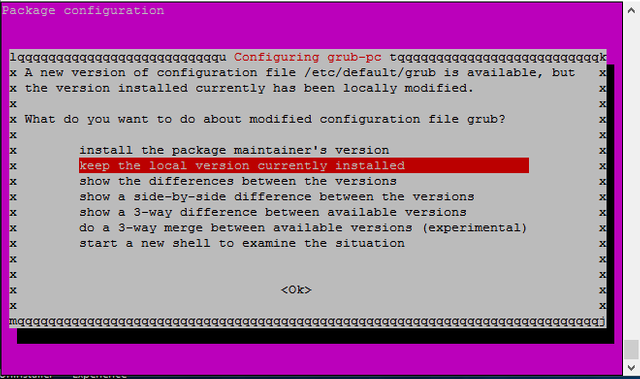
Note: when you see the this thing just press enter inside terminal.
2.Let's install essentials
sudo apt-get install -y build-essential libtool autotools-dev pkg-config libssl-dev libboost-all-dev autoconf automake
3.Installing libsecp256k1
sudo apt-get install git
git clone https://github.com/bitcoin-core/secp256k1
cd ~/secp256k1
./autogen.sh
./configure
make
./tests
sudo make install
4.Install libminiupnpc
sudo apt-get install -y libqt4-dev libminiupnpc-dev
5.Install libgmp
sudo apt-get install -y libgmp-dev
6.Install Openssl
sudo apt-get install -y openssl
7.Install Berkeley 4.8
apt-get install -y software-properties-common && add-apt-repository -y ppa:bitcoin/bitcoin
apt-get update -y
apt-get install -y libdb4.8-dev libdb4.8++-dev
8.Allocating Memory with Swap
sudo dd if=/dev/zero of=/var/swap.img bs=1024k count=1000
sudo mkswap /var/swap.img
sudo swapon /var/swap.img
sudo chmod 0600 /var/swap.img
sudo chown root:root /var/swap.img
Now we going to use nano. Nano is linux notepad
sudo nano /etc/fstab
Press bottom arrow and scroll to the bottom and paste this
/var/swap.img none swap sw 0 0
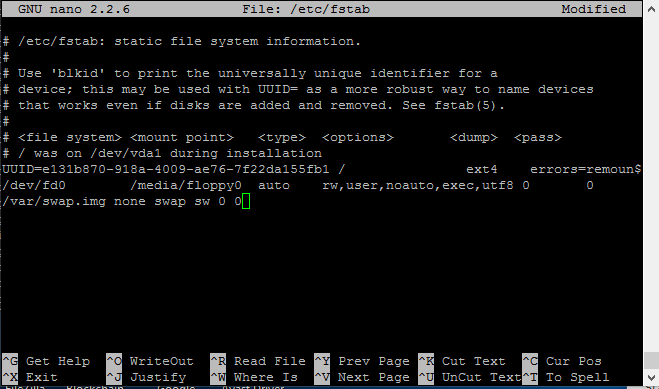
Press CTRL-X > Press Y > Press [ENTER]
9.Installing and Compile the Wallet From Source Code
cd ~
git clone https://github.com/TokugawaCoin/Tokugawa
cd ~/Tokugawa/src
make -f makefile.unix # Headless
Note: 10-20 Minutes Wait time here
Setting Up a Multiple Masternode
Note: If your Tokugawa Masternode already set up stopped your masternode typing Tokugawad stop
10.Creating 2 Directories for 2 Masternodes
mkdir -p ~/Tokugawa1/data
mkdir -p ~/Tokugawa2/data
11.Let's copy the src command from Tokugawa folder to 2 directories
cp ~/Tokugawa/src/Tokugawad ~/Tokugawa1/Tokugawad1
cp ~/Tokugawa/src/Tokugawad ~/Tokugawa2/Tokugawad2
12.Execute the commands
~/Tokugawa1/Tokugawad1 -datadir=/root/Tokugawa1/data
~/Tokugawa2/Tokugawad2 -datadir=/root/Tokugawa2/data
13.Generating 2 Masternode Privet Key.
Let's go back to Tokugawa wallet > Help > Debug Window
Type on console masternode genkey press [ENTER]
Type on console masternode genkey press ```[ENTER]
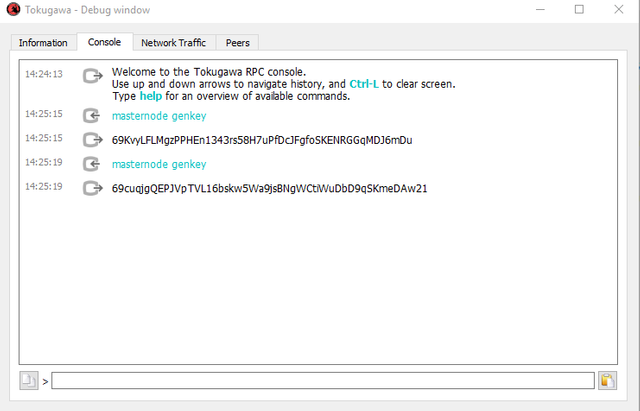
Masternode 1 Privet Key:69KvyLFLMgzPPHEn1343rs58H7uPfDcJFgfoSKENRGGqMDJ6mDu
Masternode 2 Privet Key:69cuqjgQEPJVpTVL16bskw5Wa9jsBNgWCtiWuDbD9qSKmeDAw21
14.Configuring 2 masternodes
Let's go back to vps server and type this on terminal
Masternode 1 Configuration
nano ~/Tokugawa1/data/Tokugawa.conf
Paste this
rpcuser=putanyworkyoulike
rpcpassword=putanyworkyoulike
rpcport=21115
port=21118
masternodeaddr=[your-server-ip-address-here my is 104.238.164.50 ]:21118
masternode=1
masternodeprivkey=[Masternode 1 Privet Key from step 13 which is 69KvyLFLMgzPPHEn1343rs58H7uPfDcJFgfoSKENRGGqMDJ6mDu]
Press CTRL-X > Press Y > Press [ENTER]
Masternode 2 Configuration
nano ~/Tokugawa2/data/Tokugawa.conf
Paste this
rpcuser=putanyworkyoulike
rpcpassword=putanyworkyoulike
rpcport=21114
port=21119
masternodeaddr=[your-server-ip-address-here my is 104.238.164.50 ]:21119
masternode=1
masternodeprivkey=[Masternode 2 Privet Key from step 13 which is 69cuqjgQEPJVpTVL16bskw5Wa9jsBNgWCtiWuDbD9qSKmeDAw21]
Press CTRL-X > Press Y > Press [ENTER]
Note if you have more than 2 masternodes you just repeat my process everytime subract 1 from rpcport let say if I had 3 masternode rpcport will be 21113 and add 1 on port so port will be 21120 on my masternode 3
15.Execute the commands again
nohup ~/Tokugawa1/Tokugawad1 -datadir=/root/Tokugawa1/data &
nohup ~/Tokugawa2/Tokugawad2 -datadir=/root/Tokugawa2/data &
Server side is done and wait 15-30 minutes until blocks are up to date
Configuring Windows Wallet
16.Getting the addresses
Masternode 1
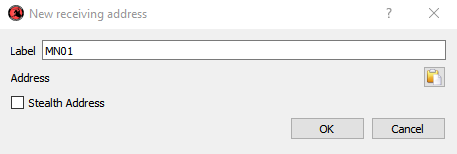
Go to Receive > New Address MN01 > Press OK
Repeat for Masternode 2
Go to Receive > New Address MN02 > Press OK
Let's copy addressees

For masternode 1 and masternode 2 MN01, MN02
Send Exactly 2500 TOK coins each for 2 Both Masternodes . NOTE: Go to your transactions wait for at least 15 confirmations
17.Getting TxHash and TxIndex
Now Go to Help > Debug Window > Console > Type masternode outputs
You should see some thing like this but different values
{
    "1e665c23487ec14a147170ee4b4e24255ed1f9d032a4dfsdfdsfafasdf8" : "0",
    "1e665c23487ec1412dsadaq114b4e24255ed1f9d032a49bb16df7b8c1f9fasdf8" : "1",
}
Masternode 1
TxHash:1e665c23487ec14a147170ee4b4e24255ed1f9d032a4dfsdfdsfafasdf8
TxIndex:0
Masternode 2
TxHash:1e665c23487ec1412dsadaq114b4e24255ed1f9d032a49bb16df7b8c1f9fasdf8
TxIndex:1
Copy this information and save it and exit out from console.
18.Creating Masternode from windows.
Now go back to your windows wallet go to Masternodes > Create
Fill out like this
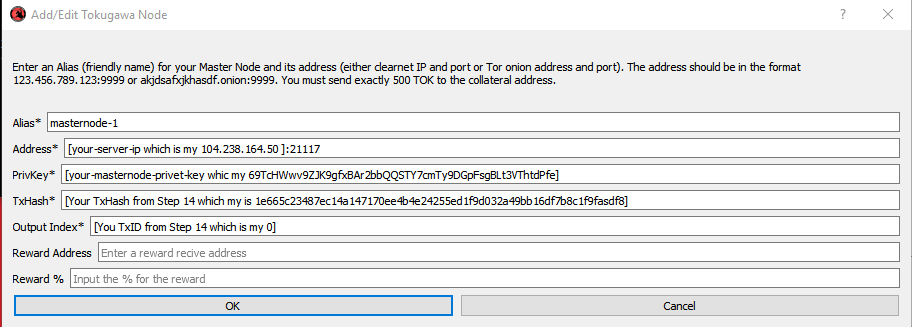
For 2 Masternodes
Press OK
Now Press Update

After that press Start All
Your masternodes are completed