From Simple Computer to Nostalgia Machine- Retropie in Plain Speak- Part One!
We did a thing!
A really cool, retro thing!
We have been sitting on a plethora of cool games for some time now. A huge collection of pixels that have been waiting to be loved and played with once more.
Sure, we could use an emulator on the regular laptops or the desktop... but that is lacking. There was certainly a whole other level of nerd we could take this to.
That was when the Raspberry Pi 1 got dusted off and brought out of hiding.
I have always wanted to play with a Raspberry Pi. In my derpy-learning-about-tech-but-still-not-quite-there brain, I imagined it to be something hackers would pull out of their coats before Robin Hood-esque deeds or interwebbular hijinks.

A sophisticated device whispered about in sneaky-sneakiness.
Instead, I was met with a circuit board in a transparent plastic case.
To be honest, I was even more impressed and intrigued.
Granted, Sammosk did some... most... okay, all of the work. I watched him and occasionally wiped his brow or brought the required snack. I am sure he would have allowed me to try it all on myself, but let's face it. It would simply have taken forever.
Like when he wanted me to try my hand at building his pretty expensive computer. I found myself sweating half to death while I held a Kingpin graphics card in one hand and my wavering will to live in the other. It took me 8 hours to shoddily piece together a desktop computer. But... I kinda did it. And I only cried three times!
I learn better by watching, anyway.
So without further ado, here is my (Stitchy's) grasp of how to turn a Raspberry Pi 1 into a SNES as I observed! I promise, no technical lingo here! (Seeing as I don't really know much of it.)
Step one:
Get your Raspberry Pie
Step Two:
Blow off the dust and visually inspect.
Step Three:
Sit down in fervent silence and do computer magic.
Step Four:
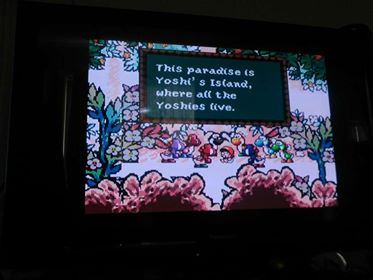
GAMEZ!
But in all seriousness:
Step one:
Download the proper Retropie SD image for your Raspberry Pie version.
The Retropie SD image is basically a special nifty file thing that runs "ROMs". ROMs in relation to Retropie are like game cartridges, and the SD image is basically the game system (i.e. the emulator).
If you don't know what an emulator is, imagine trying to play a CD in a DVD player. You need something to bridge the format difference. Like an all in one player. That is basically what Retropie is, it is a package that has all the goodies you need to play lots of older games.
Step Two:
Extract the file from a .gz to .img!
You can download a program to do this for you(7-zip), or you can do something EVEN EASIER without having to download something else. Sammosk taught me the wonders of command prompt on the computer.
Search your computer for command prompt:
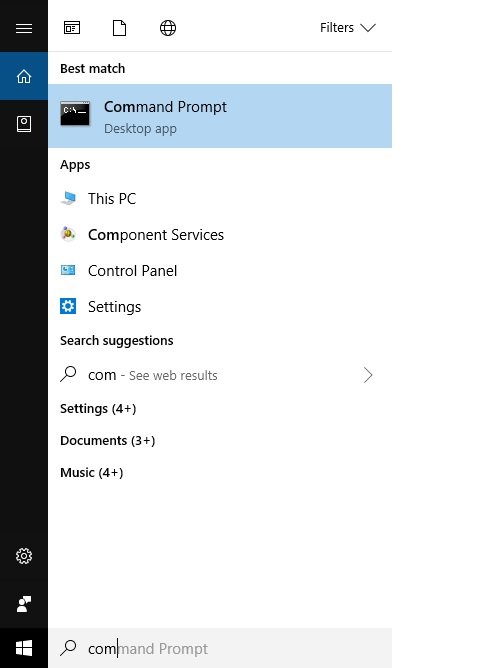
Click on it and feel the l33t flow through you.
This black box will open up. And all you have to do is type this command, placing the Xs with the version you downloaded. (rpi0_rpi1, rpi2_rpi3, etc...)
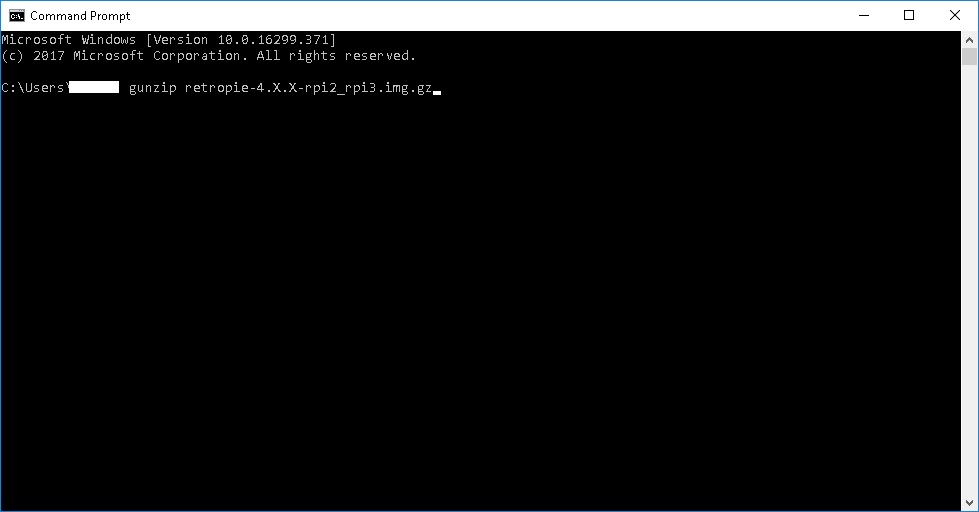
Now push enter!
Your file should now go from a .gz file to .img and you should be able to move it to your SD card!
Step Three:
Get an SD writer.
The best bet for this to get Etcher, which works on Linux, apple, and windows so it pretty much covers all the bases.
But for this, I will put a link to Raspberry Pi's instructions because I don't want anyone to get all messed up because I don't have a full understanding of everything you may need!
This might be more helpful than I am!
Step Four:
Setting up your controls!
This one will take a while so I will continue it in part two!
The other steps are a bit more involved and require a lot more explanation!
Not to mention, I am learning in greater detail the things that I witnessed and trying to translate them in ways that are easier to understand for people with no know-how (like myself)!
Part two comes tomorrow!

Stay tuned to our page for Microscopic Mondays, drone shenanigans, poetry, 360 VR footage, 3D prints, and the occasional chuckle!
Much love, @sammosk and @stitchybitch! <3
This post has received a 50.00 % upvote from @sharkbank thanks to: @sammosk.
nice post
This post, with over $50.00 in bidbot payouts, has received votes from the following:
rocky1 payout in the amount of $39 STU, $73 USD.
buildawhale payout in the amount of $39 STU, $72 USD.
For a total calculated bidbot upvote value of $78 STU, $145 USD before curation, with approx. $20 USD curation being earned by the bidbots.
This information is being presented in the interest of transparency on our platform @sammosk and is by no means a judgement of your work.