INTRODUCTION TO ANDRIOD STUDIO
Hello steemit fans tired of playing other peoples games or using other people application then is about time to build your own link in description android studio.
.gif)
.jpeg)
There are multiple ways to approach Android Development but by far the most official and powerful is to use Android Studio. This is the official IDE (Integrated Development Environment) for the Android platform, developed by Google and used to make the majority of the apps that you probably use on a daily basis.
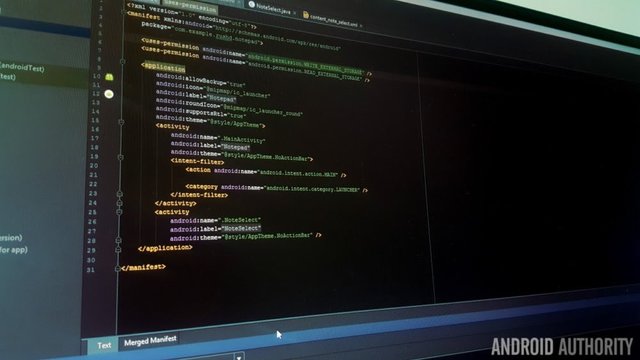
Android Studio was first announced at a Google I/O conference in 2013 and was released to the general public in 2014 after various beta versions. Prior to its release, Android development was handled predominantly through Eclipse IDE, which is a more generic Java IDE that also supports numerous other programming languages.
Android Studio makes life significantly easier compared with non-specialist software, but is still has a little way to go before it can claim to be a completely intuitive and smooth experience. For complete beginners, there is an awful lot to learn here and much of the information available – even through official channels – is either out of date or too dense to make head or tails of the company In this post, we’ll explain what Android Studio does in a little more detail and go over the basic functionality that you need to get started. I’ll try and keep everything and easy as possible and hopefully this will serve as the first step on your journey to Android Development.
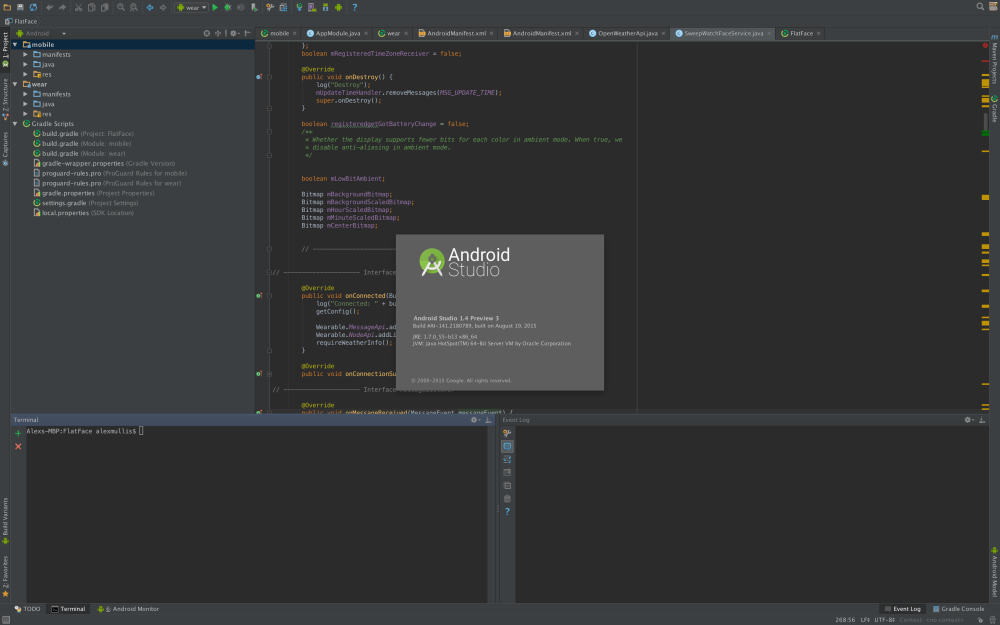
So just what is Android Studio?
Those of you with no prior experience in coding may still be wondering precisely what Android Studio’s role is when it comes to development… what is an IDE anyway?

As an IDE then, Android Studio’s job is to provide the interface for you to create your apps and to handle much of the complicated file-management behind the scenes. The programming language you will be using is Java and this will be installed separately on your machine. Android Studio is simply where you will write, edit and save your projects and the files that comprise said projects. At the same time, Android Studio will give you access to the Android SDK or ‘Software Development Kit’. Think of this as an extension to the Java code that allows it to run smoothly on Android devices and take advantage of the native hardware. Java is needed to write the programs, the Android SDK is needed to make those programs run on Android and Android Studio has the job of putting it all together for you. At the same time, Android Studio also enables you to run your code, either through an emulator or through a piece of hardware connected to your machine. You’ll then also be able to ‘debug’ the program as it runs and get feedback explaining crashes etc. so that you can more quickly solve the problem.Setting up
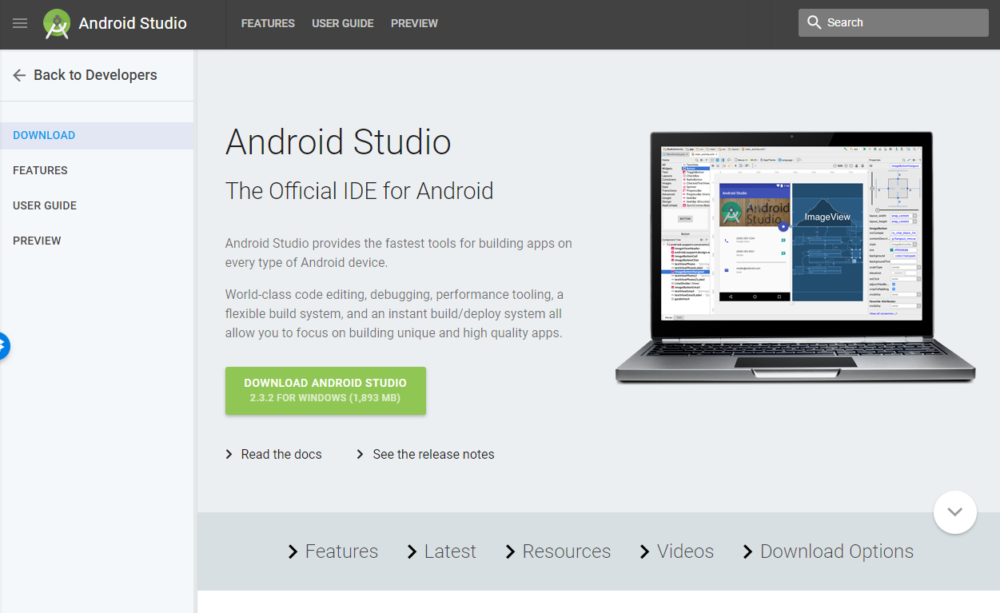
Setting up Android Studio is fairly straightforward and is easier than ever thanks to nearly everything being bundled into one installer. Download it here and you’ll get not only Android Studio but also the Android SDK, the SDK manager and more. The only other thing you’ll need is the Java Development Kit, which you can download here. Remember, Android Studio is only really your window into Java! Note: Android Studio and the SDK are rather large, so make sure you have some space free on your C:\ drive before you get started.
Follow the simple instructions during installation and it should also set you up with an Android platform that you will be able to develop with as well. Be sure to tick the checkbox to tell the installer that you want the Android SDK as well and make a note of where Android Studio itself and the SDK are being installed. These are the defaults that it selected for my installation:
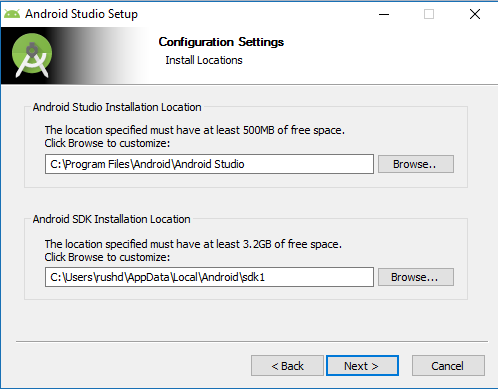
Pick a directory for the SDK that has no spaces in it. Note that the AppData folder that Android Studio has selected here is a hidden folder in Windows. That means you’ll need to select ‘Show Hidden Folders’ if you want to browse to it using the explorer.
Starting a new project
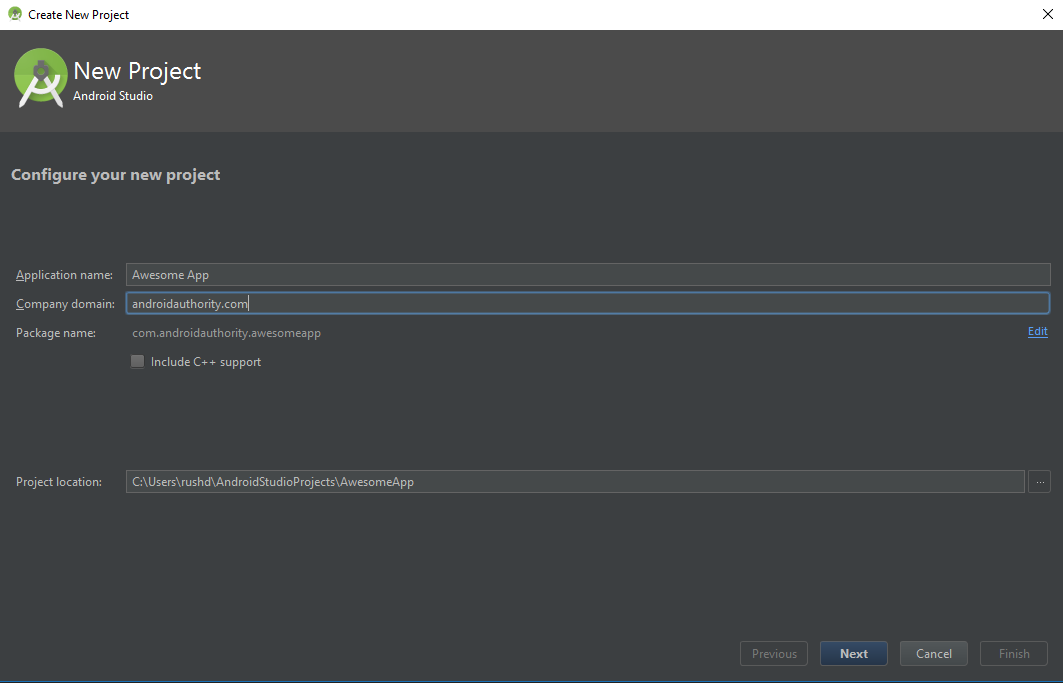
Once Android Studio is up and running, you’ll want to dive in and create a new project. You can do this by launching Android Studio and then selecting New Project, or you can choose File > New > New Project at any time from the IDE itself.
You’ll then have the opportunity to choose from a number of different types of activity. Activities are effectively ‘screens’ in an app. In some cases, this will be the entire app or in others, your app might transition from one screen to the next. You’re free to start a new project with no activity (in which case, you would choose ‘Add No Activity’) but you’ll almost always want one, so it’s easier to let Android Studio set you up with something resembling a blank app template to begin with.
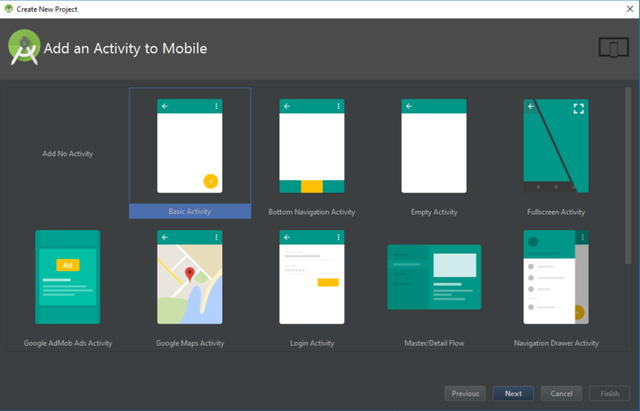
Often you’ll choose a ‘Basic Activity’, which is the default look and feel for a new Android App. This will include a menu in the top right corner, as well as a FAB button – Floating Action Button – which is a design choice that Google is trying to encourage. An ‘Empty Activity’ is the same thing but without the added chrome.
Pick the option that best suits the app you have in mind to build and this will impact on the kind of files you are presented with when you first start things up. You’ll also be able to choose your app’s name at this point, the minimum Android SDK you want to support and the package name. The package name is the final file name that the app will have when you upload it to the Play Store – a combination of the app’s name, along with the name of the developer.
.jpeg)
Link android studio https://android-studio.en.uptodown.com/windows/download
Thank you Typical gamer
Steemit @ekpenyong
Website https://megprid.wixsite.com/ekpenyongfoundation