X/Y Optical End Stops (3D Printer Part 10)
This time I am integrating the XY End Stops on the machine.
There are different ways to implement end-stops:
- Mechanical Switches: which is commonly found in many printers (contact).
- Induction Probe: mostly used as Z End Stop, when your printer has an automatic bed leveling (contact less).
- Optical Switches: contact less.
- Magnetic Switches (Hall effect): contact less.
I choose to go for optical end stops for both the X and the Y axis.
A few parts have been created:
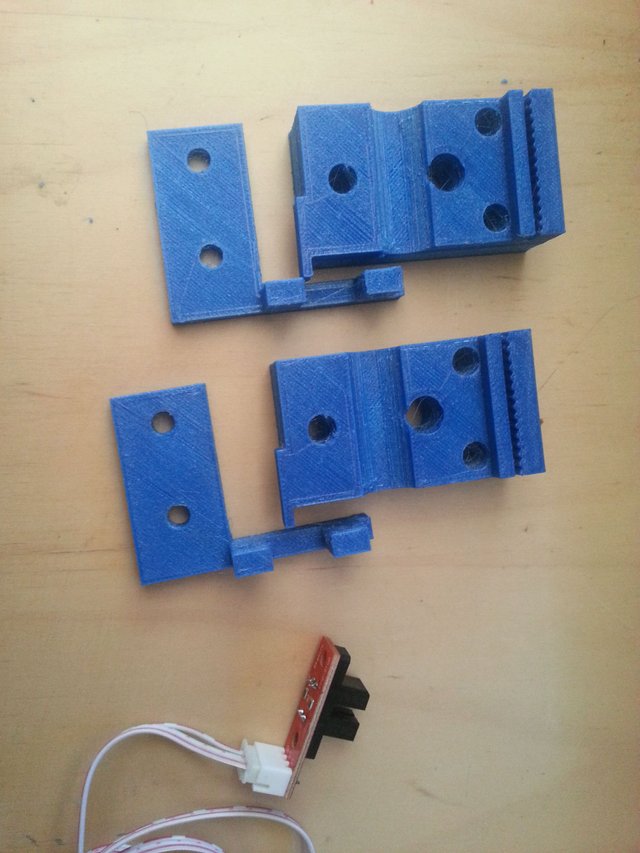
- 2 Supports for the X axis.
- 2 Modified X bearing carrier.
- 2 Supports for the Y axis.
- 2 Modified Y bearing carrier.
X Axis
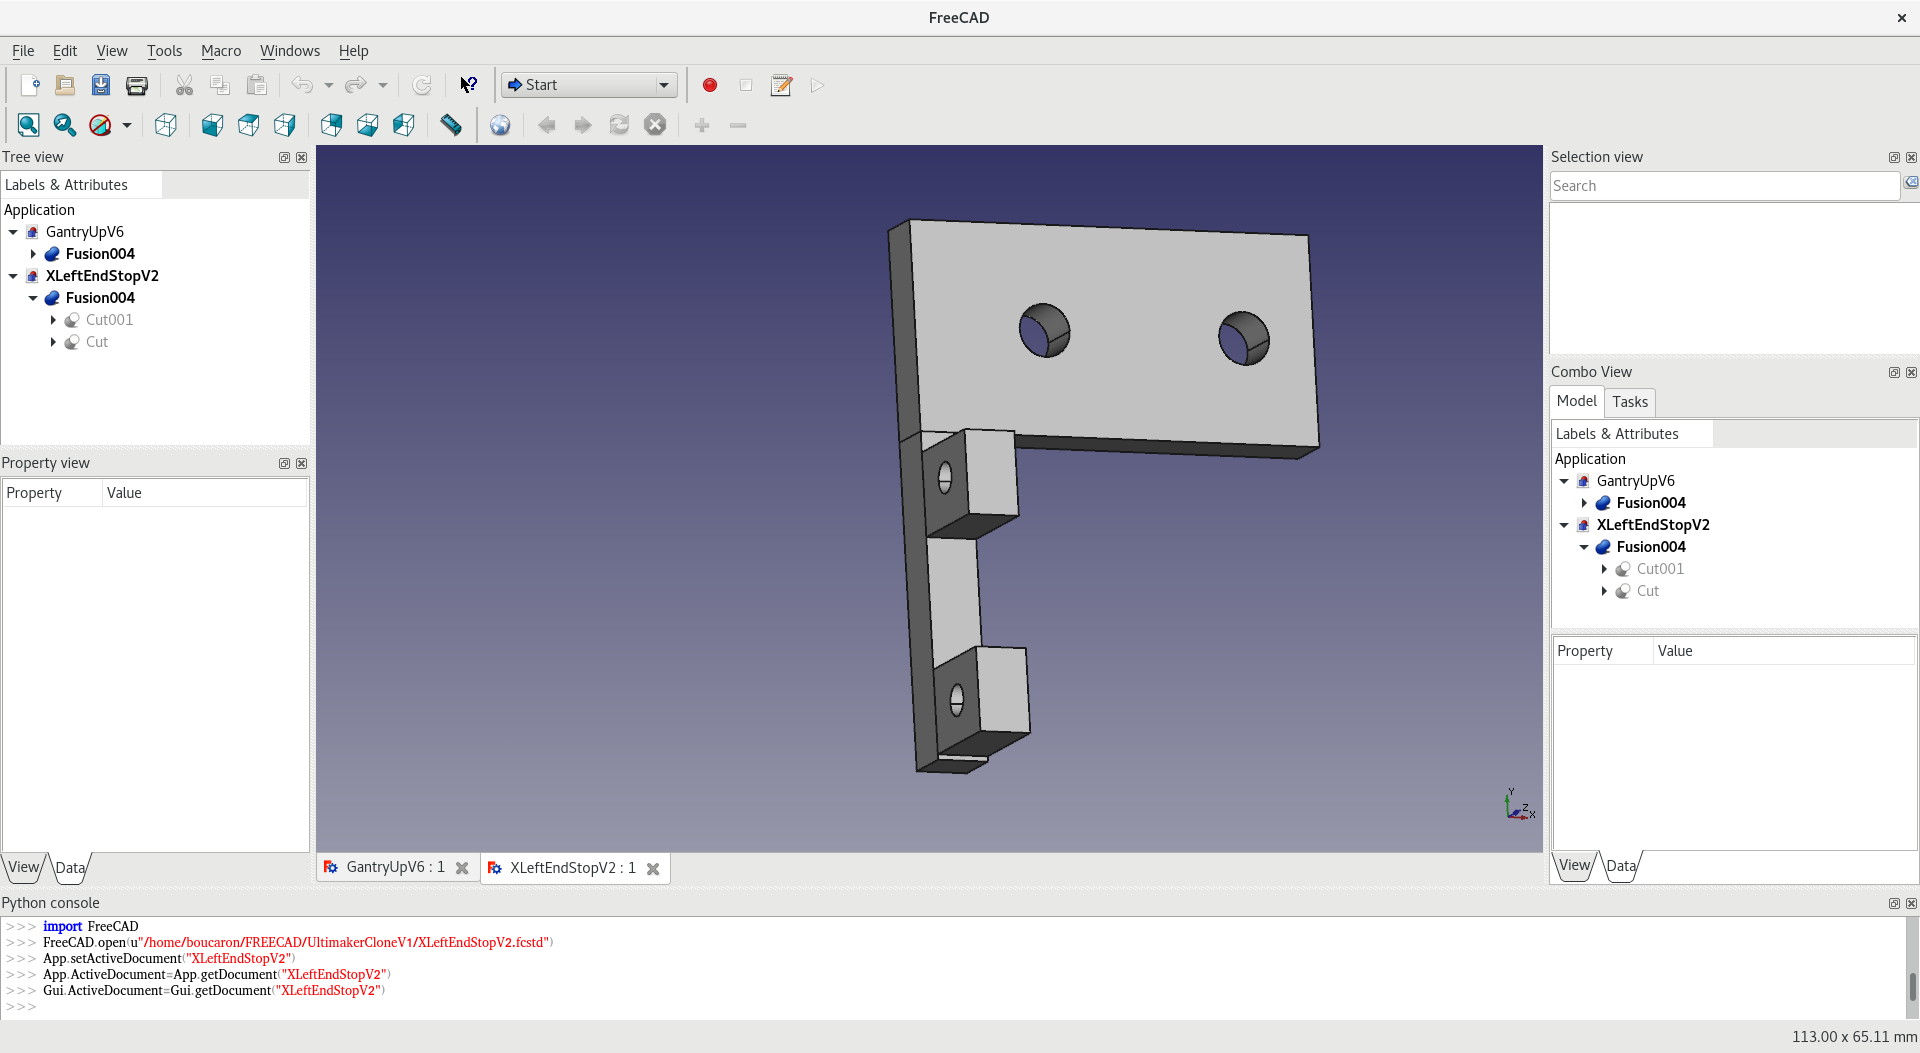
This is a symmetric design, I put two end stops.
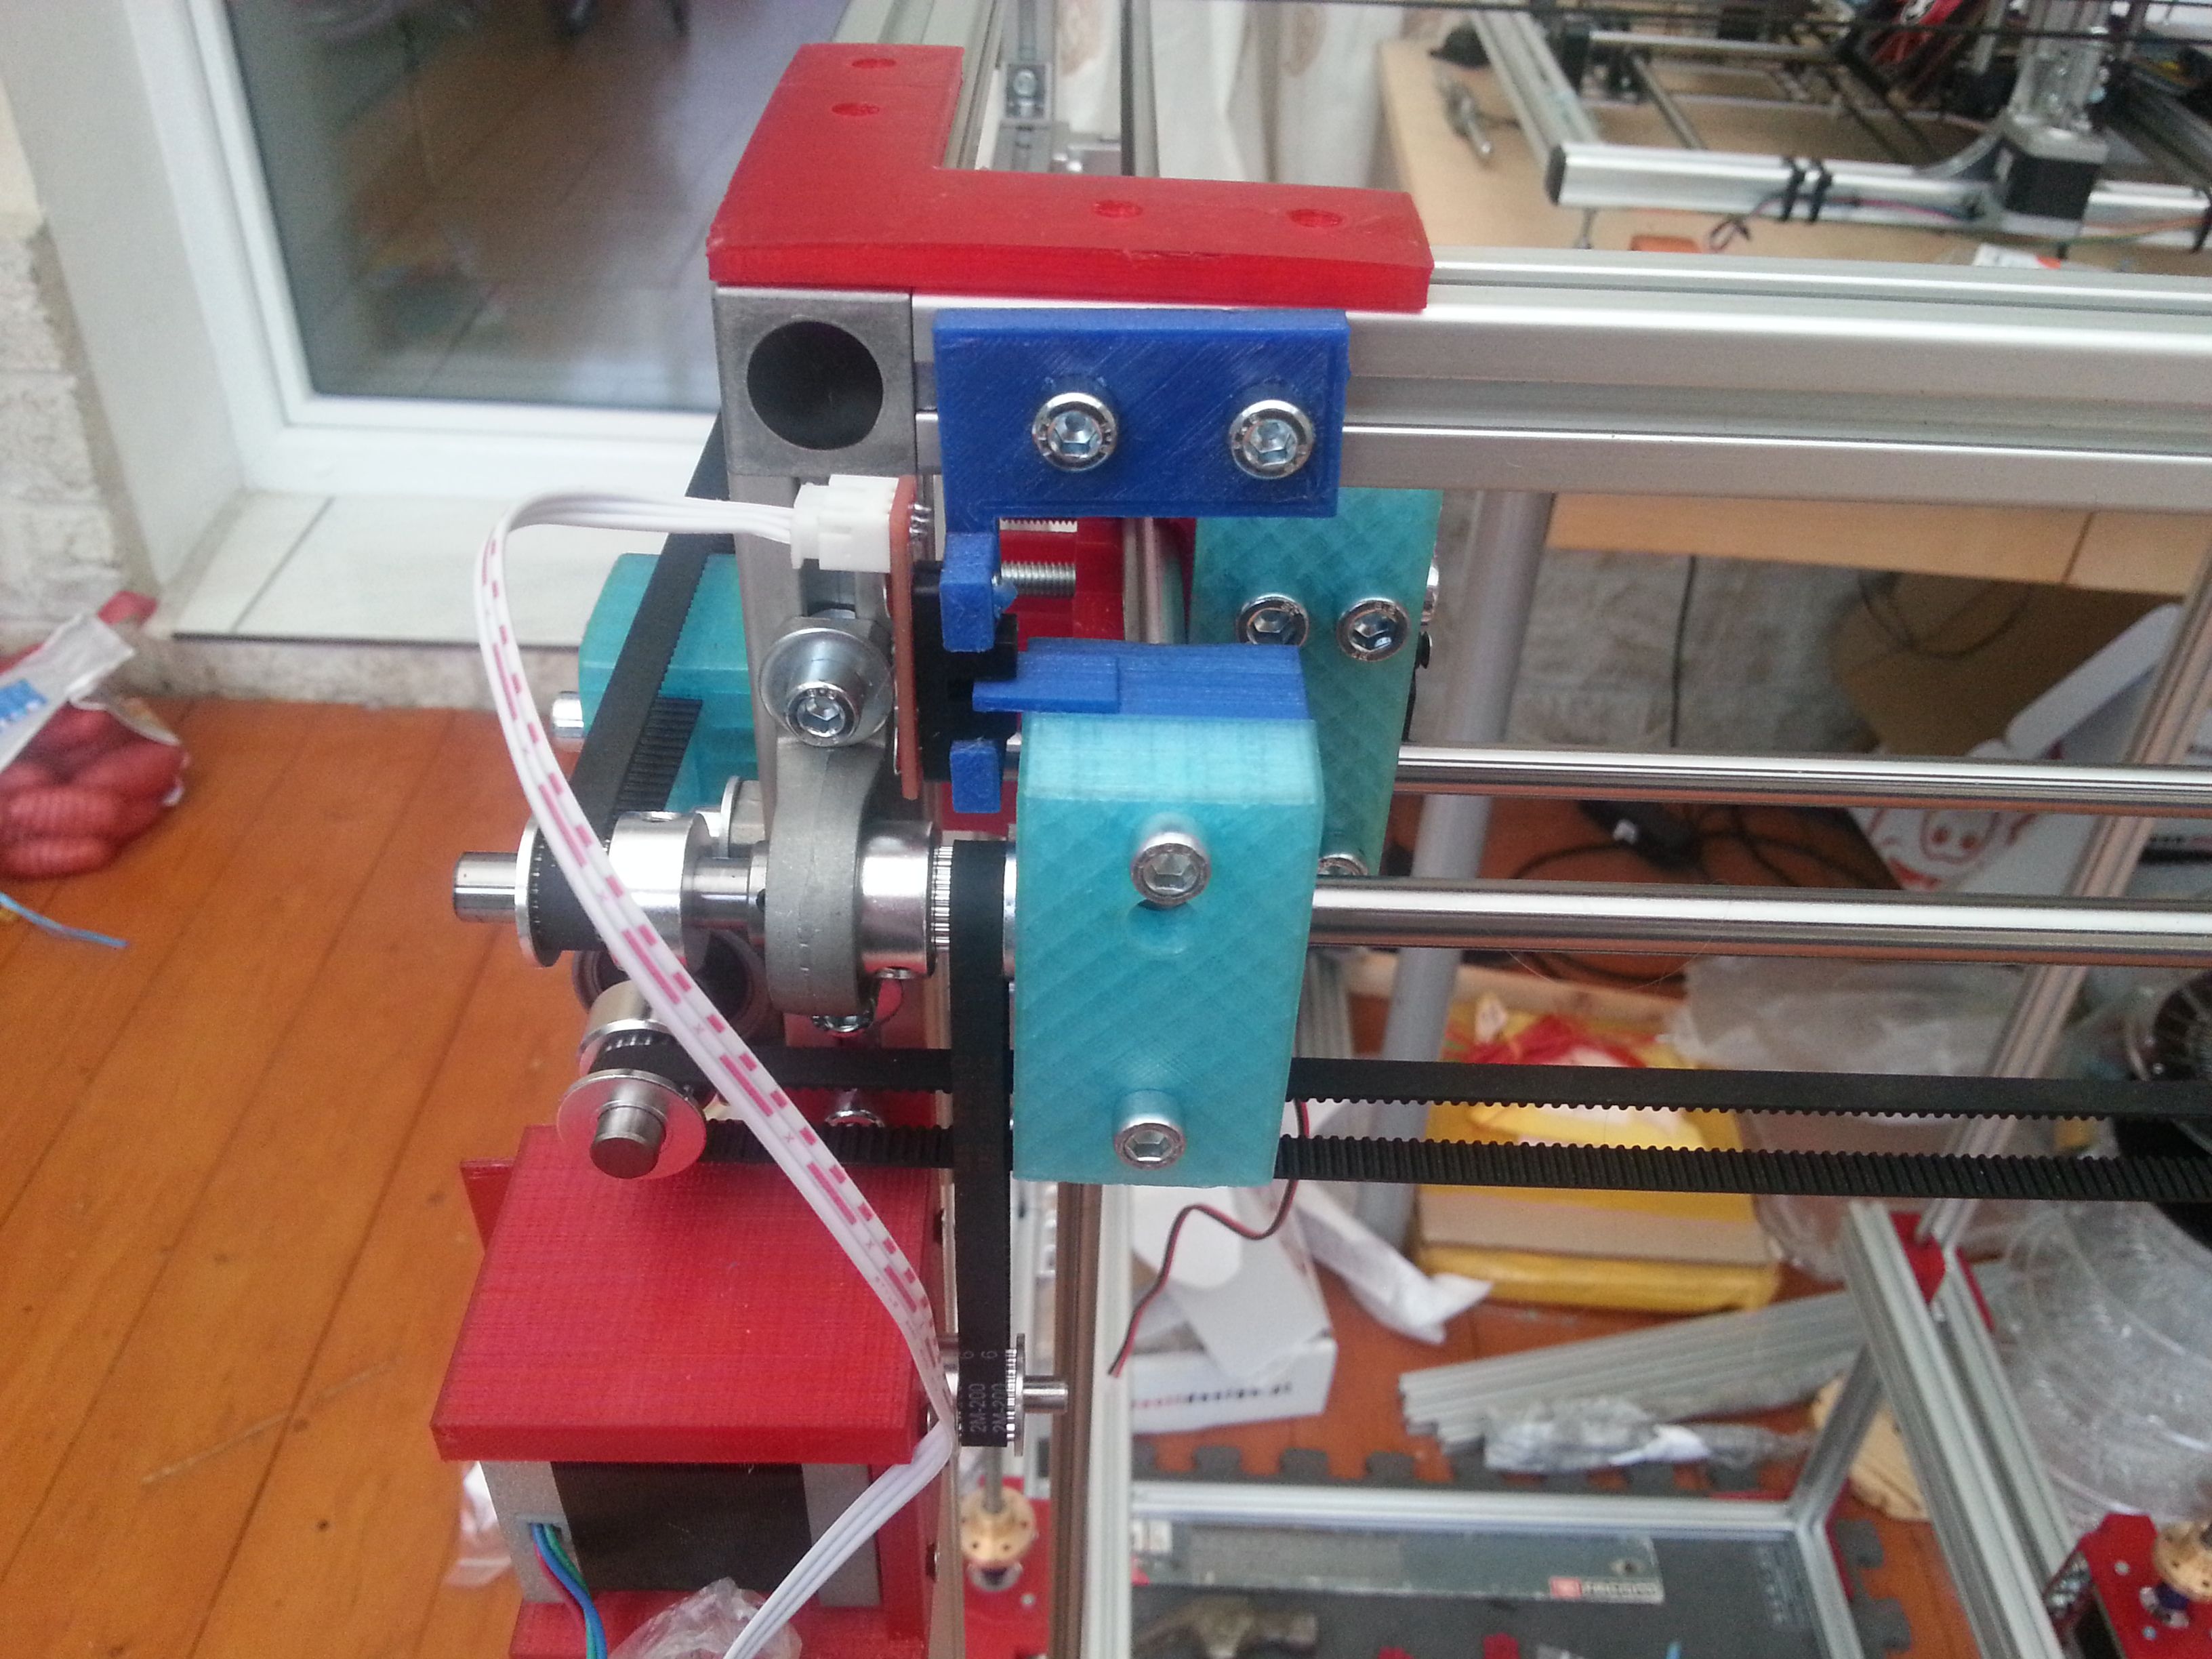
The support is secured on the chassis with 2 M5 screws with large holes of 7 mm (drilled after) in order to allow to compensate the position of the optical switch, it has 2 small M3 screws to hold the optical switch.
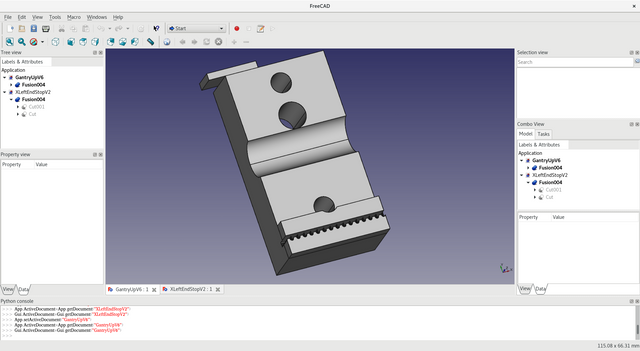
The modification of the bearing carrier is very simple as you can see, it is 3D printed in an opaque colour. Just need to be extra careful with measurements.
Y Axis
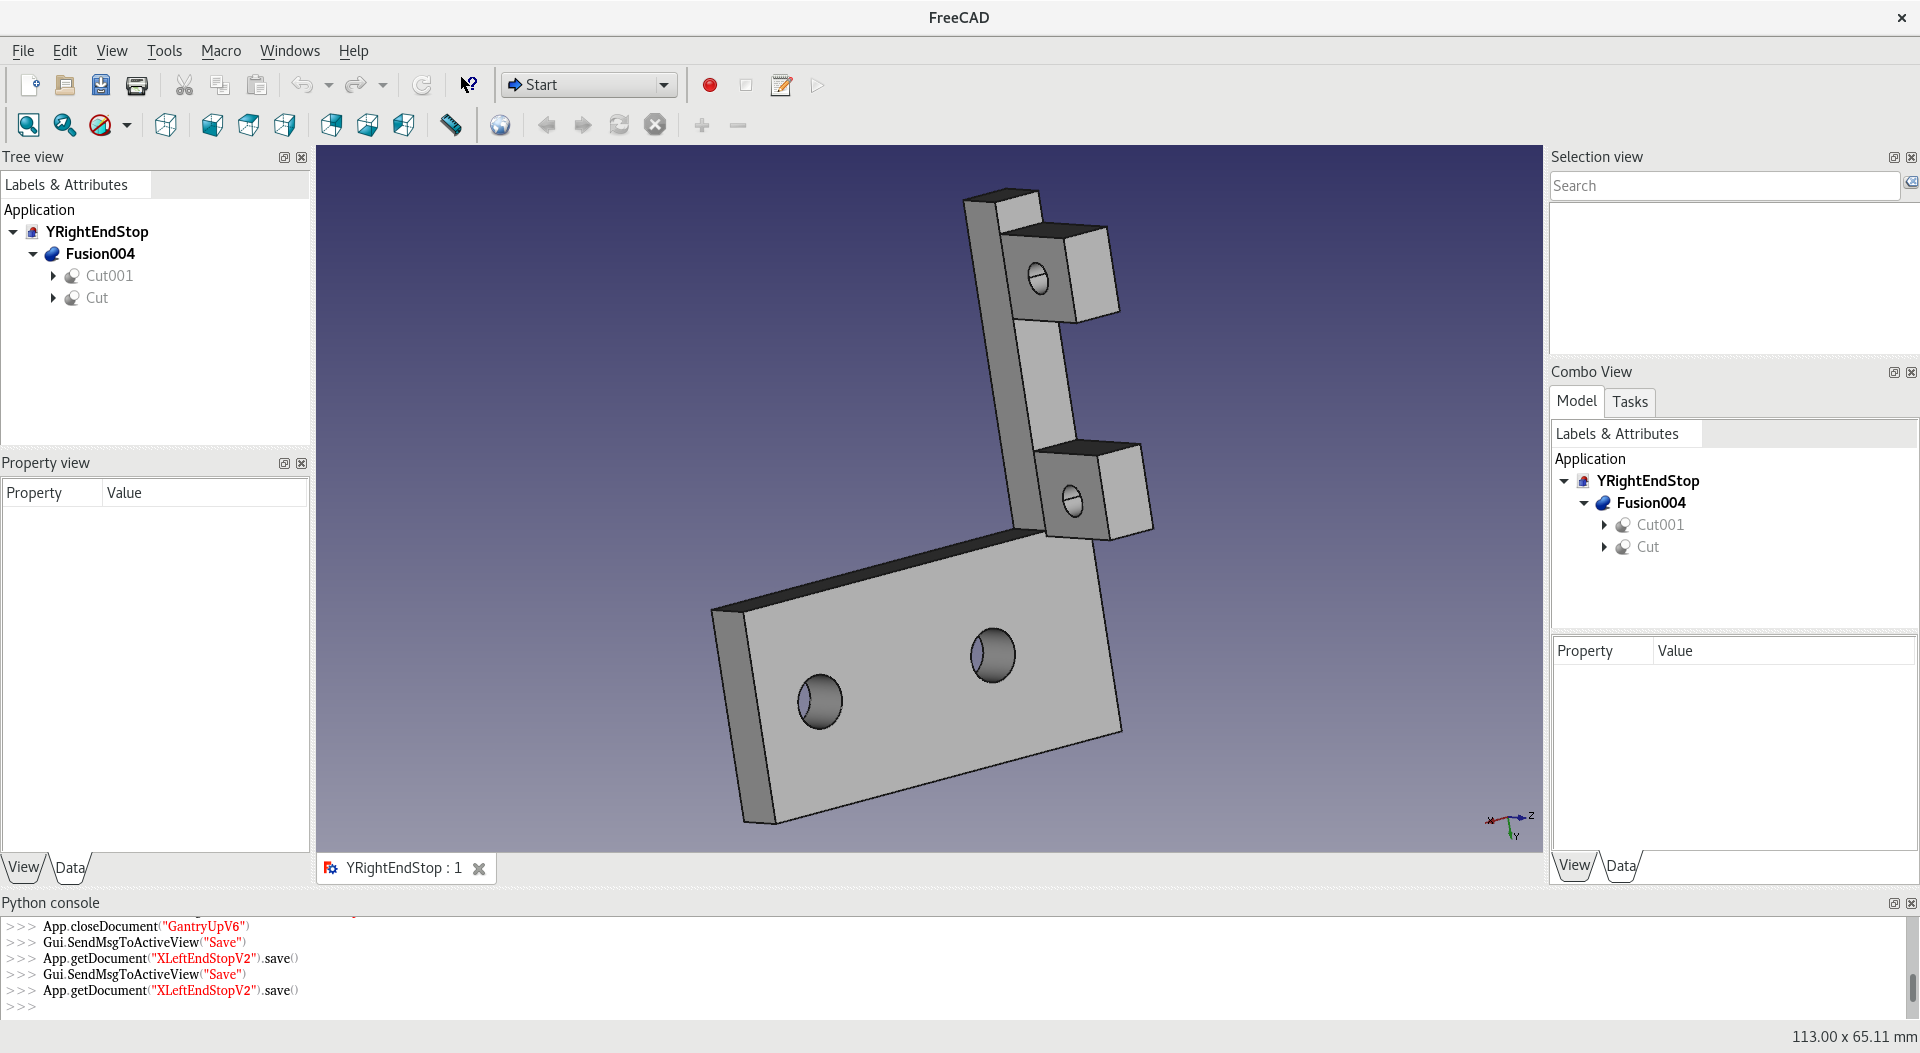
The design is similar with few length modification on the End Switch support.
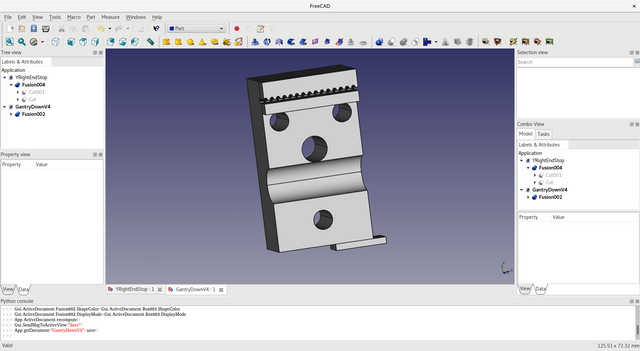
For the Bearing support the additional piece is on the right side due to lack of room on the other side.
3D Printing
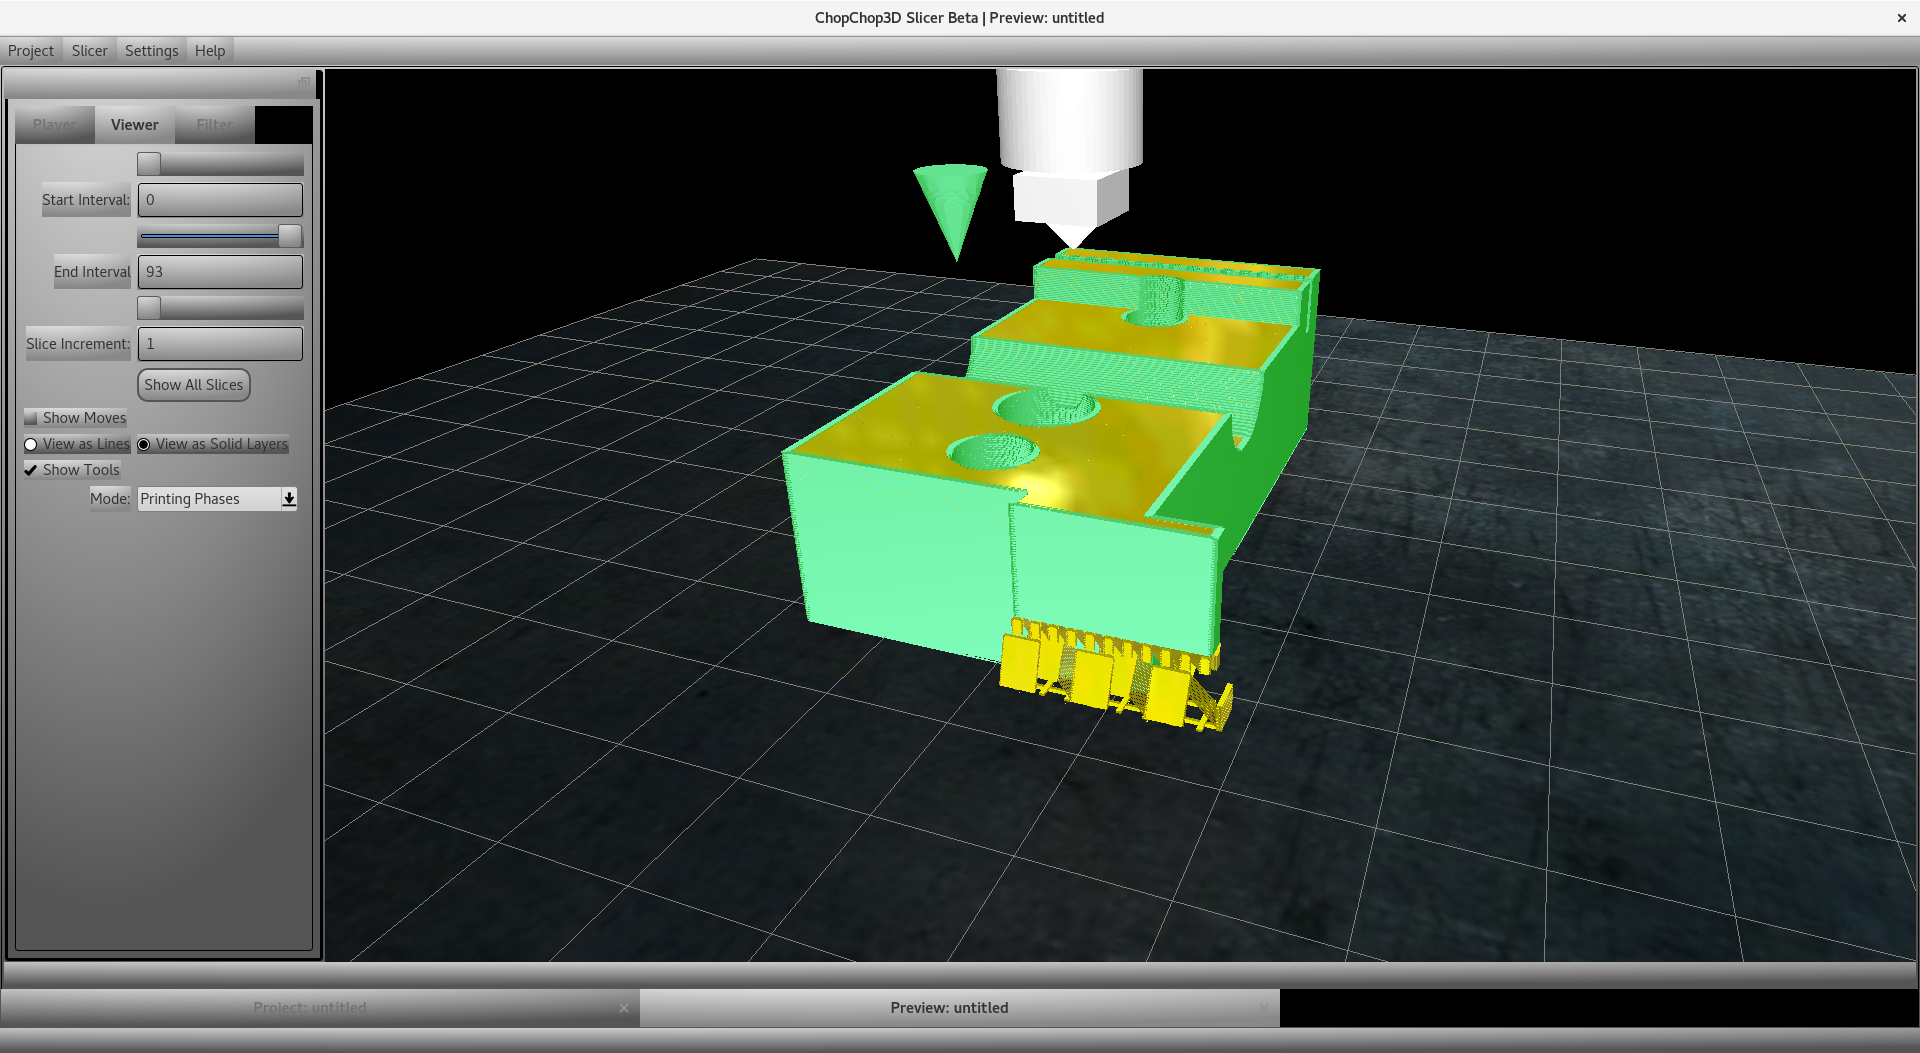
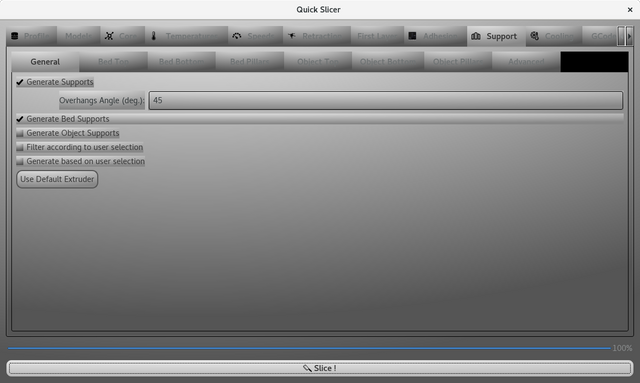
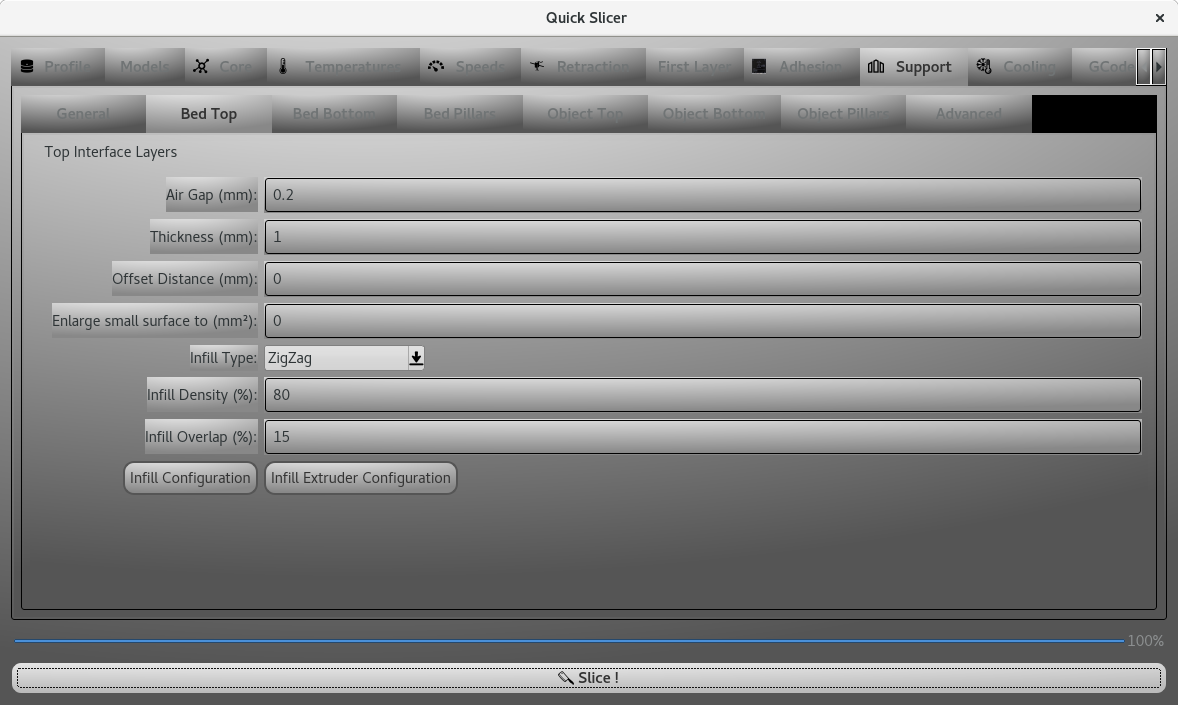
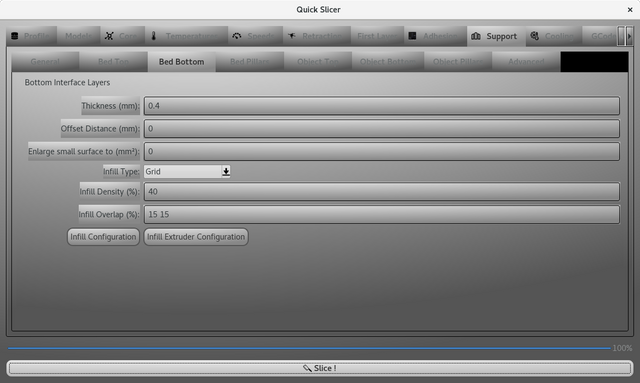
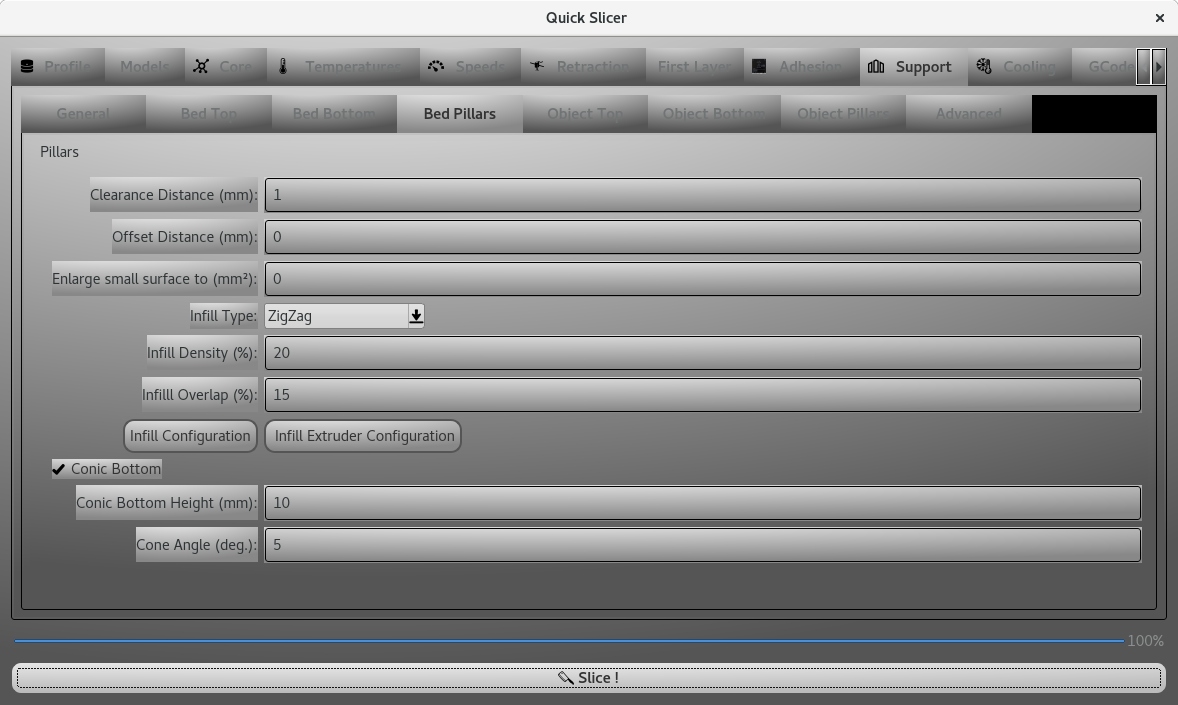
The bearing supports needs a bit of bed supports with a large enough conical base to ensure proper adhesion on the headbed.
Supports configuration:
Assembly
To ease the assembly, I over-bored the chassis supports to 7 mm instead of 5 mm to ensure a contact less assembly and to ease the alignment of the parts. Those optical supports are delicate parts. You can see there is nearly no room left over.
Forthcoming part
I am working on the Bed and associated end-stops.
Previous Parts
- https://steemit.com/technology/@boucaron/why-building-yet-another-3d-printer-part-1
- https://steemit.com/technology/@boucaron/why-building-yet-another-3d-printer-part-2
- https://steemit.com/technology/@boucaron/why-building-yet-another-3d-printer-part-3
- https://steemit.com/technology/@boucaron/why-building-yet-another-3d-printer-part-4
- https://steemit.com/technology/@boucaron/the-hotend-head-3dprinter-part-5
- https://steemit.com/technology/@boucaron/xy-stepper-motor-supports-3dprinter-part-6
- https://steemit.com/technology/@boucaron/z-stepper-motor-supports-3dprinter-part-7
- https://steemit.com/technology/@boucaron/test-assembly-3d-printer-part-8
- https://steemit.com/technology/@boucaron/lcd-support-3d-printer-part-9
I built one few years ago based on printrbot with few modifications. I replaced it with ctc and I use 3d printing often since then. Check my profile of you are interested. I build toys and props.
I have a ctc too with few modifications (bowden + bigger stepper motors)
img credz: pixabay.com
Nice, you got a 7.0% @minnowbooster upgoat, thanks to @boucaron
Want a boost? Minnowbooster's got your back!
The @OriginalWorks bot has determined this post by @boucaron to be original material and upvoted it!
To call @OriginalWorks, simply reply to any post with @originalworks or !originalworks in your message!
For more information, Click Here!
Special thanks to @reggaemuffin for being a supporter! Vote him as a witness to help make Steemit a better place!
I love the creativity
Congratulations @boucaron! You have completed some achievement on Steemit and have been rewarded with new badge(s) :
Click on any badge to view your own Board of Honor on SteemitBoard.
For more information about SteemitBoard, click here
If you no longer want to receive notifications, reply to this comment with the word
STOP