How To Format Your Article that Attract Readers : A Sharing Session #2 on 7th March 2018

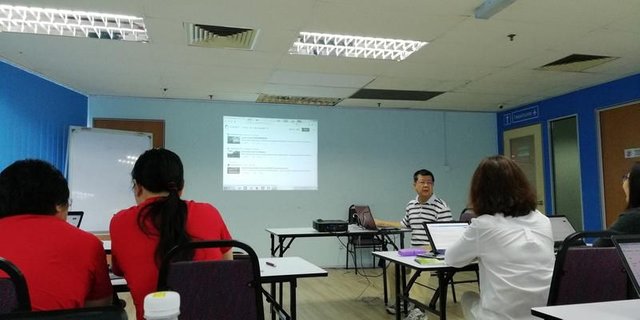
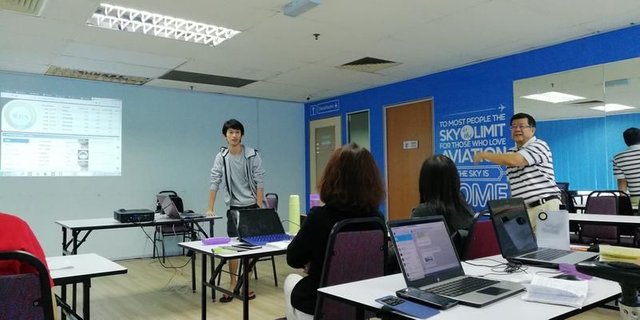
In the effort to practice article writing so that you can blog to Steemit.com regularly, you can share about special events in your daily life. With this in mind, this post is about Sharing Session #2 which was held on 7th March 2018 in Pudu. The session Started at 10 am and ended 20 minutes late 1.20pm due to many questions asked by an anxious participant.
The session had a rough start in the beginning due to some hiccups with the internet connection in the training center. Out of no choice, the hotspot was used instead. Fortunate enough I have an unlimited data plan. The session ride over the rough sea and smoothly sailed toward the Agenda of the day listed as below
Agenda for the day :
1. Overview of steemit as a social platform
2. Show case of steemit $$ opportunity
3. My personal achievement
4. How to make $$ from steemit
5. How to write an article for newbie
6. Publish your Introduce Yourself post
7. Follow up with a working group
- Overview of steemit as a social platform
On an overview of Steemit, you can easily get the right perspective of Steemit in the website FAQ where all pertinent information about the platform is clearly stated. Another option is to google search what is Steemit and read from wikipedia
Unlike participants from my Sharing Session #1, this group of participants has many questions in between my sharing. which is okay I guess, as it is important that all doubts to be cleared in your mind before new information and knowledge can be absorbed into your brain
As I took the approach of teaching you how to Fish as opposed to a presentation, it provides participants an opportunity to be hands-on though it slows down the entire duration
- Showcase of steemit $ opportunity
Showcases of top steemians were presented with live data from the Steemit website. By default, the website opens the "Trending" posts which shown clearly most articles fetched several hundred $.
- My personal achievement
As one of the participants, @kenclickrich has published his posts, I took the liberty to ask his permission to show his post. Of course, I also show my own post listing.
- How to make $ from steemit
Briefly, several venue of earning $$ from Steemit was explained. The key earning source are distributed to Author and Curator. Steam Power which influence the earning was also briefly explained.
- How to write an article for newbie
You can use the online default Steemit markdown editor to write your article and post it once it is finished. The markdown editor has several features that allow you to format your article in a nice and reading friendly manner. Some of commonly use feature are:-
Heading
the hash # symbol is used to create a big Heading for your article. It is placed before and after the word or sentence. Example (# Heading words #). One # key is used for h1 as in the case of HTML code. ## is used for H2... ###### is used for H6 and so on.
Bold
The double * symbol is used to force a bold wording or sentence.
Example (** words to be bold ** - No space between the word and **).The similar effect in HTML coding is to replace the double * before and after the word to be bold.
Italic Word
The single * symbol is used to force an Italic word or sentence.
Example (* words to be bold * - no space between the word and *). A similar effect in HTML coding is to replace the double * before and after the word to be bold.
Wrap Text around an image
This feature is more helpful to format your article in a very nice looking arrangement. The markdown code can use to pull the image to the right and align the text to the left and vice versa
Markdown code for wrap text is as follows
<div" class=pull-left> ( without the " after <div )
Insert image or text after this line

This is an example to force an image to the left of the column and wrap the text around the image to the right. This feature is extremely versatile to format the article such that it looks very neat and professional. It is also used to break the monotonous feeling from the reader of your article. Another excellent benefit of using this markdown code is the image and text are responsive to mobile device width.
You can align the image to the right by changing the code to <div" class=pull-right> ( without the " after <div )
Markdown code for wrap text is as follows
<div" class=pull-left> ( without the " after <div )
Insert image or text after this line

This is an example to force an image to the right of the column and wrap the text around the image to the left. This feature is extremely versatile to format the article such that it looks very neat and professional. It is also used to break the monotonous feeling from the reader of your article. Another excellent benefit of using this markdown code is the image and text are responsive to mobile device width.
You can align the image to the right by changing the code to <div" class=pull-right> ( without the " after <div )
The above markdown codes are commonly used and you can get a full tutorial from markdown Tutorial
Importantly you need to have an idea what article you are going to write. For that, I learn from @maverick teaching to use the 25:25:25 formula. Meaning, after you have picked a topic, you need to spend example 25 minutes to research the topic, then use 25 minutes to write the topic using your research and spend 25 minutes to edit the article. The formula 25:25:25 is work on a ration basis
In order to help the newbie in writing, some of the offline and online tutorial as given. Example: A offline markdown editor typora and online markdown editor and also Grammarly to help in article grammar construction.
- Follow up work-group
As most participants do not have their account approved, no hands-on writing was done. A meet up session will be arranged to do the article after the steemit account is approved.

Last but not least, Q & A was started with a special guest @aaronleang . It is our honor to have him to share his knowledge about Steemit and his personal "secret" to be successful in Steemit . Aaron has shown several tips for which I also never heard before. It was also a lesson learned for me.
Aaron pointed that Steemit is work on a social platform and therefore it is important that you socialize and make friends with fellow steemian so that you know each other. Another tip he disclosed is the habit that Aaron used was to capture many photos and select those appropriate photo to formulate an idea to write a post. Continue to write and quality post is essential for a long-term success
Some of the listed articles may be helpful for the newbie
How to Jump-Start Steemit
Very nice effort. Thanks for all the brilliant work that you are doing. Everyone needs a little guidance sometime.
Thanks @ghayas for dropped by this post. The tutorial written after I myself find it differcult to move around with Markdown editor. I dope hope newbie find my post and make use of the markdown tutorial within the post.
Cheers
You’ve been upvoted by TeamMalaysia Community :-
To support the growth of TeamMalaysia Follow our upvotes by using steemauto.com and follow trail of @myach
Vote TeamMalaysia witness bitrocker2020 using this link vote for witness
Well done in sharing your knowledge. Keep it up!
Thank you @legendchew for your comment and encouragement. I like to share knowledge as I believe it will enhanced my learning skill and shorten the learning curve Steemit. It most cases, I also learn from participants from their questions as well as there opinions.
Cheers