Part 4: Strip Planking and Sheeting The Sea Axe 5009
The Sea Axe: Strip Planking and Sheeting the Hull

We had two choices for the hull, plank with Balsa or Tasmanian oak. The Balsa is much easier to work with in terms of cutting accurately sized sheets; it is no as flexible, however flexible enough for our needs and can be sanded somewhat. The Tasmanian oak thinner but quite hard (strong grain), it is difficult to cut accurate strips, however perhaps this would have been better to use for a hull with tighter curves. Our hull also has a couple of defined Chines (this is where the profile changes abruptly causing a hard line) which was much easier to produce with Balsa. Surprisingly most of the other groups went with the Tasmanian oak, I will post a few of the pics from the other groups in my next post.
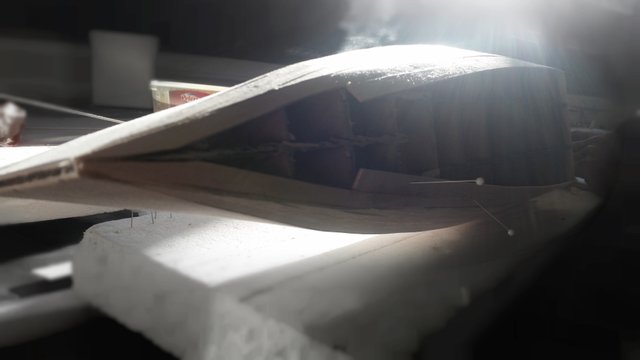
Planking complete [click to enlarge]
From Last Time
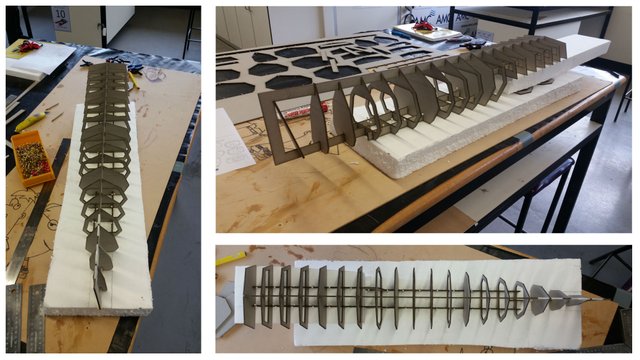
We had completed the keel beam stringers and frame ready for planking, refer photo to the right. Click on any of the photos for a closer look. As the frame is only made of cardboard, there was some warping perhaps because of the glue and moisture in the air. We expected that there would be further warping while the planks were drying and in hindsight should have provided some reinforcing to the keel & bow beam.
Planking Methodology
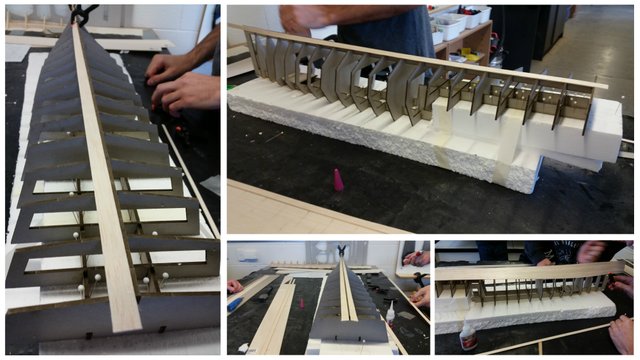
We decided that we would strip plank the bottom and try and sheet the upper hull sides, to save time. Strip planking the hull is fastening planks progressively to the frame (as shown below). We intended to use 10 mm wide planks starting from one side of the keel and alternating in an effort to keep the keel bean from warping too much. At the chine, the planking would stop and a complete panel would be cut for this and subsequent sections.
Beginning The Planking
It was suggested that the planks be pinned in place while the glue went off, as the glue provided took some time to cure. A combination of pinning and super glue (our own) to secure the planks to the frame and, the provided glue in between each plank.
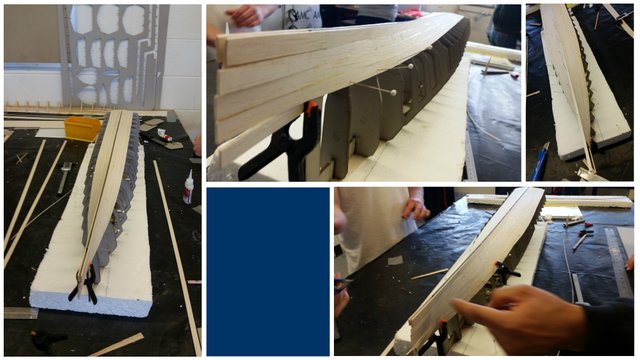
Planked to the chine [click to enlarge]
The choice of using super glue meant that we need 3 people to do the planking with the fourth person cutting the sheets. Although it was labour intensive and could have been done with less people, the result was the planking took significantly less time in comparison to the other groups. Three people were required because of the fast curing time of the super glue and the plank had to be twisted and bent in three dimensions to fit the hull; then held until the super glue went off.
- One person cut the planks only
- One person applies glue to the plank
- One person applies super glue to the frame
- Three people (the gluing team) would fit the plank to the frame
Sheeting the Sides
Side panels fitted [click to enlarge]
Two side panels were traced and cut out for fitting. The final plank at to be cut and sanded to ensure a smooth fit for the panel. Then using the same fastening process as with the planking the panel was glued and fitted.
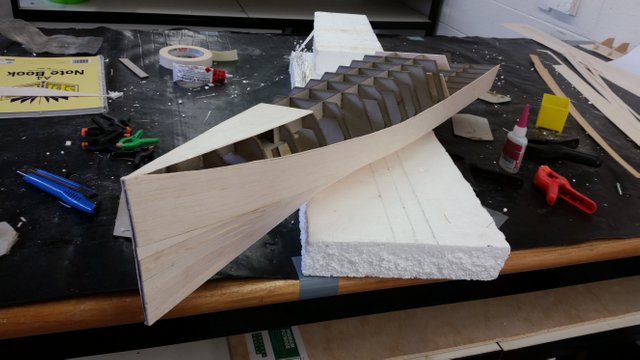
Sheeting complete [click to enlarge]
Decided To Continue Strip Planking For Upper Deck
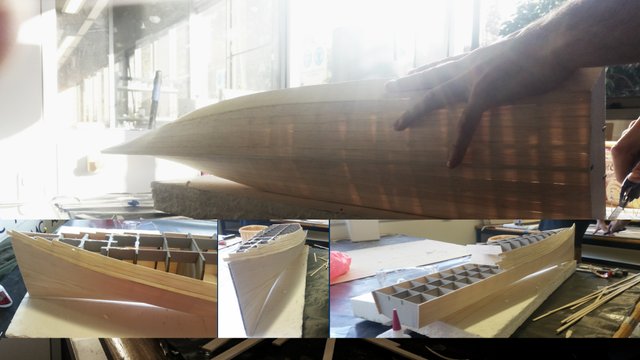
Planking Complete [click to enlarge]
Originally it was planned to use sheets for the upper deck sides, however as we had become quite fast with planking, it was easier to plank and trim back to the chine lines. With the planking complete, the transom (rear of the boat) fitted and the upper deck overhang formed up. the vessel is ready to for fairing (sanding) and water proofing.
Below in the right hand lower corner the CAD model has been superimposed for comparison. The chine lines are where the section-profile of the hull makes an abrupt change in direction (i.e. the black lines)
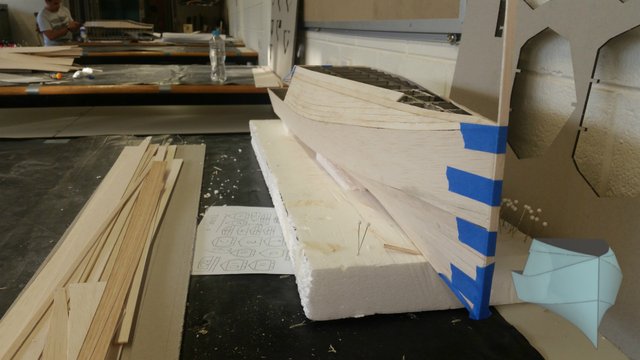
Ready for fairing [click to enlarge]
Photography Shots
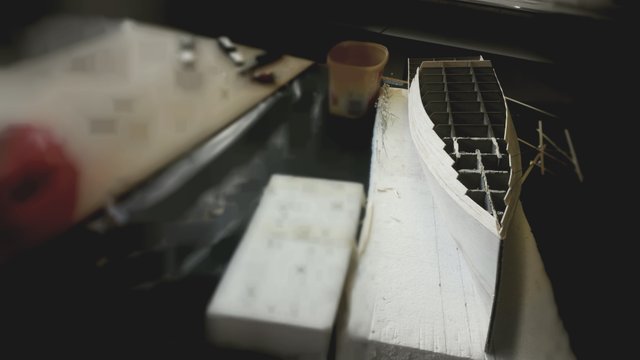
Planking Complete [click to enlarge]
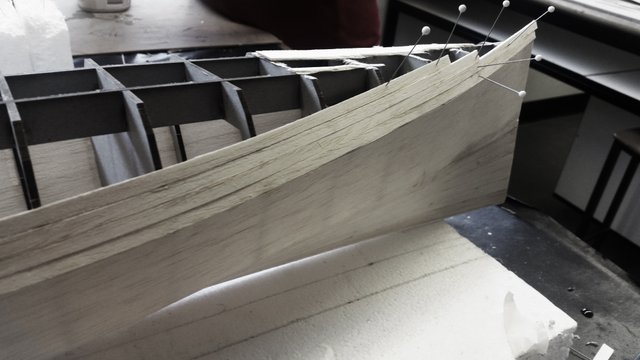
Planking in progress[click to enlarge]
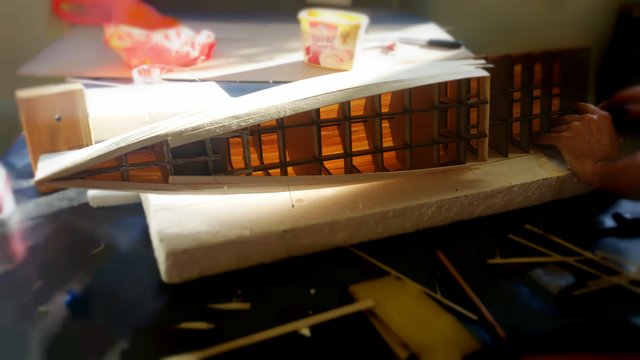
Trimming transom [click to enlarge]
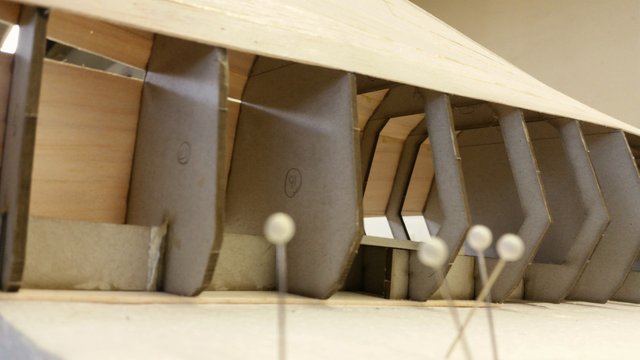
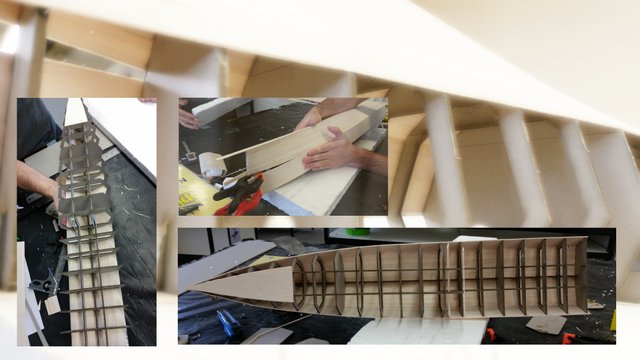
Hull interior [click to enlarge]
Next Post: Trimming, Fairing & Waterproofing
Triming, fairing & sealing the hull.
Previous Posts:
Part 1: Introducing The Sea Axe 5009
https://steemit.com/technology/@rezantroy/part-1-introducing-the-sea-axe-5009Part 2: CAD Modelling The Sea Axe 5009
https://steemit.com/teamaustralia/@rezantroy/part-2-cad-modelling-the-sea-axe-5009Part 3: Assembling The Frame Sea Axe 5009-Sea-Axe-5009
https://steemit.com/teamaustralia/@rezantroy/part-3-part-1-introducing-the-sea-axe-5009My Current Quotes
I have never understood why it is "greed" to want to keep the money you have earned but not greed to want to take somebody else's money.
Thomas Sowell
I chose this quote as I like Thomas Sowell and I have been thinking lately on the fairness of how the proceeds of our labour are spent, he also said:
Helping those who have been struck by unforeseeable misfortunes is fundamentally different from making dependency a way of life.
Thomas Sowell
Thanks for stopping by and having a read

A fascinating insight into the design and building of a ship. It must be interesting learning the concepts of one of mans' greatest achievements: Ocean travel. Some 45,000 Homo sapiens were doing the same, making their way from the African continent to explore and settle new areas. They didn't have computers to help the design-process though.
Looking forward to seeing the finished product.
Homos are spreading everywhere
Looks like it's really coming together! :) Looking forward to the final thing when it's finished, but seeing the stages is also quite cool.
Thats coming along.