HOW TO DO A GRAFFITI OF STEEMIT IN MY STYLE - part 1 [VALUABLE CONTENT]
Hey Steemers :)
Are you having fun with this Steemit community?, I DO!
I'm frequently working on graffiti designs, today I did a cool graffiti in my style just for you! includes a tutorial of How To Do a Graffiti of STEEMIT! using INKSCAPE software (find it for free at www.inkscape.org)
Enjoy the process and use it if you want!

STEEMIT GRAFFITI
Step by step.
Step 1 - Sketching ideas.
You can use MSPaint, your notebook, other stuff.
I used a flat brush with an angle of 45 degreess because the strokes can be very similar of the Steemit logo. You can see that in the first idea I wrote Steemit over the original logo in a similar way.
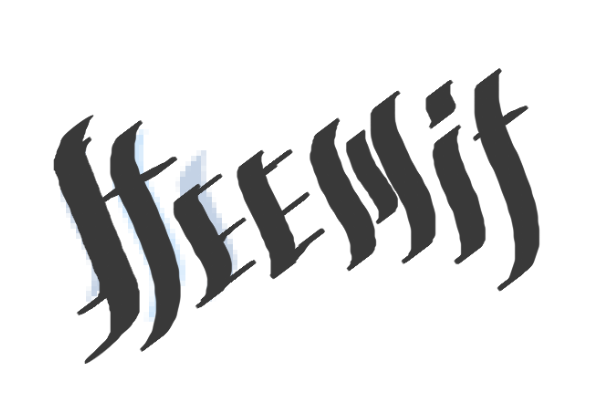

Step 2 - Once you make some ideas you can combine it or select one of them

Step 3 - Polishing the whole design
I use Inkscape software in this step to make it very clean and professional.
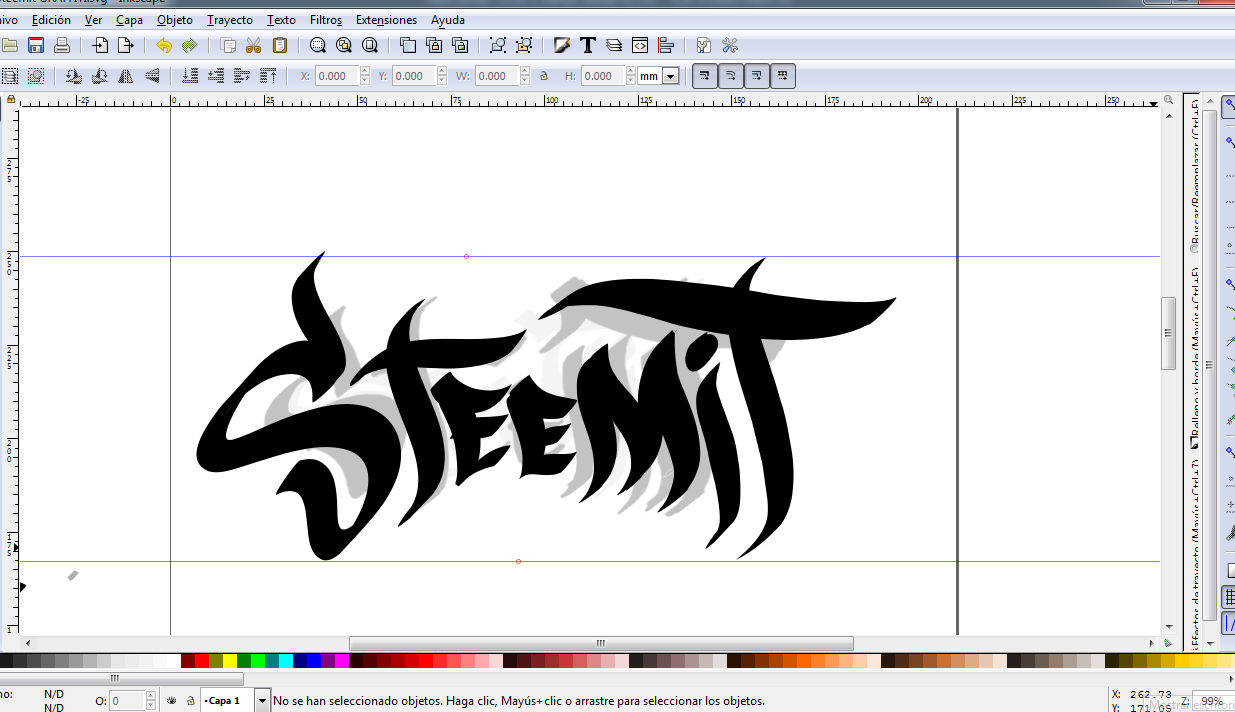
Step 4 - Fixing little details.
This step is the more tedious, if we want to be professional we have to do this with love, it means with patient, we want it perfect
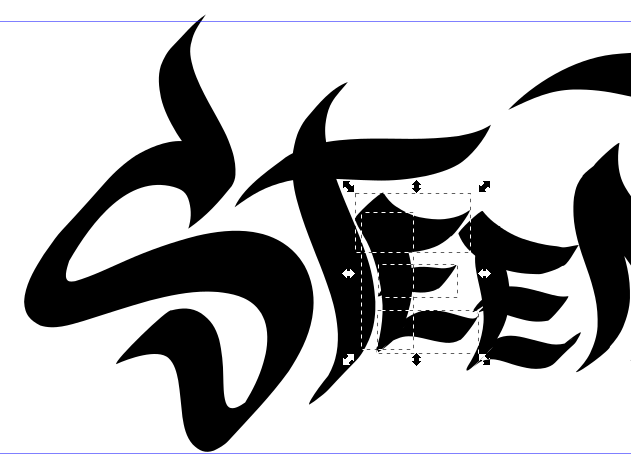
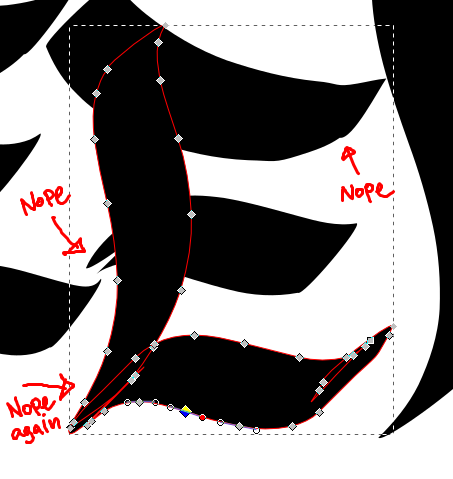
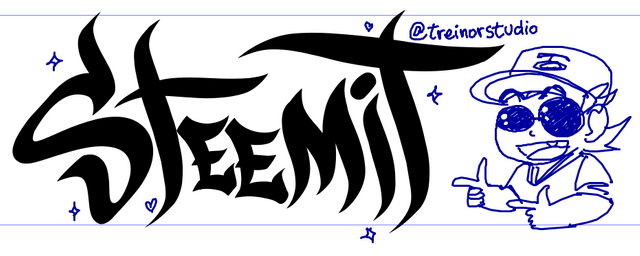
This "STEEMIT" is GREAT!
After fixing little details that we don't like we are fine with the thing I call "the silhouette" this is the most important thing of the design.
Step 5 - Contours
Go to the menu View -> Visualization Mode -> Contours you will see the contours of the design.
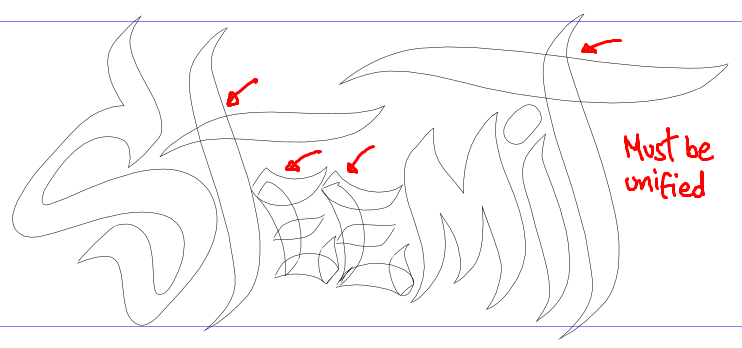
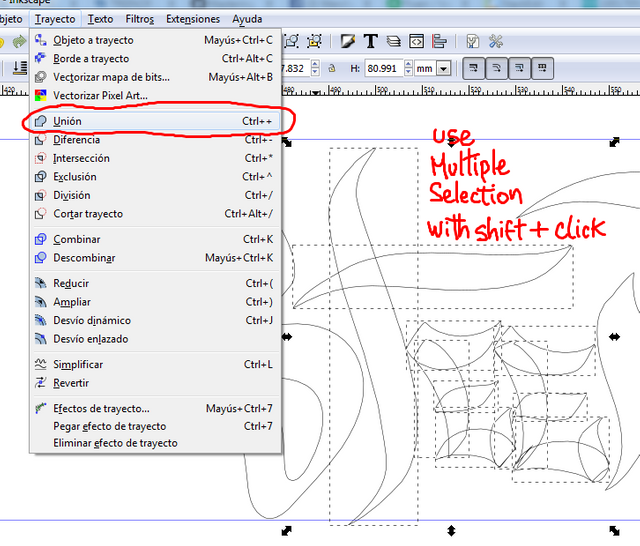
Step 6 - Unify
Select all objects of the design and Go to the menu Path -> Union
You will see the contours like this.
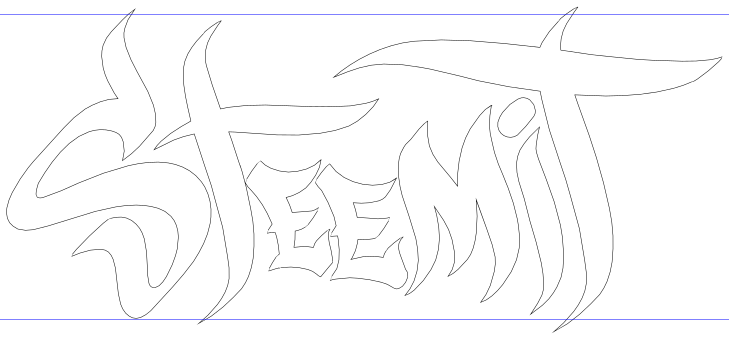
Step 7 - Create the background (white part)
Once we got the polished design with the contours and all fixed details we proceed to make it COOL 8-)
First select all the objects
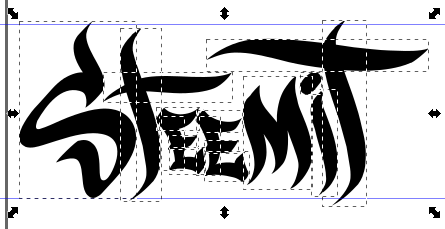
Press the combination of the keyboard Ctrl + + or Go to Path -> Union
Duplicate the design by pressing Ctrl + D or go to Menu Edit -> Duplicate
You could think that anything happend, but it duplicates the design OVER the original design, it is a copy.
Go to menu Path -> Dynamic Offset
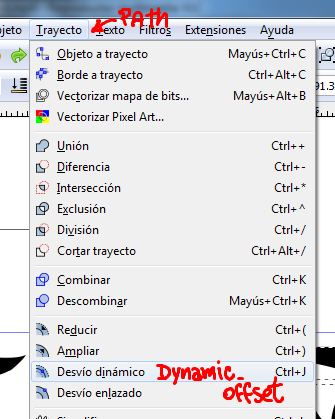
You will see a little rombo there.
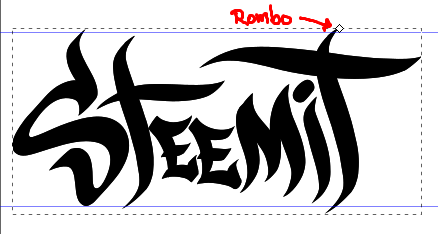
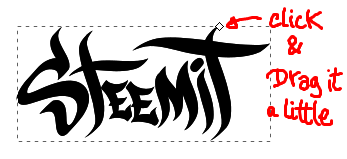
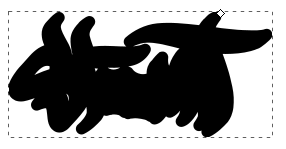
Drag it out a little bit and find a result like this
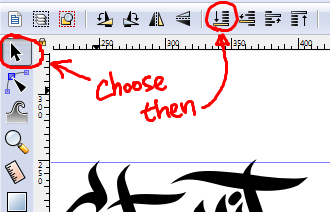
Select the arrow tool then click on the button to put it behind the original
Step 7 - Create the background (black part to make it 3D)
It is okey if you see that "it disapears". Keep selecting the object that you sent to back and duplicate it and select a black color.
You will see a black disgusting stuff as before, keep going.
Send it to back as you just did before.
You will see something like this
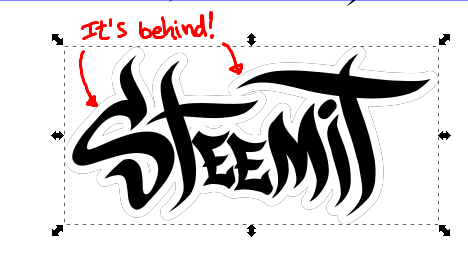
Once you sent it back the black stuff select the tool "node editor" to see the little rombo and drag it out a little bit.
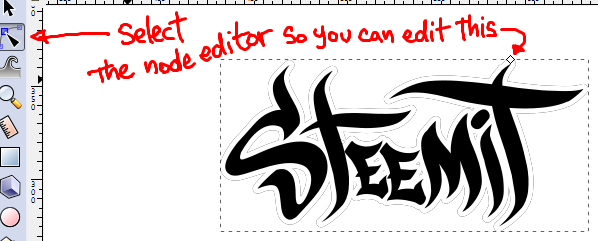
Here is when the magic happen!

You should have three separated objects like this.
The silhouette, the white object(I set it a little grey for this example) and the black one.
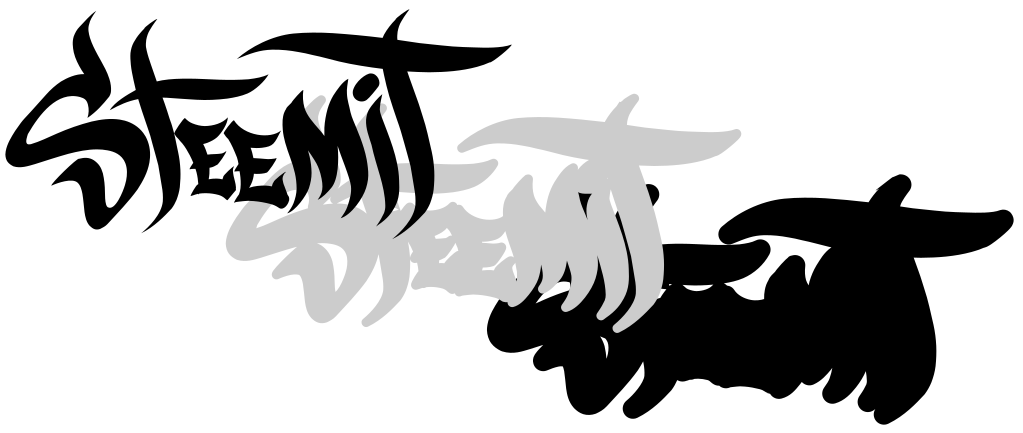
Last step (for this tutorial)
Play with the rombo of the white and the black stuff, move it slighty with the direction keys of your keyboard.
I added a little logo of the Steem to make it more balanced.

I hope it helps you to make graffitis or other stuff, there are many useful tricks that I frequently use when I work with general designs.
Upvote! for more content like this for your Steemit :)
Thanks for your support!
Let me know your experience at Steemit and wich part of this tutorial do you like more? (you may have fun with my english, this is the first time that I wrote a lot in english, my first language is Spanish lol)
Keep in touch, the second part of this tutorial is on the way including another gift c:
You can ask for a custom graffiti here or at my fiverr account -> Order a custom graffiti design at Fiverr's Treinor for a formal order.
My facebook page: Treinor's Facebook fan page
Awesome tutorial :D Thanks for posting!
Aww thank you~ <3
There is more on the way! :D
Nice! Thanks for the post.
No problem!, thanks to you for come back! :D