How To Make Your Own 100$ WiFi Pineapple 'Hacking' Device for Just 25$
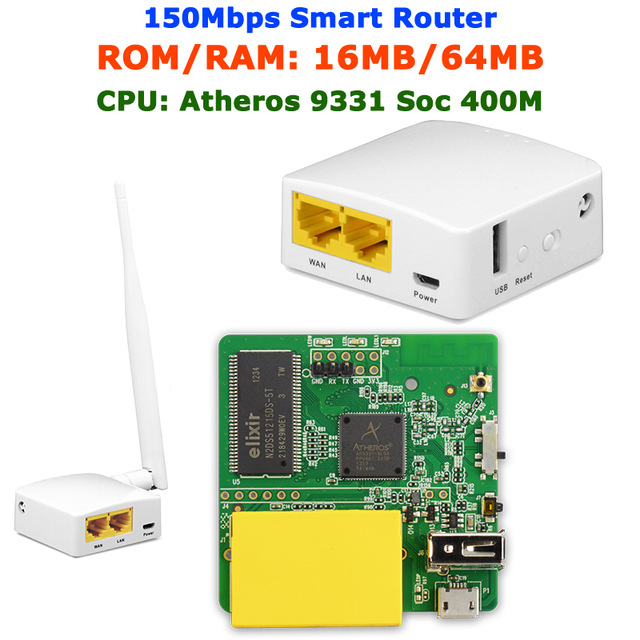
So lately I have been busy with a WiFi DIY device called the GL.iNet GL-AR150. The hardware of this device is almost identical to the well known WiFi penetration device called the Pineapple Nano, which costs between a 100$ to 200$. Because the hardware is identical, and OpenWRT compatibility is available as well, it is possible to flash the firmware of the WiFi Pineapple Nano onto the AR150.
 )
)
This is my second article on this platform, I hope you like it and upvote it.
With the WiFi Pineapple you can:
- Create a honeypot (an open WiFi-access-point for everybody to connect to, once your victims are connected you can collect all the data going through as a 'man-in-the-middle';
- Collect and map data of all the WiFi routers and clients around you;
- Use it as a WiFi-jammer running Dauth (please note, WiFi-jammers are illegal);
- Use a variety of penetration testing and trolling modules, to make sure your 'clients'' or your own network is secure.
Step 1:
Get the GL-AR150. I bought it from AliExpress and it arrived within 1 week in Europe. Check my seller out here. (I'm not affiliated)
Be sure to get the one with external antenna, if you plan on powering the device over LAN: select the POE-module as well. The WiFi Pineapple Nano has two antenna's, so for the AR150 to function properly with the new firmware it needs a second antenna. Be sure to check if you have a generic WiFi-dongle at home, or order one online.
Step 2:
Once you have received the AR150, you will notice it is very small (thus more convenient to carry around). All you need to do now is power it up and connect it to your computer through LAN (WiFi installation is also possible, but LAN is more convenient later on in the process).
Step 3:
Follow the instructions on the manual of the AR150 and connect to its interface. Once you are in the interface you can upload new firmware.

Version 1.1.3: Download
Version 1.0.6: Download
Secondary possibility is to upload the firmware through UBOOT, or if you 'brick' the device you can always enter UBOOT to upload other firmware. You can read how to enter UBOOT here.
Step 4:
Once you have installed the WiFi Pineapple firmware, it should boot after a while. When it does it will assign an IP to your computer through automatic DHCP. If you don't have an ethernet cable connected, you can logon to the network 'Pineapple' and still complete installation.
Now connect to your device through 172.16.42.1:1471.
Follow the steps (press the reset-button shortly to deactivate WiFi or more than two seconds when you wan't to install with WiFi on).

Step 5:
Check if everything is working, if the device detects your generic WiFi-dongle. And if you can use 'Recon'. If Recon works and you can scan all should be OK.
Step 6:
To be able to use the full capabilities of the WiFi Pineapple firmware, you need to download modules. To be able to download modules, the WiFi Pineapple must be connected to the internet. This can be done through the 'internet sharing' capabilities of your computer and OS. Every OS is different.
Easy way of internet sharing is through Windows: INSTRUCTIONS
Hard way through MAC OS X: INSTRUCTIONS
Step 7:
Have fun, you are now a Wi-Fi GOD :-)

Special thanks to:
HAK5 the creators of the Wi-Fi Pineapple (be sure to buy the original one if you like the modified AR150) - https://www.hak5.org/
Patrick Sapinski - http://sapinski.com/2016/02/13/wifi-pineapple-firmware-for-gl-inet-gl-ar150/
Alex - http://www.securityaddicted.com/2016/11/17/weaponizing-gl-inet-gl-ar150/
Thanks for your valuable and amazing post!