STEEMIT TUTORIAL: How to create a beautiful GALLERY LOOK for your posts.
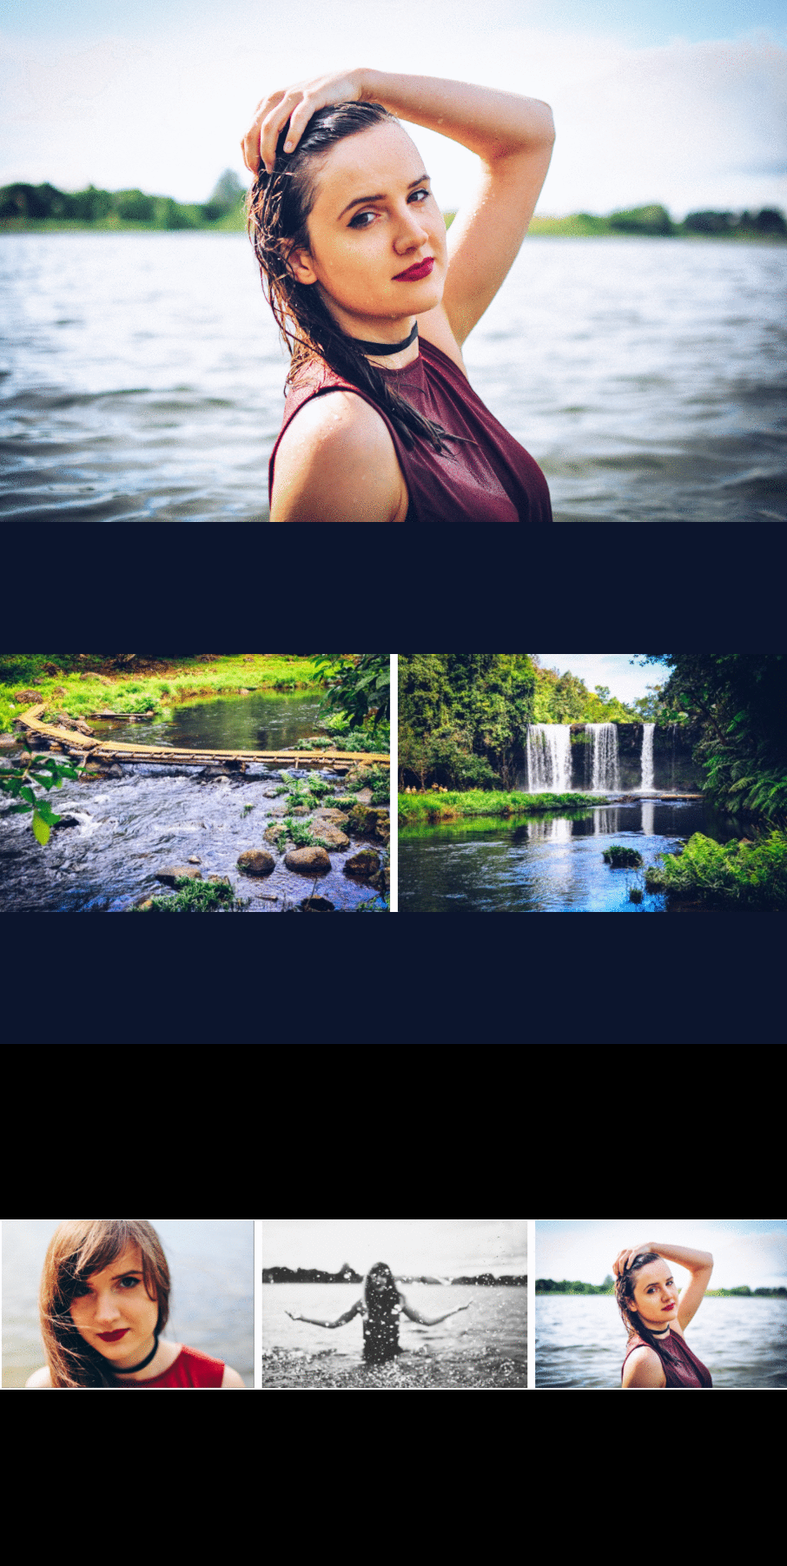
Let’s be honest. The Steemit editor sucks. I love to show my images in posts and try to come up with creative ways to display them.
The Steemit editor is limited. So far I haven’t found many ways to influence the way images look. The html code for size of image does not work. That means the platform sets the size of your image. The only thing that worked is the center function (< center> ) to put the image in the middle of the page.
Gallery Look
My articles are often filled with a group of images not less than 15. In order to avoid a picdump-like situation I needed a way to showcase many images in different sizes. I have found a way to make it functional and also make it look beautiful. You have to go through a couple of steps some might say are unconventional. But If I guess right the Steemit community thinks outside the box
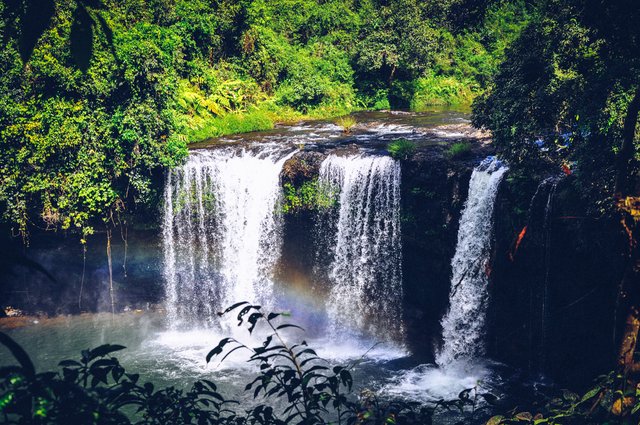

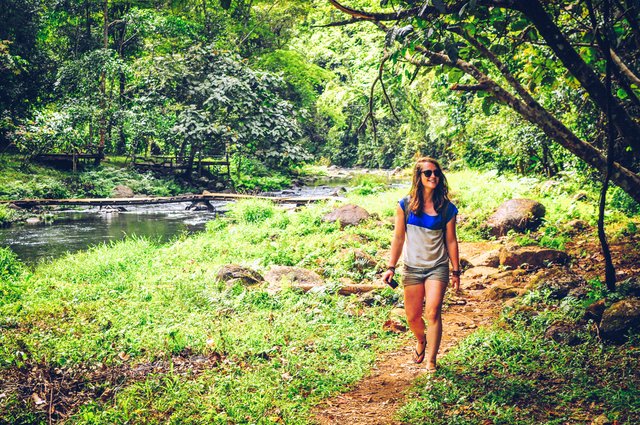
Step 1: Create a new post on Medium

- Click the plus sign. You will find this plus sign when you start a new article
- Click the photo symbol.
Step 2: Choose amount of images


Pick 1 image: and you will have a simple image.
Pick 2 images: they will immediately be put next to each other
Advice: You can also use three images. I would try to avoid this since the display on Steemit is too small. The images will be shown like thumbnails. as here in my following image:

Advice: Depending on the size of the image it might not be a good idea to upload three images in a row. If you want to showcase logos or small thumbnails this would work out. If you you show photographs like in my example you see the result is very small.
Step 3 for MAC: Screenshot the whole thing.
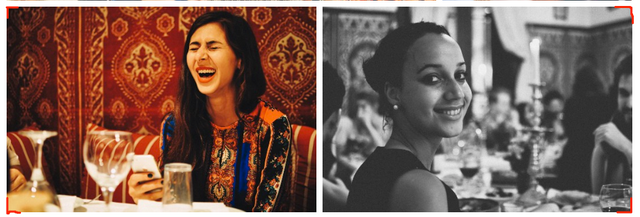
- Screenshot the selected file with CMD + SHIFT + 4
Advice: I have outlined (perfectly in red) the corners where you have to select the screenshot
Step 3 for WIN: Screenshot with Lightshot

Advice: Lightshot is a wonderful to make selected screenshot. The great thing about it is that whenever you take a screenshot it automatically uploads it and provides you with a link.
- Select the image as in "Step 3 for MAC"
Step 4: Upload on your favourite host
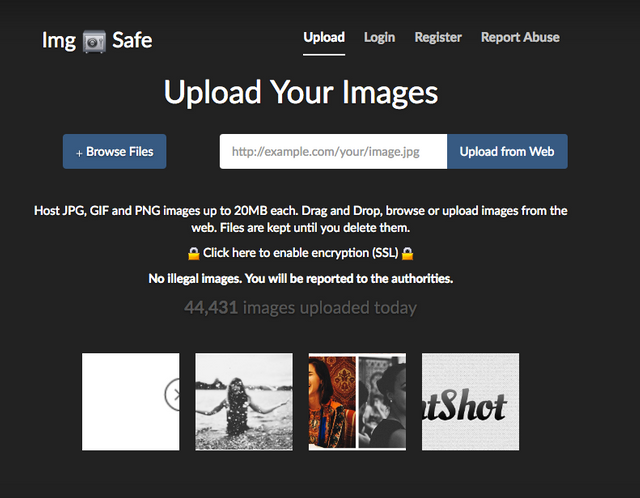
- Upload the file on your favourite host.
Advice: Not all plattforms are accepted on Steemit. I have found ImgSafe as a reliable and easy to use source for my uploads. You can upload easily from your computer or just add the link.
Step 5: Paste the link into the Steemit Editor
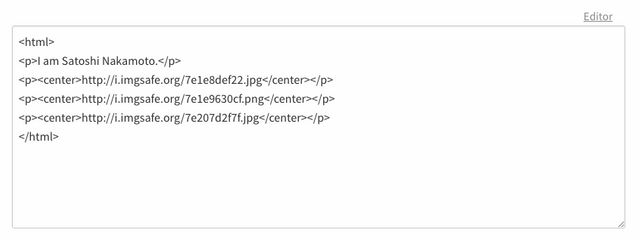
Just paste the link into the Steemit editor. It works in both editor & html. As you can see I use the HTML view and add the centre function to put the images in the middle of the page for aesthetics. Play around with the result. Sometimes two images dont look great alone but fit perfectly together next to each other
TL;DR
- Upload images on Medium
- Screenshot the selection
- Paste to Steemit
- Get an ice cream.
Thanks for this. I added your link to my post.
Thanks a lot. I appreciate
Thanks for the dummies guide
I know its very simple. But I haven't seen any creative solutions so far. I just wanted to help out the community. If they are interested, they are free to use it.
Nice little cheat!
There's some good information! Thank you. It was impossible to get my images placed the way I wanted them - thank you (aka @fairytalelife)
Thanks. I spent hours on my Introduction post messing with HTML to no avail. I finally just manually resized all my pics in photoshop and added them to my post so I could have some sort of layout. This will simplify the process.
HTML is still very buggy. When you change to Editor mode it sometimes changed the whole structure of the post and mixes up the texts.
Will it resize the picture to fit if it is bigger in the editor?
Not sure I understood. But heres what I know. If the image is too big it will shrink it to the maximum Steemit allows. If its smaller than the maximum it will stay the same size.
thanks for the tutorial Faltmast :-)
Well needed post
Thanks for sharing. My challenge today was to improve the layout of my blog pages. This will help me with todays goal!
Nice post and nice pics, thanks for the tutorial, it's helpful :)
Thanks for the tutorials!