Track Cycling- All about the Velodrome
Hey there Steemians!
Sorry for not posting for so long, the holidays grabbed me and wouldn't let go!
I've been reading through some posting guides so this style might look a bit different to my last one😜
What we will be covering in this blog:
- Basic introduction to a velodrome
- What each line on the velodrome means
(I'll post another blog on the races and the bikes and things, or it will be much too long!)
Basic introduction to a velodrome

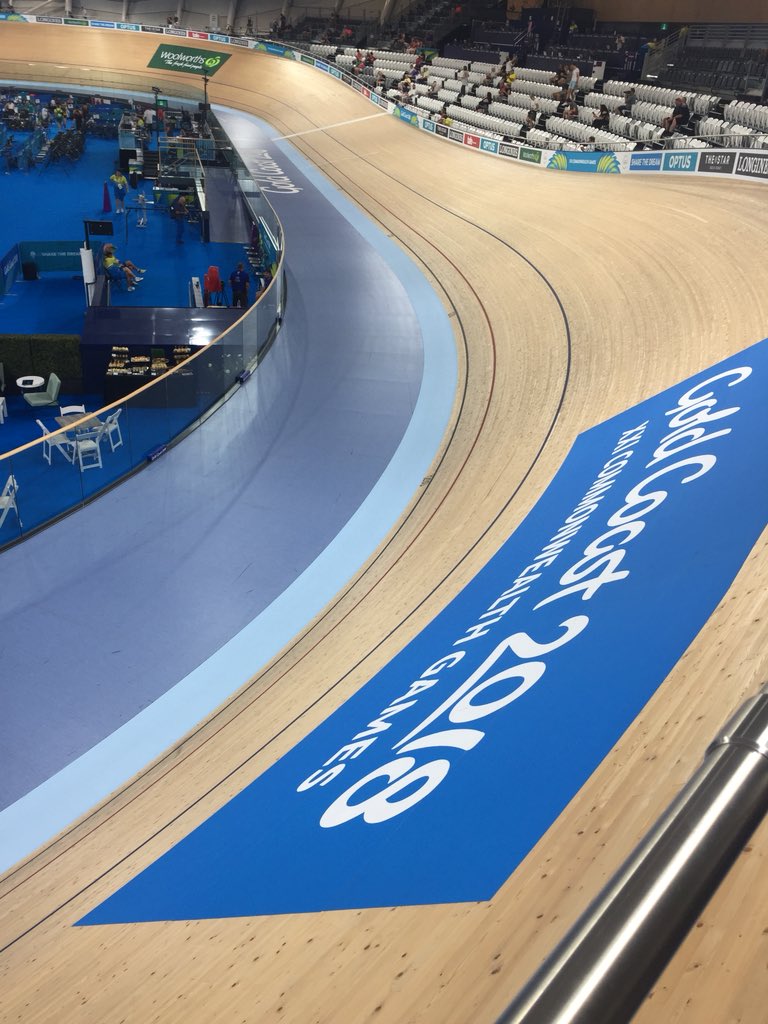
SO this is basically what a velodrome looks like.
Not all velodromes are indoors or wooden or 250m long. But for big competitions like the Commonwealth Games for example, the velodrome does have to have certain high standards.
We in South Africa have a few outdoor velodromes, and some of them much longer than 250m.
We only have 1 indoor (250m) velodrome in the whole of Africa. That's our beloved Bellville Velodrome🙂
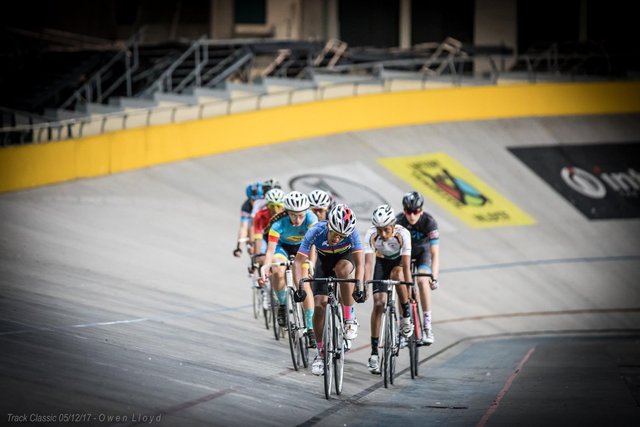
Velodromes aren't all wooden, although all the high level competitions will all be on wooden velodromes. You also get concrete velos. The concrete ones are always found outside (there are also indoor ones) but they are also naturally cheaper to build, and easier to maintain.
.
The steepness of each velodrome differs from length to length, like 333m velo will have a "shallower" banking than a 250m velo. The steepest part of a 250m velo at the two "ends" or "corners" are about 43 degrees, with a much lower gradient on the straight-ways.
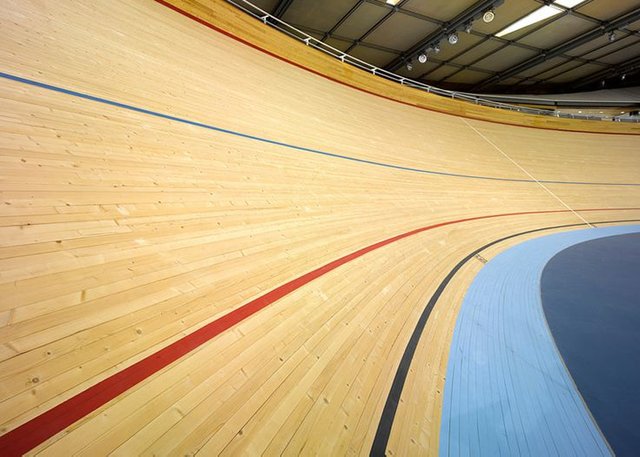
So here's a perfect picture I found online where you can clearly see each line:
.

Ok so lets start from the bottom.
The broad light blue band you see at the base of the track is called the Cote d'Aure/ Blue line 😄 This line is used to ride on while building up speed before getting on the track, or for warming down after your workout. Although this line is fine for "casual riding" on, it is out of bounds during races. For 2 reasons: If a rider is riding the black line, there is almost literally no space to pass him on the inside anyway. As for number 2? If you Do manage to pass him or are riding next to him, when you get to the corner you'll naturally drift uptrack and collide into the other rider or "chip" him with your back wheel, and you will be the reason for the crash😝 So either way it's dangerous.
An important note to keep in mind! You need to maintain at least a 25kph (16mph) on a steep banking if you want to keep your wheels directly under you!
The next line up
Is the Black Line/ Pursuiter's Line. This line defines the distance around the track, and indicates to those doing time trials that This is the line to stick to in order to take the quickest time around the track. It's located 20cm up from the blue line.
Following line up
Is the Red Line/ Sprinters Line. This line defines the upper boundary of the sprinters lane. Also, if you're going to pass someone below this line you're going to want to make sure you're clear of them before hitting the banks.
The last line up
Is the Blue Line/ Stayers Line. This line pretty much separates the bottom half from the top half of the track. It's quite simple really, if you're putting in speed efforts you have the right to the bottom half; if you're just tapping it out, putting in endurance work, or warming up, you stay above the line. For some efforts such as flying, (which I'll explain in my next blog!) you sit above the blue line to do your "unwinding" laps before dropping down for your sprints.
Last but not least
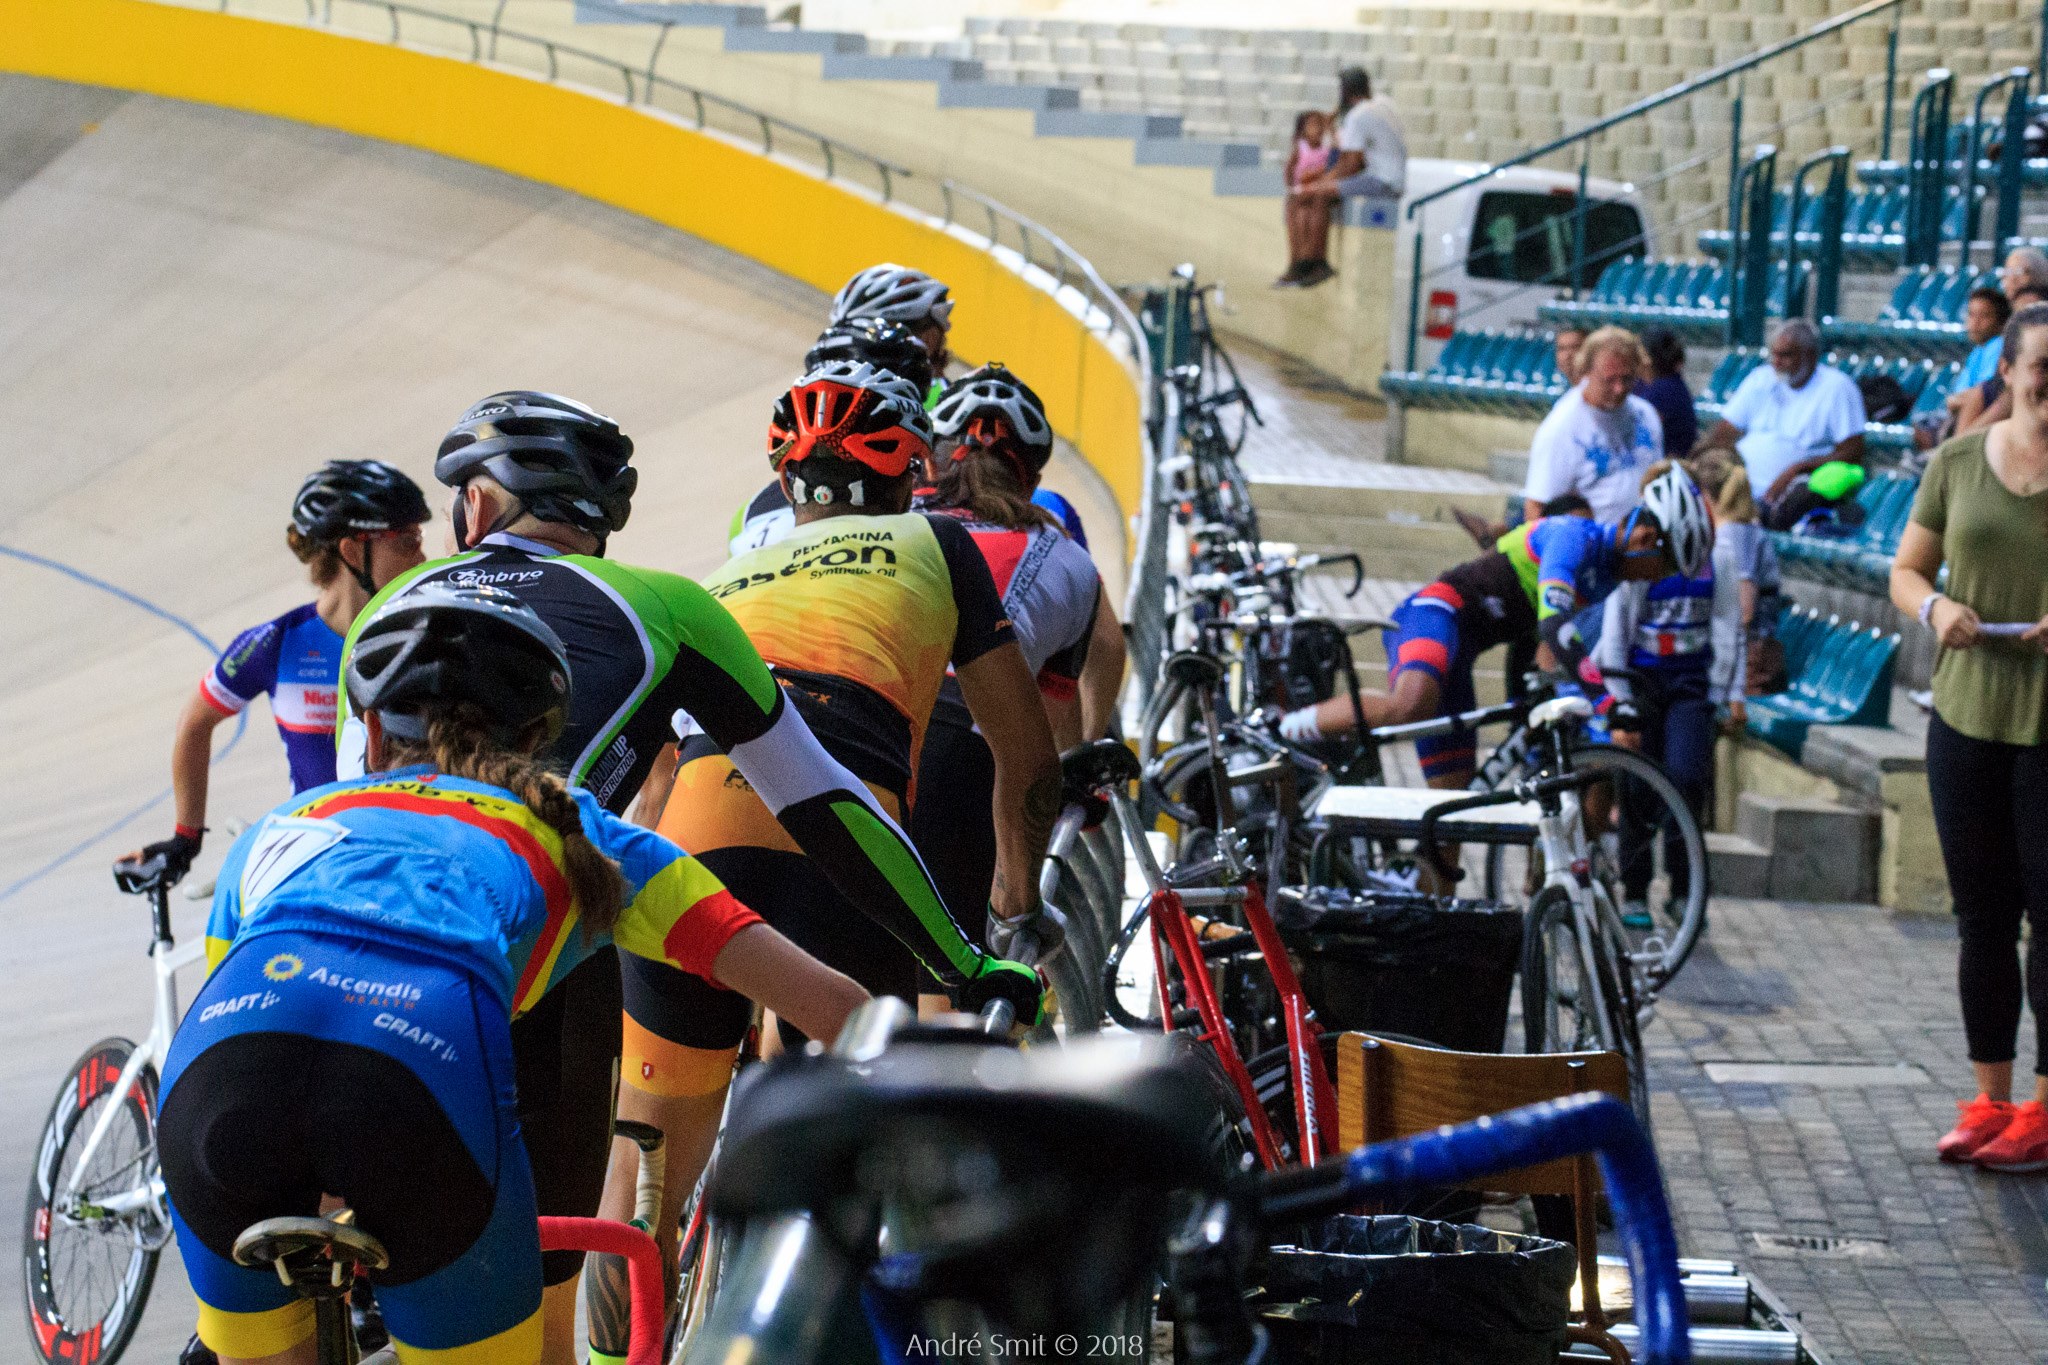
Is the Railing/ The Yellow. The yellow is mainly only used for "unwinding" before your flying; but the railing on the straightway is used frequently for mass start races, where you'll be called to the railing and you can hold onto while clipping in and waiting for everyone to get ready before you all roll off on your neutral lap.

Thanks for taking the time to read! Once again, feel free to drop a comment about any improvements/questions 🙂 For more pictures, follow me on instagram: https://www.instagram.com/its_caelalalaaa/
