Installation Guide for Social Send Wallet
This installation guide shows the necessary steps to install the SocialSend wallet from source code in Raspberry Pi 3
Downloading the image.
To start we must download the Jessie version of Raspbian from the official Raspberry website from here
Raspbian is a pre-installed Debian image for Raspberry. Why can not the latest version of Raspbian Stretch be used? Because this version has installed an incompatible version of OpenSSL that does not work with the Wallet.
Once downloaded the image, you have to burn it on a microSD card using the ETCHER program that can be downloaded from its official website (download link)
For complete instructions on how to burn the image to start the Raspberry you can consult the official Raspberry website with instructions for installation. (link)
To enabled the ssh service, which by default is disabled, it is necessary to place a file with the name "ssh" in the boot partition. The file can be empty, the important thing is the name, you have to call ssh without extension or anything. In this way the SSH is enabled and the Raspberry can be accessed by SSH using the PuTTY.
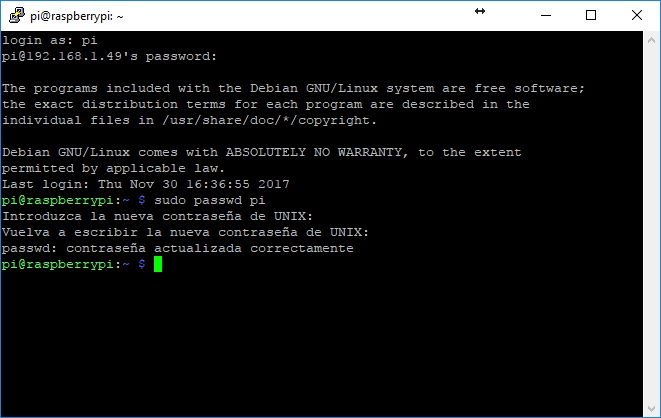
Before proceeding, we recommend changing the default password of the user pi (default values user: pi password: raspberry). The command to change the password is:
sudo passwd pi
Preparing the dependencies.
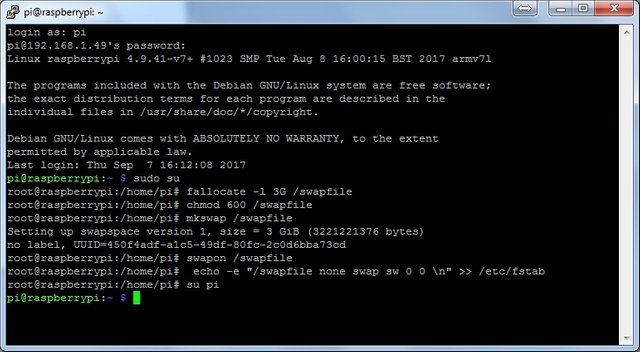
First it is necessary to enlarge the swap to have sufficient resources for the compilation process. With the following commands we create a 3 Gb SWAP file for this purpose.
sudo su
fallocate -l 3G /swapfile
chmod 600 /swapfile
mkswap /swapfile
swapon /swapfile
echo -e "/swapfile none swap sw 0 0 \n" >> /etc/fstab
su pi
Updating the list of repositories.
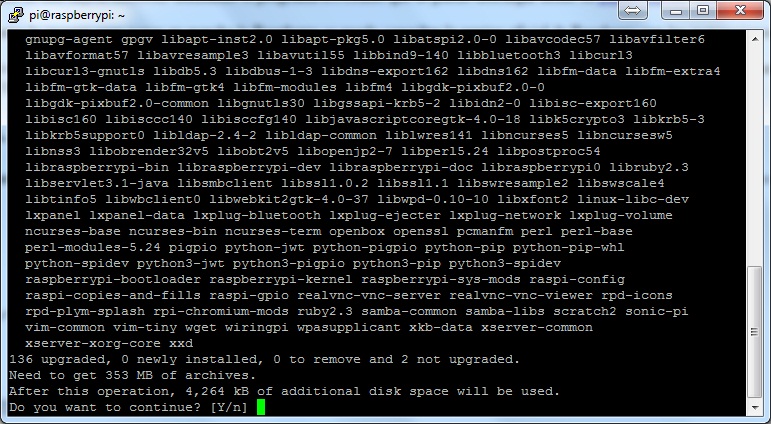
sudo apt-get update && sudo apt-get upgrade
Installing the dependencies.
sudo apt-get install -y pkg-config
sudo apt-get -y install build-essential autoconf automake libtool libboost-all-dev libgmp-dev libssl-dev libcurl4-openssl-dev git qtbase5-dev
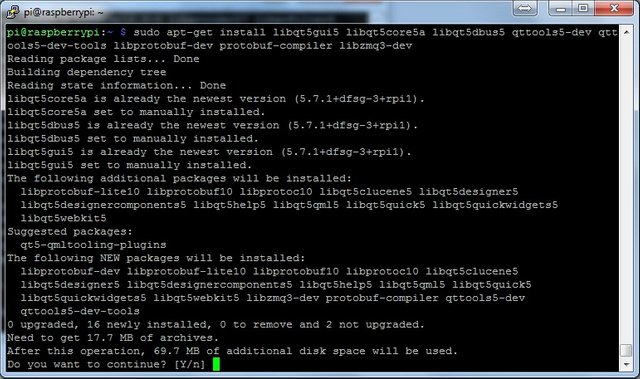
To compile the GUI version of the wallet it is also necessary to install the following dependencies. These are optional, in case you do not need a GUI or use the Raspberian lite version, it is not necessary to install them.
sudo apt-get install libqt5gui5 libqt5core5a libqt5dbus5 qttools5-dev qttools5-dev-tools libprotobuf-dev protobuf-compiler libzmq3-dev
Installing Berkeley DB 4.8
For Ubuntu-based versions there is a PPA available to install the Berkeley DB from the apt-get command. But for the other versions of OS, in this case based on Debian, it is necessary to compile it from the sources. For the following we will first be placed in the user's folder to download the sources.
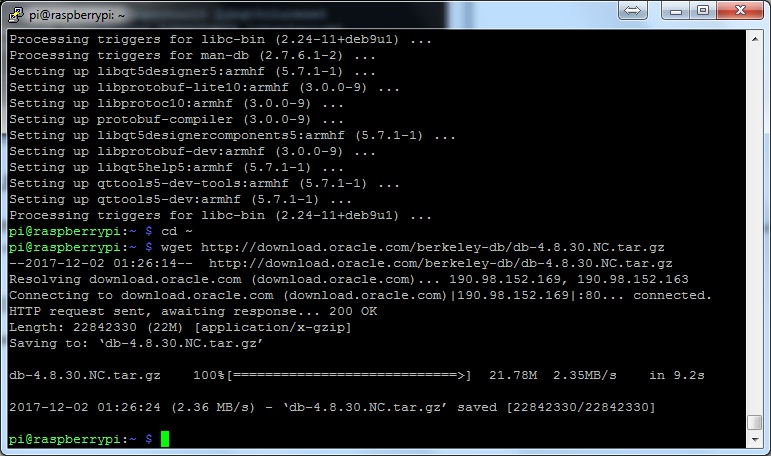
cd ~
wget http://download.oracle.com/berkeley-db/db-4.8.30.NC.tar.gz
Unzip the downloaded file and execute the compilation.
tar -xzvf db-4.8.30.NC.tar.gz
cd db-4.8.30.NC/build_unix
../dist/configure --enable-cxx
make
sudo make install
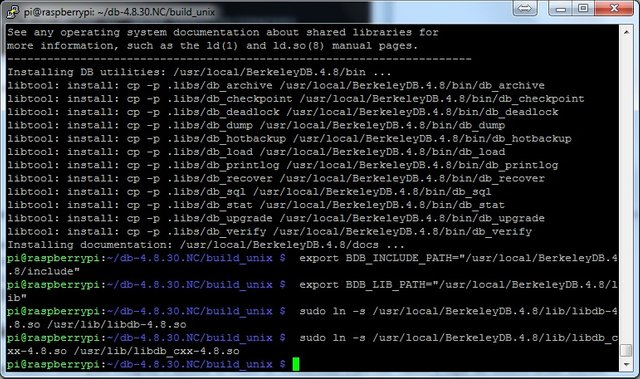
Once this step is completed we will have installed version 4.8 of Berkeley DB. We set the global variables and create the symbolic links to compile the Wallet.
export BDB_INCLUDE_PATH="/usr/local/BerkeleyDB.4.8/include"
export BDB_LIB_PATH="/usr/local/BerkeleyDB.4.8/lib"
sudo ln -s /usr/local/BerkeleyDB.4.8/lib/libdb-4.8.so /usr/lib/libdb-4.8.so
sudo ln -s /usr/local/BerkeleyDB.4.8/lib/libdb_cxx-4.8.so /usr/lib/libdb_cxx-4.8.so
Compiling SocialSend Wallet
Once all the steps above are completed we are ready to compile and install the SocialSend wallet. For this we are going to download the source code from GitHub.
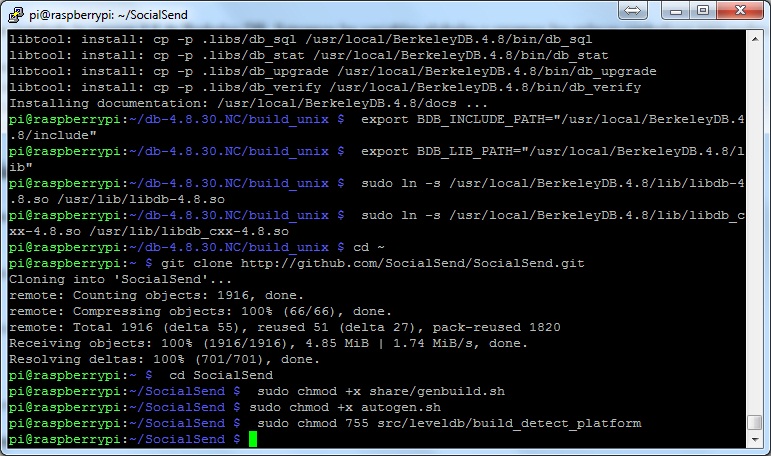
cd ~
git clone http://github.com/SocialSend/SocialSend.git
cd SocialSend
We give execution permission to the installation scripts.
sudo chmod +x share/genbuild.sh
sudo chmod +x autogen.sh
sudo chmod 755 src/leveldb/build_detect_platform
We configure and leave everything ready for the compilation process.
sudo ./autogen.sh
sudo ./configure CPPFLAGS="-I/usr/local/BerkeleyDB.4.8/include -O2" LDFLAGS="-L/usr/local/BerkeleyDB.4.8/lib"
The compilation process can take up to 3 hours.
sudo make
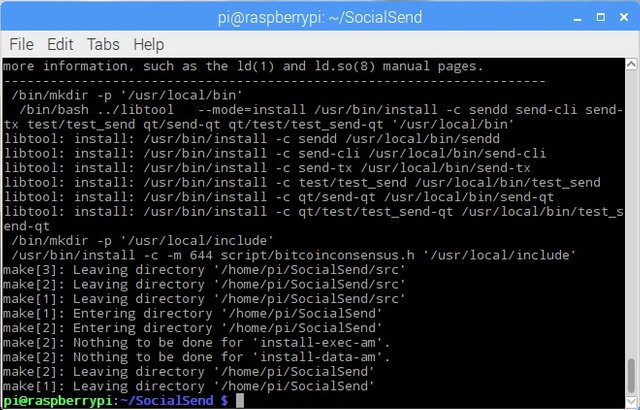
After the compilation we install the executable files.
sudo make install
Executing the wallet from the command line.
To run the command line wallet, we must execute the sendd file that we just compiled. In the first execution of the wallet he will ask us to complete the configuration file. This is located in /home/pi/.send/send.conf and then the data to complete. The user and password can be any and it is not necessary to remember them.
rpcuser=USER
rpcpassword=PASSWORD
staking=1
Once the configuration file is completed we can leave the wallet running with this command:
sendd -daemon
To monitor the operation of the wallet we use the send-cli program. From this we can send command to know the status of our wallet. To obtain a list of all the available commands you can execute:
send-cli help
To obtain more detailed information on each command, the following line can be executed:
send-cli COMMAND help
Running the wallet from the GUI interface.
In case of having installed the GUI version we can execute the wallet with the command:
send-qt
With the first execution, the program will ask us to specify a directory for the program files, both the configuration file and the blockchain files.
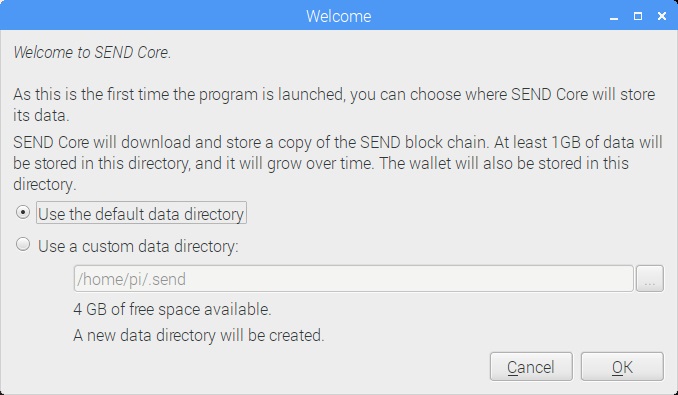
After selecting the directory, the wallet will start and start downloading the blockchain.
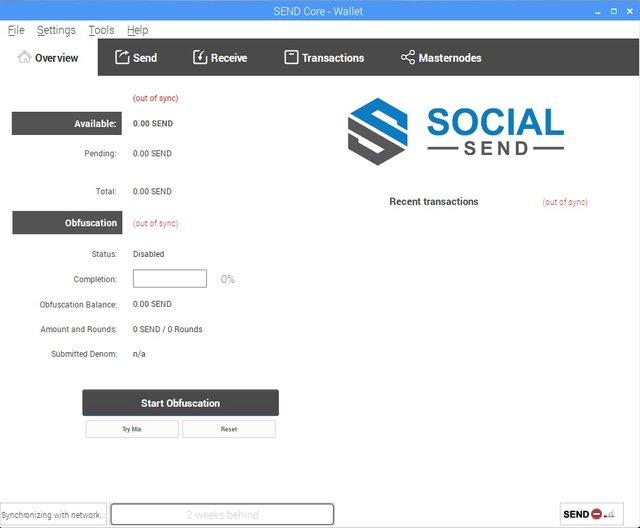
After downloading the entire blockchain the wallet is online and ready to be used.
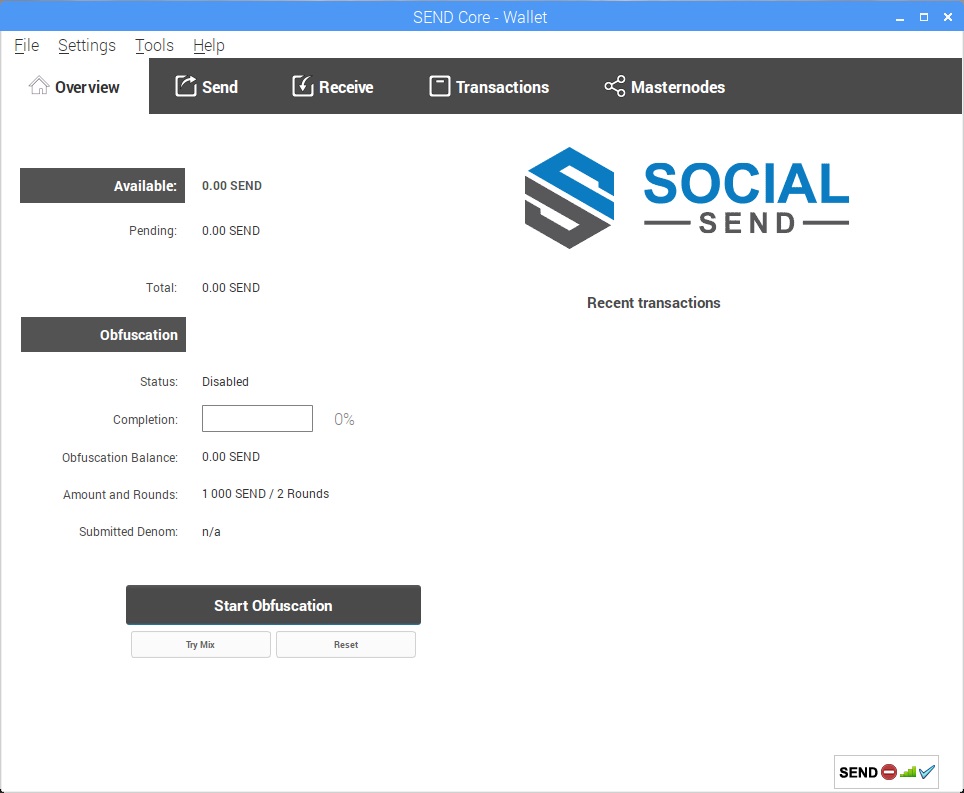
Image ready to use.
With everything seen in this guide, an image was created to mount directly on an SD memory of at least 16GB. This image is ready for you to easily mount on your Raspberry Pi3. By default SSH service is enabled and the user to connect is "pi" and the password "send". The send-qt wallet starts with the operating system. I know that the file is heavy, about 4 Gb ...but keep in mind that the entire compilation process from the sources can take you about 4 hours to complete. Download Link
If you found this guide useful, some SENDS will always be welcome.
STRtrnjav8MGfTrkUn1BgMwdCU9mwYCQff
Congratulations @hernss! You have completed some achievement on Steemit and have been rewarded with new badge(s) :
Click on any badge to view your own Board of Honor on SteemitBoard.
For more information about SteemitBoard, click here
If you no longer want to receive notifications, reply to this comment with the word
STOPCongratulations @hernss! You have completed some achievement on Steemit and have been rewarded with new badge(s) :
Click on any badge to view your own Board of Honor on SteemitBoard.
For more information about SteemitBoard, click here
If you no longer want to receive notifications, reply to this comment with the word
STOP