Making a Gingham Bag #4 - 24 January 2025
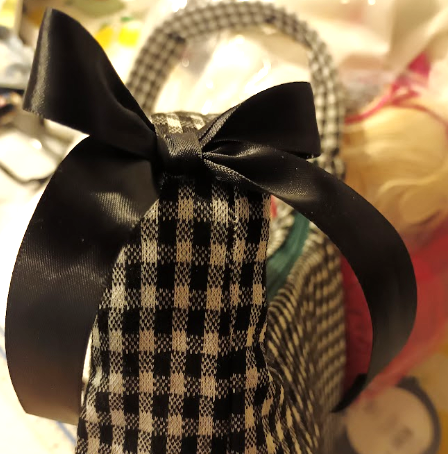
Close-up of the finished bow.
I wrote about my plan to remake and improve the strap here. This included adding wadding to the strap both for comfort but mostly to strengthen it.
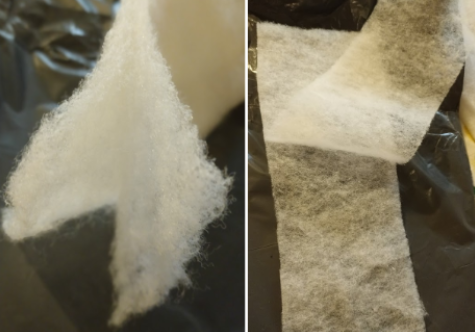
This was like peeling off a 2 ply sheet of kitchen towel.
I tested whether or not I could split the wadding we already had in half to give the bag strap padding but not so much that would distort the shape of the strap making it impossible to sew. I was glad the splitting worked but it wasn’t that neat so some sections were thicker than others.
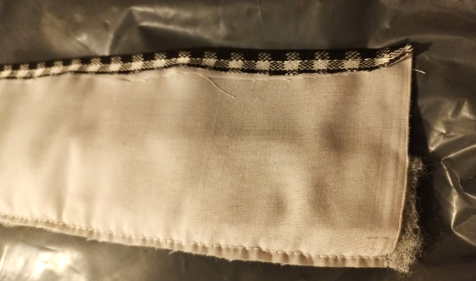
I then cut the wadding to around half the width of the strap. The photo above shows you the strap width from within with the lining on top. Then there’s half the width of the strap wadding section and beneath that it’s the main fabric. The photo also shows you how I’ve sewn the lining to the wadding to keep it from moving, and how I’ve turned the width of two squares of the main fabric and sewn that too.
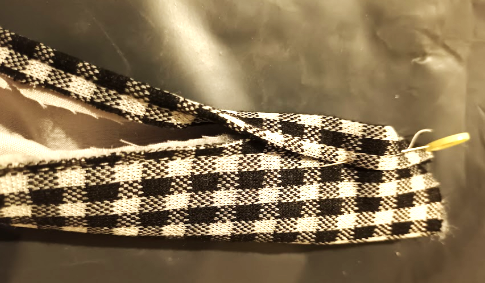
This process became much simpler thanks to the gingham lines that I could follow. I lined up one half of the strap over the other and then following my own sewing line along where the pin is in the photo above I joined the strap to reach its correct width.
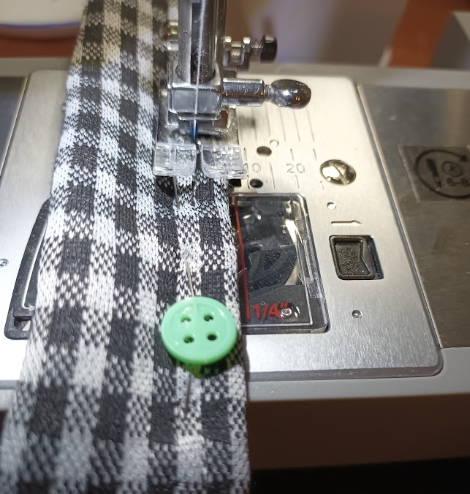
Despite the double lining and the wadding this process was relatively simple. I also went very slowly just in case.
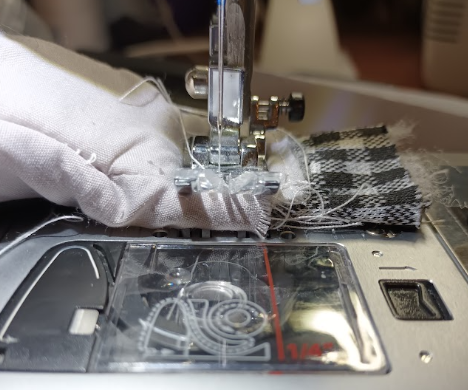
That’s how thick the whole strap and bag combination ended up being. I sewed very slowly again one stitch at a time to avoid bending or breaking the needle. The machine didn’t seem to struggle as much as last time which means that my trimming of the seams must have helped a bit.
After sewing the straps to the bag and turning that section to the right side came the finishing touches. I had a roll of satin ribbon in black which I'd bought at The Range for only £1 or around 5 Steem for 15 metres.
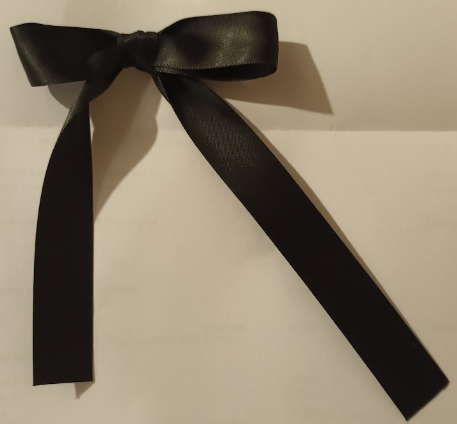
I followed these instructions which I’d already linked to before here. The two bows I made came out as a single bow rather than a double bow as shown below but I was happy with the result nonetheless.
After that I made a few stitches in matching colour to ‘fix the shape’ so the satin ribbon didn’t change shape because it was very slippery. I sewed the bows just above where the bag joins to the handle as per the original pattern and video.
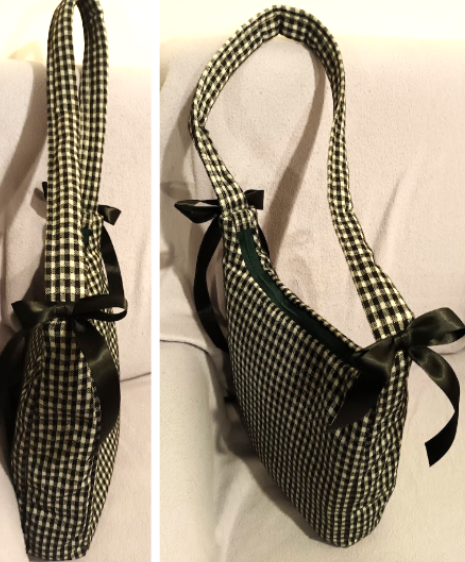
I’m very happy how the bag looks and glad I decided to re-make the handle. It now looks much better and sturdier than before. It was very hard to unpick and then sew again though. I feel I was fortunate I didn’t break another needle as this time the handle was well reinforced and therefore thicker.
We have plenty of material left for another bag but we are also keen to try this pattern using corduroy. We’ll have to start looking around to see whether we can find any at home to upcycle first.
Below are the other posts I've written about making this bag :
Thanks for reading this far !
I love the addition of the bows! Looks very cute
Thank you @jen0revision. It was actually better to use ready-made ribbon rather than sew the fabric to make a sort of ribbon as the layers of fabric would have made the bows heavier and stiffer.
Ooo that makes a lot of sense, glad to see the project finished well after such hard work!
Upvoted! Thank you for supporting witness @jswit.
Thank you for the support @steamcurator09 / @shiftitamanna