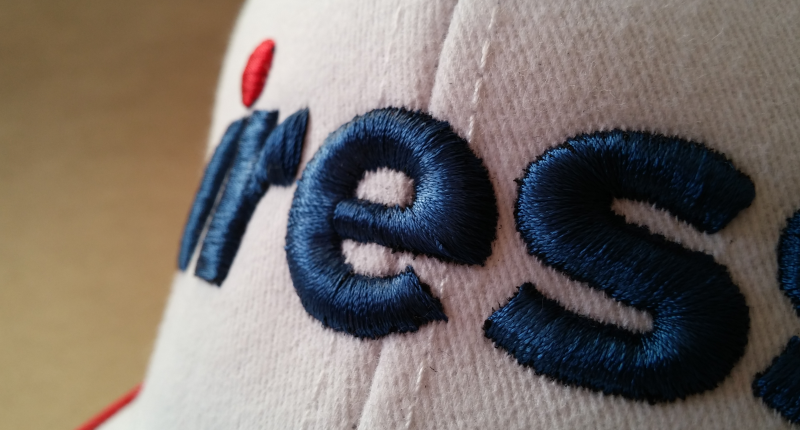
Tips For Better Cap Embroidery

There will always be a need for embroidered caps; cap embroidery is an ever expanding business.
So, once you’ve purchased your semi-industrial or industrial embroidery machine, learning to do cap embroidery efficiently and effectively, should be a major priority. You don’t want to lose out on this money spinner!
DON'T BE AFRAID OF CAP EMBROIDERY
As daunting as it looks, it actually not so hard.
Before semi-industrial and industrial embroidery machines, embroidered caps was less pleasant. As the cap could not be hooped down, you had to glue the unfinished cap front down to backing before embroidering. Thereafter, send it to a cap manufacturer to have the cap fronts made into finished caps. You didn’t have to deal with the finished, structured caps.
Nowadays, embroidery machines come out with one or more heads. Cap embroidery today is a breeze… if you know how!
The trick to cap embroidery is to learn how to hoop a cap correctly as well as tight enough in order to be straight. Once you got that under your belt, you’ll have no fear with your next cap embroidery order!
TYPES OF CAPS IS A FACTOR
The way you’re going to embroider of caps, depends on the type of cap. Basically, you get two types of caps:
- Structured Caps – six panel caps with a heavy buckram lining in the front
- Unstructured Caps – no buckram or lining behind the front fabric of the cap
TIPS FOR CAP EMBROIDERY
Here are some tips that will make it easier for you to cope with embroidered caps and help with taking the guesswork out of it.
Steam Press First
If you’re going to embroider on a structured cap, steam press the item first (a regular iron would work fine). This will soften the front of the cap, presses it flat and helps to sit tighter on the throat plate of the machine.Use a 70gram Tear Away Backing
70 gram tearaway backing is made for cap embroidery. You might need to add up to three layers to hold the cap closer to the throat plate. If your backing it too light, it won’t give you as good a registration.Embroider With a 70/10 Needle
On cap embroidery, use a 70/10 sharp needle. Unless you experience needle breaks. Then rather switch to a 75/11 needle.
Some even mentioned that a 80/12 needle works for them. However, we’ve never used this large of a needle for cap embroidery. In our experience, one don’t quite get the fine details of the design with a 80/12.
Make Sure Your Design is 53mm Or Less in Height
This is a small trick, which allows your design to embroidered on most caps, yet makes quite the difference. If embroidery needs to be done on a low profile or an unstructured cap, then you may need to keep your design to a maximum of 51mm in height.Is The Cap Hooped Tight?
Check whether the cap is framed tight. Use the clips on the side of the caps to hoop it down. Also, it helps to place the clips at the bottom of the posts closer to the bottom of the cap. This will hold the cap in position, yet not distort the design at the top of the cap.Start Embroidering From the Bottom Up and Centre Out
Set your design to start embroidering from the bottom up and the centre out. If you’re not a digitizer yourself, and have a digitizer to do your designs for you, remember to inform him/her that the design is for cap embroidery and the direction you’d like the design to be set as.Make Sure You Have Enough Underlay
Having enough underlay will anchor your embroidered cap backing to the front and will keep good registration.Only Two Colours?
If the letters are in two colours, we suggest that you embroider the inside of the letter first. Thereafter the outside, before going to the next letter.Have a Large Fill Area In The Centre?
This tip comes in handy every once in a while. Large fill areas sometimes causes the design to push and pleat the fabric. By running a zig-zag stitch up the centre of the cap before actually starting the design, it will help anchor the design and refrain from pushing and pleating the fabric in the centre.Plan Where To Start Your Design
Start your design between 12-19mm up from the metal strap that goes across the front and is located on the bill of the cap. If you have a short design, move it up to be in the centre of the cap. Otherwise, if the design is tall, start it at the 25mm point up from the metal strap.
Got some more tips on cap embroidery? Share them here!
Nice article.