Review: Ikea
I recently went to IKEA...
and I got an IKEA "RÅSKOG" trolley. I had been planning to buy this for a long time, and was excited to put it together.
I chose a nice forest green colour, I preferred it more over the other ones that were available. The trolley by itself is £25 (137.5 STEEM), and I had to buy the wooden lid for it separately which was £6 (33 STEEM).
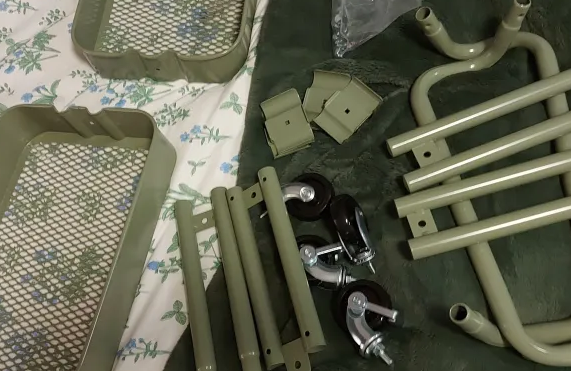
the parts!
I was a bit intimidated at first, as there were a lot of parts, and a lot of screws to use for putting it together. But I was determined to set this up!
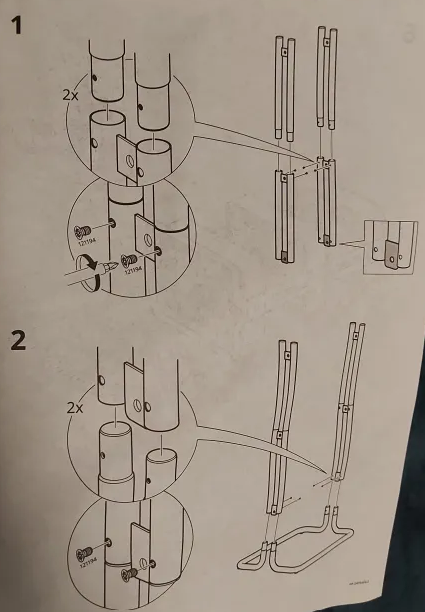
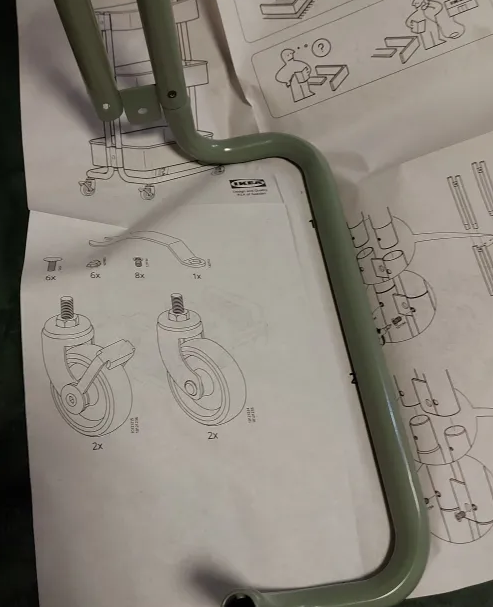
the instructions
IKEA always has really clear instructions, it was an A1 sheet of paper, double sided, with large images to follow.
After checking I had all the necessary materials (no missing screws!).
first step
So, following the instructions, I lined up the correct pieces and realised... I needed a screwdriver!
The kit did not come with one, which I thought was weird as it had come with a spanner-type tool. Luckily, I had a screwdriver from my previous post of making the shelf!
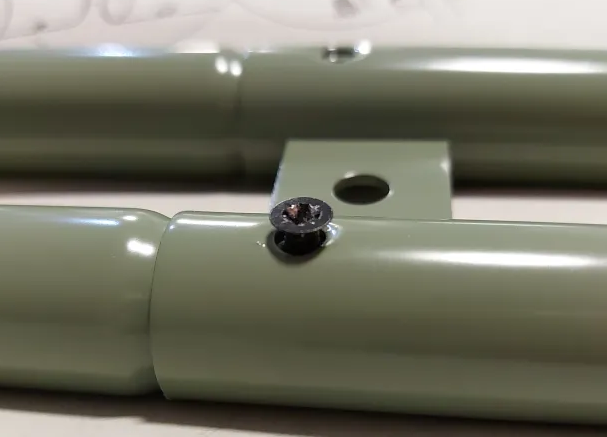
screws gone wrong
Unfortunately, even though I had a screwdriver, I ran into this issue. In the picture above, one of the 2 screws on this piece didn't screw all the way in. I don't know why this happened, and I couldn't screw it any further in, maybe it was an issue with the actual product?
It was still firm so I just moved on. I had to repeat this step (as it needed another set of this).
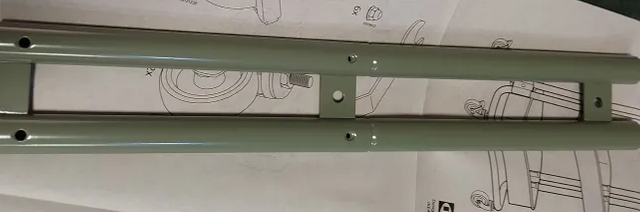
lining up the pieces
For the next step, I lined up the "bracket" piece to one of the just constructed pieces from the previous step. All I had to do was screw these together, and make sure it was stable. This wasn't really hard at all.

the connected brackets
As you can see in the above picture, I managed to successfully connect the brackets together! It was all coming together now.
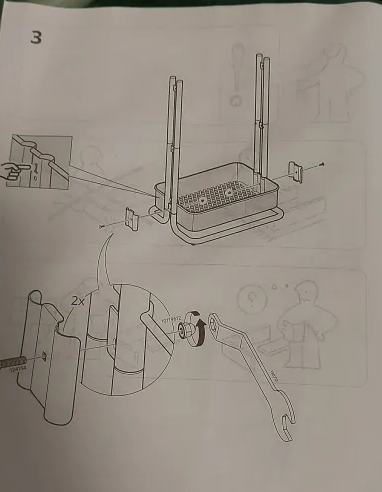
a bit tricky to picture
This part was a bit fiddly, I needed to use both my hands for it so it was hard to show the process. I've taken a picture of the paper instructions to help visualise what I had to do!
After slotting the "basket" or shelfs of the trolley on, I had to line up the holes of the shelf and a bracket. Then, I had to connect these together.
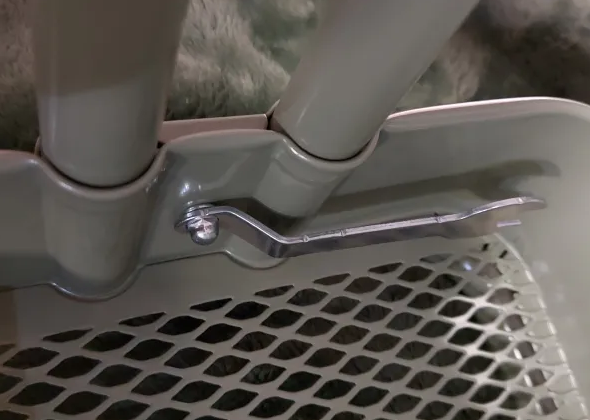
the shelf and bracket
In the picture above, I'm securely tightly the connecting screw & nut together using the free spanner tool that was included in this kit.
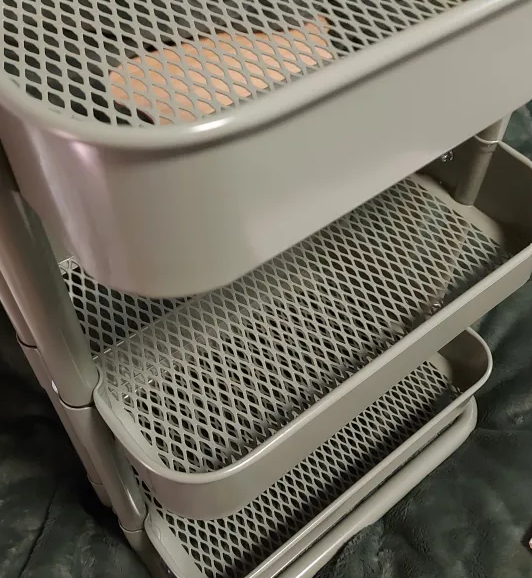
successfully connected the three
After managing to do this with all three of the shelves, it was time to move onto the wheels!

the wheels!
This was also quite easy, I had to use the spanner tool again to secure the wheels to the base, so I couldn't really take progress pictures.
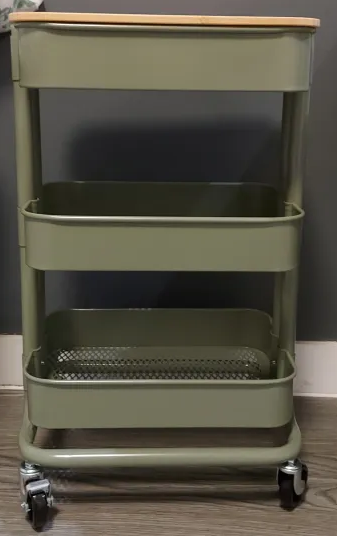
Done!
And it was done! The wooden part on the top is actually removable, it's like a little lid. I'm very happy with it, and it is really stable.
Best regards
You created exclusive and quality content
Team 01 - Steemit Explorers Team
@mikitaly
Thank you for upvoting and reading my post! :D
I like the vintage look of this IKEA trolley @jen0revision.
What sort of things will you be keeping in there ?
Thank you! I'm planning to keep my teas there as it's closer to my kettle :D
That sounds cool @jen0revision. Perhaps one day you can tell us about your teas; my current favourite is lemon and ginger tea.
That's a good idea! Oo, good for your health!