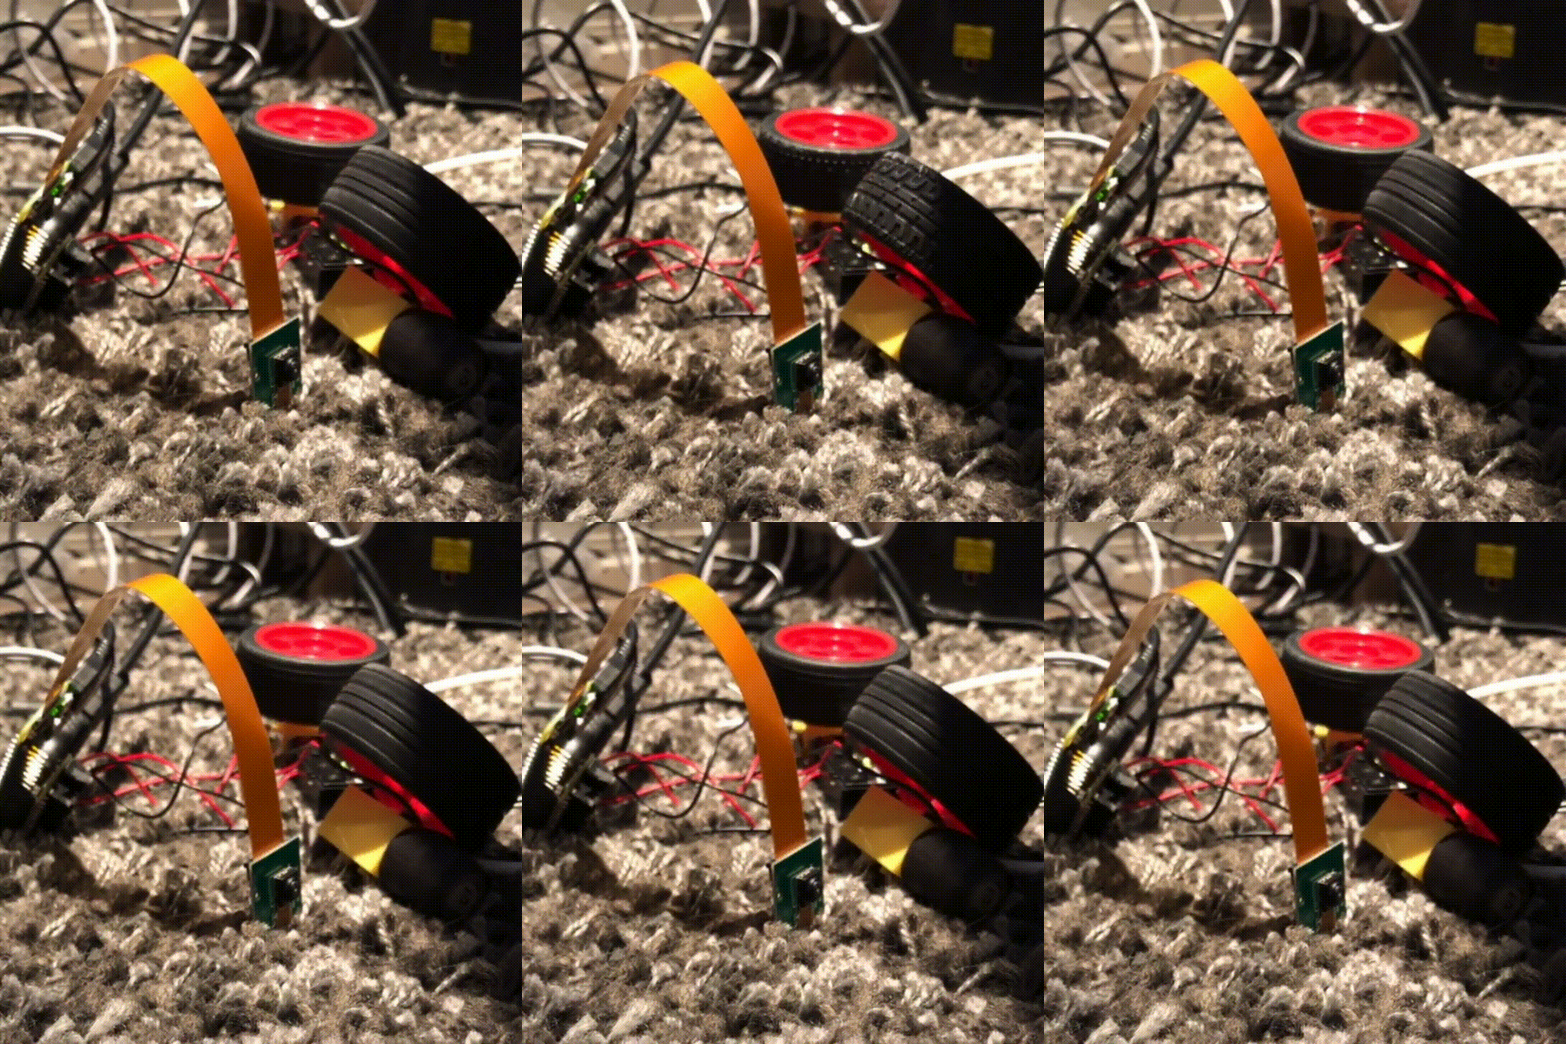
Raspberry Pi Robots with Python

One of the many benefits of single board computers such as the Raspberry Pi is having the GPIO pins (General Purpose IO) exposed and usable.
Back in the day, we could access serial and joystick ports for our 8-bit projects, and that sparked many homebrew electronics innovations.
Raspberry Pi GPIO
For now, the pins on the Raspberry Pi can be thought of as wires that can be told to be inputs, or outputs that can be on or off.
Plug in a sensor or an LED and you can read or power the device, depending on your project.
This can be a superpower, allowing you to sense and affect the world around you, provided you take some simple precautions to not fry your Pi and let the smoke out of it.
Of course, if you do, at least you are not out the cost of a whole desktop PC :)
Depending on which version of the Pi you have depends on how many pins you have access to. There are also pin/io expander modules that give your projects more capability, and things like ADC to allow you analog capabilities.
Current and Voltage
Unlike most Arduino boards, Pi pins are only 3v capable. For sending a signal that is fine, but a lot of things are NOT 3v so be careful.
The usual rule of thumb is to not exceed 3mA per GPIO pin, or 50mA total draw. This is only enough to drive a very small motor, or say an LED.
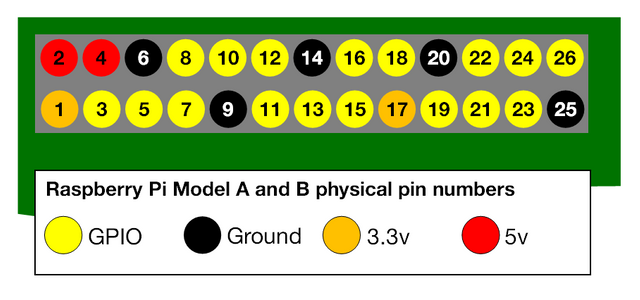
GPIO Numbers

* Source: Official documentation
You can number the pins based on the chip numbering or the way the board has them. Beginners find it easier to simply count pins but it is a good habit to start using the GPIO numbering from the get-go. You just need to refer to a diagram, and to be honest you ordinarily would even with physical numbering due to the special GND, 5v pins etc.
Python libraries
There are two main libraries used in Pi world for Python programmers.
- RPi.GPIO
- GPIO Zero
The first is the basic library, the second is a friendlier wrapper.
As well as these two, there is the port of Wiring, and PigPio. These are both C libraries with more advanced low-level capabilities.
Most people stick with the defaults above unless they need very in-depth or accurate control.
Driving Motors + Simple GPIO example
Rather than blink an LED, let's start where we want to be by driving motors.
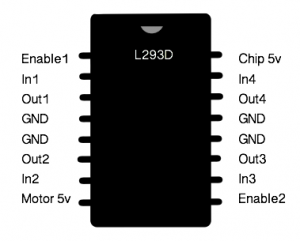
My favourite way to drive a motor is with the L293D chip, this isolates your Pi (or Arduino) from the motor power draw, allowing you to power motors that the board alone could not.

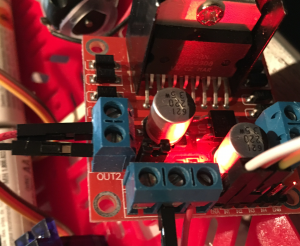
or L293 based module:

For Pi specifically, CamJam in the UK have developed a Pi module for their robot competitions that works for both full-sized and zero boards that sits over the pins.
Regardless, don't worry about wiring too much at this stage, just familiarize yourself with the process.
import RPi.GPIO as GPIO
import time


# Pi has (confusingly) two numbering schemes for pins
# usually you would choose based on what is printed on
# your dongles/pinout prints
GPIO.setmode(GPIO.BCM)

# H-Bridge pins
motor_pin_A1 = 7
motor_pin_A2 = 8
motor_pin_B1 = 9
motor_pin_B2 = 10

# Set all the pins as output
GPIO.setup(motor_pin_A1, GPIO.OUT)
GPIO.setup(motor_pin_A2, GPIO.OUT)
GPIO.setup(motor_pin_B1, GPIO.OUT)
GPIO.setup(motor_pin_B2, GPIO.OUT)

# Fire up the pins!
GPIO.output(motor_pin_A1, True)
GPIO.output(motor_pin_A2, False)
GPIO.output(motor_pin_B1, True)
GPIO.output(motor_pin_B2, False)

# Wait a second
time.sleep(1)

# Stop all the pins
GPIO.output(motor_pin_A1, False)
GPIO.output(motor_pin_A2, False)
GPIO.output(motor_pin_B1, False)
GPIO.output(motor_pin_B2, False)

# Clean up
GPIO.cleanup()
Join our Discord Channel to connect with us and nominate your own or somebody else's posts in our review channel.
Help us to reward you for making it ! Join our voting trail or delegate steem power to the community account.
Your post is also presented on the community website www.steemmakers.com where you can find other selected content.
If you like our work, please consider upvoting this comment to support the growth of our community. Thank you.
Hi makerhacks, I love your Hacks! The cost of the Raspberry pi makes it attractive to low income people. Do you have a project that can solve any problem on farming in poor Communities?
Usually, they are becoming more used for irrigation control and moisture/weather sensing, but check this out for where things could go! https://www.raspberrypi.org/blog/farmbot-open-source-cnc-farming-robot/
and I struggling with the remote control of my house hahaha
Another interesting application, do you know of relays or switches that could be controlled this way. Particularly, thinking of an extension of this idea could be applied to controlling an irrigation system of sorts in a greenhouse setting. Possibly opening and closing baffles for air flow as well. I suppose their are catalogs of parts that could be added here, sensors, switches, more.
Yes, relays work similarly and are simpler, they just don't switch as fast repeatedly but are ideal for things like irrigation. A relay takes power in and power out, then you connect a pin for the signal to turn the power on or off.
The works with arduino uno. I'm curious about that. @Makerhacks
Yes my example code in my robot course is Arduino https://learn.makerhacks.com/
Wow good jop! I produce new projects with arduino. Great going on.
You got a 2.63% upvote from @postpromoter courtesy of @makerhacks!
Want to promote your posts too? Check out the Steem Bot Tracker website for more info. If you would like to support the development of @postpromoter and the bot tracker please vote for @yabapmatt for witness!