How to make something using a 3D printer.
So I rely on my 3D printer to make a majority of my cosplay props for a variety of reasons. Mostly because it can do really nice detail, it's pretty quick, and I can design props on the computer way easier than sculpting stuff by hand. I noticed that a few of my followers seemed interested in how it works, so I figured why not go through a little project to show everyone how it's done. :)
For this project I will be printing one of my FM maker coins. I won't be showing how to design it though. Since that is a whole other topic and post on how to design a project. I will mainly focus on the basic how to's for how I run my printer for a project.
First lets go over the tools, hardware required to 3D print:
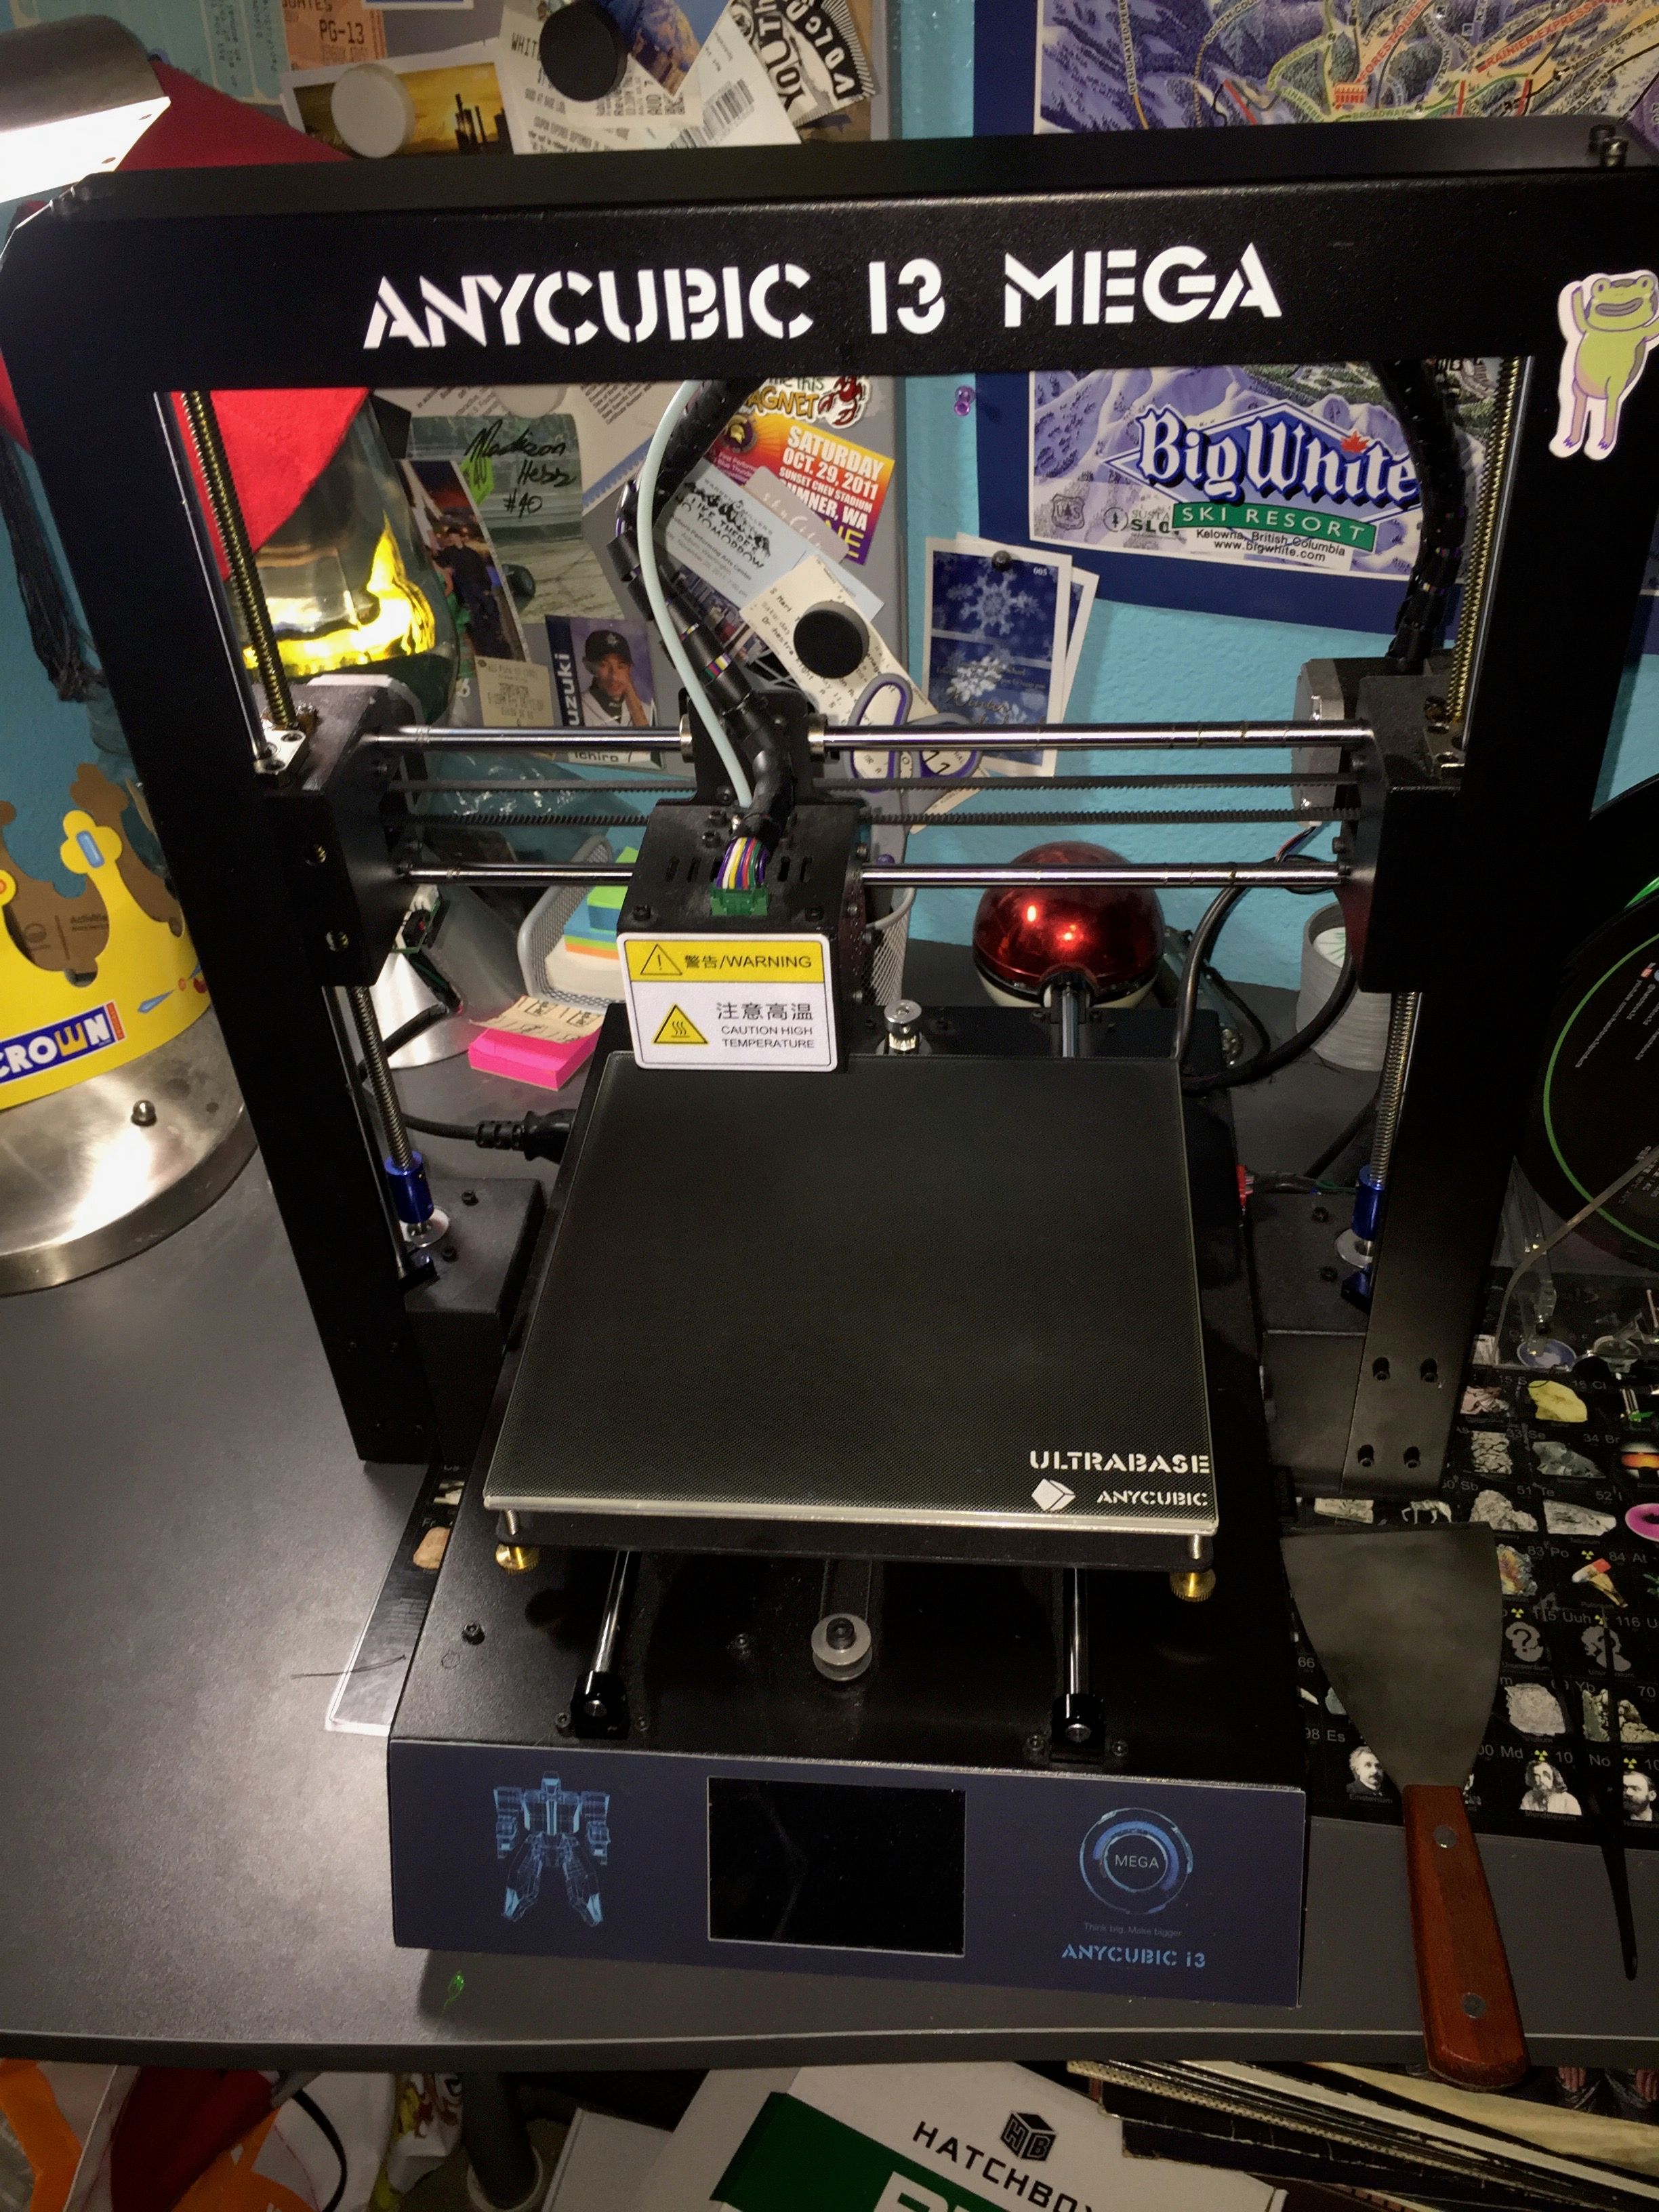
Here is my printer the AnyCubic I3 Mega FDM (fused deposition modeling) 3D printer.
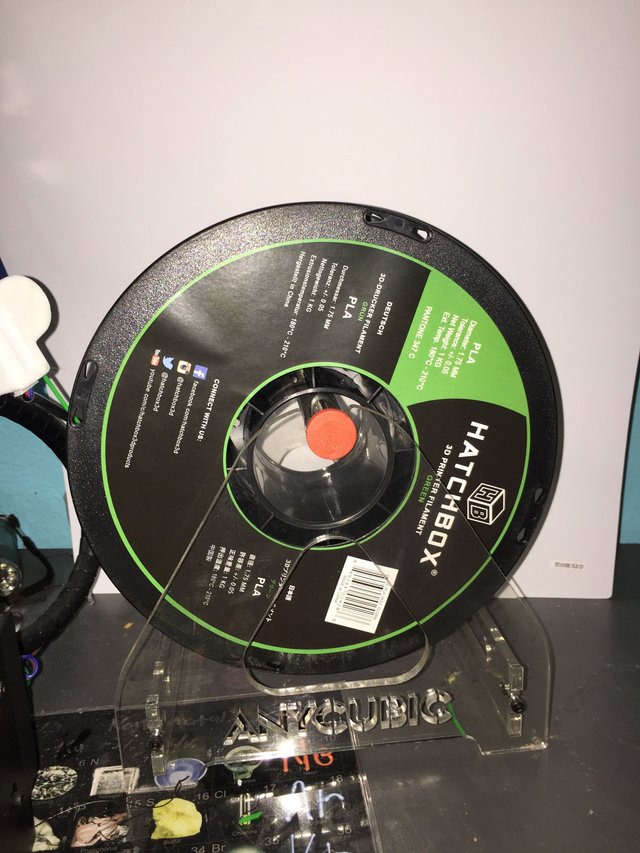
Here is a roll of 1.75mm Hatchbox green PLA filament. This is what the printer uses to build something.
These are the tools I use with my printer. Tweezers to pull filament off the hot end, Scraper to get prints off the print bed, and flush cutter to cut the filament.

Now that we know what hardware is needed to print let's get started on making something!
Step one: I need an .STL file. You can either find a pre-made design on cites like: www.thingiverse.com or www.myminifactory.com. But you can also design your own projects on programs like Fusion 360 (It's free too) this is what I did.
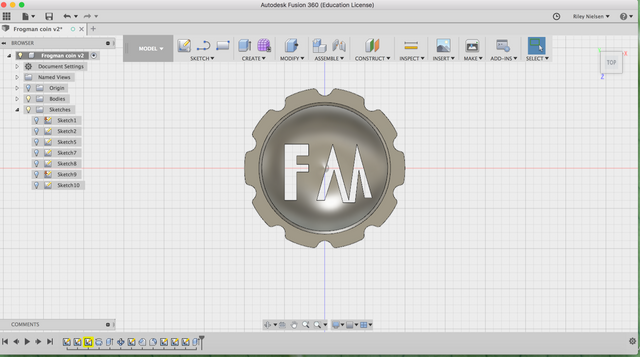
Here is the CAD (Computer Aided Design) project I made in Fusion 360. A simple maker coin.
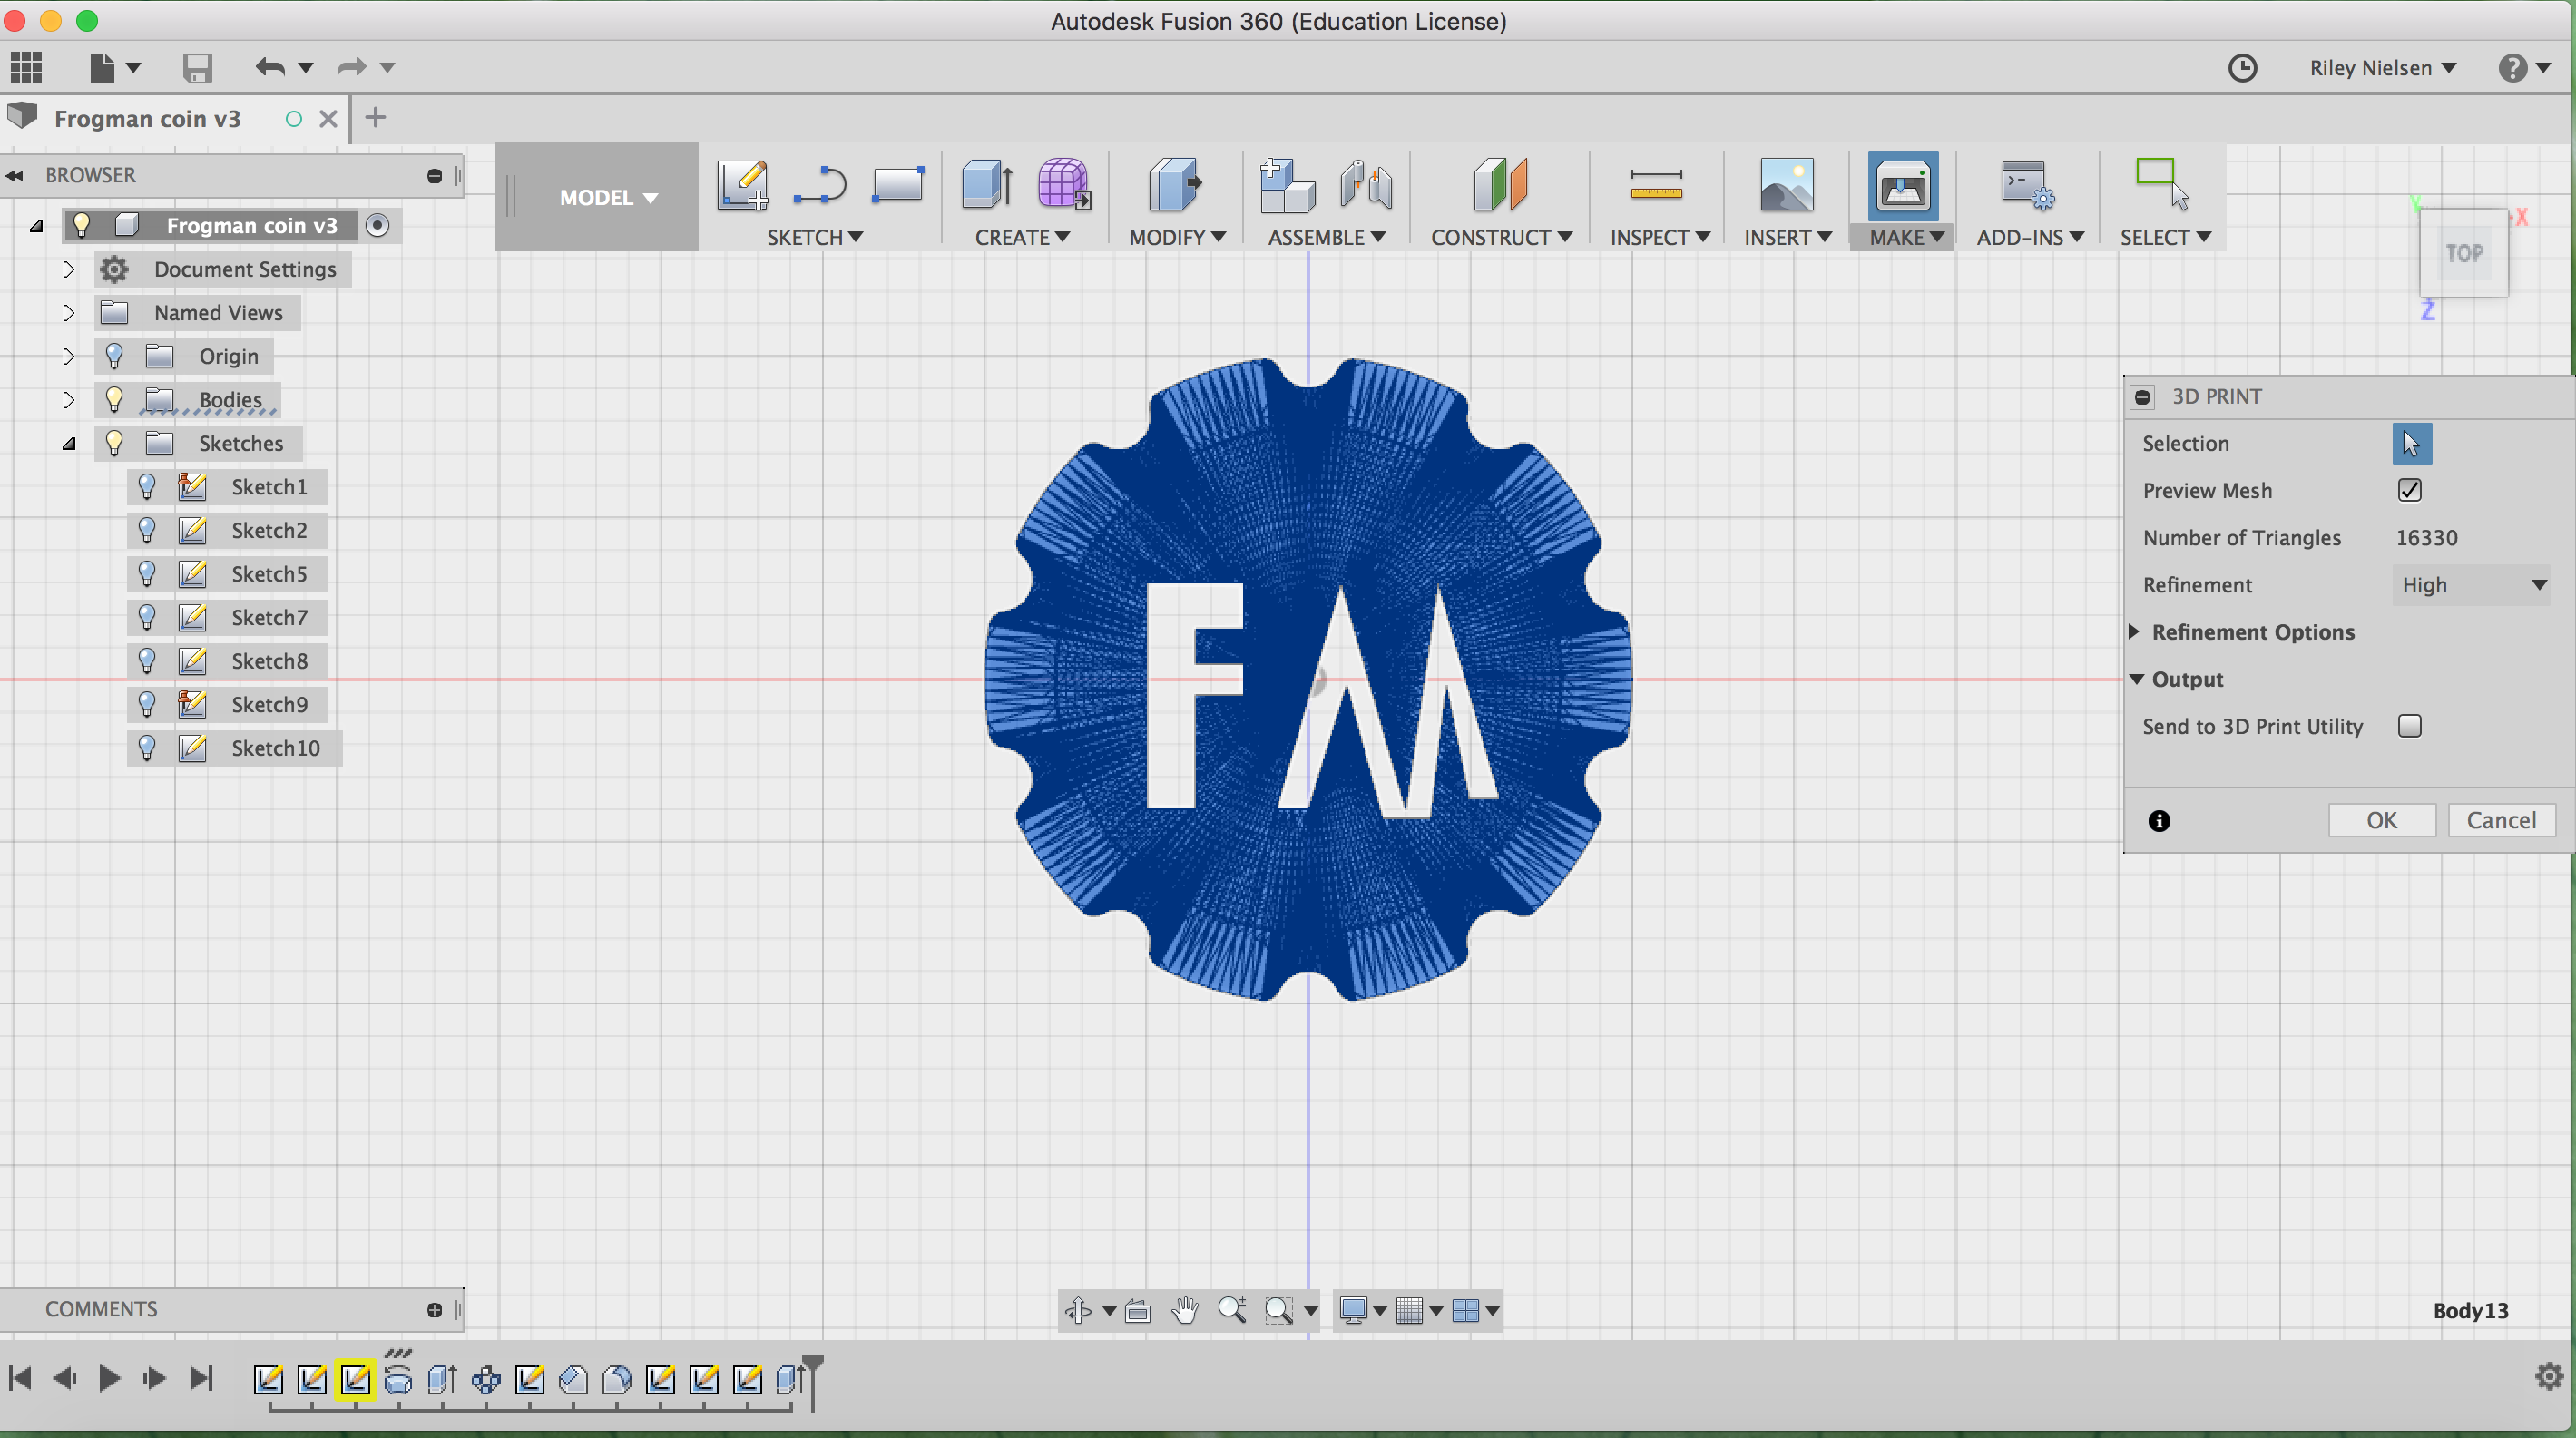
Step two: From Fusion 360 I will need to export the design to convert it to a .STL file. For that in Fusion I'll go to Make>print, select the print, then click OK. This will then save the file to my computer and be ready for step three.
Step three: I will need to use a slicer. A slicer is what prepares the .STL file for the printer as a G-Code.
I personally use Crua but there are several other slicers out there and I am pretty sure all of them are free.
This is what my file looks like when it is imported:
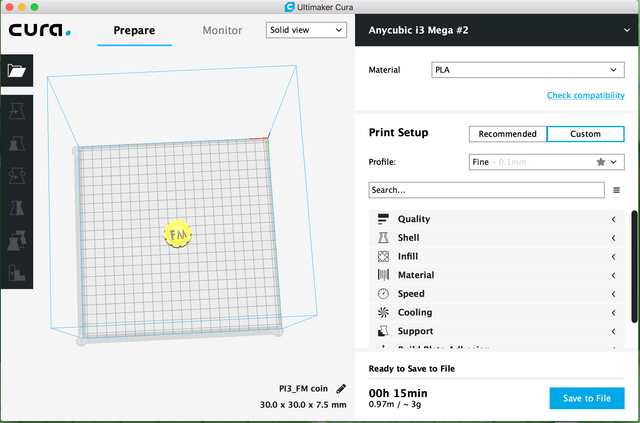
Step four: Now my new file is in Cura I will change the print settings to how I want them. I print at a .2mm layer hight, 60C bed temp, 200C extruder temp, and with a skirt for support (this print needs no support but a skirt will prime the printer). This is what I find works with my printer for basic stuff but the settings may work differently on your printer. You can change those settings along the right hand drop menu.
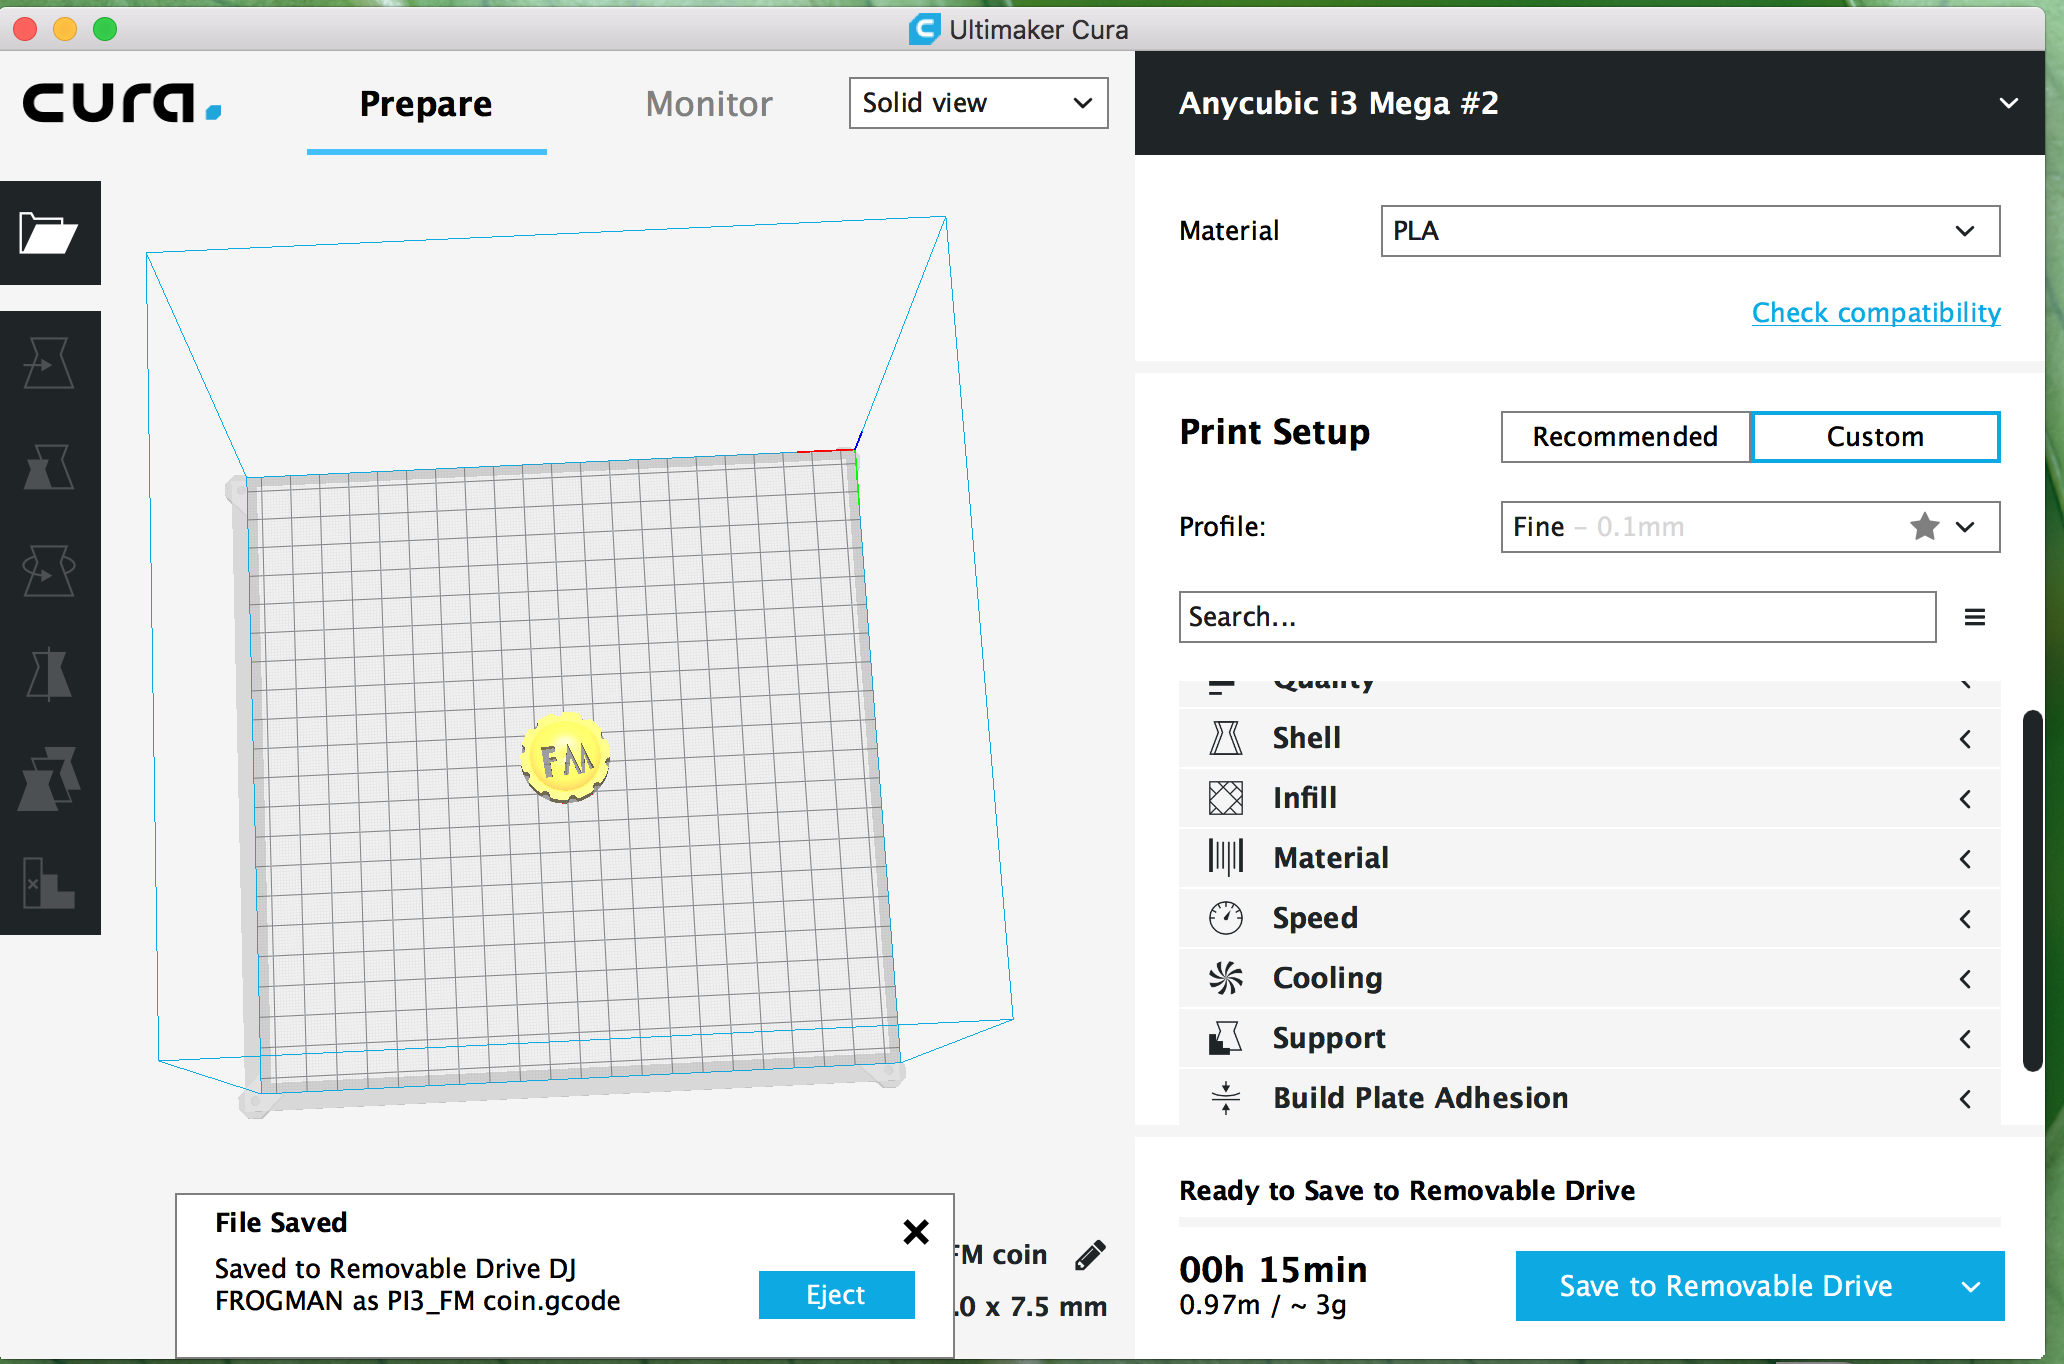
Step five: After I have all the settings to how I want them. It is time to export my file to an SD card and run it over to the pinter. Cura is also nice and will give a estimate on how long the print will take. For this print is will take about 15min.
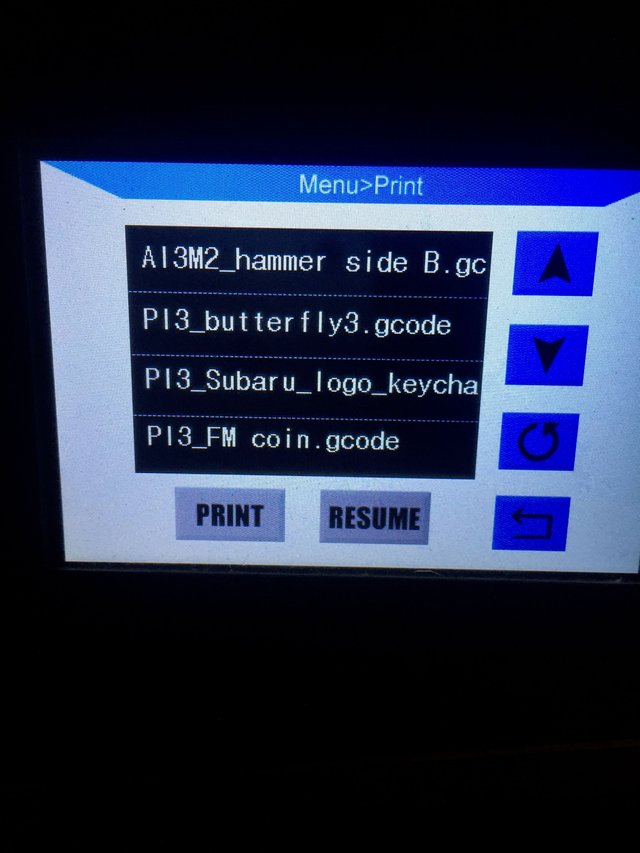
Step six: Now that I have the file the I want to print onto my printer it is time to tell the printer what to print. For my printer you go Print>choose file> print. For this project it is the PIM_FM Coin.gcode file.
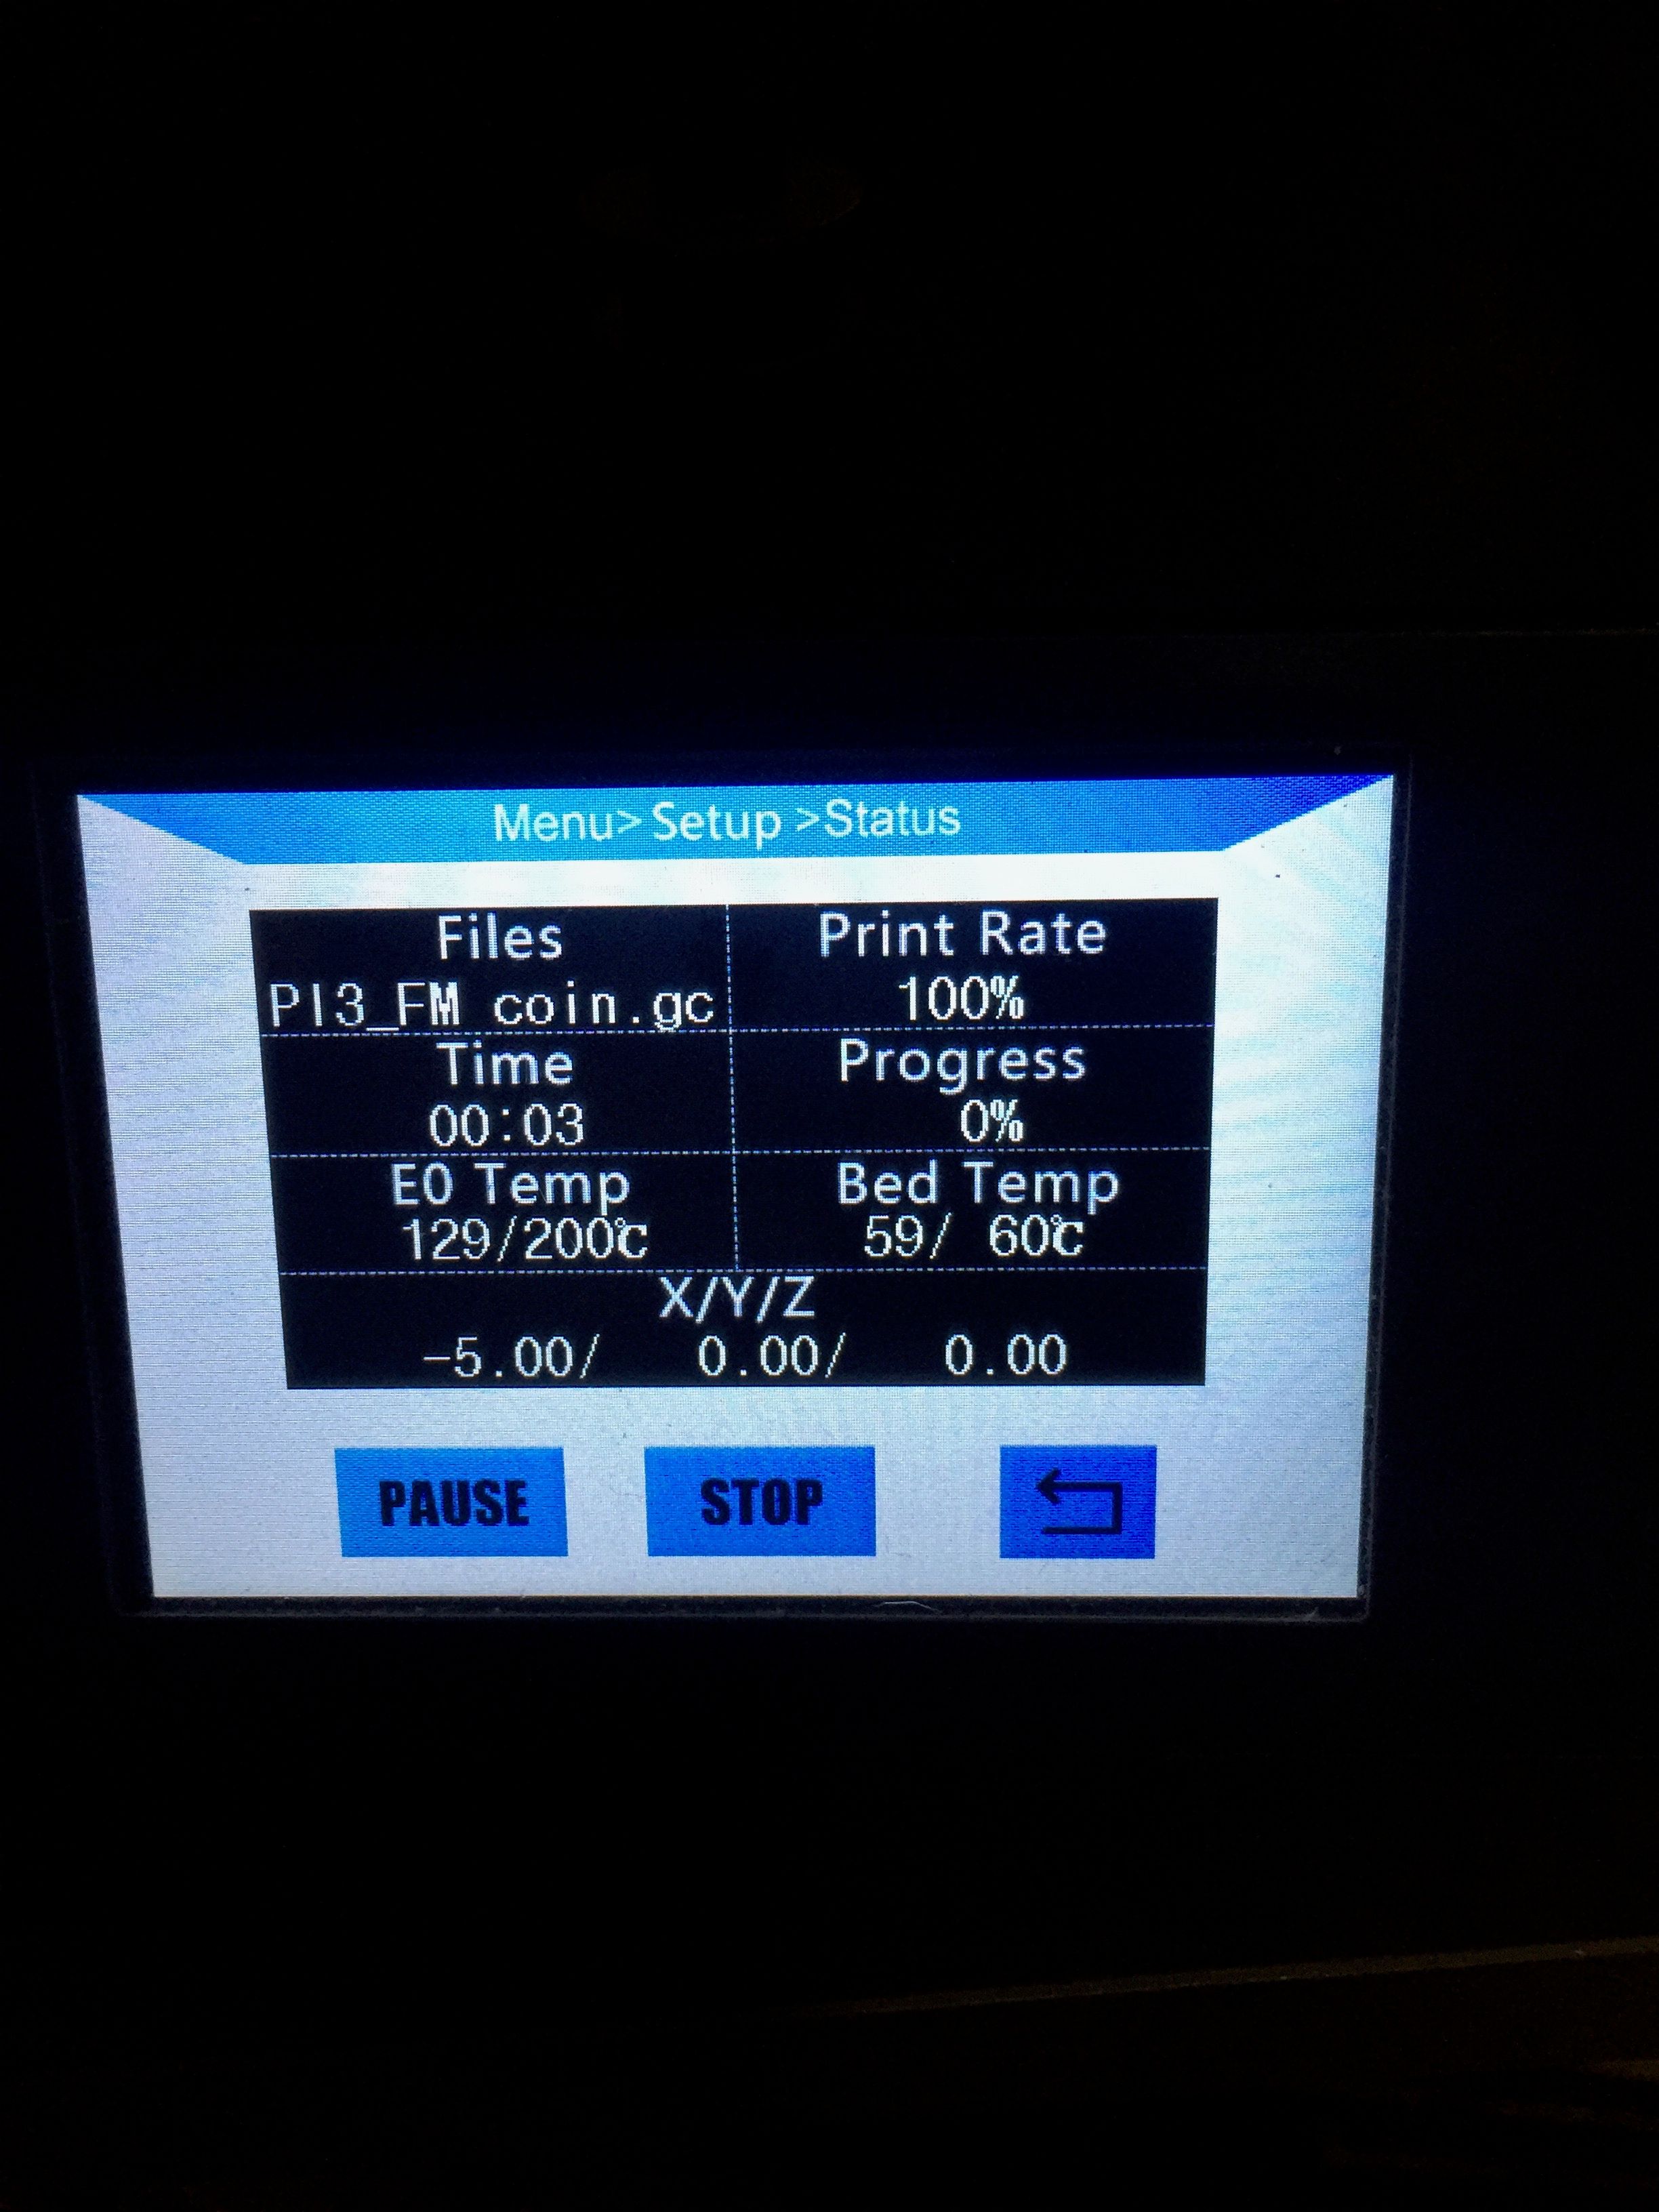
Step seven: Once I have chose a file the printer will start heating up to temp getting ready. Once the EO temp is 200/200 and the bed temp is 60/60 the printer will start printing.
Step eight: This part is important. For the first layer you need to watch the printer to make sure everything sticks to the print bed. This is because the printer has no idea what is going on and is just running a program. So you can end up with a giant mess and waisted print material if the print comes loose. But once you are past layer 3 you should be fine to let it run. My printer also has a fancy textured glass print bed so 90% of the time the print will stick just fine. But if your pinter doesn't have that then glue stick, hair spray, or blue painters tape will help prints stick down better.
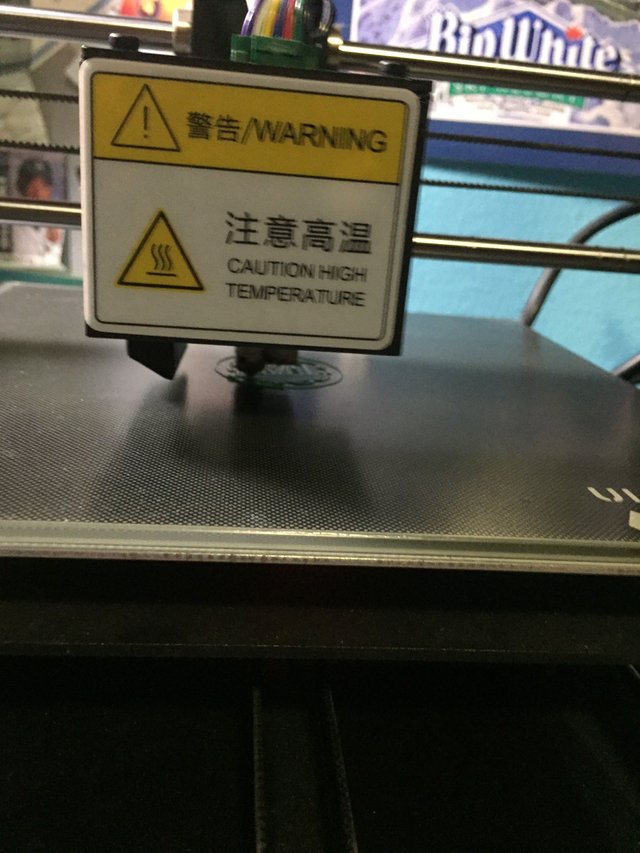
Here is the print about 1/2 way through. As you can see the prints aren't solid and have a honeycomb inside. This is the save material and to make the print faster.
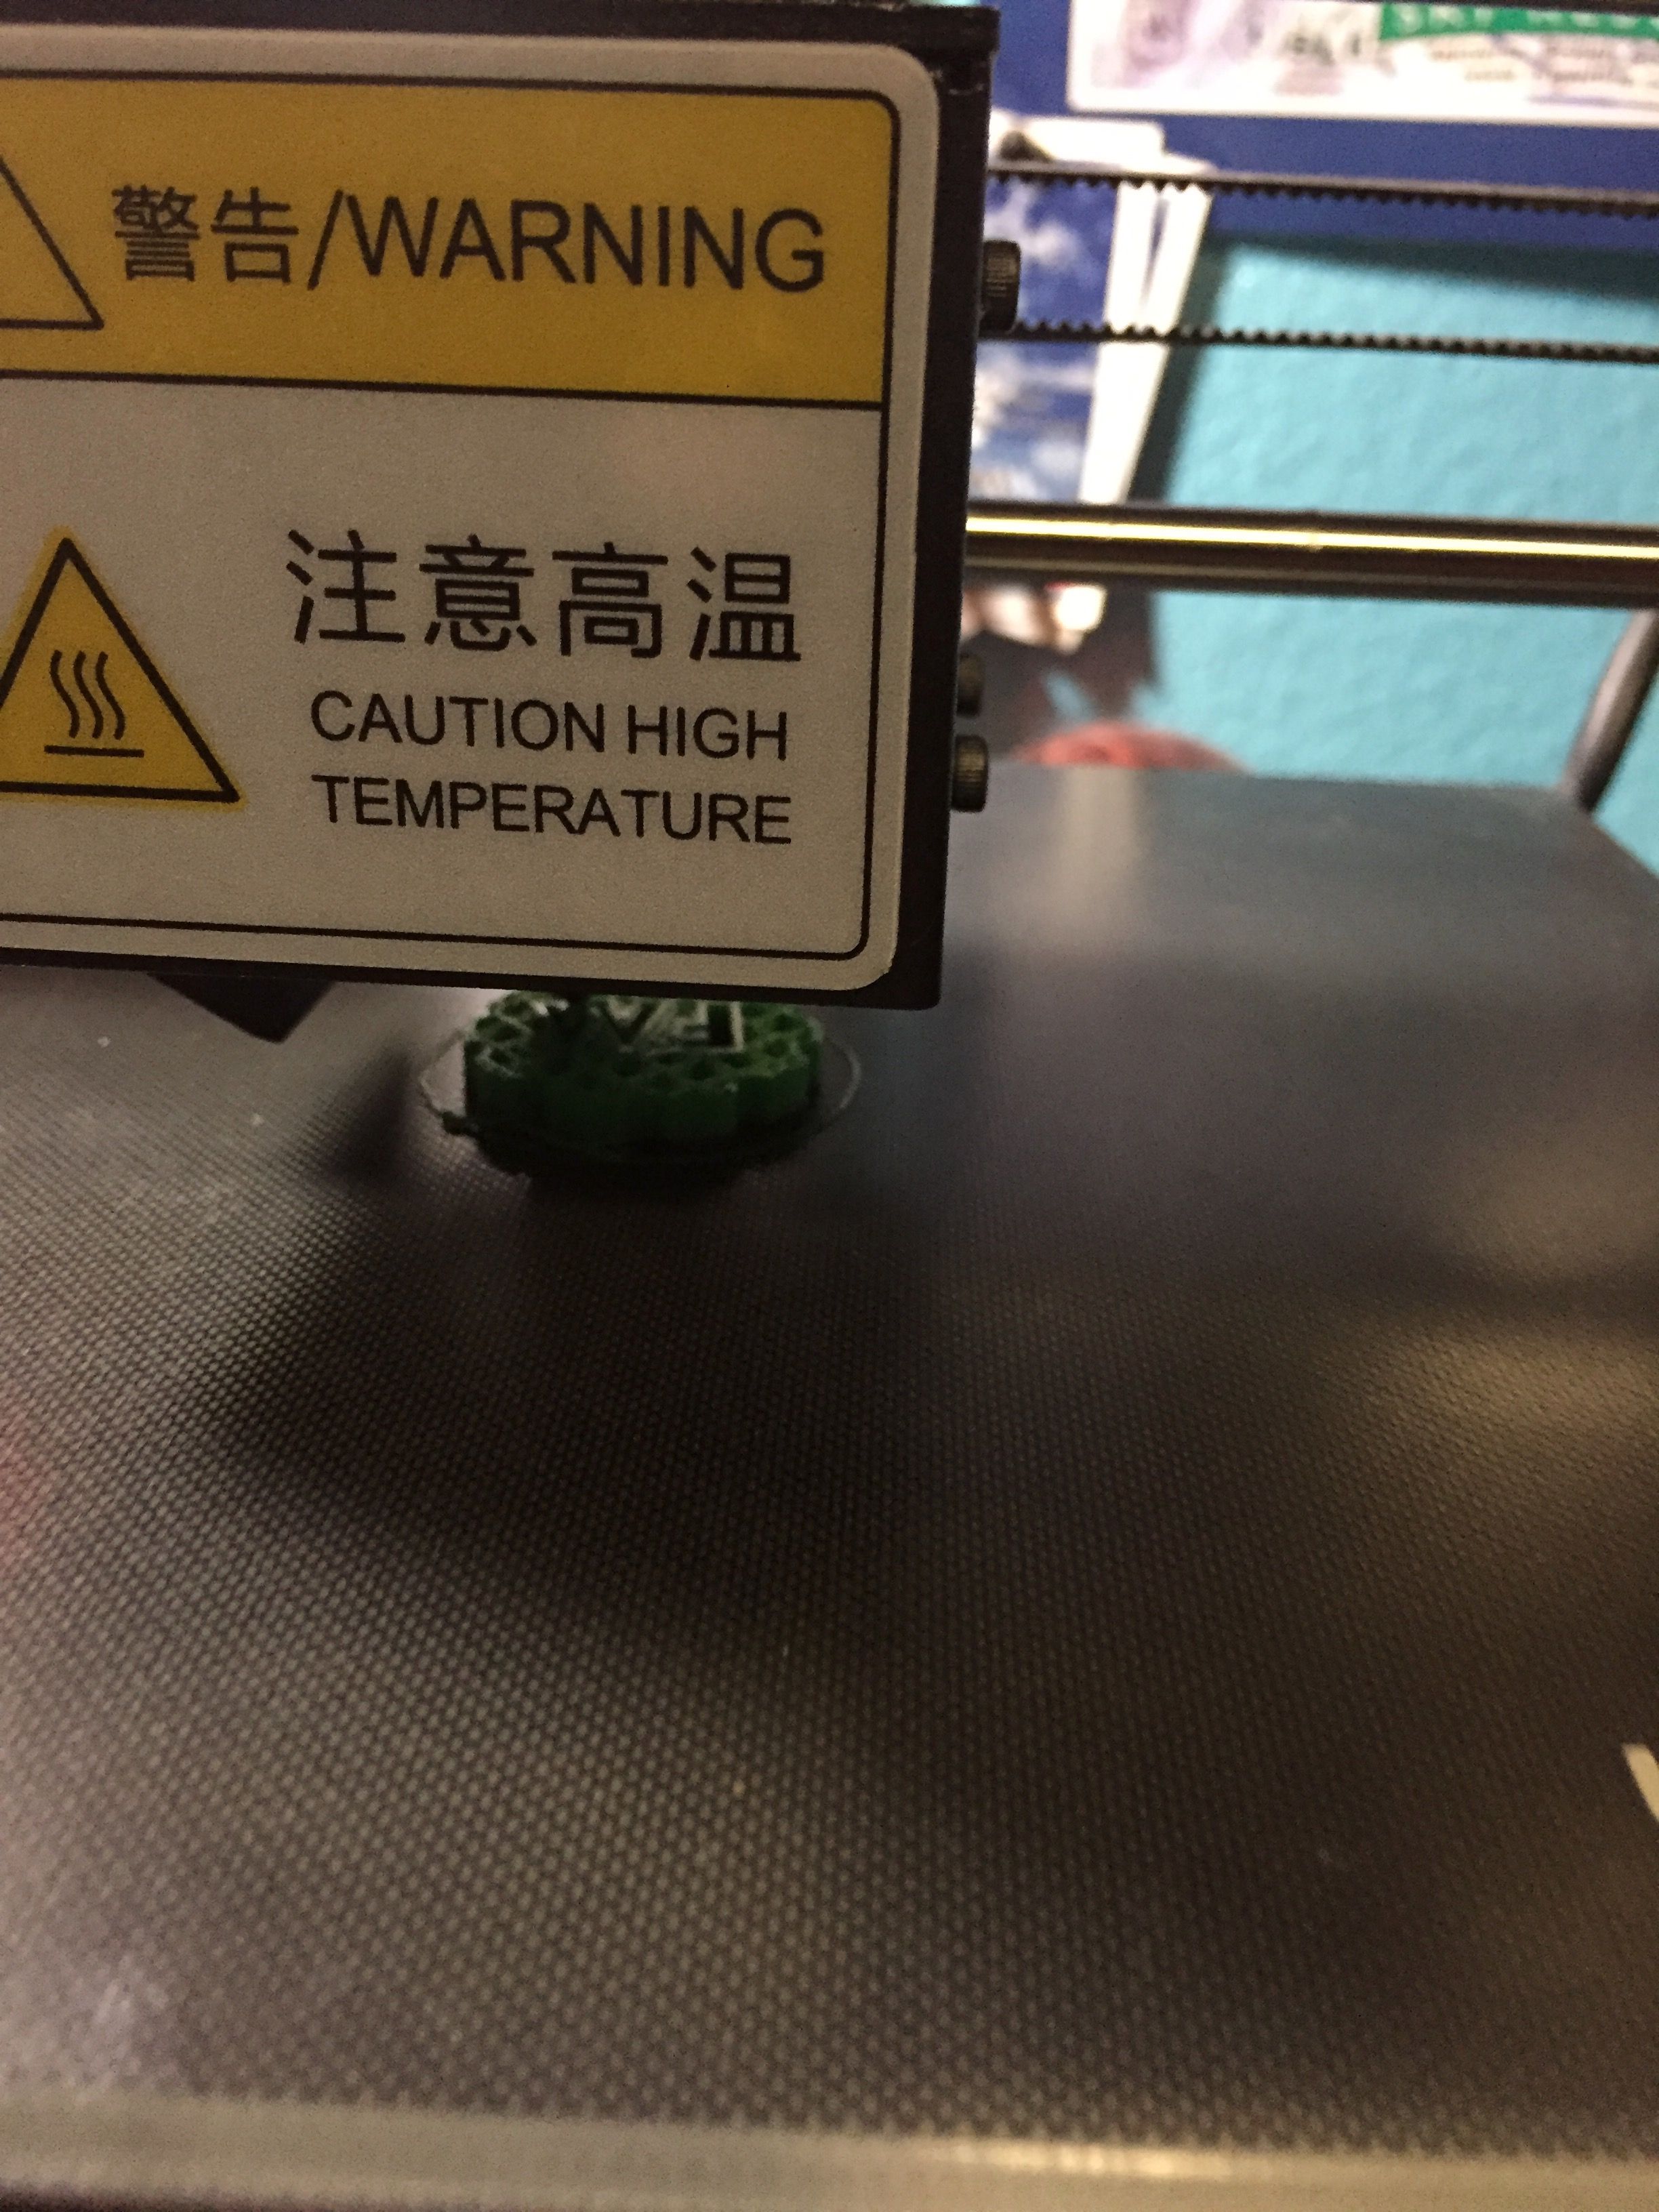
Step nine: Finally the print is finished! :D Now time to remove it from the print bed. This is where the metal scraper comes in handy. But also you can just wait for the printer to cool off and the print will generally pick right off with no need to scrape it off.

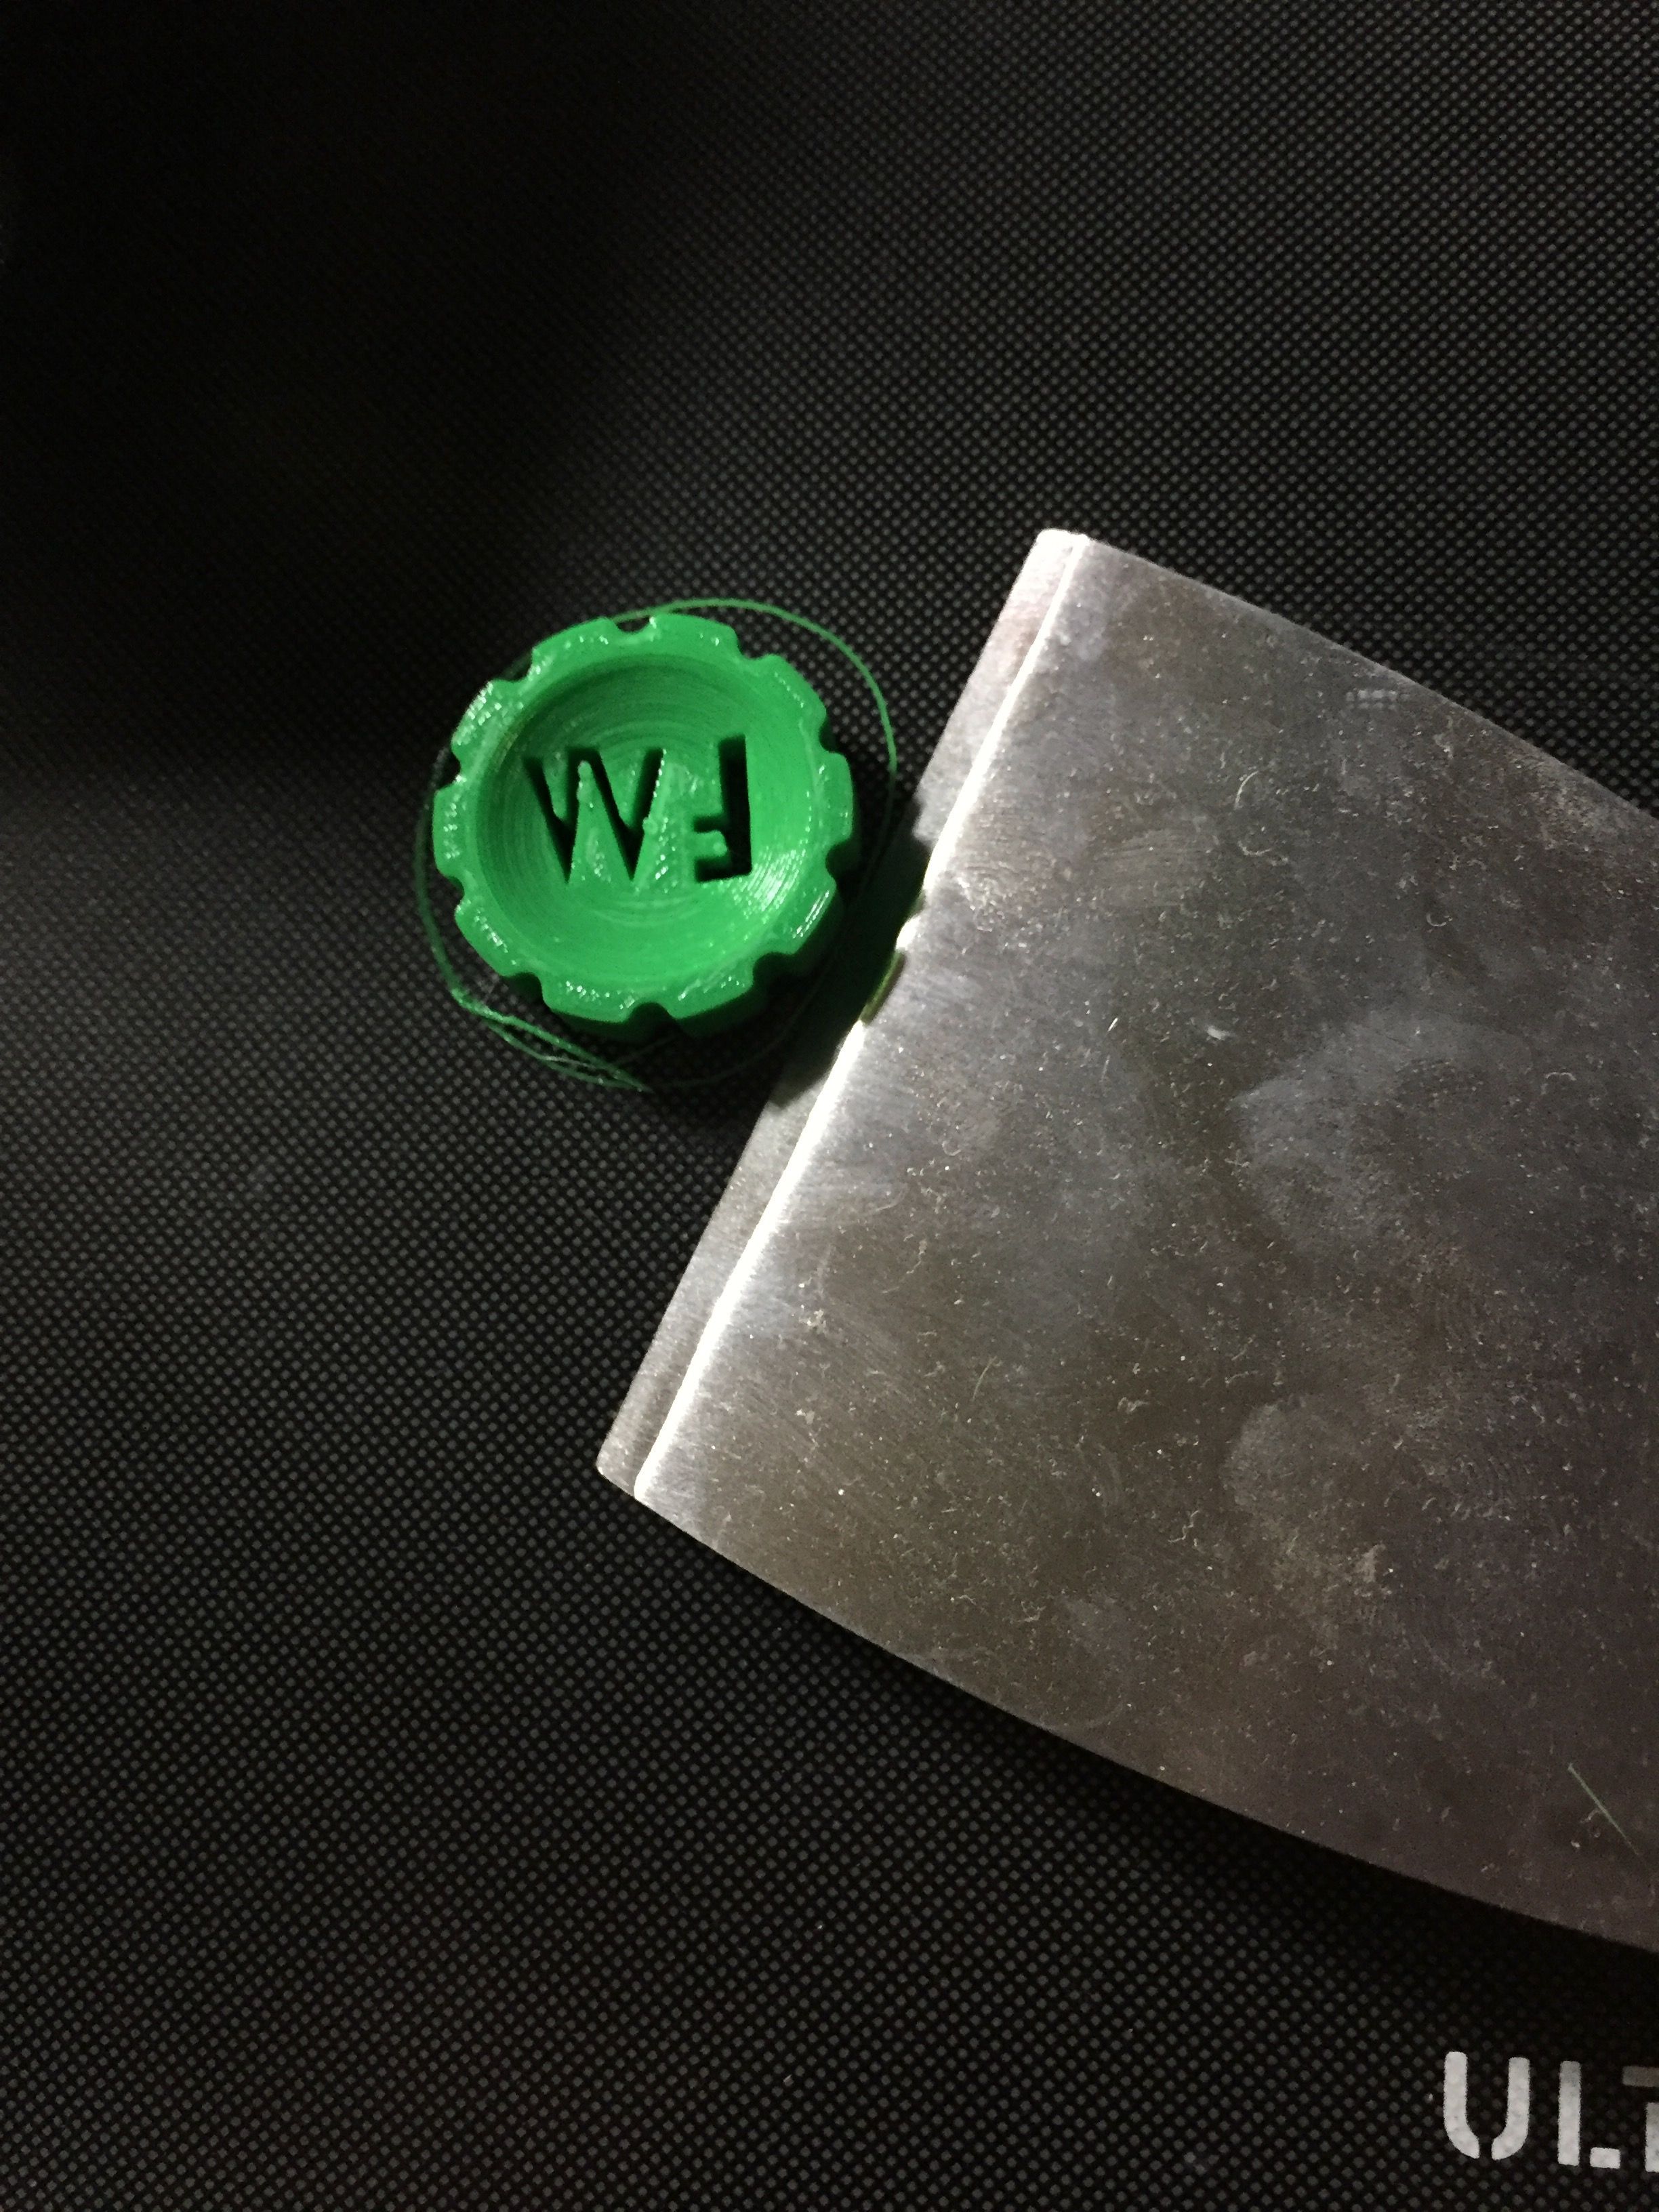
With that step I now have a finished 3D print! :D

To sum up. For this project we went over the basic hardware to 3D print, what software to make a print, places to find pre-made files to print, how to set up a print in a slicer, and finally how to actually print. I hope this was somewhat helpful for anyone interested in what goes into making something on a 3D printer. Also if you have a better way of doing something or if you think I explained something wrong let me know! Oh and if you have any questions about anything covered let me know and I can do my best to try and explain it better.
Thank you for reading!! I hope you found everything somewhat useful.