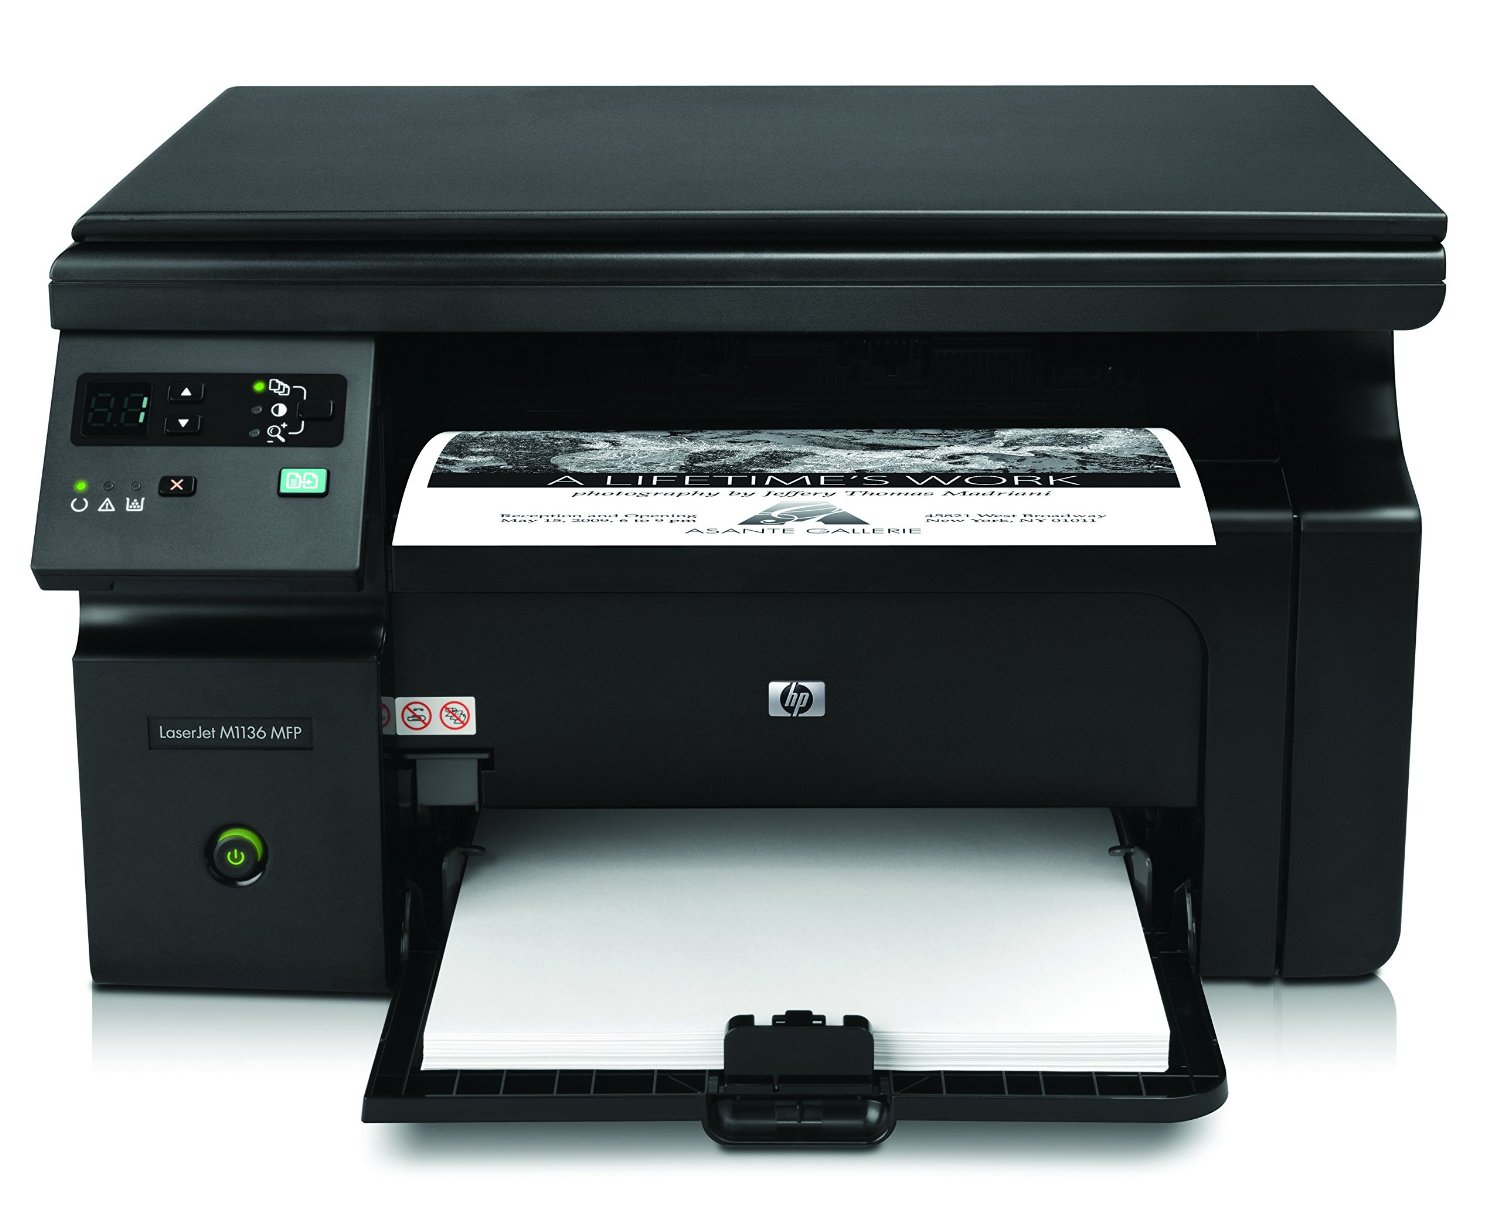
How to Configure your Printer- Here are the Steps.

Printer Installation is the easiest thing you can yourself. Before installing your printer, printer software is required. In New Printer, there is an Installation CD come with the box of the Printer. You need to run that the CD and Install the Printer Software. Now, there are two things, whether you want to connect your printer wireless or with a USB Cable.
Step 1
Unbox your Printer. Connect the cable to the Printer to the Computer. Remove the label/sticker from the Cartridges and make it ready to use.
STEP 2
Using your CD tries to install the printer drivers and the printer needs to connect to Computer through a USB Cable. You need to aware about your operating system. In Window 8, 8.1 and Window 10 plug and play will work. Just you need to connect the Printer with the USB Cable to the Computer and using window update the software get installed automatically.
As soon as it gets installed then you need to go to Control Panel and then select Printers and Devices and then click on add printer. As soon as you click on add printer then the Printer which you installed will appear there.
STEP 3
If you want to install the printer wireless then you need to configure the printer with the network which you are using. It requires few additional steps.
- On your Printer screen, there is gear box which means settings.
- As soon as you tap the gear box there will some option open, you need to go to network/wireless.
- As soon as you tap that option then you need to find Wireless Set UP Wizard
- As soon as you tap there, it will search your network.
- Then you have to select your network and enter the password (Network Password) if any.
- After this steps, it will show you that it is connected
- It will show you an IP Address which is for the Printer only. Note down the Printer IP Address.
As soon as it is connected wireless, remove the USB Cable from the computer and it will connect to your computer.

Information is useful. Good for Beginners!