Photography with Nikolatka #1 - LESSON ONE
Hello Steemians!
Today I attended the very first class of Digital Photography at the University of New York in Prague of which I have been a student since 2015. Hopefully I will be graduating this spring :)
I dediced to share with you everything I learn, here on Steem! So here comes the very first lesson of photography with Nikolatka series!
LESSON ONE - CAMERA SETTINGS
Since we all want to have the best possible quality of the pictures, it is very important to set the camera right.
I am using Canon E0S 1300D. I have got 2 lenses - one Canon EFS 18-55mm and 75-300mm
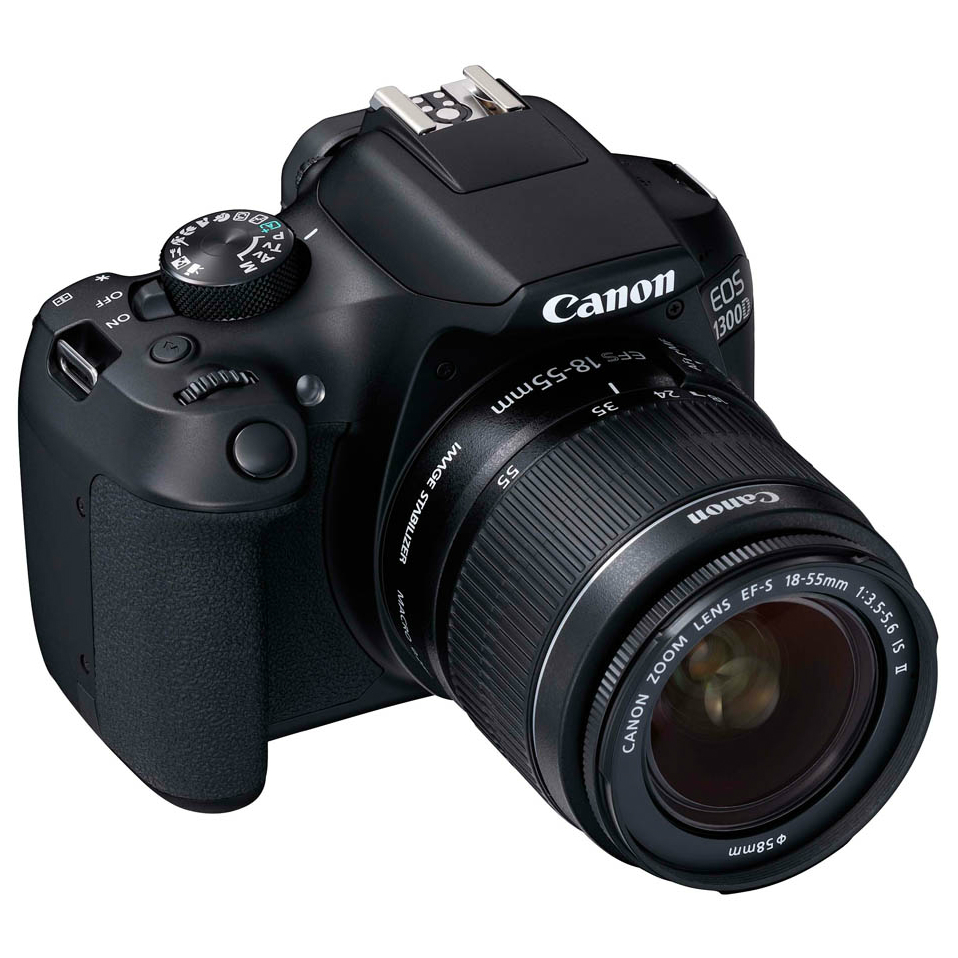
1) Let's start with the speed of the shots - here the faster the better (at least for me)
Before we start to take pictures, it is important to think about what we want to capture on the pictures.
For a usual "daily" use, the best speed is around 1/125, but for sports it is best if you set it on 1/800 and more.
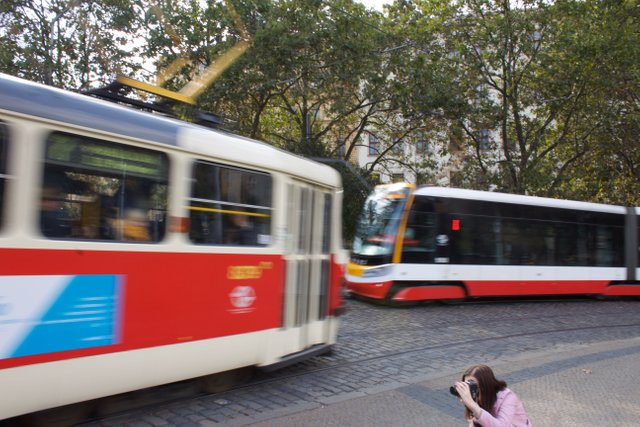
So if you are taking portraits - use around 1/125, if it is a sports or a very quickly moving object that you want to capture sharply - use around 1/1000. Last but not least, you can also capture a moving object where you want to show its movement without blurring the background - use around 1/10 and keep in mind to not zoom so that the object you want to catch moving does not come closer to you.
This picture clearly shows the static object - my friend and the moving object - the tram
2) Let's continue with the light (ISO)
When it comes to ICO, it solely depends on the intensity and sensitivity of light whether it is inside or outside. For example, today was quite a shiny day, therefore I used low ICO (100). On the other hand, if it was darker outside, or if we were to take pictures inside I would have used higher ICO. In other words, the brighter the lower ICO and the darker the higher ICO. However, keep in mind that the higher the ICO the lower the quality of the picture. Always try to use as much natural light as possible.
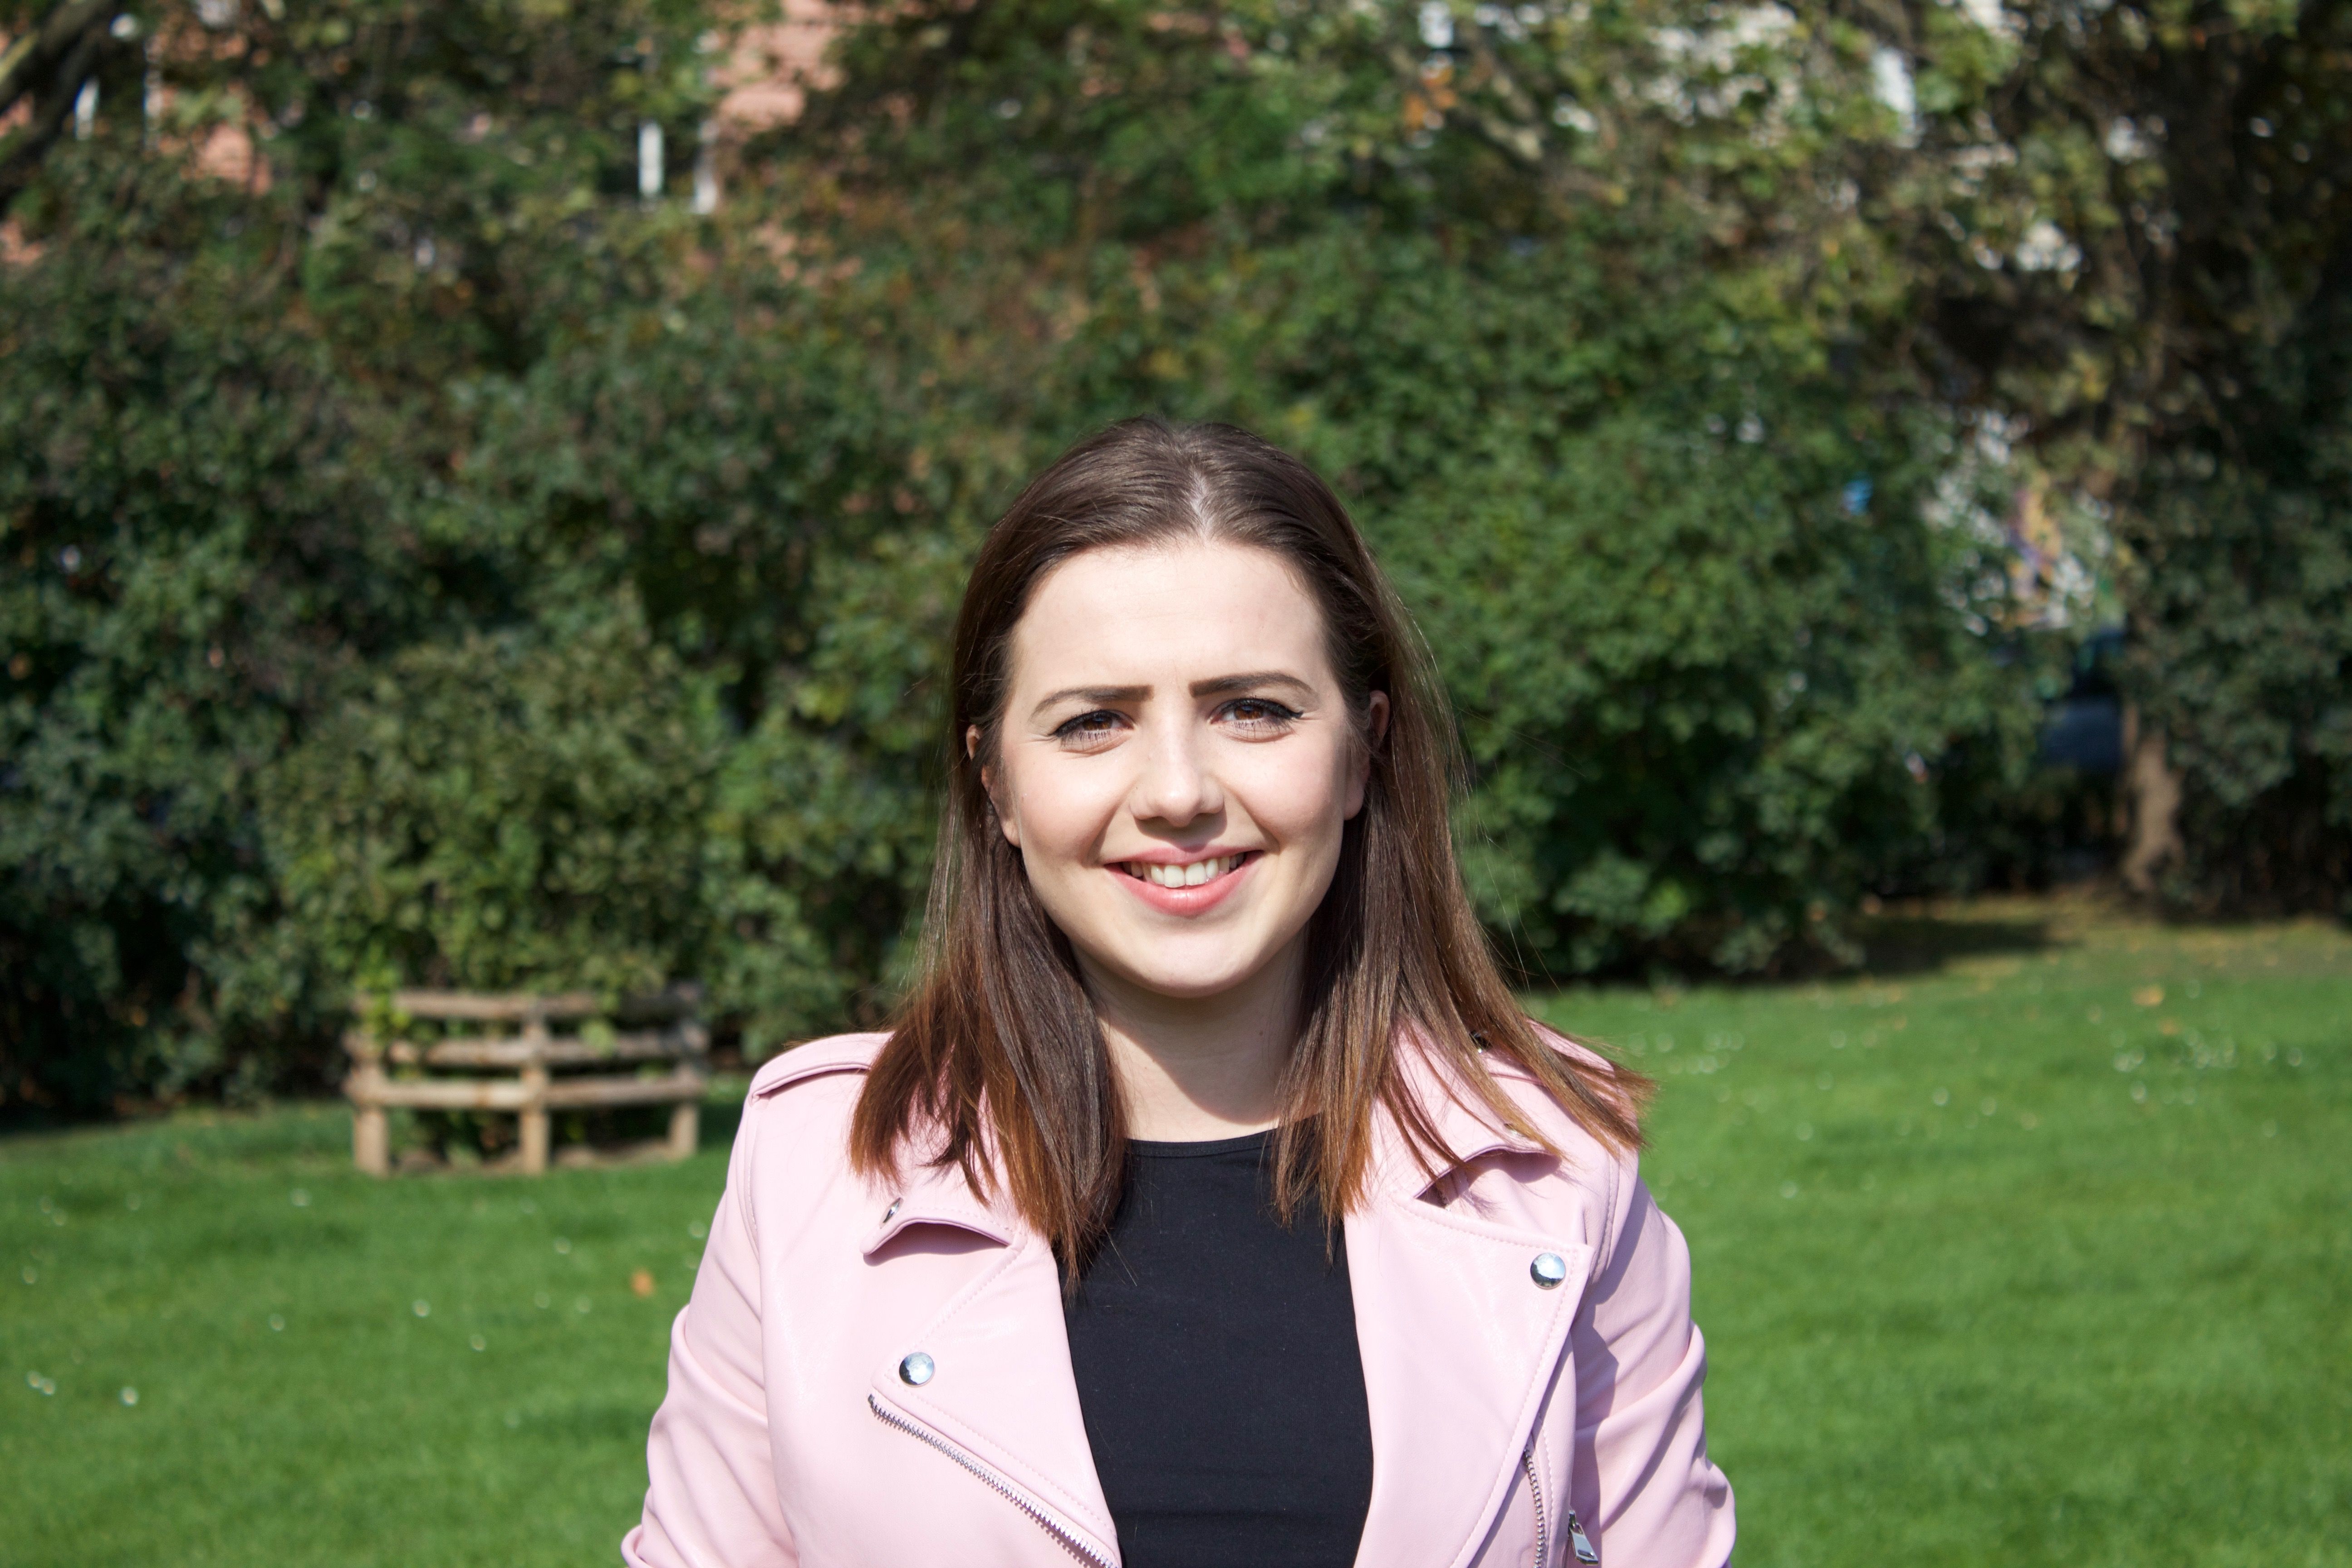
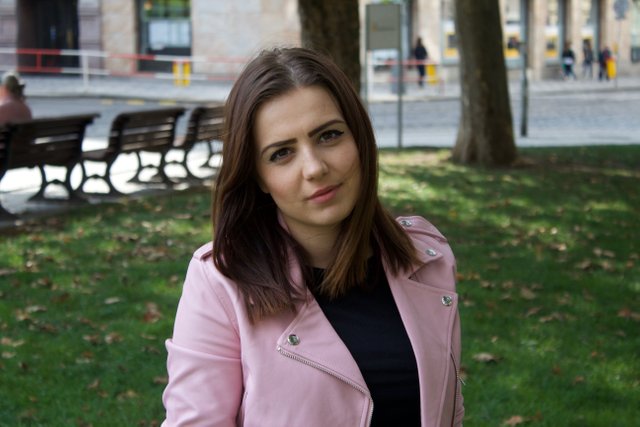
Here you can spot the game of light and the difference in the natural light - the ICO was set on 100 for both pictures.
3) Let's look at the last one - the F word, I mean the F number
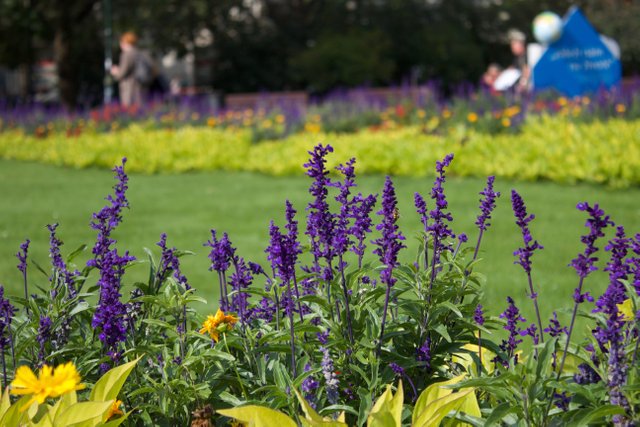
Basically F = depth of focus. The lower the F the more it is focused on the detail rather than on the background (it is isolated).
F 22 focuses on everything (best to use for landscapes)
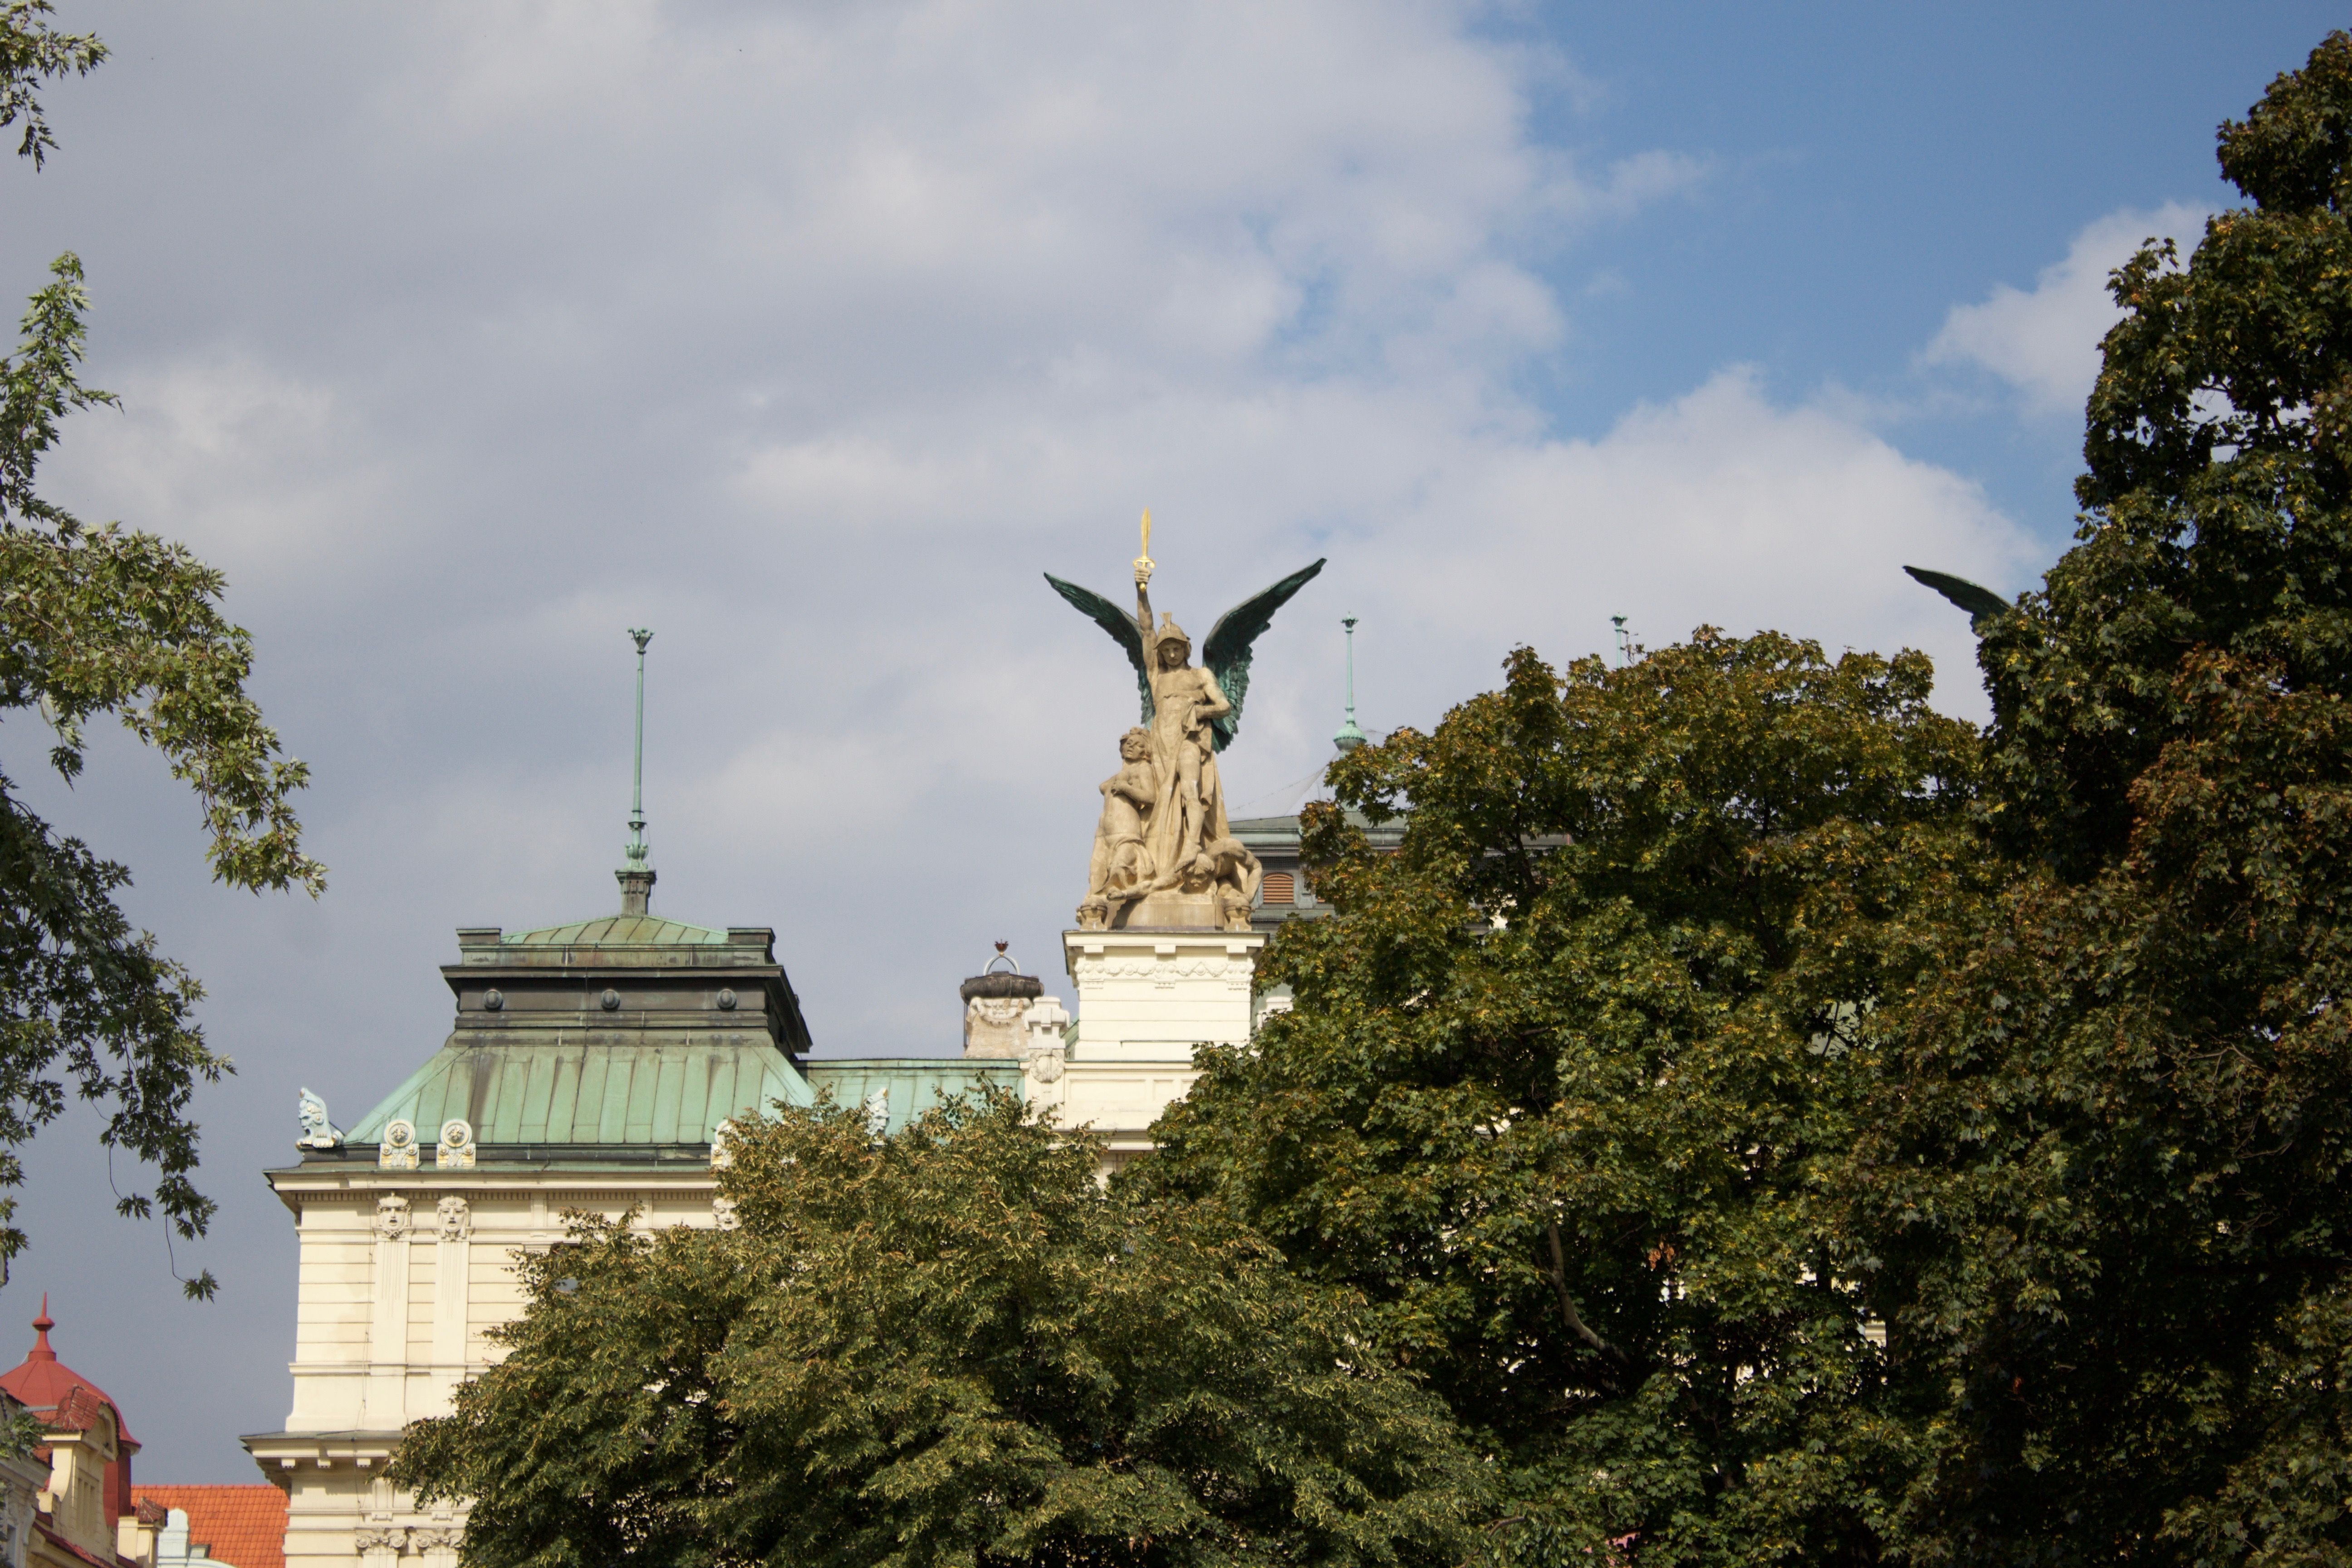
F 5 focuses on one thing and ignores the rest (best to use for portraits and micro)
That's it for the first lesson :)
Until the next time!
KISSES
