Editing-DOs-&-DONTs
Photography and editing photos are the things I do everytime I have a free-time (not a pro tho); everything is done using only my phone (wink-haha!). So I am doing this blog to share the simple things I learned through my experience in these fields.
I'll take my cover photo as the subject:
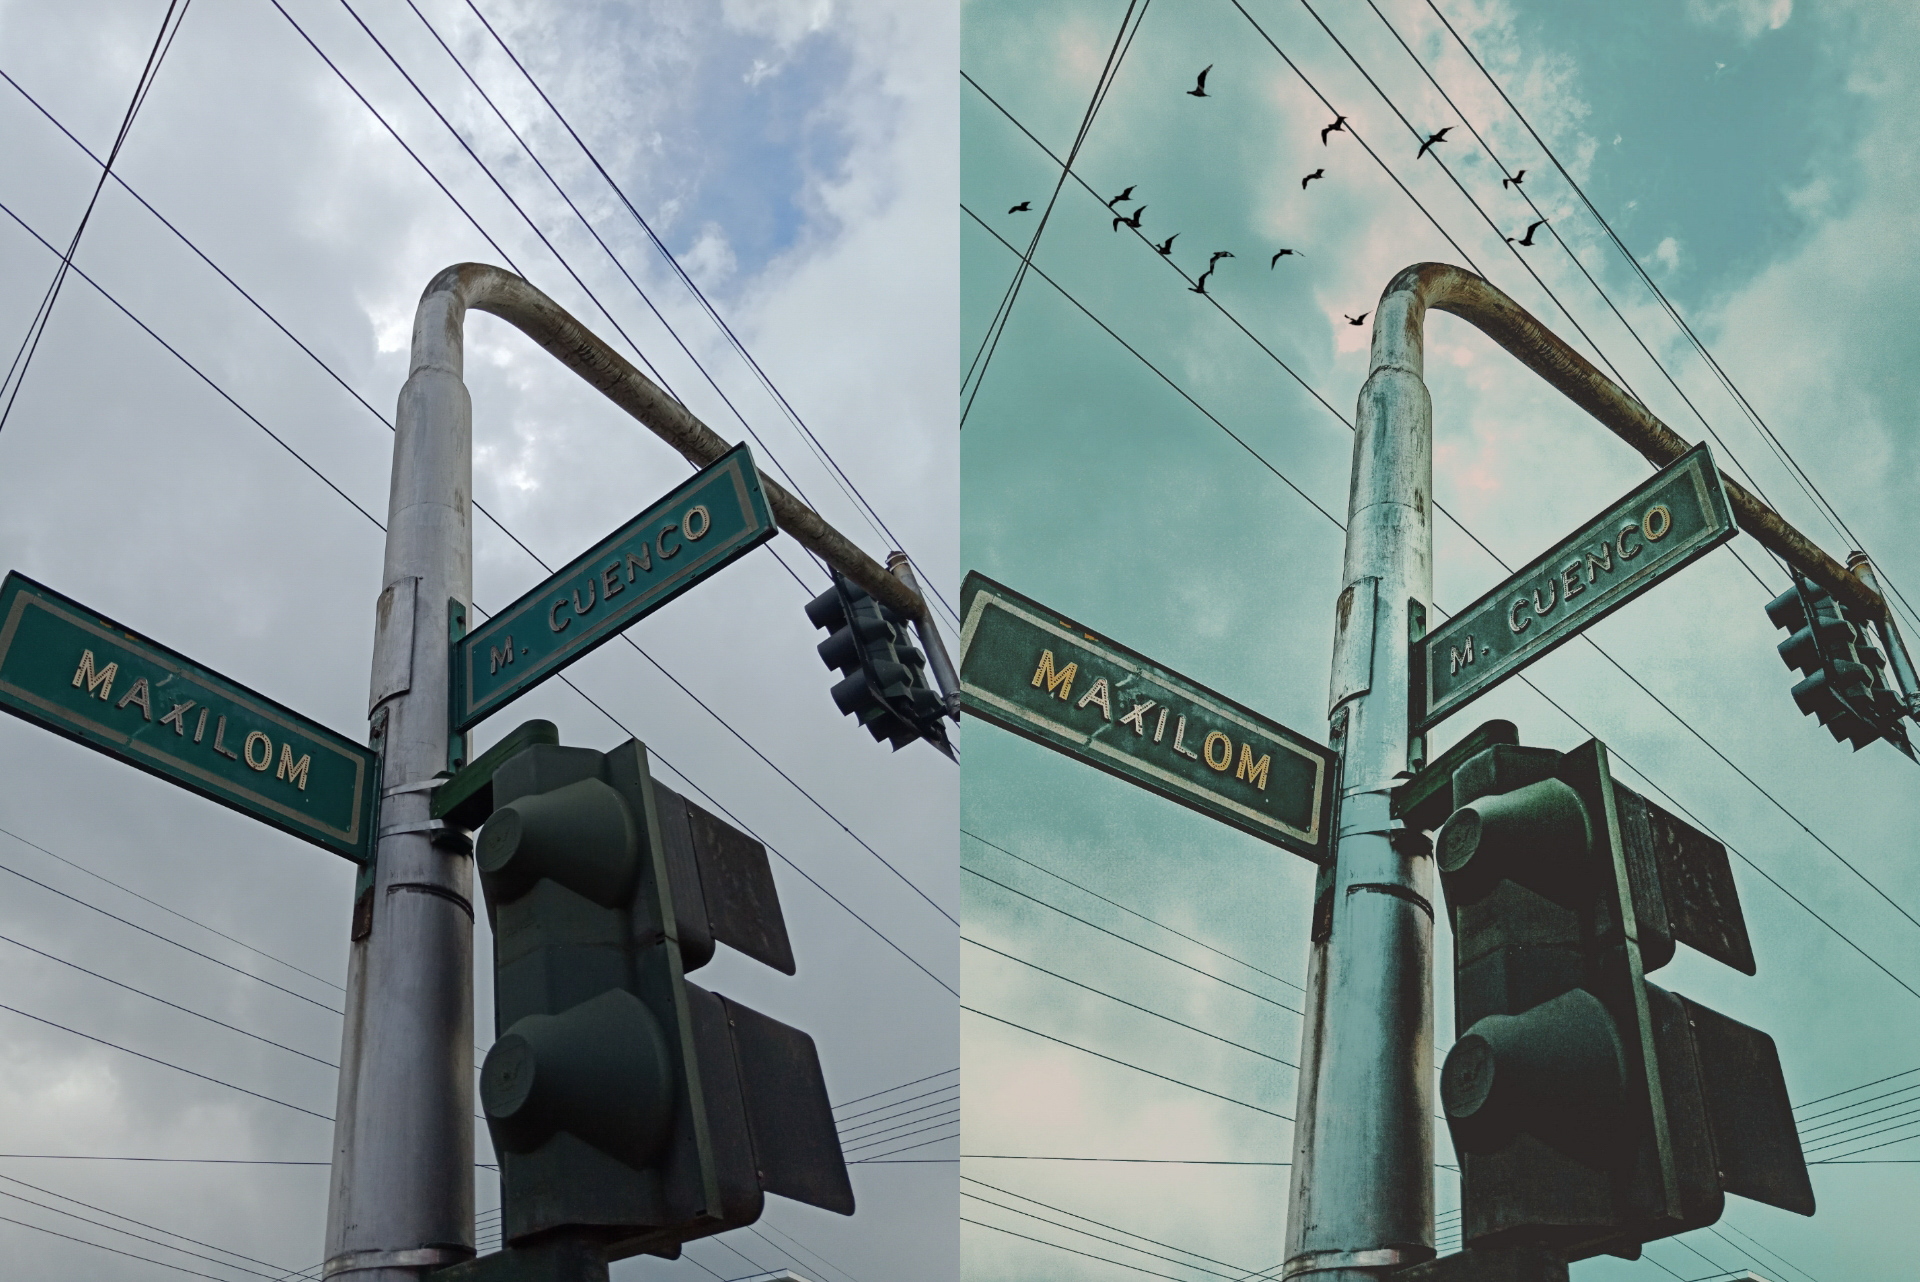
So first, you have to snap photos on your travel; no need to pay expenses to go to far places, just your travel on your way to work or school is enough. Random snaps are the best, you just need to bring the creativity out of you (don't worry-we're doing it together!) So here is one of the snaps I have taken:
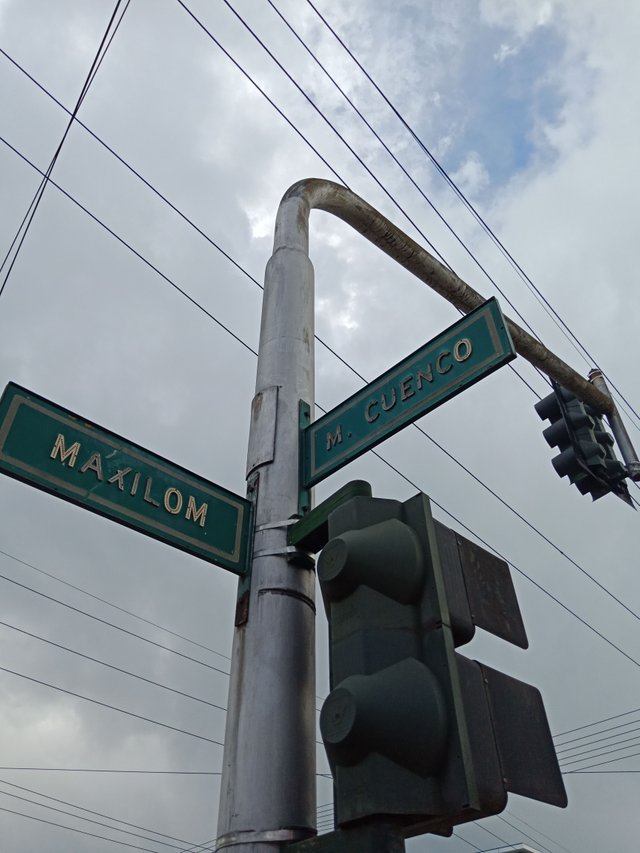
Told you-Random snapping is my forte (feeling-haha) !
So now, we are going to evaluate that "Random snap" I took. Just observe and make some details out of it.
Staring at the photo makes me feel nothing, like it makes me feel the ground I am standing while taking the photo, and my inability to reach and explore (the dramas tho-not so me! hahaha)
Now we do some experiment to the texture and colors of the photo using lightroom-its your preference but I'll show mine.
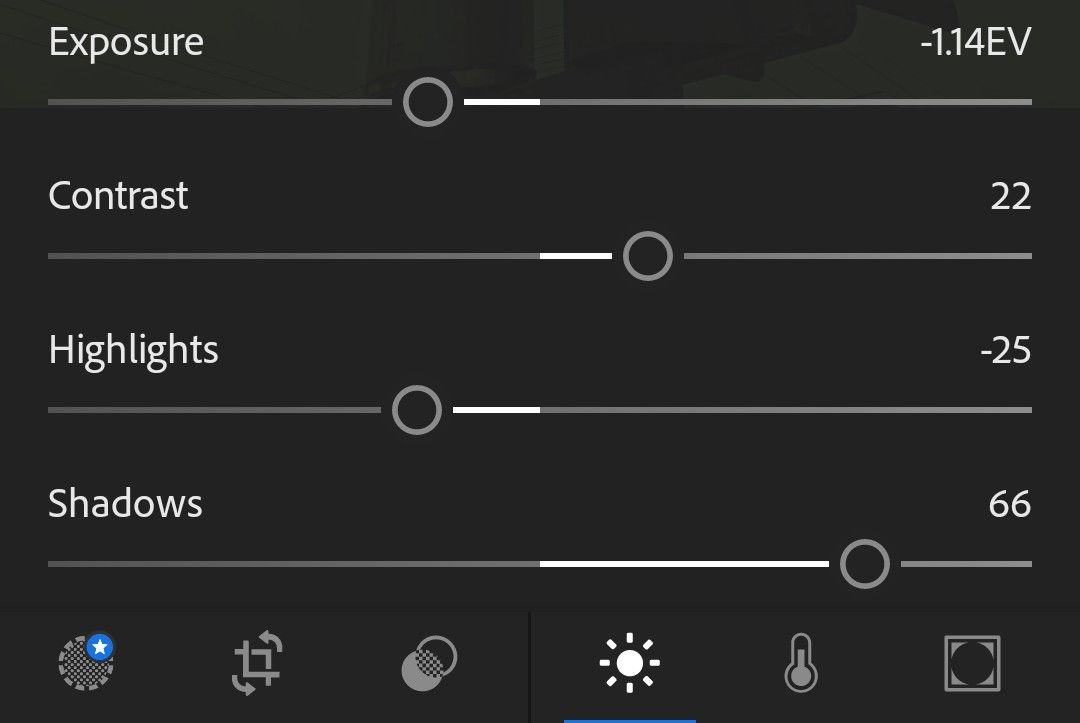
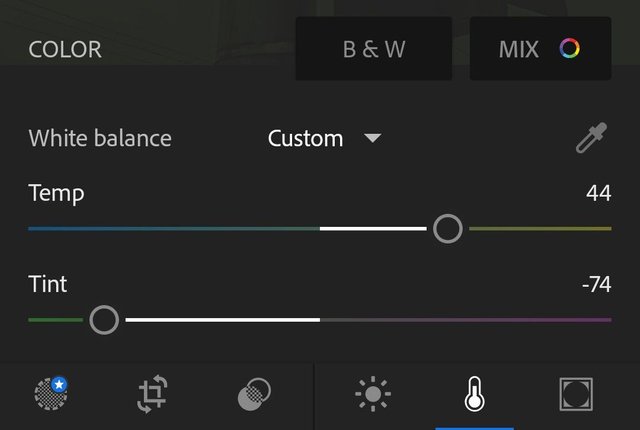
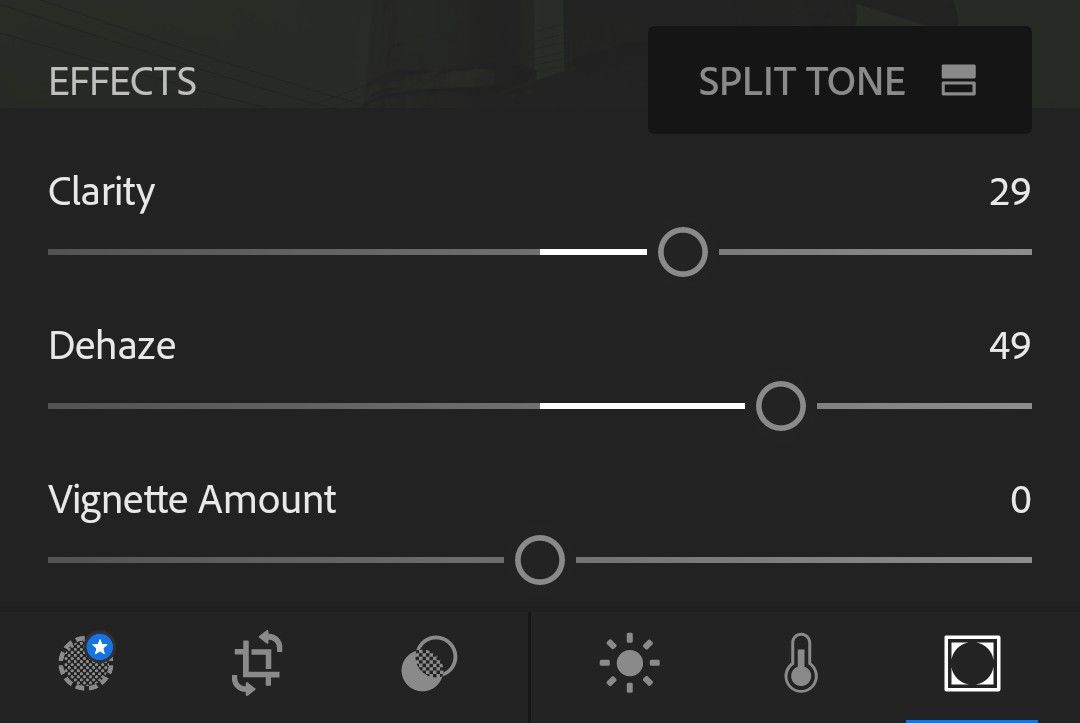
These are some of the adjustments I recommend-I needed to emphasize my subject which is the traffic lights so I minimized the shadow as seen above. You just need to get the feel and most importantly, keep it natural as it can.
Next we are going to put some life to the photo. This is the part that we have to keep our creativity kickin'-hahahh! So for me, the best option here is to make use of the space (sky) and put some birds in it to add fun in the photo. Now, we will be using picsart-second app to be used haha!

First, click add photo and place it where you want it to be-just feel it haha!
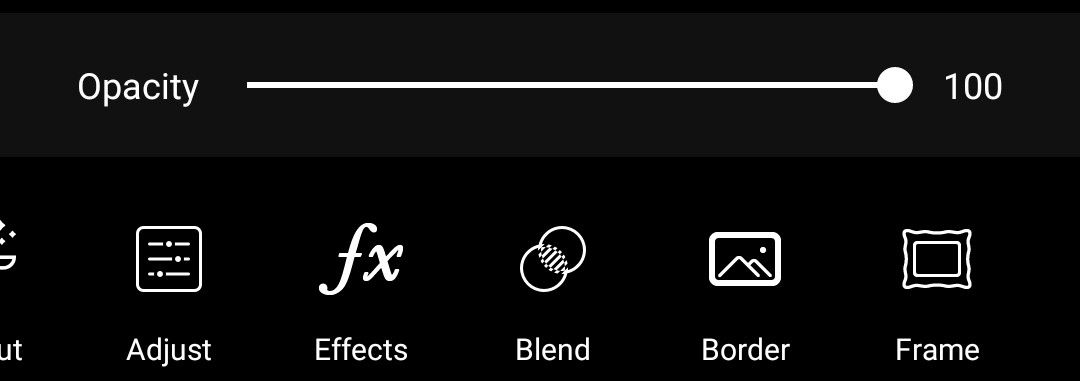
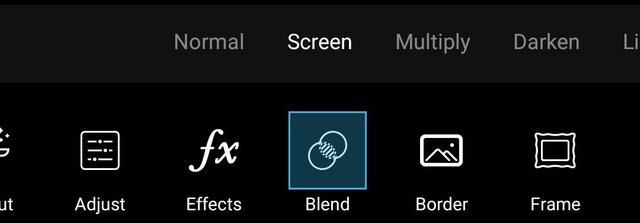
Then click blend, and then screen. You can erase the unnecessary parts but in this case there's none since I used a plain black shape and white backgroud-I suggest you do the same to lessen the job.
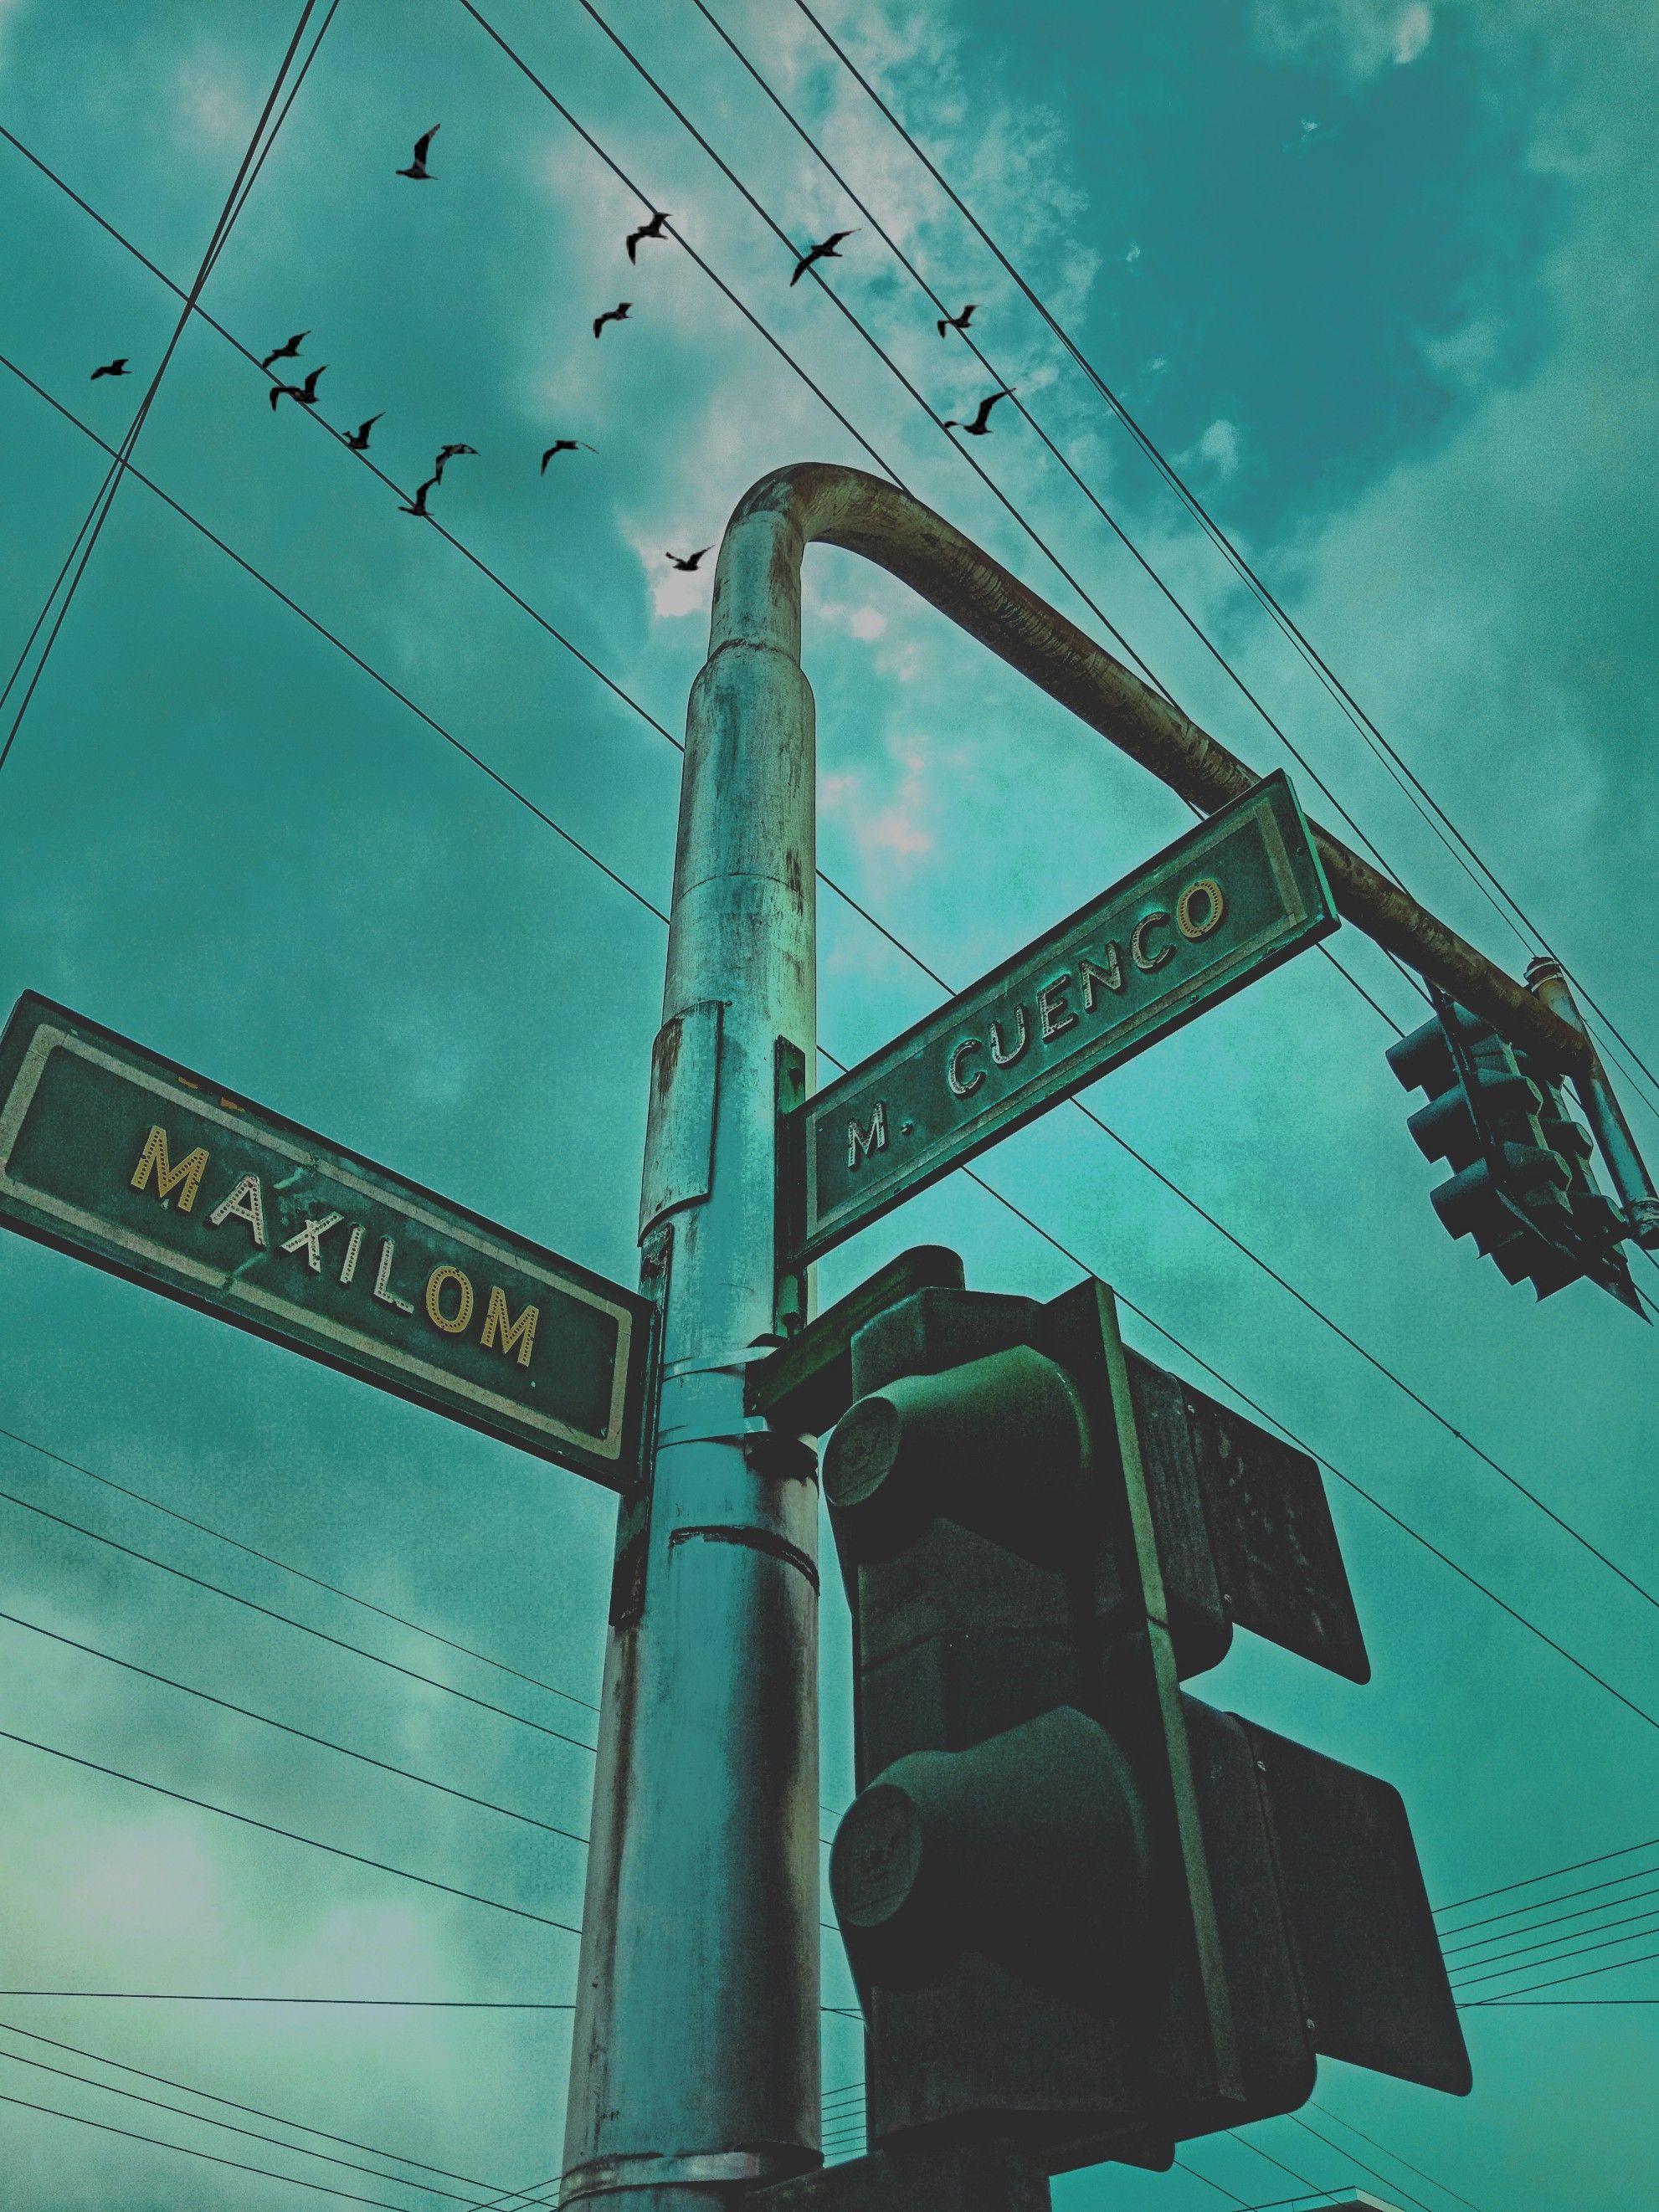
Now we have this! We are almost done-just keep going haha!
So I don't want you to get contented easily; look for ways to improve your photo. Criticize it as much as you want to-you'll get better that way.
Remember: Keep it natural (my motto-haha!) I got a problem in this photo haha! As much as I want it to be natural but the sky is not-Right? hahaah. So now let us ask for help to VSCO. The last touches are done here!
So after clicking all the filters (literally clicked all of them-haha!) I found out that the preset that best suits the photo to make it more natural is the E4! Then we're donee! Finally the result is here... (thrilling sound effects)
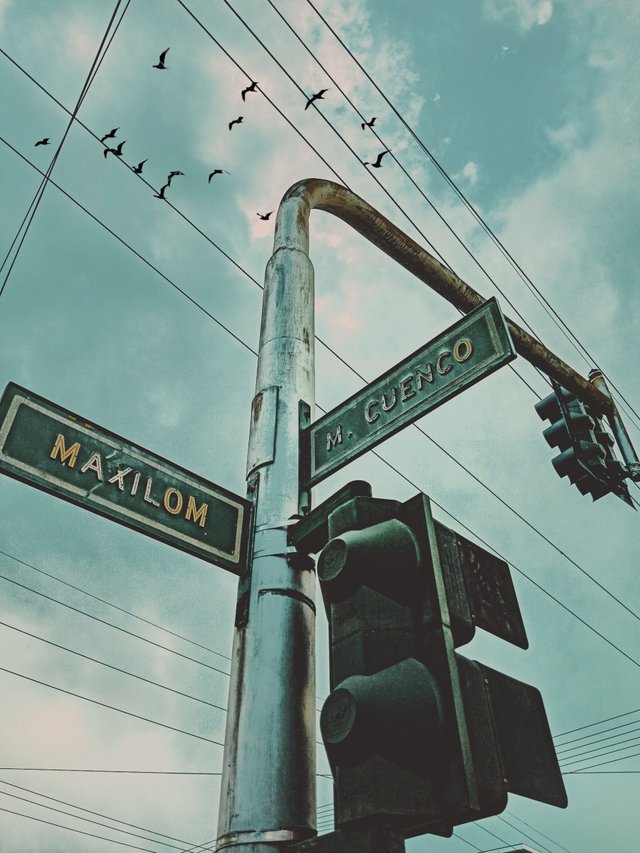
There you go! Hope you enjoyed reading and learned something hehe!

The before and after guys!
Just comment your thoughts below, upvote, resteem, and follow for more blogs like this. Hope you liked my first blog here.
Great post! I hope you'll be able to share more pictures using your editing skills. Keep steeming, bruv! 👍
Will do hahaha. Thank you sis 😀