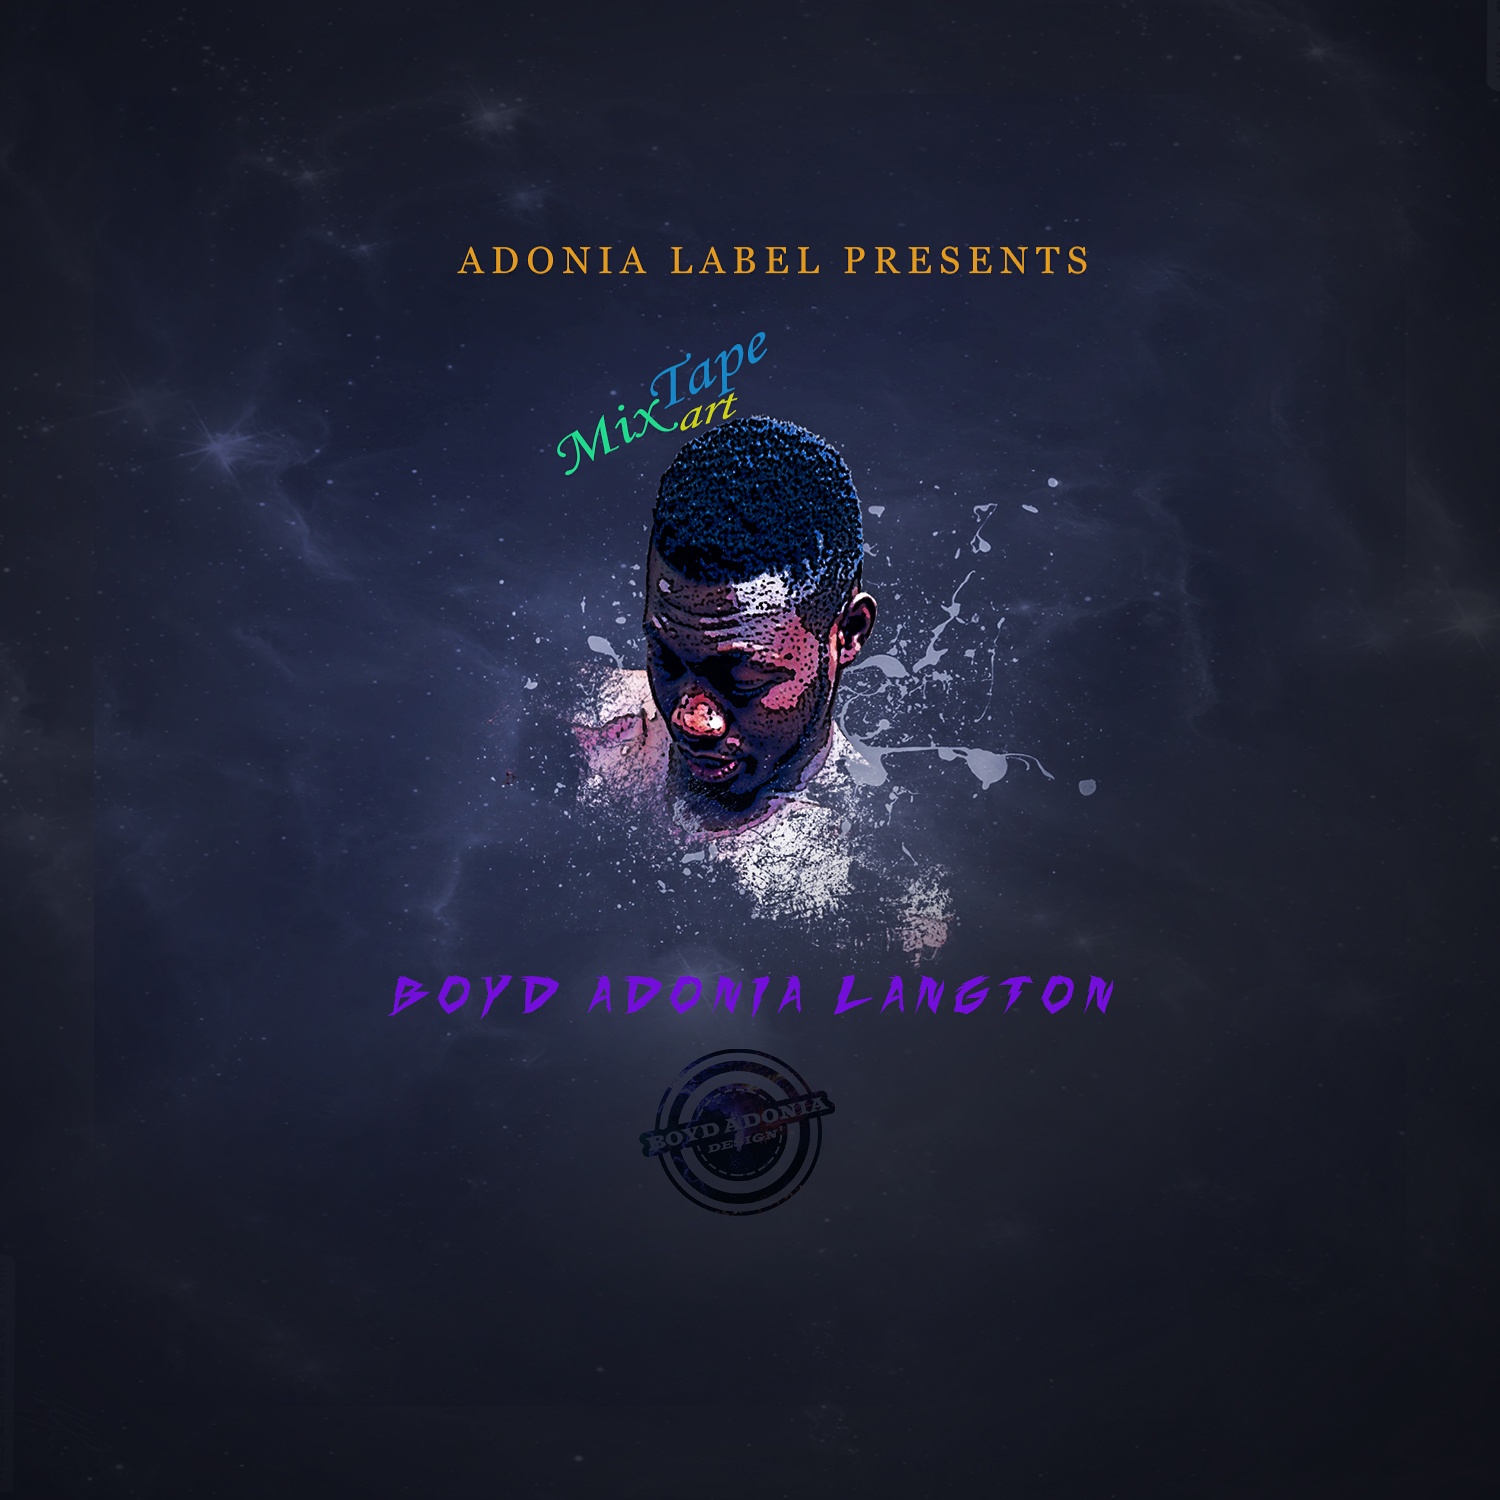
CREATING A MIXTAPE COVER ART IN PHOTOSHOP AND STEPS TO FOLLOW
• First you have to create a new document (Ctrl + N) with the following dimension 12.7 *12.7 centimeters and resolution 300 pixelsInch
• Then you create adjustment layer-solid color. The solid color can be any color of your choice.
• Choose file > Place Embedded to Open an image into a worksheet.
• Right Click on the texture layer and Choose Rasterize Layer.
• And use the shortcut Alt + Shift + Ctrl + B
• Set the Blending mode to luminosity and opacity to 6%.
• Duplicate texture layer (Ctrl + J)
• Set the blending Mode to Screen and opacity to 10%.
• Flattering layers Ctrl + Alt + Shift + E
• Set the blending mode to color dodge
• Add layer mask on the layer1
• Select all layers and Press (Ctrl + G) to Group layers
• Click and drag to move the layer to the background layer you have created
• Create adjustment layer and clipping mask Vibrance Exposure
• Flattering layers Ctrl + Alt +Shift +E to create new layer from all the layers
• Create adjustment layer and clipping mask color balance, level Brightness\Contrast.
TO BE CONTINUED